
If you are just starting your electronics journey in India, small OLED display projects for beginners are one of the best ways to learn microcontrollers and sensors together. OLED (Organic Light-Emitting Diode) displays are affordable, widely available, and incredibly satisfying to use — within minutes you can show temperature readings, scrolling text, or even simple animations on a crisp, high-contrast screen. In this guide, you will find 10 practical project ideas you can build at home using parts easily sourced from Zbotic.
What Is a Small OLED Display?
The most popular small OLED module used by hobbyists is the 0.96-inch SSD1306, a 128×64 pixel monochrome display that communicates via I2C (two wires: SDA and SCL). It runs on 3.3V or 5V, draws very little current, and because each pixel emits its own light, contrast is perfect even in bright Indian sunlight. There is also the larger 1.3-inch SH1106 variant that uses the same library. Both modules cost roughly ₹80–₹150 on Zbotic — far cheaper than an LCD with a backlight driver.
OLED screens have no backlight panel; unlit pixels draw zero current. This makes them ideal for battery-powered gadgets — a key advantage over traditional LCDs we will explore further below.
Why Choose OLED for Beginner Projects?
- Only two wires (I2C): SDA + SCL, so no messy 16-wire ribbon cable like a character LCD.
- Works with 3.3V and 5V MCUs: Compatible with Arduino Uno, Nano, ESP8266, ESP32, and STM32 without a level shifter in most cases.
- Rich library support: Adafruit SSD1306 + GFX libraries available in Arduino IDE. Just install and start drawing.
- Low cost: Costs less than a cup of chai yet provides a professional look to any build.
- Compact size: Fits inside small enclosures for portable gadgets.
Components You Need
Before you start any of the 10 projects below, gather these basics:
- 0.96″ SSD1306 OLED module (I2C, 4-pin)
- Arduino Uno or Nano (or ESP32 for Wi-Fi projects)
- Breadboard and jumper wires
- Relevant sensors (listed per project)
- USB cable and Arduino IDE
For sensor-based projects, pair your OLED with a temperature or humidity sensor from Zbotic:

DHT11 Digital Relative Humidity and Temperature Sensor Module
The classic beginner sensor — reads temperature and humidity with a single data pin. Perfect for your first OLED weather display project.

LM35 Temperature Sensor
Analog temperature sensor with 10mV/°C output — ideal for an OLED thermometer project with Arduino’s analog pins.
Projects 1–3: Sensor Display Basics
Project 1: Temperature and Humidity Monitor
Connect a DHT11 to pin D2 of your Arduino, wire the SSD1306 to A4 (SDA) and A5 (SCL), install the Adafruit SSD1306 and DHT libraries, and display live temperature and humidity readings on the OLED. This is the single most popular first project for Indian hobbyists — it works indoors to monitor room conditions and is great for learning I2C basics. Add a buzzer to alert when humidity exceeds 80% for a practical monsoon-season gadget.
Project 2: LM35 Analog Thermometer
Using the LM35 sensor’s analog output on A0, read the voltage, convert to Celsius (voltage × 100), and print it on the OLED with a large font. Draw a simple bar graph at the bottom showing temperature trends. This teaches analogRead(), floating point math, and Adafruit GFX drawing functions — all in one compact project.
Project 3: Soil Moisture Display for Plants
Pair a capacitive soil moisture sensor with the OLED to show a plant watering indicator. Display a percentage bar and a warning message when the plant needs water. This is a great home automation starter project — many Indian apartment dwellers with balcony gardens love this one.

Capacitive Soil Moisture Sensor
Corrosion-resistant capacitive design — more durable than resistive sensors. Connect to any analog pin for soil moisture readings on your OLED.
Projects 4–6: Clock and Timer Builds
Project 4: Digital Clock with DS3231 RTC
Use a DS3231 real-time clock module (also I2C — both RTC and OLED share the same two wires using different addresses) to build an accurate digital clock. Show hours, minutes, seconds, and date in a clean layout. The DS3231 keeps time even when power is off thanks to its coin cell battery. This teaches I2C bus sharing — a crucial skill for advanced projects.
Project 5: Countdown Timer
Build a Pomodoro study timer or a kitchen countdown timer using just an Arduino, OLED, and three push buttons (set, start/stop, reset). Display the remaining time in large digits. Add a buzzer for the alarm. This project teaches button debouncing, millis()-based timing, and OLED UI design — all without any sensor!
Project 6: Stopwatch
A classic project — display elapsed time to millisecond precision. Use two buttons (start/stop and reset) and show laps if desired. Great for sports timing, cooking, or science experiments. The OLED’s fast refresh rate makes the millisecond counter look impressive and smooth.
Projects 7–9: IoT and Wireless Displays
Project 7: Wi-Fi Weather Display (ESP8266/ESP32)
Connect your OLED to an ESP8266 or ESP32, pull weather data from OpenWeatherMap API using HTTP GET requests, and display the current city temperature, humidity, and weather description. Indian cities like Mumbai, Delhi, Bengaluru, and Pune are all supported. This project introduces JSON parsing, Wi-Fi connectivity, and API usage — a big leap that is still achievable for beginners.
Project 8: Bitcoin/Crypto Price Ticker
Fetch cryptocurrency prices from a free API (CoinGecko has no API key requirement) and scroll them across the OLED. Show BTC, ETH, and your favourite altcoins with their INR price. Scrolling text on an OLED feels very professional and this project teaches scrolling text animations using the Adafruit GFX library.
Project 9: Air Quality Monitor
Pair an MQ-135 gas sensor with your OLED to show an air quality index. Display a colour-coded warning (using different pixel densities on a monochrome display to simulate severity) when gas levels are high. Useful in Indian kitchens with LPG stoves or workshops with soldering fumes.
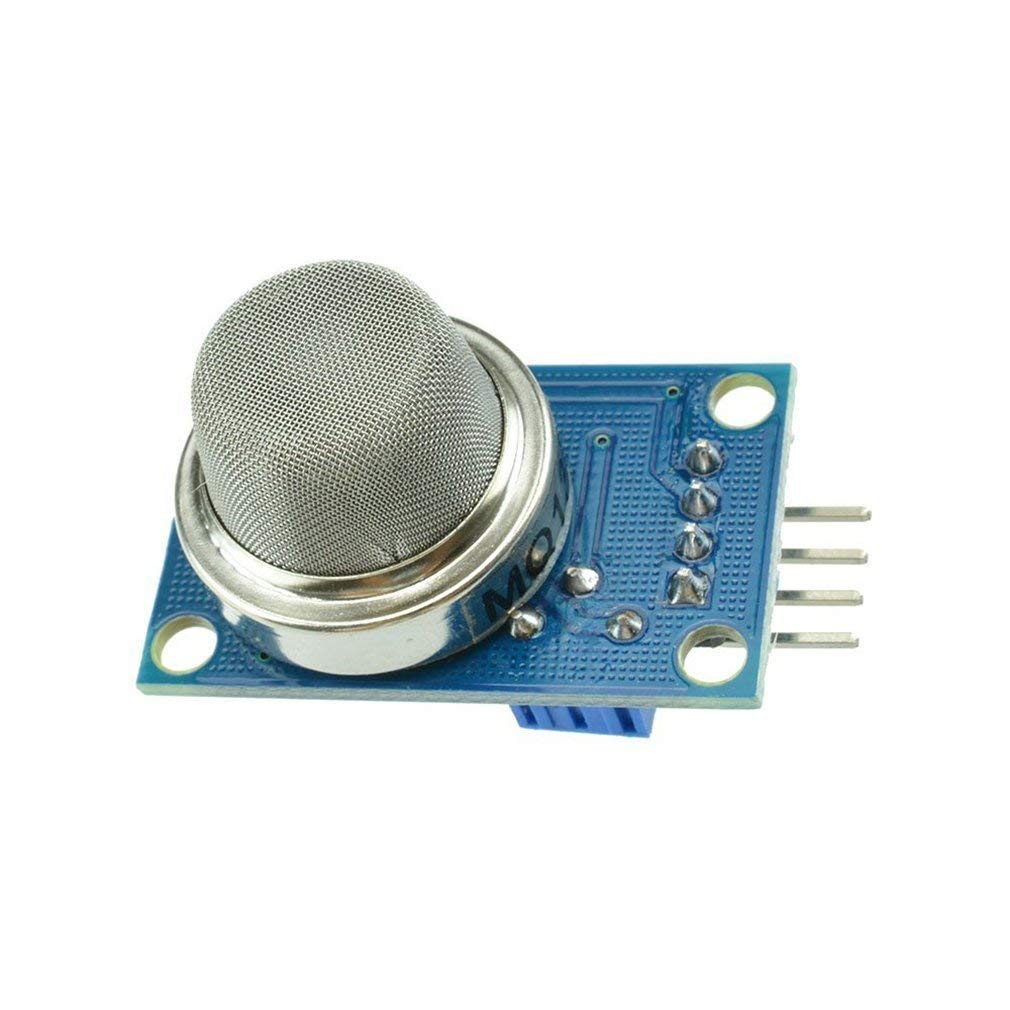
MQ-135 Air Quality / Gas Detector Sensor Module
Detects ammonia, benzene, CO2, and smoke. Pair with an OLED to build a visible air quality monitor for your home or lab.
Project 10: Mini Weather Station
Combine a DHT20 (temperature + humidity), a BMP280 (barometric pressure + altitude), and a DS18B20 waterproof probe (outdoor temperature) on a single I2C/OneWire bus — all displaying on one OLED in a scrolling multi-screen layout. This is the capstone project that ties together everything you have learned. Build it in a weatherproof box (available at any Indian hardware store), mount it on your balcony, and you have a genuine personal weather station.

DHT20 SIP Packaged Temperature and Humidity Sensor
Upgraded I2C version of the DHT series with improved accuracy (±0.5°C, ±3% RH). Perfect for the mini weather station capstone project.
Wiring Tips and Common Mistakes
- Wrong I2C address: Most SSD1306 modules use address 0x3C; some use 0x3D. Run an I2C scanner sketch if nothing appears on screen.
- Pull-up resistors: Arduino has internal pull-ups for I2C. If you are using ESP32 bare pins, add 4.7kΩ pull-up resistors to SDA and SCL.
- Power issue: Never power multiple modules from Arduino’s 3.3V pin — it can only source 50mA. Use a separate 3.3V regulator or the breadboard 3.3V rail if your power supply supports it.
- Library conflict: Using both Adafruit SSD1306 and U8g2? Pick one. Mixing libraries causes build errors.
- Screen burn-in: For always-on projects, add a screen timeout or dim after 30 seconds of inactivity to prolong OLED lifespan.
Frequently Asked Questions
Which OLED module is best for beginners in India?
The 0.96-inch SSD1306 I2C module is the best choice. It only needs two signal wires, works at 3.3V and 5V, and has extensive Arduino library support. It is available under ₹150 from Zbotic with fast delivery across India.
Can I use an OLED display with ESP8266 or ESP32?
Yes, absolutely. Both ESP8266 (NodeMCU) and ESP32 support I2C. On ESP32, use GPIO 21 (SDA) and GPIO 22 (SCL) by default. The same Adafruit SSD1306 library works on all three platforms.
How many I2C devices can I connect to one OLED bus?
I2C supports up to 127 devices theoretically, but practical limits are around 8–10 modules. Each device needs a unique address. If two OLEDs both have the same address (0x3C), you will need a TCA9548A I2C multiplexer.
Why is my OLED display showing nothing?
Common causes: wrong I2C address in code, SDA/SCL wires swapped, insufficient power supply, or the Adafruit library not installed correctly. Run the I2C scanner example sketch from Arduino IDE to detect your display’s address first.
Is OLED better than LCD for battery-powered projects?
Yes. OLED draws zero power for black (off) pixels, making it far more efficient than LCD with a backlight. A simple text display on OLED may draw only 10–20mA versus 40–80mA for a typical LCD backlight — a significant saving for battery projects.
Get all the sensors and display modules you need from Zbotic’s Display Modules collection. We ship pan-India with fast delivery to Pune, Mumbai, Delhi, Bengaluru, Chennai, and all major cities. Start your maker journey today!


Add comment