
A smart irrigation system with ESP32 is one of the most impactful IoT projects you can build for Indian conditions — whether you are a home gardener in Pune tending to a terrace garden, a farmer in Maharashtra managing a 2-acre vegetable farm, or a nursery owner in Bengaluru running a commercial greenhouse. India’s agricultural sector loses enormous quantities of water to inefficient manual irrigation. An automated ESP32-based irrigation controller can reduce water usage by 30-50% while keeping your plants healthier than manual watering ever could.
In this comprehensive tutorial, we will build a complete smart irrigation system with soil moisture sensing, RTC-based scheduling, relay-controlled water pumps, a web-based control panel accessible from your smartphone, and optional Telegram alerts when soil moisture drops critically low.
System Overview and Architecture
Our smart irrigation system uses three complementary control methods:
1. Soil Moisture Sensing (Reactive)
Capacitive soil moisture sensors continuously monitor soil water content. When moisture drops below a user-defined threshold (say, 30%), the system automatically activates the water pump for a set duration. This prevents both under-watering and over-watering.
2. Time-Based Scheduling (Proactive)
Using a DS3231 RTC or NTP-synced time, the system waters at optimal times — typically early morning (5-7 AM) or late evening (6-8 PM IST) to minimize evaporation. This is especially important during Indian summers when midday watering can scald plant roots.
3. Remote Manual Override (On-Demand)
A simple web server hosted on the ESP32 lets you control the irrigation system from any device on your home or farm Wi-Fi. Turn zones on/off from your smartphone without walking to the field.
Components Required
| Component | Qty | Notes |
|---|---|---|
| ESP32 Development Board | 1 | 30-pin or 38-pin |
| Capacitive Soil Moisture Sensor | 2-4 | One per zone; capacitive is more durable than resistive |
| 4-Channel 5V Relay Module | 1 | For multi-zone irrigation |
| Submersible Mini Water Pump (5V/12V) | 1-4 | One per irrigation zone |
| DS3231 RTC Module | 1 | For accurate time scheduling |
| DHT22 Temperature Sensor | 1 | Adjusts watering based on temperature |
| 12V Power Supply | 1 | For pump; separate 5V USB for ESP32 |
| Waterproof Project Box | 1 | IP65 rated for outdoor use |

Ai Thinker NodeMCU-32S-ESP32 Development Board
The ideal controller for your smart irrigation system — dual-core 240MHz with 18 ADC channels for multiple soil moisture zones and built-in Wi-Fi for remote access.
Understanding Soil Moisture Sensors
There are two types of soil moisture sensors available in India:
Resistive Sensors (Budget Option)
These have two exposed metal probes. They measure soil resistance — wet soil conducts electricity better than dry soil. Cheap (₹20-50 each) but corrode within weeks in moist soil. Do NOT use for permanent installations. Fine for classroom demos.
Capacitive Sensors (Recommended)
These use a PCB coated with a dielectric material and measure capacitance changes as soil water content changes. No exposed metal probes, so they last years in soil. More accurate and more expensive (₹100-200 each). Always use capacitive sensors for permanent installations.
Capacitive sensors output an analog voltage — dry soil gives a higher voltage (around 3V), wet soil gives a lower voltage (around 1.5V). You need to calibrate your specific sensor by recording readings in completely dry soil and fully saturated soil, then mapping the range to 0-100% moisture percentage.
Calibration steps:
- Place sensor in completely dry soil — record the analogRead value (typically 3600-3800 on ESP32 12-bit ADC)
- Submerge sensor in a glass of water — record the value (typically 1200-1600)
- Map these bounds:
moisturePercent = map(rawValue, wetValue, dryValue, 100, 0);
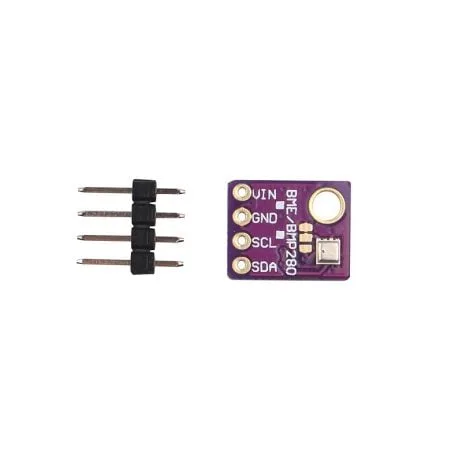
GY-BME280-5V Temperature and Humidity Sensor
Add ambient temperature and humidity sensing to your smart irrigation system — the BME280 helps adjust watering schedules based on evapotranspiration rates during hot Indian summers.
Circuit Diagram and Wiring
Connect all components to the ESP32 as follows:
| Component | Pin | ESP32 GPIO |
|---|---|---|
| Soil Sensor Zone 1 (AOUT) | Analog Out | GPIO 34 |
| Soil Sensor Zone 2 (AOUT) | Analog Out | GPIO 35 |
| Relay Module IN1 (Zone 1 Pump) | IN1 | GPIO 25 |
| Relay Module IN2 (Zone 2 Pump) | IN2 | GPIO 26 |
| DS3231 SDA | SDA | GPIO 21 |
| DS3231 SCL | SCL | GPIO 22 |
| DHT22 | Data | GPIO 4 |
Critical wiring note: Connect your water pumps to the RELAY’s COM/NO (Normally Open) terminals — never directly to the ESP32 GPIO. Pumps draw several amps and will permanently damage the ESP32 if connected directly. Always use a relay or MOSFET as an interface between the ESP32 and any inductive load like a pump or solenoid valve.
Complete ESP32 Irrigation Code
#include <WiFi.h>
#include <WebServer.h>
#include <Wire.h>
#include <RTClib.h>
#include <DHT.h>

const char* ssid = "YOUR_WIFI";
const char* password = "YOUR_PASSWORD";

#define MOISTURE_PIN_1 34
#define MOISTURE_PIN_2 35
#define RELAY_1 25
#define RELAY_2 26
#define DHT_PIN 4
#define DHT_TYPE DHT22

// Calibration values (calibrate for YOUR sensor)
const int DRY_VALUE = 3800;
const int WET_VALUE = 1600;
const int MOISTURE_THRESHOLD = 30;  // Water if below 30%
const int PUMP_DURATION_MS = 10000; // Run pump for 10 seconds

RTC_DS3231 rtc;
DHT dht(DHT_PIN, DHT_TYPE);
WebServer server(80);

bool zone1Active = false;
bool zone2Active = false;
unsigned long zone1StartTime = 0;
unsigned long zone2StartTime = 0;

int getMoisture(int pin) {
  int raw = analogRead(pin);
  int pct = map(raw, DRY_VALUE, WET_VALUE, 0, 100);
  return constrain(pct, 0, 100);
}

void activateZone(int zone, bool state) {
  int relayPin = (zone == 1) ? RELAY_1 : RELAY_2;
  digitalWrite(relayPin, state ? LOW : HIGH); // Relay active LOW
  if (zone == 1) { zone1Active = state; if (state) zone1StartTime = millis(); }
  if (zone == 2) { zone2Active = state; if (state) zone2StartTime = millis(); }
  Serial.printf("Zone %d: %sn", zone, state ? "ON" : "OFF");
}

void handleRoot() {
  int m1 = getMoisture(MOISTURE_PIN_1);
  int m2 = getMoisture(MOISTURE_PIN_2);
  float temp = dht.readTemperature();
  DateTime now = rtc.now();

  String html = "<!DOCTYPE html><html><head>";
  html += "<meta name='viewport' content='width=device-width,initial-scale=1'>";
  html += "<title>Smart Irrigation</title>";
  html += "<style>body{font-family:Arial;max-width:500px;margin:20px auto;padding:0 15px}";
  html += ".card{background:#f5f5f5;border-radius:8px;padding:15px;margin:10px 0}";
  html += ".btn{padding:10px 20px;border:none;border-radius:4px;cursor:pointer;font-size:16px}";
  html += ".on{background:#4CAF50;color:white}.off{background:#f44336;color:white}</style></head>";
  html += "<body><h2>Smart Irrigation</h2>";
  html += "<div class='card'><b>Time:</b> " + String(now.hour()) + ":" + String(now.minute()) + "<br>";
  html += "<b>Temperature:</b> " + String(temp) + "°C</div>";
  html += "<div class='card'><b>Zone 1 Moisture:</b> " + String(m1) + "%<br>";
  html += "<a href='/zone1/on'><button class='btn on'>Zone 1 ON</button></a> ";
  html += "<a href='/zone1/off'><button class='btn off'>Zone 1 OFF</button></a></div>";
  html += "<div class='card'><b>Zone 2 Moisture:</b> " + String(m2) + "%<br>";
  html += "<a href='/zone2/on'><button class='btn on'>Zone 2 ON</button></a> ";
  html += "<a href='/zone2/off'><button class='btn off'>Zone 2 OFF</button></a></div>";
  html += "</body></html>";

  server.send(200, "text/html", html);
}

void setup() {
  Serial.begin(115200);
  Wire.begin();
  dht.begin();

  pinMode(RELAY_1, OUTPUT); digitalWrite(RELAY_1, HIGH); // OFF
  pinMode(RELAY_2, OUTPUT); digitalWrite(RELAY_2, HIGH); // OFF

  rtc.begin();
  if (rtc.lostPower()) rtc.adjust(DateTime(F(__DATE__), F(__TIME__)));

  WiFi.begin(ssid, password);
  while (WiFi.status() != WL_CONNECTED) delay(500);
  Serial.println("IP: " + WiFi.localIP().toString());

  server.on("/", handleRoot);
  server.on("/zone1/on", []() { activateZone(1, true); server.sendHeader("Location", "/"); server.send(302); });
  server.on("/zone1/off", []() { activateZone(1, false); server.sendHeader("Location", "/"); server.send(302); });
  server.on("/zone2/on", []() { activateZone(2, true); server.sendHeader("Location", "/"); server.send(302); });
  server.on("/zone2/off", []() { activateZone(2, false); server.sendHeader("Location", "/"); server.send(302); });
  server.begin();
}

void loop() {
  server.handleClient();

  // Auto-moisture check every 5 minutes
  static unsigned long lastCheck = 0;
  if (millis() - lastCheck > 300000) {
    lastCheck = millis();

    int m1 = getMoisture(MOISTURE_PIN_1);
    int m2 = getMoisture(MOISTURE_PIN_2);

    if (m1 < MOISTURE_THRESHOLD && !zone1Active) activateZone(1, true);
    if (m2 < MOISTURE_THRESHOLD && !zone2Active) activateZone(2, true);
  }

  // Auto-shutoff after PUMP_DURATION_MS
  if (zone1Active && millis() - zone1StartTime > PUMP_DURATION_MS) activateZone(1, false);
  if (zone2Active && millis() - zone2StartTime > PUMP_DURATION_MS) activateZone(2, false);
}
Web Dashboard for Remote Control
The web dashboard hosted directly on the ESP32 is accessible from any device connected to the same Wi-Fi network. Open a browser and navigate to the ESP32’s IP address (shown in Serial Monitor after boot).
For access outside your home network (when you are at work and want to check on your garden remotely), you have several options:
- ngrok tunnel: Run an ngrok agent on a Raspberry Pi or always-on computer on your LAN to forward the ESP32’s web server to a public URL
- Blynk IoT platform: Blynk has a free tier that works well for Indian hobbyists and provides a polished mobile app interface
- Telegram Bot: Implement a Telegram bot polling loop so you can send commands like
/zone1onand/statusfrom Telegram anywhere in the world
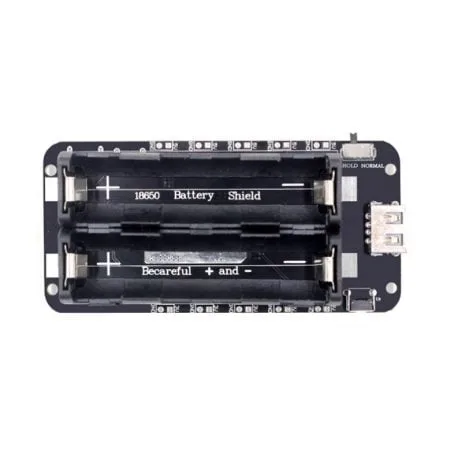
2 x 18650 Lithium Battery Shield V8 for ESP32/ESP8266
Keep your irrigation controller running during India’s frequent power cuts — this dual-cell battery shield provides uninterrupted 5V power so your plants never go un-watered.
Deployment Guide for Indian Gardens and Farms
Indian conditions demand special consideration when deploying outdoor electronics:
Monsoon Proofing
Use IP65 or IP67 rated enclosures for all electronics. Seal cable entry points with silicone gel or cable glands. Elevate the control box at least 50cm above ground level. Use UV-resistant PVC conduit for all outdoor wiring runs.
Voltage Fluctuations
Indian grid voltage fluctuates between 180V and 250V (nominally 230V). Use a regulated 5V 2A power adapter with surge protection for the ESP32. Add a TVS diode or MOV across the 230V input if running an AC pump motor via relay.
Sensor Placement
Insert capacitive soil moisture sensors vertically into the soil to a depth of 15-20cm (root zone depth for most vegetables). Avoid placing sensors near the surface (dries out rapidly) or too deep (stays moist even when roots are dry). For gardens with drip irrigation, place the sensor between two drip emitters — not directly under one.
Water Source Considerations
Most Indian gardens use one of these water sources: municipal water supply (intermittent, 1-2 hours per day), borewell water, or collected rainwater. Design your pump and relay logic to account for intermittent supply — add a float sensor in your storage tank and interlock the irrigation pump with tank water level to prevent dry running.
Night Irrigation for Terrace Gardens
Terrace gardens in Indian apartments lose moisture rapidly due to direct sun exposure and hot concrete surfaces. Schedule early morning watering (5:30 AM) using the RTC before sun heats the terrace. This reduces evaporation by 40% compared to afternoon watering.
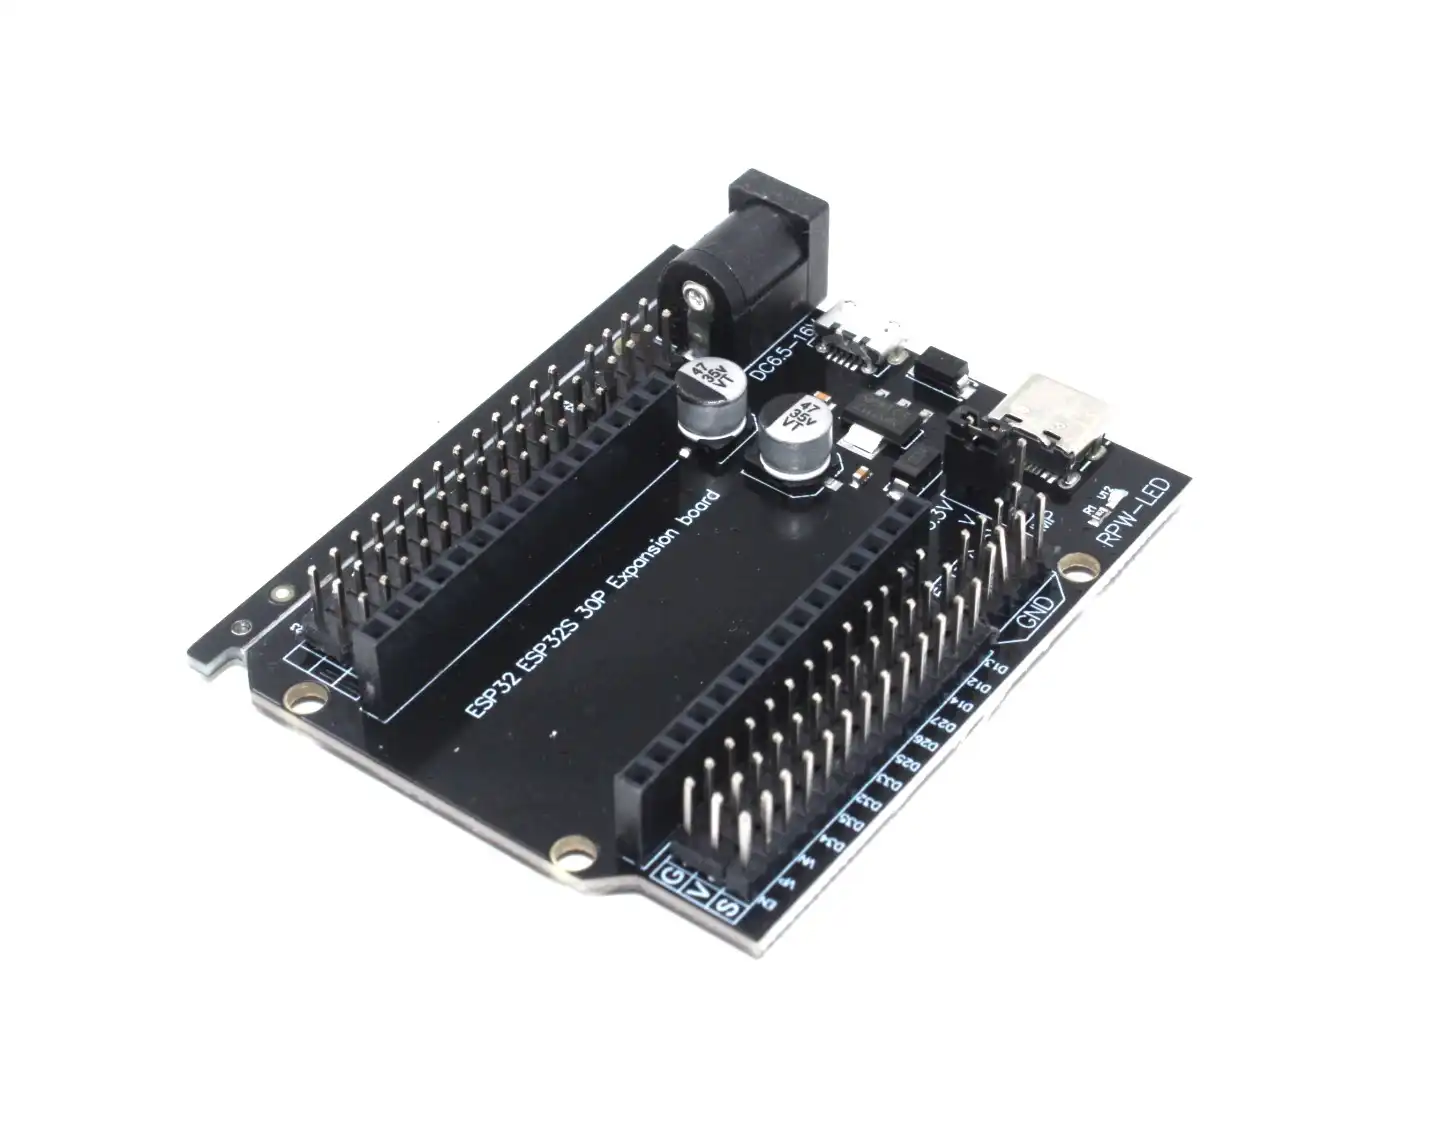
30Pin ESP32 Expansion Board with Type-C and Micro USB
Connect multiple soil sensors and relay modules easily with this ESP32 expansion board — all 30 pins accessible via breadboard-friendly headers, perfect for multi-zone irrigation control.
Frequently Asked Questions
Q1: How many irrigation zones can a single ESP32 control?
One ESP32 can control up to 8 zones using an 8-channel relay module and 8 separate soil moisture sensors (using the available ADC pins). For larger farms, use multiple ESP32 units communicating over MQTT or a shared database, or use an ESP32 with an I2C ADC expander (ADS1115) to add more analog inputs beyond the built-in 18.
Q2: Can I use this system with a drip irrigation setup already in place?
Absolutely. Simply connect a 12V or 24V solenoid valve inline with each drip irrigation line. The relay switches the solenoid valve open and closed. The solenoid valve replaces the pump in single-zone setups. For setups with a pump supplying multiple drip lines, use solenoid valves on each branch and one relay for the main pump.
Q3: How accurate are capacitive soil moisture sensors?
Low-cost capacitive sensors (₹100-200) have ±5-10% accuracy which is sufficient for home gardening and small farms. Professional agricultural sensors with calibrated accuracy exist but cost ₹5,000-₹20,000 each. For most Indian gardening applications, ±10% accuracy is perfectly adequate — what matters is the trend, not absolute precision.
Q4: What happens to my plants during a power cut?
Add a 18650 battery backup shield to the ESP32’s 5V supply. The batteries power the ESP32 and relay logic during power cuts. The water pump will only work if it is battery-powered too — or use a gravity-fed water tank with solenoid valves that fail-open, allowing passive watering when power is lost.
Q5: Can I track water consumption with this system?
Yes. Add a flow meter sensor (YF-S201 or similar) inline with your main water line. The ESP32 counts pulses from the flow meter to calculate litres used. Log this to an SD card or cloud database to track daily water consumption — useful for BBMP and other municipalities where water is metered.
Start Your Smart Garden Today
Get all the ESP32 boards, sensors, battery shields, and expansion boards for your smart irrigation project from Zbotic — India’s trusted electronics store with fast delivery nationwide.


Add comment