
A7670 4G LTE Module: How to Upgrade from SIM800L — Complete India Tutorial
If you have been building IoT projects with the SIM800L and have grown frustrated by Jio incompatibility, slow 2G GPRS speeds, or increasingly poor 2G coverage in your area, upgrading to the A7670 4G LTE module is the logical next step. The SIMCOM A7670 series represents a generational leap — it supports Cat-1 LTE (10Mbps downlink), is fully compatible with Jio 4G, Airtel 4G, and Vi 4G networks across India, and uses the same familiar AT command interface you already know from the SIM800L. This step-by-step tutorial covers everything you need to make the switch: hardware differences, wiring changes, updated AT commands, HTTP and MQTT code, and India-specific SIM and APN settings.
Why Upgrade from SIM800L to A7670?
The SIM800L served the Indian maker community brilliantly for nearly a decade — but 2G networks are in decline. Here are the concrete reasons why the A7670 4G LTE module is worth the upgrade in 2024:
- Jio compatibility: The single most important reason for Indian makers. Jio is India’s largest telecom operator with over 480 million subscribers, but Jio has never supported 2G. SIM800L on Jio simply does not register. The A7670 supports Jio 4G natively.
- 10x faster data speeds: SIM800L GPRS delivers 42–85 kbps. The A7670 Cat-1 LTE delivers up to 10Mbps downlink and 5Mbps uplink. This matters for projects that upload images, audio clips, or large data payloads.
- Future-proof: TRAI (Telecom Regulatory Authority of India) has encouraged operators to wind down 2G infrastructure. Airtel has already shut down 2G in several circles. 4G will remain operational for at least the next decade.
- VoLTE support: The A7670 supports voice calls over LTE (VoLTE), making it suitable for IoT devices that need to make or receive calls on 4G-only networks.
- Same AT command base: SIMCOM designed the A7670 to be backward-compatible with most SIM7xxx/SIM800 AT commands. Migrating existing code requires only minor changes.
- GPS/GNSS option: The A7670G variant adds GNSS support (GPS+BeiDou+GLONASS), allowing a single module to handle both 4G connectivity and GPS tracking — replacing the two-module combination previously needed with SIM800L + NEO-6M.
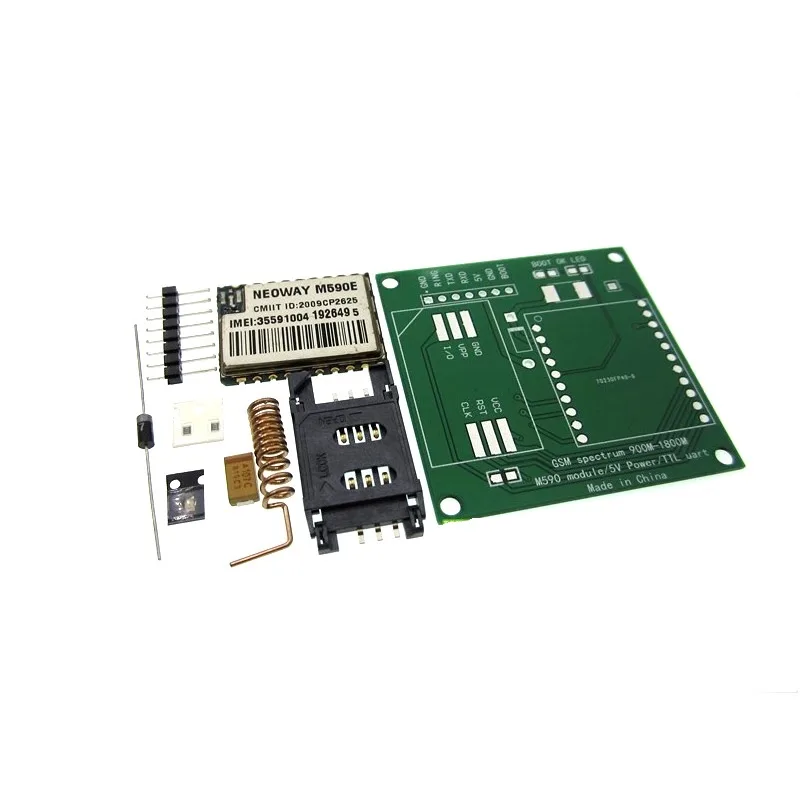
DIY GSM/GPRS M590E Module Kit
If you are not ready to move to 4G yet, the M590E is a compact alternative to SIM800L for 2G GPRS projects. Great for learning GSM AT commands before upgrading to the A7670 LTE ecosystem. Works on Airtel, Vi, and BSNL 2G networks.
A7670 Series Specifications and Variants
SIMCOM offers several variants of the A7670 — choose based on your specific needs:
| Variant | Bands | GNSS | Best For India |
|---|---|---|---|
| A7670C | LTE B1/B3/B5/B8/B41 + GSM | No | Data-only IoT |
| A7670E | LTE B1/B3/B5/B8/B28/B40/B41 + GSM | No | Multi-band, better coverage |
| A7670G | Same as A7670E | Yes (GPS+BeiDou+GLONASS) | Vehicle tracker, asset tracking |
| A7670SA | LTE B1/B3/B5/B8/B40/B41 | No | India/South Asia specific bands |
For most Indian projects, the A7670E is the best all-round choice because it covers all major Indian LTE bands: B3 (1800MHz, used by Airtel and Vi), B5 (850MHz, used by Jio in many areas), B8 (900MHz, used by Vi and Airtel), B40 (2300MHz, used by Jio and Airtel), and B41 (2500MHz, used by Jio TDD). If you need GPS tracking, get the A7670G.
Hardware Differences: Wiring and Power Requirements
The A7670 breakout boards look similar to SIM800L boards at first glance, but there are important differences in power and interface requirements:
Power supply:
- A7670 module VCC: 3.3V to 4.2V (same as SIM800L)
- Peak current during LTE transmission: up to 2A (similar to SIM800L)
- Add a 470µF–1000µF capacitor across VCC/GND to handle current spikes
- A 3.7V LiPo + DC-DC step-down to 4.0V is the most reliable power supply approach
UART interface:
- A7670 TX/RX: 1.8V logic level on the raw module (important: most breakout boards include level shifters to 3.3V)
- Verify your specific breakout board’s logic level before connecting to Arduino (5V) or ESP32 (3.3V)
- Default baud rate: 115200 (higher than SIM800L’s typical 9600 — update your SoftwareSerial or HardwareSerial configuration)
SIM card:
- A7670 uses a nano SIM (4FF) card — smaller than the micro SIM used by SIM800L modules
- If you were using a micro SIM with SIM800L, you will need a nano SIM adapter or get a new nano SIM from your carrier
Antenna connector:
- LTE antenna: IPEX/U.FL connector (same type as SIM800L for GSM antenna)
- For A7670G: separate IPEX connector for GNSS antenna
- Do NOT use a 2G GSM antenna with the A7670 for LTE bands — get a proper 4G LTE antenna that covers 700MHz–2600MHz

15cm 3DBI GSM/GPRS/3G PCB Antenna with IPEX Connector
A flexible PCB antenna compatible with GSM and 3G bands. While a dedicated multi-band 4G LTE antenna is recommended for A7670 LTE projects, this IPEX antenna provides basic 2G/3G fallback coverage when the A7670 operates in legacy mode or for initial testing.
A7670 AT Commands: What Changed from SIM800L
The A7670 uses a superset of the 3GPP AT command standard. Most SIM800L AT commands still work, but the data connection commands are different because the A7670 uses the more modern TCP/IP stack with AT+CGDCONT and AT+CGACT for PDP context management instead of the older SAPBR bearer commands.
Basic setup and network check (same as SIM800L):
AT                    ; Basic ping — OK
AT+CSQ                ; Signal quality (0-31; LTE typically shows 25-31)
AT+CREG?              ; Network registration
AT+COPS?              ; Network operator (should show Jio/Airtel/Vi and LTE)
AT+CGREG?            ; GPRS/LTE registration (0,1 = registered home)
LTE data connection (A7670 — different from SIM800L):
; Configure PDP context (instead of AT+SAPBR on SIM800L)
AT+CGDCONT=1,"IP","airtelgprs.com"   ; Set APN
AT+CGACT=1,1                          ; Activate PDP context
AT+CGPADDR=1                          ; Check assigned IP address

; HTTP client (uses AT+HTTPINIT same as SIM800L)
AT+HTTPINIT
AT+HTTPPARA="CID",1
AT+HTTPPARA="URL","http://your-server.com/data?value=123"
AT+HTTPACTION=0        ; 0=GET, 1=POST
; Wait for +HTTPACTION response
AT+HTTPREAD
AT+HTTPTERM
Key differences summary:
- Use
AT+CGDCONT+AT+CGACTinstead ofAT+SAPBRfor data connection - Default baud rate is 115200 (not 9600) — update your Serial.begin()
- The A7670 responds to
AT+NETOPENandAT+IPOPENfor raw TCP/UDP socket connections - MQTT is supported natively via
AT+CMQTTSTARTcommands (see next section)
HTTP GET and POST Code for Arduino and ESP32
Here is a complete Arduino sketch for A7670 HTTP communication. This example uses HardwareSerial on an Arduino Mega (Serial1) for more reliable communication at 115200 baud:
#include <Arduino.h>

// Arduino Mega: use Serial1 (pins 18 TX, 19 RX)
// Arduino Uno: use SoftwareSerial — but 115200 baud may cause issues
#define A7670 Serial1

void sendAT(const char* cmd, int waitMs = 1000) {
  A7670.println(cmd);
  delay(waitMs);
  while (A7670.available()) Serial.write(A7670.read());
}

void connectLTE() {
  sendAT("AT");
  sendAT("ATE0");  // Disable echo
  sendAT("AT+CGDCONT=1,"IP","airtelgprs.com""); // Change APN for your carrier
  sendAT("AT+CGACT=1,1", 5000); // Activate PDP - takes a few seconds
  sendAT("AT+CGPADDR=1"); // Verify IP assigned
}

void httpGet(String url) {
  sendAT("AT+HTTPINIT");
  sendAT("AT+HTTPPARA="CID",1");
  String urlCmd = "AT+HTTPPARA="URL","" + url + """;
  A7670.println(urlCmd); delay(1000);
  sendAT("AT+HTTPACTION=0", 5000); // GET request
  sendAT("AT+HTTPREAD");
  sendAT("AT+HTTPTERM");
}

void httpPost(String url, String data) {
  sendAT("AT+HTTPINIT");
  sendAT("AT+HTTPPARA="CID",1");
  A7670.println("AT+HTTPPARA="URL","" + url + """); delay(500);
  sendAT("AT+HTTPPARA="CONTENT","application/json"");
  A7670.print("AT+HTTPDATA="); A7670.print(data.length()); A7670.println(",10000");
  delay(2000); // Wait for DOWNLOAD prompt
  A7670.println(data); delay(2000);
  sendAT("AT+HTTPACTION=1", 5000); // POST
  sendAT("AT+HTTPREAD");
  sendAT("AT+HTTPTERM");
}

void setup() {
  Serial.begin(115200);  // Debug serial
  A7670.begin(115200);   // A7670 module
  delay(3000);           // Wait for module to boot
  connectLTE();
}

void loop() {
  // Example: HTTP GET to ThingSpeak
  httpGet("http://api.thingspeak.com/update?api_key=YOURKEY&field1=25.5");
  delay(20000); // ThingSpeak free tier: 15s minimum between updates
}
MQTT over 4G LTE with A7670
One of the A7670’s most powerful features for IoT projects is its built-in MQTT client — available directly via AT commands without any external library. This is far more efficient than implementing MQTT over a raw TCP socket as you would need to do with SIM800L.
; Start MQTT service
AT+CMQTTSTART

; Acquire a client (client ID: "zbotic-device-001")
AT+CMQTTACCQ=0,"zbotic-device-001"

; Connect to broker (HiveMQ public broker for testing)
AT+CMQTTCONNECT=0,"tcp://broker.hivemq.com:1883",60,1

; Publish a message to topic "zbotic/sensors/temp"
AT+CMQTTPUB=0,"zbotic/sensors/temp",1,120
; Module returns >, then type your payload:
{"temperature":28.5,"humidity":65,"device":"A7670"}
; Press CTRL+Z (send 0x1A) to send

; Subscribe to a topic (receive commands from server)
AT+CMQTTSUB=0,"zbotic/commands",1

; Disconnect and release
AT+CMQTTDISC=0
AT+CMQTTREL=0
AT+CMQTTSTOP
For production IoT devices, use an authenticated MQTT broker. HiveMQ Cloud, AWS IoT Core, and ThingsBoard all support MQTT over TLS (MQTTS on port 8883). The A7670 supports TLS 1.2 natively via AT+CSSLCFG commands for secure MQTT.
Indian SIM Card and APN Settings for A7670
Here are the APN settings for all major Indian carriers to use in the AT+CGDCONT command:
| Operator | APN | Username | Password |
|---|---|---|---|
| Jio 4G | jionet | (none) | (none) |
| Airtel 4G | airtelgprs.com | (none) | (none) |
| Vi (Vodafone/Idea) | www | (none) | (none) |
| BSNL 4G | bsnlnet | (none) | (none) |
Important Jio note: Jio IoT SIMs (available for bulk IoT deployments) use the APN jioiot.com instead of jionet. If you are using a regular Jio retail SIM, jionet is correct. Jio 4G with the A7670 consistently registers on Band 40 (2300MHz) or Band 5 (850MHz) in most Indian cities.
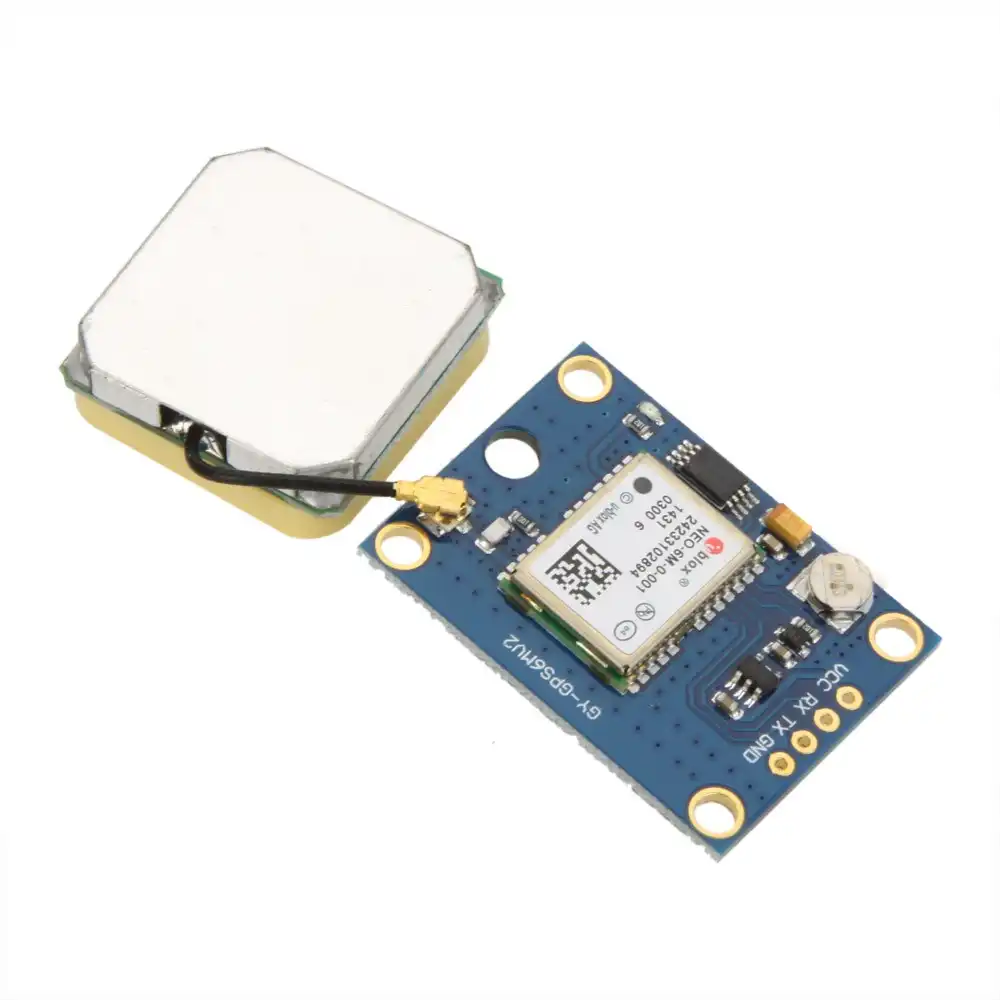
NEO-6M GPS Module with EPROM
Pair with the A7670C or A7670E (non-GNSS variant) to build a complete 4G GPS tracker. The NEO-6M provides GPS coordinates via UART, and the A7670 transmits them to your server over LTE — at 10Mbps speeds, no more waiting for GPRS to connect.

0.96 Inch I2C OLED Display (White, SSD1306)
Add an OLED display to your A7670 LTE project to show network band, signal strength, IP address, and last successful data upload time. Essential for field-deployed IoT devices where you cannot access a serial monitor for debugging.

1 Channel 12V 30A Relay Module with Optocoupler
Build a remotely controlled switch using MQTT + A7670 4G. Subscribe to an MQTT topic, and when a command arrives from your phone (from anywhere in India over 4G), trigger this relay to control motors, lights, pumps or any AC load up to 30A.
Frequently Asked Questions
Is the A7670 a drop-in replacement for SIM800L?
Not quite. The power requirements are similar (3.7–4.2V, 2A peak), so your existing power supply should work. However, you need to: (1) change the baud rate from 9600 to 115200, (2) update data connection AT commands from AT+SAPBR to AT+CGDCONT/CGACT, (3) use a nano SIM instead of micro SIM, and (4) get a 4G LTE antenna instead of a 2G GSM antenna. The upgrade is straightforward but requires some code changes — it is not a simple physical swap.
Does A7670 work with Arduino Uno?
It works but is not ideal. The Arduino Uno has only one hardware serial port (used for USB programming), so you need SoftwareSerial. However, SoftwareSerial on Arduino Uno is unreliable at 115200 baud. Use a lower baud rate: send AT+IPR=9600 to the A7670 to permanently set it to 9600 baud, then save with AT&W. A better option is an Arduino Mega (which has three extra hardware serial ports) or an ESP32 (which has three configurable UARTs).
Can A7670 send SMS as well as data?
Yes. The A7670 supports SMS in both text and PDU mode using the standard AT+CMGF, AT+CMGS commands — identical to SIM800L. Sending an SMS alert when a sensor threshold is exceeded is a common and useful pattern, even on a 4G module.
What is the difference between A7670 and SIM7670?
The SIM7670 is SIMCOM’s newer Cat-1bis module. It removes the 2G/GSM fallback but adds Cat-1bis (a simplified variant of Cat-1 LTE) while being smaller and cheaper. For Indian projects, the A7670 with GSM fallback is generally preferred because BSNL and some rural areas still use 2G. The SIM7670 is better for pure 4G deployments where GSM fallback is not needed.
How do I check which LTE band the A7670 is connected on?
Use the command AT+CPSI? (get system information). The response will show the network type (LTE), band (e.g., LTE BAND 40), channel (EARFCN), and signal strength values (RSRP, RSRQ). For example: +CPSI: LTE,Online,404-20,0x0001,11xxx,xxx,EUTRAN-BAND40,38400,-xx,-xx,xx. Band 40 = 2300MHz (TDD), Band 3 = 1800MHz (FDD), Band 5 = 850MHz (FDD).
Ready to Go 4G with Your IoT Projects?
Zbotic stocks 4G LTE modules, GPS modules, OLED displays, relay modules, and all the components you need to upgrade your IoT projects from 2G to 4G LTE. Fast shipping across India.


Add comment