
Building an ESP32 mesh network WiFi painless mesh setup is one of the most exciting things you can do with the ESP32 platform. Instead of connecting every node to a central router, a mesh network allows ESP32 boards to talk directly to each other, relaying messages across the entire network. This is perfect for large Indian homes, warehouses, farms, or industrial floors where a single WiFi access point cannot reach every corner.
What is an ESP32 Mesh Network?
A traditional WiFi network relies on a single central router. Every device must be within range of that router to communicate. An ESP32 mesh network breaks this limitation by allowing every ESP32 node to act as both a client and an access point simultaneously. Data hops from node to node until it reaches its destination, dramatically extending the range of your wireless network.
Think of it like a chain of walkie-talkies — each one can relay a message to the next one in line, so the message travels far beyond what a single radio could achieve. In a mesh network, if one node fails, the network automatically reroutes messages through another path. This self-healing property makes mesh networks extremely reliable for mission-critical IoT deployments.
Common real-world applications include smart agriculture in large Indian farms, industrial sensor networks in factories, home automation across large bungalows, and emergency communication systems. The ESP32, with its dual-core processor, built-in WiFi, and Bluetooth, is perfectly suited for mesh networking at a fraction of the cost of commercial mesh systems.
Introduction to Painless Mesh Library
Painless Mesh is an open-source Arduino library that makes building a mesh network with ESP32 (and ESP8266) surprisingly straightforward. Without this library, implementing a mesh protocol from scratch would require deep networking knowledge and months of development time. Painless Mesh abstracts all the complex handshaking, routing, and message forwarding behind a clean API.
Key features of Painless Mesh include:
- Automatic topology management: Nodes discover each other and build the network automatically when powered on.
- Self-healing routing: If a node drops out, the library finds alternative paths within seconds.
- Broadcast and unicast messaging: Send messages to one specific node or to all nodes at once.
- No external server required: The entire mesh operates independently without internet access.
- JSON-based messaging: Messages are plain JSON strings, making integration easy.
- Compatible with both ESP32 and ESP8266: Mix and match hardware as needed.
Painless Mesh uses the ESPNOW protocol under the hood combined with TCP/IP WiFi connections, giving it excellent range and reliability. The library is actively maintained and has a large community, which means plenty of examples and support forums are available.
Hardware Needed
To build an ESP32 mesh network, you need at least 2-3 ESP32 development boards (more nodes means better coverage). For this tutorial, we recommend using 3 nodes to demonstrate the mesh concept properly.

Ai Thinker NodeMCU-32S-ESP32 Development Board – IPEX Version
A reliable, full-featured ESP32 development board with external antenna support for maximum WiFi range — ideal for mesh network nodes.

2 x 18650 Lithium Battery Shield for Arduino, ESP32, ESP8266
Power your mesh nodes independently with this dual 18650 battery shield, enabling truly wireless deployment across your home or field.

DHT11 Digital Relative Humidity and Temperature Sensor Module
Add real sensor data to your mesh network — each node can read temperature and humidity and broadcast it across the entire mesh.
You will also need USB data cables for programming, a laptop with Arduino IDE installed, and optionally some sensors (DHT11, BMP280) to give each mesh node something meaningful to report.
Installation and Setup
Before writing any code, you need to set up your development environment correctly. Follow these steps:
Step 1: Install Arduino IDE and ESP32 Board Support
Download and install Arduino IDE 2.x from arduino.cc. Then open File → Preferences and add this URL to the Additional Board Manager URLs field:
https://raw.githubusercontent.com/espressif/arduino-esp32/gh-pages/package_esp32_index.jsonGo to Tools → Board → Board Manager, search for “esp32” and install the Espressif Systems esp32 package.
Step 2: Install Painless Mesh Library
Open Sketch → Include Library → Manage Libraries. Search for “painlessMesh” and install it. The library manager will also prompt you to install its dependencies: ArduinoJson, TaskScheduler, and ESPAsyncTCP. Install all of them.
Step 3: Configure Board Settings
Select Tools → Board → ESP32 Arduino → NodeMCU-32S (or whichever board you have). Set the upload speed to 115200 and select the correct COM port.
Building Your First Mesh Network
With the environment ready, let’s write the code. All nodes in a Painless Mesh network share the same MESH_SSID and MESH_PASSWORD. They discover each other automatically — you do not need to configure which node connects to which.
#include <painlessMesh.h>

#define MESH_PREFIX   "ZboticMesh"
#define MESH_PASSWORD "meshpass123"
#define MESH_PORT     5555

Scheduler userScheduler;
painlessMesh mesh;

void sendMessage();
Task taskSendMessage(TASK_SECOND * 2, TASK_FOREVER, &sendMessage);

void sendMessage() {
  String msg = "Hello from node: ";
  msg += mesh.getNodeId();
  mesh.sendBroadcast(msg);
}

void receivedCallback(uint32_t from, String &msg) {
  Serial.printf("Received from %u: %sn", from, msg.c_str());
}

void newConnectionCallback(uint32_t nodeId) {
  Serial.printf("New connection, nodeId = %un", nodeId);
}

void changedConnectionCallback() {
  Serial.println("Connections changed");
}

void setup() {
  Serial.begin(115200);
  mesh.setDebugMsgTypes(ERROR | STARTUP | CONNECTION);
  mesh.init(MESH_PREFIX, MESH_PASSWORD, &userScheduler, MESH_PORT);
  mesh.onReceive(&receivedCallback);
  mesh.onNewConnection(&newConnectionCallback);
  mesh.onChangedConnections(&changedConnectionCallback);
  userScheduler.addTask(taskSendMessage);
  taskSendMessage.enable();
}

void loop() {
  mesh.update();
  userScheduler.execute();
}
Upload this exact same sketch to all three ESP32 boards — you do not need different code for different nodes. Each board will automatically negotiate its role in the mesh. Open the Serial Monitor on any one of the boards and you will see messages from all other nodes appearing every 2 seconds.
Adding Sensor Data to Each Node
To make the mesh useful, integrate a DHT11 sensor on each node. Add these changes to the sketch:
#include <DHT.h>
#define DHTPIN 4
#define DHTTYPE DHT11
DHT dht(DHTPIN, DHTTYPE);

void sendMessage() {
  float temp = dht.readTemperature();
  float hum = dht.readHumidity();
  String msg = "{"node":" + String(mesh.getNodeId());
  msg += ","temp":" + String(temp);
  msg += ","hum":" + String(hum) + "}";
  mesh.sendBroadcast(msg);
}
Now every node broadcasts a JSON payload with its own temperature and humidity. Any node with internet access (connected to a home router) can forward this data to a cloud service like ThingSpeak or Blynk.
Advanced Use Cases for Indian Applications
The ESP32 mesh network is not just a toy project — it has serious real-world potential, especially in the Indian context where infrastructure challenges make centralized WiFi impractical.
Smart Agriculture
Indian farmers managing large fields can deploy a mesh network of ESP32 nodes with soil moisture sensors, temperature sensors, and water flow meters. One node near the farmhouse with internet access acts as the gateway, forwarding all sensor data to a cloud dashboard. The farmer can monitor every corner of a 5-acre field from a single mobile app.
Industrial Floor Monitoring
In manufacturing plants across cities like Pune, Surat, or Coimbatore, mesh networks can monitor machine temperatures, vibration levels, and power consumption without needing to run Ethernet cables. Nodes can be placed on each machine, and any node near the control room serves as the gateway.
Smart Homes and Apartments
In a large Indian bungalow or a multi-floor apartment, WiFi dead zones are common. A mesh network of ESP32 nodes can extend automation control to garages, terraces, utility rooms, and basements without additional routers.
Emergency Communication
In areas prone to floods or natural disasters (common in coastal India), a pre-deployed ESP32 mesh network continues to function even when the internet is down. Nodes relay status messages about water levels, power outages, or emergency alerts across the network without any infrastructure dependency.

BMP280 Barometric Pressure and Altitude Sensor I2C/SPI Module
Attach a BMP280 to mesh nodes deployed in agricultural fields to monitor atmospheric pressure and altitude alongside temperature data.
Troubleshooting Tips
Building a mesh network can throw up some challenges. Here are the most common problems and how to fix them:
- Nodes not connecting to each other: Ensure all nodes use exactly the same MESH_PREFIX and MESH_PASSWORD (case-sensitive). Verify that nodes are within WiFi range of at least one other node.
- Messages not being received: Check that the painlessMesh library version is the same on all nodes. Mismatched versions can cause incompatibility.
- Frequent disconnections: Reduce the message broadcast frequency. Sending too many messages too quickly congests the mesh. Add a delay or use TaskScheduler with a longer interval.
- Node not appearing in the mesh topology: Power-cycle the node. Sometimes a hard reset is needed for the node to re-announce itself to its neighbours.
- Memory issues on ESP32: Painless Mesh is memory-intensive. If you’re running out of heap, reduce the JSON payload size or limit the number of simultaneous connections per node.
- Gateway node losing internet connectivity: The gateway node uses two WiFi connections simultaneously — the mesh network and the home router. Ensure your home router signal is strong at the gateway node’s location.
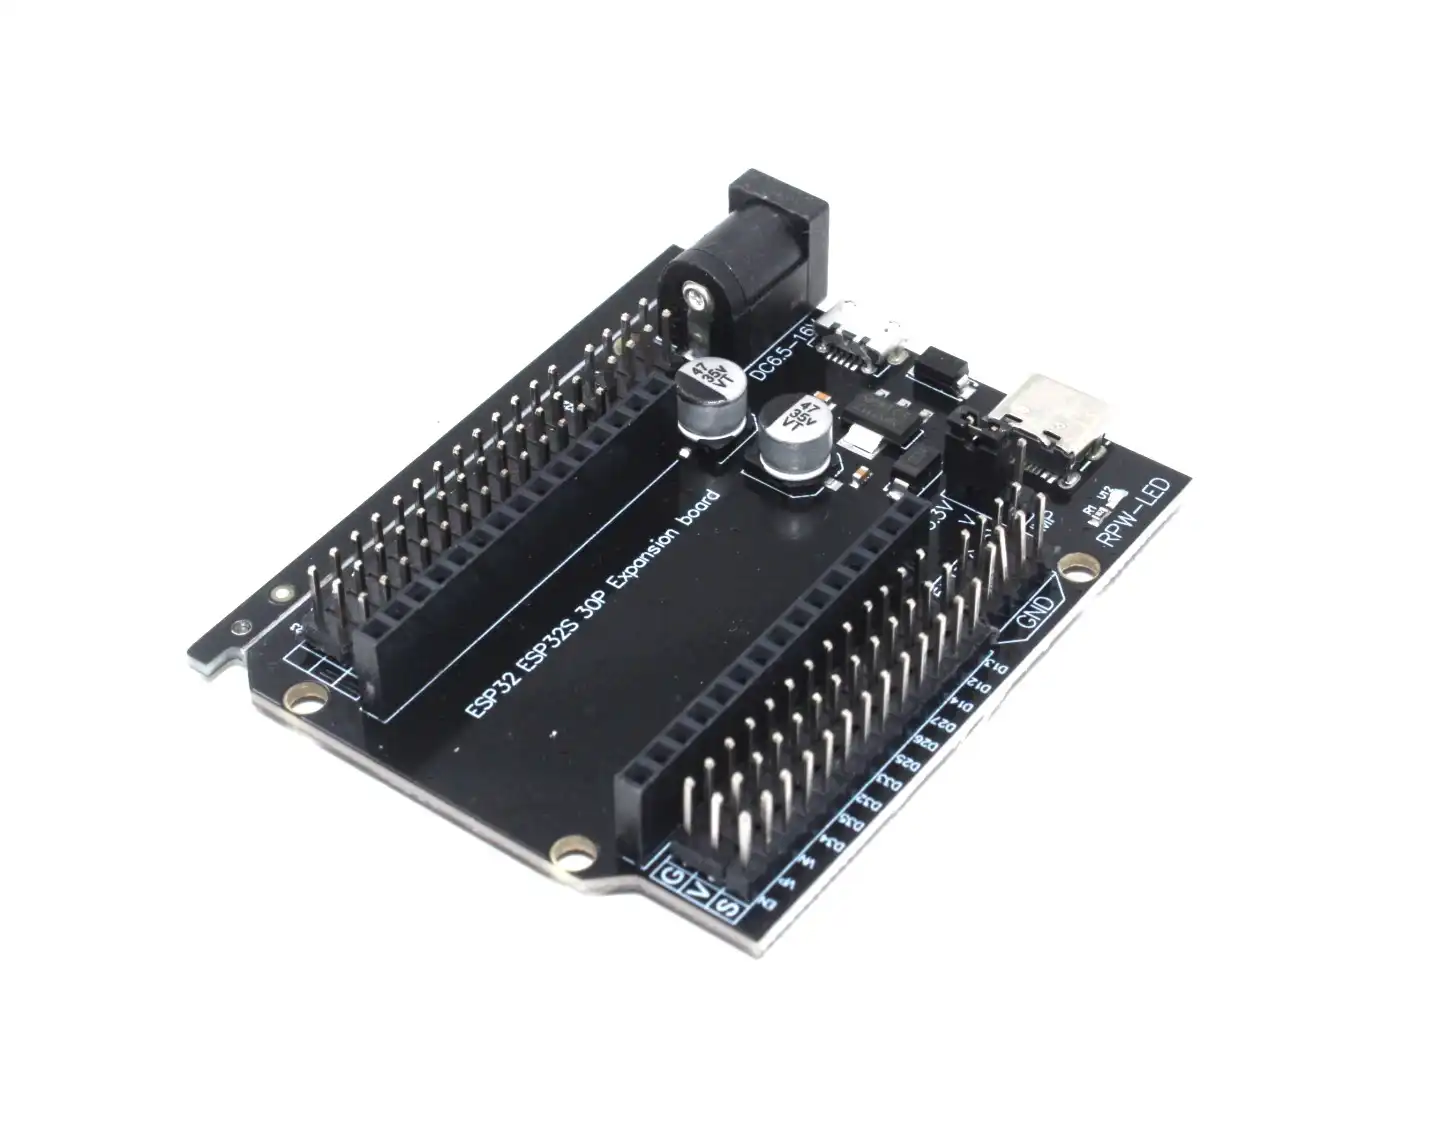
30Pin ESP32 Expansion Board with Type-C USB and Micro USB
Easily connect multiple sensors to each mesh node using this expansion board — it provides a clean breakout for all GPIO pins.
Frequently Asked Questions
How many nodes can Painless Mesh support?
Painless Mesh can theoretically support hundreds of nodes, but practical deployments work best with up to 20-30 nodes per mesh. Beyond that, message latency increases significantly and memory constraints on the ESP32 can become a problem. For larger networks, consider breaking the deployment into multiple independent mesh clusters connected by gateway nodes.
Can I mix ESP32 and ESP8266 nodes in the same mesh?
Yes, Painless Mesh supports both ESP32 and ESP8266 in the same network. However, ESP8266 has a single-core processor and less RAM, so it may be slower in forwarding messages. It’s best to use ESP32 boards as the backbone nodes and ESP8266 boards as leaf nodes that only send data without relaying.
Does the ESP32 mesh work without internet?
Absolutely. The entire Painless Mesh network operates without any internet connection. Nodes discover each other, route messages, and exchange data completely offline. You only need internet access if you want to forward data from the mesh to a cloud platform.
How far apart can mesh nodes be placed?
Standard ESP32 boards with PCB antennas can communicate over 50-100 metres in open air and 10-20 metres indoors through walls. Using boards with external IPEX antennas can extend this to 200+ metres outdoors. For a large farm or warehouse, place nodes every 30-50 metres to ensure reliable connectivity.
Is Painless Mesh secure?
Painless Mesh uses WPA2 encryption on the WiFi connections between nodes, so the wireless transmissions are encrypted. However, the messages themselves are plain JSON strings — add application-level encryption if your data is sensitive.
Ready to Build Your ESP32 Mesh Network?
Get all the ESP32 boards, sensors, and accessories you need from Zbotic — India’s trusted electronics components store with fast delivery across all major cities.


Add comment