
ESP32 HTTP Server: Host Webpage on Microcontroller Locally
One of the most exciting capabilities of the ESP32 is its ability to run a fully functional ESP32 HTTP server webpage local network — letting you control relays, read sensors, and monitor data directly from any browser on your local Wi-Fi network without needing the internet or cloud services. In this comprehensive guide, you will learn how to host a webpage on the ESP32 microcontroller, build interactive HTML controls, and serve dynamic sensor data in real time.
Why Run an HTTP Server on ESP32?
The ESP32 is a dual-core 240 MHz microcontroller with built-in Wi-Fi and Bluetooth, making it uniquely capable of running a web server that would require a dedicated Linux board in previous generations of maker projects. Hosting a local HTTP server on the ESP32 offers several compelling advantages:
- No internet dependency: Your IoT device works even during internet outages or in areas with poor connectivity.
- Low latency: Commands reach the device in milliseconds over your local network.
- Privacy: Sensor data never leaves your premises.
- Cost-effective: No cloud subscription fees.
- Universal interface: Any device with a browser — phone, tablet, laptop — can control and monitor your project.
This approach is widely used in India for home automation, workshop monitoring, agricultural sensor dashboards, and industrial prototyping.
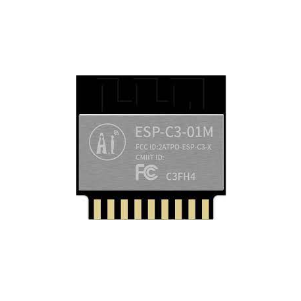
Ai Thinker ESP32-C3-01M Wi-Fi + BLE Module
A compact, affordable ESP32 variant perfect for building local HTTP servers. RISC-V core, 4MB flash, and robust Wi-Fi make it ideal for IoT dashboards.
Setting Up Arduino IDE for ESP32
Before coding, install the ESP32 board support in Arduino IDE:
- Open Arduino IDE → File → Preferences
- Add this URL to Additional Board Manager URLs:
https://raw.githubusercontent.com/espressif/arduino-esp32/gh-pages/package_esp32_index.json - Go to Tools → Board → Boards Manager, search esp32, install the package by Espressif Systems
- Select your board: Tools → Board → ESP32 Arduino → ESP32 Dev Module
The WebServer.h library is bundled with the ESP32 Arduino core — no separate installation needed.
Simple HTTP Server Example
Let us start with the most basic ESP32 HTTP server that serves a “Hello World” page:
#include <WiFi.h>
#include <WebServer.h>

const char* ssid = "Your_WiFi_SSID";
const char* password = "Your_WiFi_Password";

WebServer server(80);

void handleRoot() {
  server.send(200, "text/html",
    "<html><body>"
    "<h1>Hello from ESP32!</h1>"
    "<p>Your ESP32 HTTP server is working.</p>"
    "</body></html>"
  );
}

void handleNotFound() {
  server.send(404, "text/plain", "404: Page not found");
}

void setup() {
  Serial.begin(115200);
  WiFi.begin(ssid, password);

  Serial.print("Connecting to WiFi");
  while (WiFi.status() != WL_CONNECTED) {
    delay(500);
    Serial.print(".");
  }
  Serial.println();
  Serial.print("Connected! IP address: ");
  Serial.println(WiFi.localIP());

  server.on("/", handleRoot);
  server.onNotFound(handleNotFound);
  server.begin();
  Serial.println("HTTP server started");
}

void loop() {
  server.handleClient();
}
After uploading, open Serial Monitor at 115200 baud. The ESP32 will print its local IP address (e.g., 192.168.1.105). Type this into any browser on the same Wi-Fi network and you will see your webpage.
Serving a Full HTML Webpage
Instead of cramming HTML into a string, we can store it in PROGMEM (flash memory) to save RAM. Here is an example with a styled dashboard page:
const char INDEX_HTML[] PROGMEM = R"(
<!DOCTYPE html>
<html lang="en">
<head>
  <meta charset="UTF-8">
  <meta name="viewport" content="width=device-width, initial-scale=1.0">
  <title>ESP32 Dashboard</title>
  <style>
    body { font-family: Arial, sans-serif; background: #f0f0f0; text-align: center; }
    .card { background: white; border-radius: 12px; padding: 20px; margin: 20px auto;
            max-width: 400px; box-shadow: 0 2px 8px rgba(0,0,0,0.15); }
    h1 { color: #ff6b00; }
    .value { font-size: 2em; font-weight: bold; color: #333; }
    button { background: #ff6b00; color: white; border: none; padding: 10px 30px;
             border-radius: 6px; font-size: 16px; cursor: pointer; margin: 5px; }
    button:hover { background: #e05a00; }
  </style>
</head>
<body>
  <div class="card">
    <h1>ESP32 Local Dashboard</h1>
    <p>Temperature: <span id="temp" class="value">--</span> °C</p>
    <p>Humidity: <span id="hum" class="value">--</span> %</p>
    <button onclick="toggleRelay(1)">Toggle Relay 1</button>
    <button onclick="toggleRelay(2)">Toggle Relay 2</button>
  </div>
  <script>
    function fetchData() {
      fetch('/data').then(r => r.json()).then(d => {
        document.getElementById('temp').innerText = d.temperature;
        document.getElementById('hum').innerText = d.humidity;
      });
    }
    function toggleRelay(n) {
      fetch('/relay?id=' + n);
    }
    setInterval(fetchData, 2000);
    fetchData();
  </script>
</body>
</html>
)";

void handleRoot() {
  server.send_P(200, "text/html", INDEX_HTML);
}
Displaying Live Sensor Data with AJAX
The real power comes from serving JSON data from separate endpoints and fetching them via JavaScript (AJAX). This keeps the HTML page static while only the data updates:
// Add to your sketch:
#include <ArduinoJson.h>

float readTemperature() { return 28.5; }  // Replace with real DHT/DS18B20 reading
float readHumidity()    { return 62.3; }  // Replace with real sensor reading

void handleData() {
  StaticJsonDocument<128> doc;
  doc["temperature"] = readTemperature();
  doc["humidity"]    = readHumidity();
  doc["uptime"]      = millis() / 1000;

  String json;
  serializeJson(doc, json);
  server.send(200, "application/json", json);
}

// In setup():
server.on("/data", handleData);
Install the ArduinoJson library via Library Manager (search: ArduinoJson by Benoit Blanchon). The JavaScript in your HTML page calls /data every 2 seconds and updates the display without reloading the page.
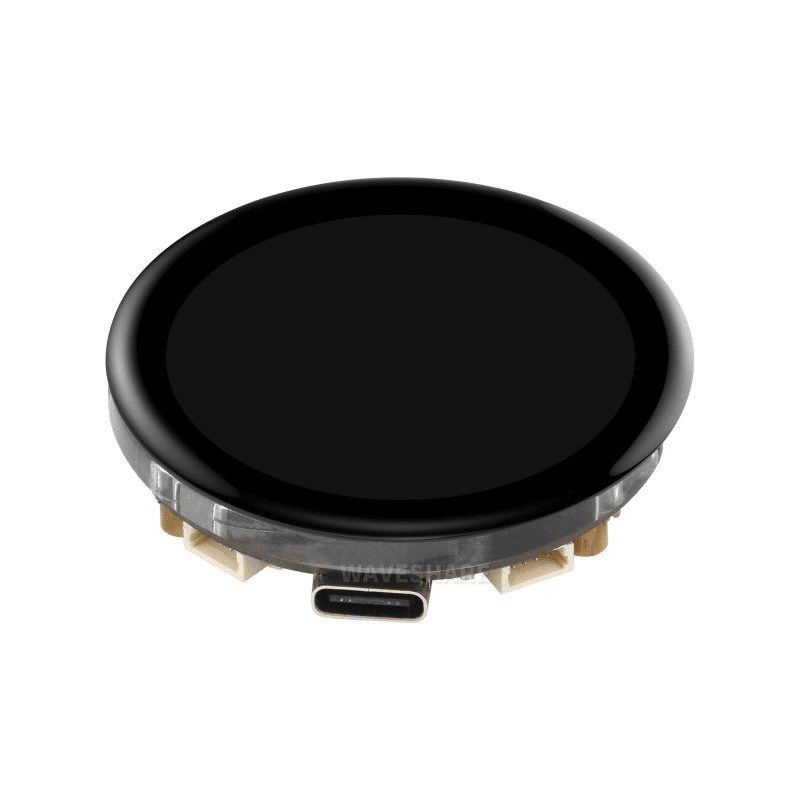
Waveshare ESP32-S3 1.43inch AMOLED Display Board
Combine your local HTTP server with a stunning onboard AMOLED display to show both local UI and serve a web dashboard simultaneously over Wi-Fi.
Wireless Relay Control via Webpage
One of the most practical ESP32 HTTP server applications is controlling relays (and thus any AC or DC load) from a browser. Here is how to handle relay toggle requests:
const int RELAY1_PIN = 26;
const int RELAY2_PIN = 27;
bool relay1State = false;
bool relay2State = false;

void handleRelay() {
  if (server.hasArg("id")) {
    int relayID = server.arg("id").toInt();
    if (relayID == 1) {
      relay1State = !relay1State;
      digitalWrite(RELAY1_PIN, relay1State ? HIGH : LOW);
      server.send(200, "text/plain", "Relay 1: " + String(relay1State ? "ON" : "OFF"));
    } else if (relayID == 2) {
      relay2State = !relay2State;
      digitalWrite(RELAY2_PIN, relay2State ? HIGH : LOW);
      server.send(200, "text/plain", "Relay 2: " + String(relay2State ? "ON" : "OFF"));
    }
  } else {
    server.send(400, "text/plain", "Missing relay ID");
  }
}

// In setup():
pinMode(RELAY1_PIN, OUTPUT);
pinMode(RELAY2_PIN, OUTPUT);
server.on("/relay", handleRelay);
1 Channel 12V 30A Relay Module with Optocoupler
Pair this industrial-grade 30A relay with your ESP32 HTTP server to control high-current loads like motors, heaters, and pumps via your local web dashboard.
ESP32 as Access Point (No Router Needed)
You can make the ESP32 create its own Wi-Fi hotspot, allowing devices to connect directly — useful in the field where no router is available:
// Replace WiFi.begin() with:
WiFi.softAP("ESP32-Dashboard", "zbotic123");
IPAddress apIP = WiFi.softAPIP();
Serial.print("Access Point IP: ");
Serial.println(apIP); // Usually 192.168.4.1
Devices connect to the ESP32’s Wi-Fi hotspot “ESP32-Dashboard” with password “zbotic123”, then open 192.168.4.1 in their browser to access the local dashboard. No router, no internet required — perfect for field deployments.
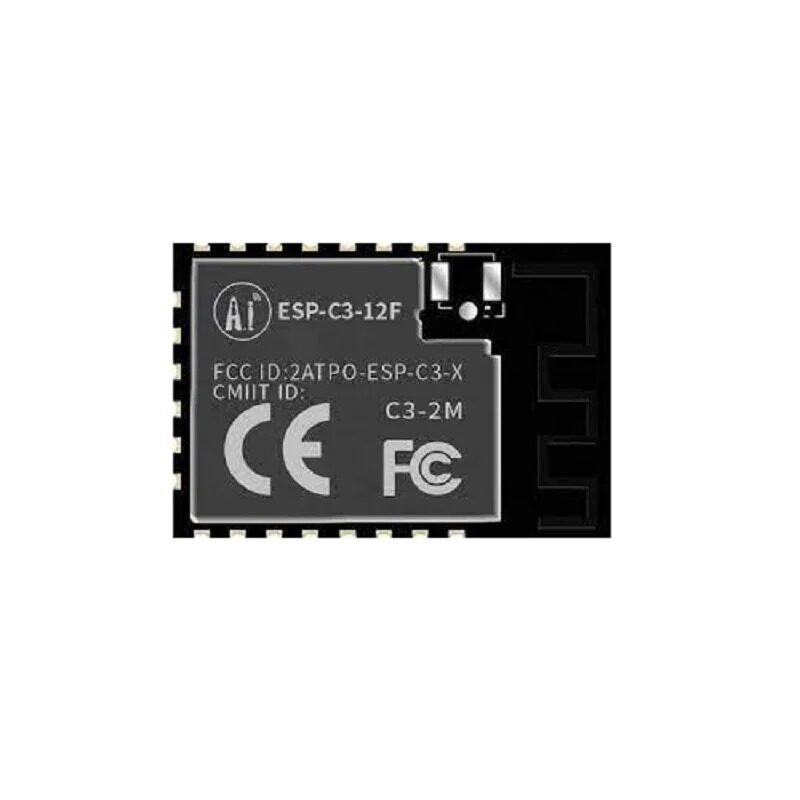
Ai-Thinker ESP32-C3-12F Wi-Fi + BLE Module
A powerful ESP32 module with 4MB flash ideal for HTTP server projects. Compact form factor fits easily into enclosures for production-ready builds.
Frequently Asked Questions
Can I host multiple pages on the ESP32 HTTP server?
Yes. Use server.on("/page2", handler2) for each path. You can serve as many routes as your RAM allows. For complex multi-page sites, consider using the ESP32’s SPIFFS or LittleFS filesystem to store HTML/CSS/JS files in flash memory and serve them directly.
How many simultaneous clients can the ESP32 web server handle?
The standard WebServer.h library handles one client at a time (the request queue is processed synchronously in handleClient()). For concurrent connections, use the ESPAsyncWebServer library which is fully asynchronous and can handle multiple simultaneous requests efficiently.
Can I access the ESP32 HTTP server from outside my home network?
Not directly without port forwarding or a tunnelling service. For remote access, use services like ngrok, Tailscale, or set up port forwarding on your router. However, for privacy and simplicity, keeping the server local-only is the recommended approach for most projects.
Is WebSockets supported on the ESP32 local server?
Yes, the ESPAsyncWebServer library includes WebSocket support, enabling real-time push updates from the ESP32 to the browser without polling. This is ideal for live sensor graphs and instant control feedback.
How do I store files (HTML, CSS, images) on the ESP32?
Use the LittleFS filesystem (recommended over SPIFFS for ESP32 Arduino core v2+). Upload files using the Arduino LittleFS Upload plugin or platformIO. Then serve them with server.serveStatic("/", LittleFS, "/");. This allows you to store complete web apps in the 4MB flash chip.
Build Your ESP32 Local Dashboard Today
Zbotic stocks the full range of ESP32 modules, relay boards, displays, and sensors you need to build powerful local web server projects. Browse our ESP32 and wireless module collection with fast delivery across India.


Add comment