
MQTT (MQ Telemetry Transport) is the lightweight messaging protocol that powers the Internet of Things, and combining it with ESP8266 MQTT Node-RED dashboard gives you a professional-grade real-time monitoring system on zero budget. Indian engineering students, makers, and small businesses are increasingly turning to this stack because it is completely free, runs on a ₹150 Wi-Fi module, and produces beautiful, interactive dashboards accessible from any browser. This guide walks you through every step — from installing a local MQTT broker to publishing sensor data from the ESP8266 and visualising it on a live Node-RED dashboard.
Understanding MQTT: Topics, Brokers, and QoS
MQTT is a publish/subscribe protocol designed for constrained devices and unreliable networks — exactly what IoT devices face. Three core concepts:
- Broker: A central server (like Mosquitto) that receives published messages and routes them to subscribers. Think of it as a post office.
- Topics: Hierarchical address strings like
home/room1/temperature. Publishers push data to a topic; subscribers receive data from that topic. - QoS levels:
- QoS 0 — At most once (fire and forget, no acknowledgement)
- QoS 1 — At least once (broker acknowledges receipt)
- QoS 2 — Exactly once (handshake ensures no duplicates)
For most ESP8266 sensor dashboards, QoS 1 is the right choice — reliable delivery without the overhead of QoS 2’s four-way handshake. MQTT over TCP uses port 1883; over TLS it uses 8883.
Why MQTT over HTTP REST (like Firebase)? MQTT uses a persistent TCP connection and has just a 2-byte fixed header overhead, while HTTP adds hundreds of bytes of headers per request. For sensors publishing every 500ms, this difference in bandwidth and battery life is significant.
Setting Up Mosquitto MQTT Broker
Mosquitto is the most widely used open-source MQTT broker. Install it on Windows, Linux, or a Raspberry Pi:
On Ubuntu/Debian/Raspberry Pi:
sudo apt update
sudo apt install mosquitto mosquitto-clients -y
sudo systemctl enable mosquitto
sudo systemctl start mosquitto
On Windows:
Download the Mosquitto installer from mosquitto.org/download and run it. Add C:Program Filesmosquitto to your PATH.
Basic Configuration
Edit /etc/mosquitto/mosquitto.conf (Linux) or mosquitto.conf (Windows) to allow connections from other devices on your network:
listener 1883 0.0.0.0
allow_anonymous true
Restart Mosquitto after editing. Test with the included CLI tools:
# In terminal 1 — subscribe:
mosquitto_sub -h localhost -t "test/topic" -v

# In terminal 2 — publish:
mosquitto_pub -h localhost -t "test/topic" -m "Hello MQTT"
If terminal 1 shows test/topic Hello MQTT, your broker is working correctly.
Installing Node-RED and the Dashboard Plugin
Node-RED is a browser-based visual programming tool built on Node.js. Install it on the same machine as your Mosquitto broker (or a Raspberry Pi):
# Install Node.js (if not already installed)
curl -fsSL https://deb.nodesource.com/setup_18.x | sudo -E bash -
sudo apt-get install -y nodejs

# Install Node-RED globally
sudo npm install -g --unsafe-perm node-red

# Start Node-RED
node-red
Access the Node-RED editor at http://localhost:1880. Install the dashboard plugin:
- Click the hamburger menu (top right) → Manage palette.
- Go to the Install tab and search for
node-red-dashboard. - Click Install. This adds gauge, chart, text, button, and slider nodes.
Your dashboard will be accessible at http://localhost:1880/ui.
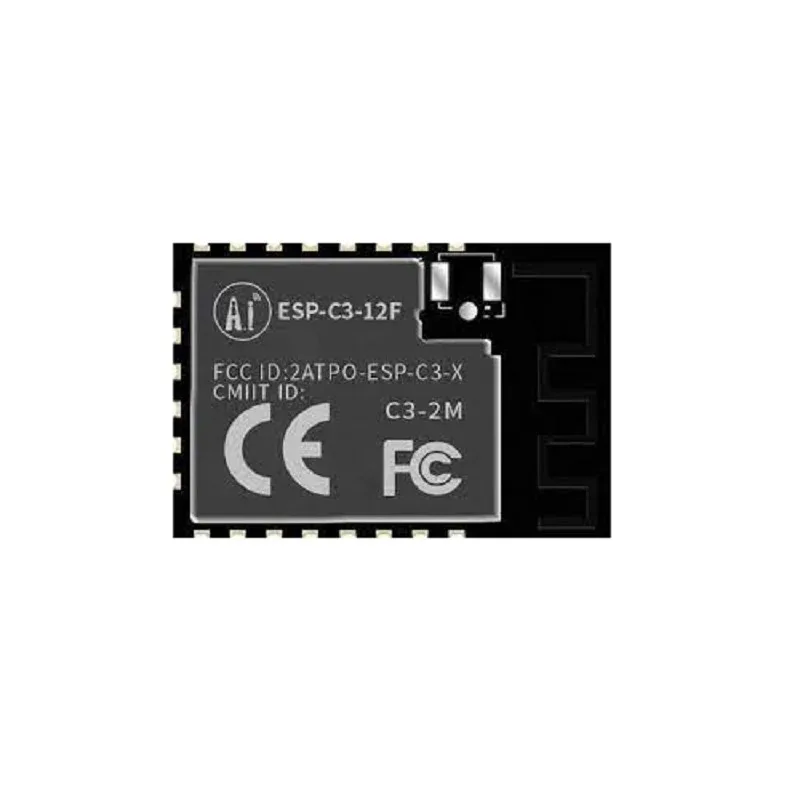
Ai-Thinker ESP32-C3-12F Wi-Fi + BLE Module
An affordable Wi-Fi + BLE module compatible with the ESP8266 MQTT workflow — upgrade to ESP32-C3 for more RAM and better MQTT library support.
ESP8266 Hardware and Sensor Wiring
This tutorial uses a NodeMCU ESP8266 board (most common in India) and a DHT11 sensor. NodeMCU has a built-in USB-to-serial converter, making programming straightforward.
| DHT11 Pin | NodeMCU Pin |
|---|---|
| VCC | 3.3V |
| DATA | D4 (GPIO2) with 10kΩ pull-up to 3.3V |
| GND | GND |
If your DHT11 module already has a built-in pull-up resistor (most breakout boards do), you can connect DATA directly to D4 without an external resistor.
Required libraries in Arduino IDE:
- ESP8266 board package (URL:
http://arduino.esp8266.com/stable/package_esp8266com_index.json) - PubSubClient by Nick O’Leary (MQTT library)
- DHT sensor library by Adafruit
- ArduinoJson by Benoit Blanchon (for structured JSON payloads)

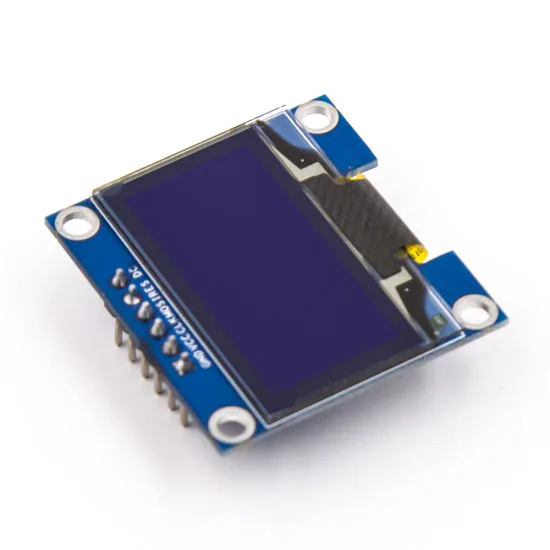
0.96 Inch I2C IIC OLED LCD Module 4pin White SSD1306 Chip
Pair an OLED with your ESP8266 MQTT node to display broker connection status and last sensor values locally alongside the Node-RED dashboard.
Arduino IDE Sketch for ESP8266 MQTT Publisher
This sketch connects the ESP8266 to Wi-Fi and the Mosquitto broker, then publishes temperature and humidity as a JSON payload every 5 seconds:
#include <ESP8266WiFi.h>
#include <PubSubClient.h>
#include <DHT.h>
#include <ArduinoJson.h>

#define WIFI_SSID   "Your_WiFi_SSID"
#define WIFI_PASS   "Your_WiFi_Password"
#define MQTT_SERVER "192.168.1.100"  // Your broker IP
#define MQTT_PORT   1883
#define MQTT_TOPIC  "home/room1/climate"

#define DHTPIN  2   // D4 = GPIO2 on NodeMCU
#define DHTTYPE DHT11

DHT dht(DHTPIN, DHTTYPE);
WiFiClient espClient;
PubSubClient client(espClient);

void connectWiFi() {
  WiFi.begin(WIFI_SSID, WIFI_PASS);
  Serial.print("Connecting to Wi-Fi");
  while (WiFi.status() != WL_CONNECTED) {
    delay(500);
    Serial.print(".");
  }
  Serial.println("nConnected: " + WiFi.localIP().toString());
}

void reconnectMQTT() {
  while (!client.connected()) {
    Serial.print("Connecting to MQTT...");
    if (client.connect("ESP8266_Sensor")) {
      Serial.println("connected!");
    } else {
      Serial.print("failed, rc=");
      Serial.print(client.state());
      Serial.println(" retrying in 5s");
      delay(5000);
    }
  }
}

void setup() {
  Serial.begin(115200);
  dht.begin();
  connectWiFi();
  client.setServer(MQTT_SERVER, MQTT_PORT);
}

void loop() {
  if (!client.connected()) reconnectMQTT();
  client.loop();

  static unsigned long lastMsg = 0;
  if (millis() - lastMsg > 5000) {
    lastMsg = millis();

    float temp = dht.readTemperature();
    float hum  = dht.readHumidity();

    if (!isnan(temp) && !isnan(hum)) {
      StaticJsonDocument<128> doc;
      doc["temperature"] = round(temp * 10.0) / 10.0;
      doc["humidity"]    = round(hum  * 10.0) / 10.0;
      doc["device"]      = "esp8266_room1";

      char payload[128];
      serializeJson(doc, payload);
      client.publish(MQTT_TOPIC, payload, true); // retained message
      Serial.println(String("Published: ") + payload);
    }
  }
}
The true flag in client.publish() sets the message as retained — the broker remembers the last value and immediately delivers it to any new subscriber, so your dashboard shows the latest reading instantly on refresh rather than waiting for the next publish cycle.
Building the Node-RED Dashboard Flow
Now create the visual dashboard in Node-RED:
- Add an MQTT-in node: Drag it from the left panel. Double-click to configure: Server =
localhost:1883, Topic =home/room1/climate, Output =a parsed JSON object. - Add a function node after MQTT-in to extract individual values:
msg.payload = msg.payload.temperature; return msg; - Add a Gauge node from the Dashboard section: Label = “Temperature”, Unit = “°C”, Range 0–50.
- Repeat steps 2–3 for humidity with range 0–100%.
- Add a Chart node connected after MQTT-in to show a time-series graph of both values.
- Click Deploy (top right red button).
- Open
http://localhost:1880/uito see your live dashboard.
You can export the complete flow as JSON and import it in other Node-RED instances. The dashboard is mobile-responsive by default — open it on your phone’s browser for a portable IoT monitor.

Waveshare ESP32-S3 1.43inch AMOLED Display Development Board 466×466
Upgrade your MQTT sensor node with this gorgeous AMOLED display — show live data locally while simultaneously publishing to Node-RED dashboard over MQTT.
Using a Cloud MQTT Broker (HiveMQ Free)
If you want your dashboard accessible from anywhere without port forwarding, use a free cloud MQTT broker. HiveMQ Cloud offers a free tier with up to 100 connections:
- Sign up at hivemq.com and create a free cluster.
- Note your cluster URL (e.g.,
abc123.s1.eu.hivemq.cloud) and port 8883 (TLS). - Create credentials in the HiveMQ dashboard (username + password).
Update your ESP8266 sketch for TLS connection:
#include <ESP8266WiFi.h>
#include <WiFiClientSecure.h>
#include <PubSubClient.h>

WiFiClientSecure espClient;
PubSubClient client(espClient);

void setup() {
  // ...
  espClient.setInsecure(); // Skip cert verification (for testing only)
  client.setServer("abc123.s1.eu.hivemq.cloud", 8883);
}

// In reconnectMQTT():
client.connect("ESP8266_Device", "hivemq_user", "hivemq_pass");
In Node-RED, update the MQTT-in server to the HiveMQ URL with port 8883 and enable TLS + credentials. Your dashboard is now cloud-accessible from any browser worldwide.
0.96 Inch SPI OLED LCD Module 6pin Blue SSD1306 Chip
Add local feedback to your MQTT node — display connection status, topic, and last published values on this compact SPI OLED display.
Frequently Asked Questions
Q: What is the difference between MQTT and HTTP for IoT sensor data?
HTTP is a request-response protocol — the client always initiates. MQTT is publish-subscribe — the broker pushes new data to subscribers immediately. For real-time dashboards, MQTT is far more efficient because the connection stays open (no TCP handshake overhead per message) and latency is under 10ms for local networks versus 50–200ms for HTTP REST calls.
Q: Can I run Mosquitto and Node-RED on a Raspberry Pi 3?
Yes, easily. A Raspberry Pi 3B with Raspberry Pi OS Lite runs both services using less than 200MB of RAM, leaving plenty of headroom. The Raspberry Pi can then act as an always-on home automation hub alongside the MQTT broker and Node-RED.
Q: How do I secure my Mosquitto broker with a password?
Create a password file: sudo mosquitto_passwd -c /etc/mosquitto/passwd myuser. Then add to your config: password_file /etc/mosquitto/passwd and set allow_anonymous false. Update your ESP8266 sketch to pass username and password in the client.connect() call.
Q: My PubSubClient drops connection frequently. How do I fix it?
Call client.setKeepAlive(60) before connecting. Increase the keepalive interval and ensure your loop() calls client.loop() at least once per second. Also set client.setSocketTimeout(10) to prevent blocking. Frequent drops on ESP8266 often also indicate weak Wi-Fi signal — move the board closer to the router or add an external antenna.
Q: Can Node-RED send a WhatsApp or Telegram message when a threshold is crossed?
Yes. Install node-red-contrib-telegrambot from the palette manager. Create a Telegram bot via BotFather, then in your flow add a switch node to check if temperature exceeds your threshold, followed by a Telegram sender node. This lets your ESP8266 MQTT data trigger Telegram alerts through Node-RED with no additional coding.
Start Your MQTT IoT Project
Get ESP8266 NodeMCU boards, sensors, and display modules from Zbotic — quality components with fast shipping across India for your next IoT build.


Add comment