
If you have ever picked up a circuit diagram and felt completely lost staring at a maze of lines and shapes, you are not alone. Understanding an electronic symbols chart is the very first skill every electronics hobbyist, engineering student, and maker needs to master. These symbols are the universal language of electronics — once you learn them, you can read any schematic in the world, whether it was drawn in India, Germany, or Japan.
In this comprehensive guide, we break down every major electronic component symbol you will encounter, explain what each component does, and show you how to recognise them at a glance. Whether you are building your first Arduino project or studying for your engineering exams, this is the reference you will keep coming back to.
Table of Contents
- Why Electronic Symbols Matter
- Passive Component Symbols
- Active Component Symbols
- Power & Ground Symbols
- Logic Gate Symbols
- Sensor & Transducer Symbols
- Switch & Relay Symbols
- Tips for Reading Schematics Faster
- Essential Components to Start With
- Frequently Asked Questions
Why Electronic Symbols Matter
Before the age of standardised symbols, engineers drew detailed pictures of each component — a time-consuming process that led to inconsistency and confusion. Organisations like IEEE (Institute of Electrical and Electronics Engineers) and IEC (International Electrotechnical Commission) developed standardised symbol sets so that a schematic drawn in Mumbai could be understood by an engineer in Berlin without any translation.
There are two major symbol standards you will encounter:
- IEEE/ANSI standard — widely used in the United States and in many textbooks
- IEC standard — used in Europe and increasingly in Indian university curricula
In practice, both systems coexist and most hobbyist schematics mix elements of both. The differences are mostly cosmetic — a resistor is a zigzag in ANSI but a rectangle in IEC — so learning both is worthwhile.
Passive Component Symbols
Passive components do not require an external power source to perform their function. They include resistors, capacitors, and inductors — the three building blocks of virtually every circuit.
Resistor
The most common symbol is a zigzag line (ANSI) or a plain rectangle (IEC) with two terminals. The resistance value in Ohms (Ω) is written next to the symbol, often with a multiplier like k (kilo) or M (mega). Variable resistors (potentiometers) add an arrow pointing to the zigzag, indicating an adjustable wiper contact. A light-dependent resistor (LDR) carries inward arrows representing incoming light photons.
What it does: Limits current flow. Used in voltage dividers, current limiters, pull-up/pull-down networks, and LED current limiting.
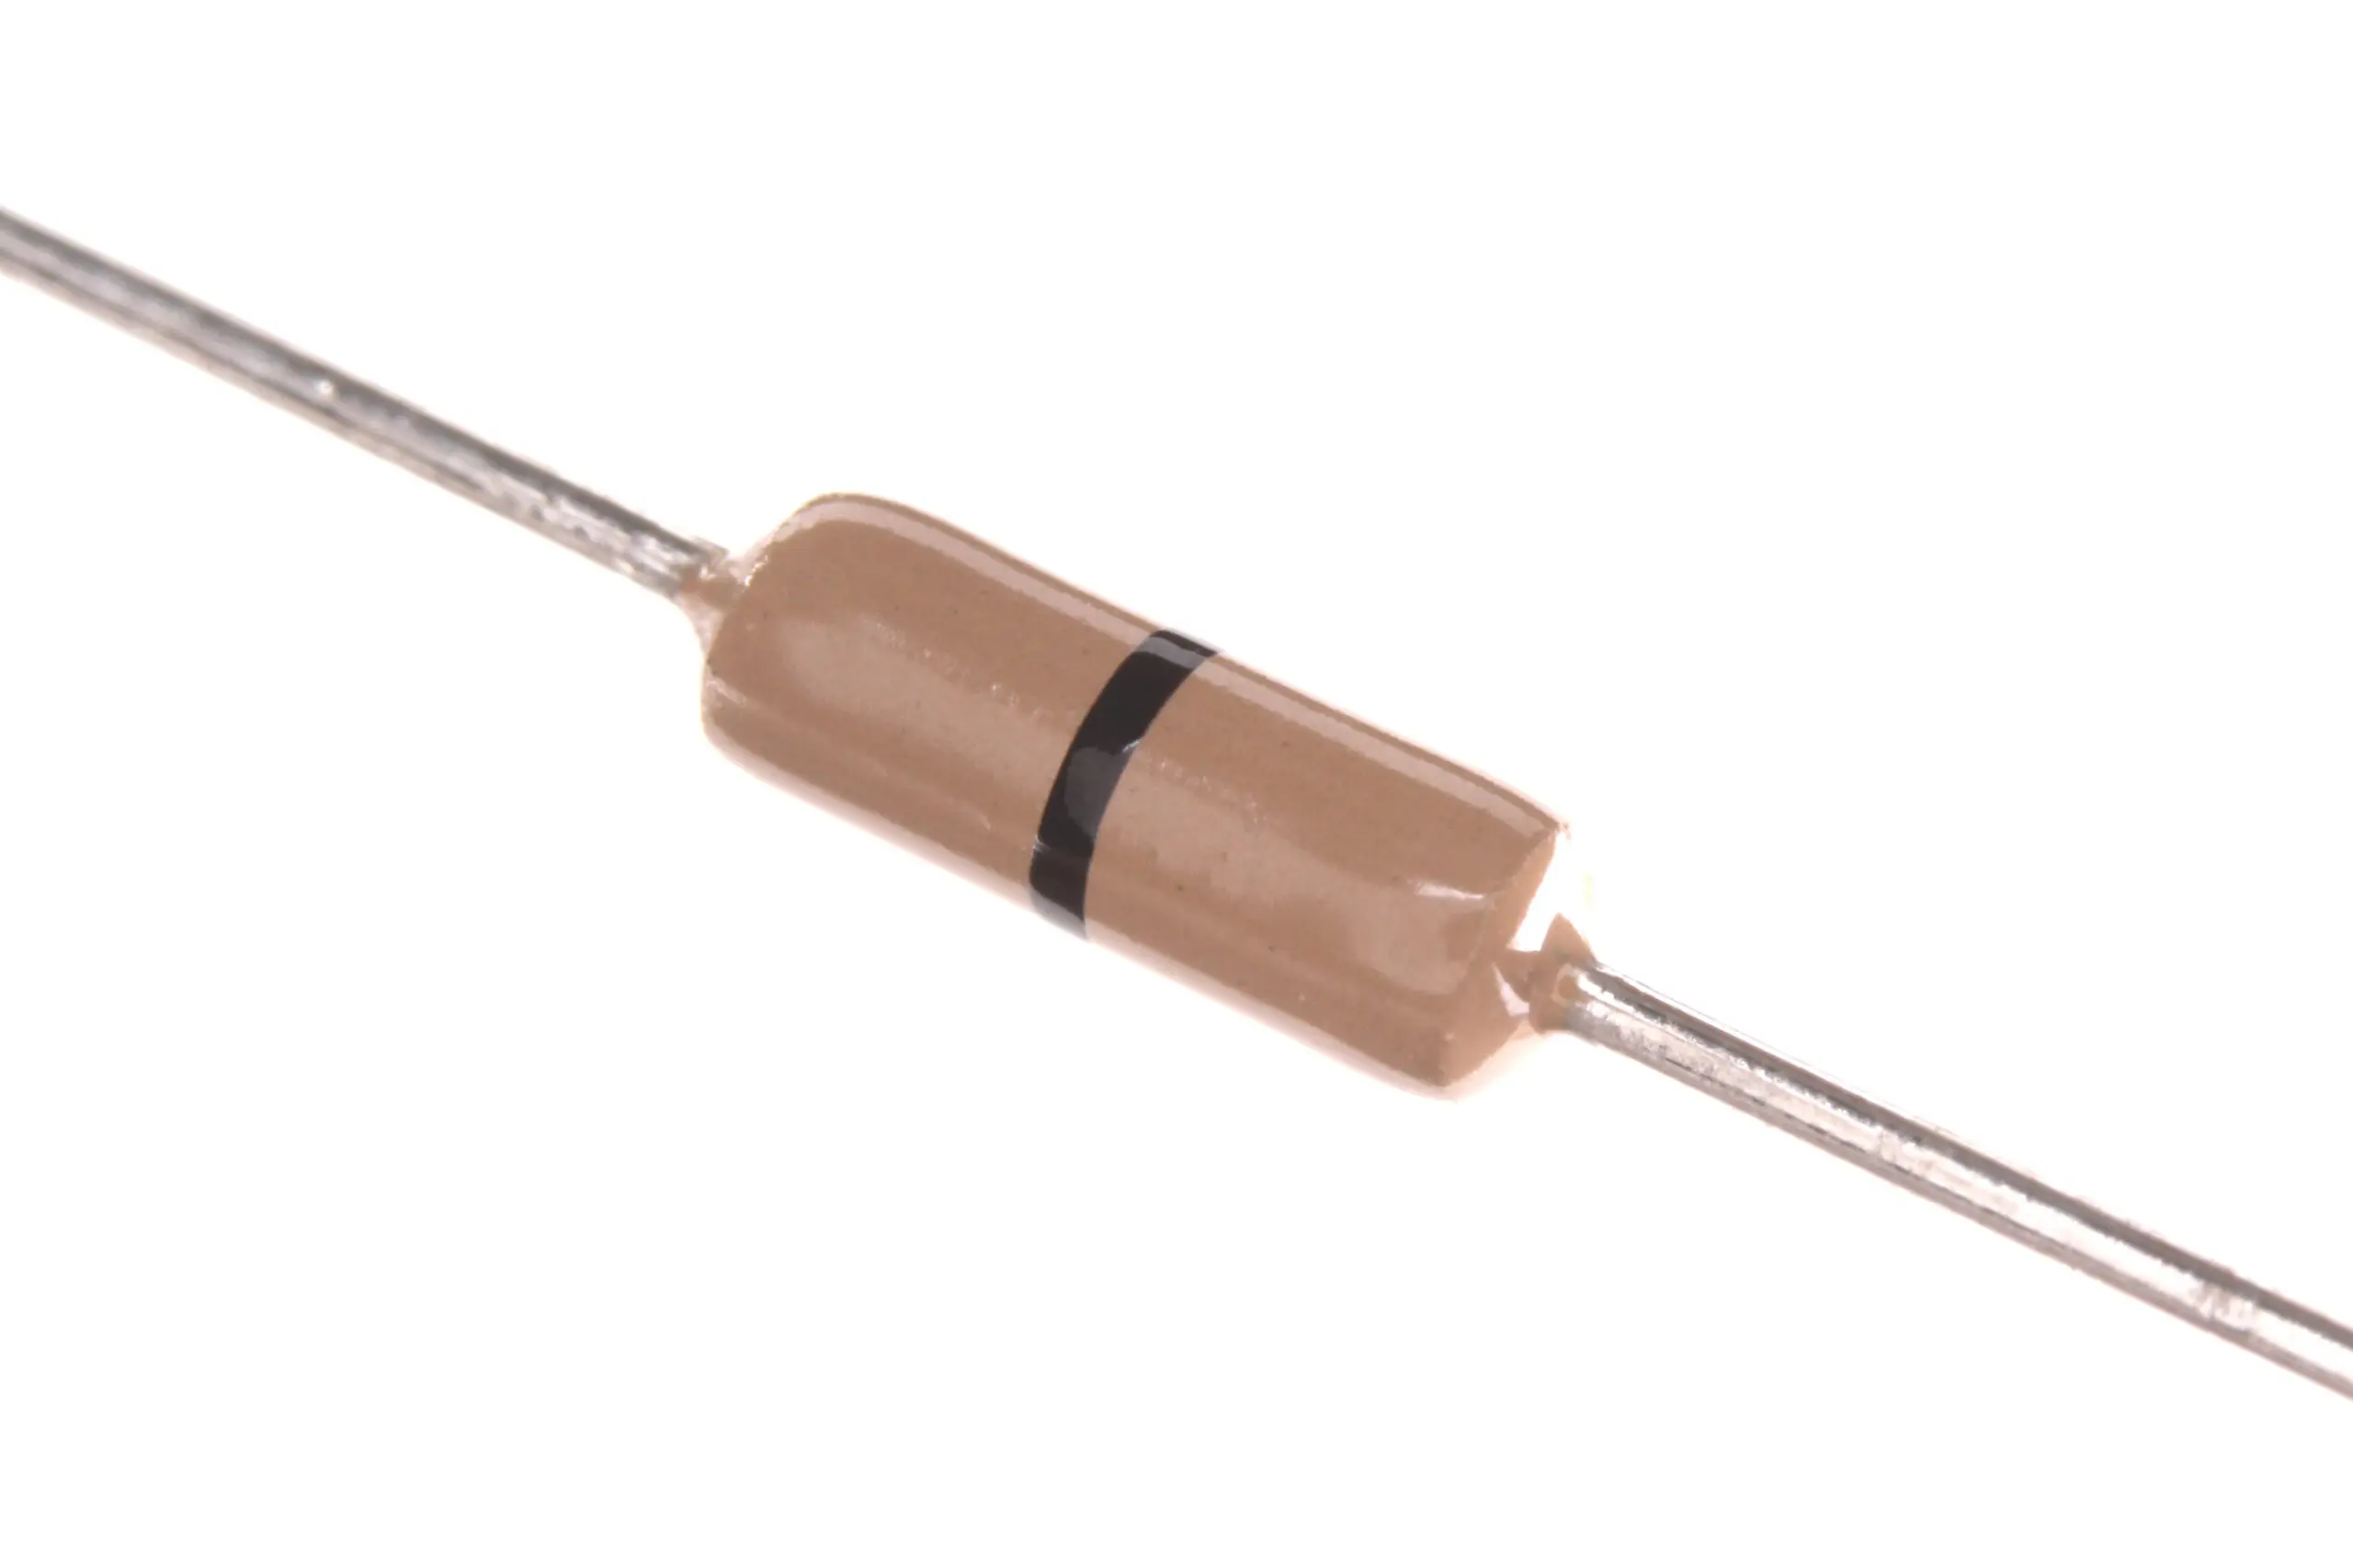
0 Ohm 0.25W Carbon Film Resistor (Pack of 100)
A versatile starter pack of carbon film resistors — perfect for building your first resistor collection and practising real component identification.
Capacitor
An unpolarised capacitor is shown as two parallel vertical lines. A polarised capacitor (electrolytic) shows one curved plate and one straight plate — the curved plate is the negative terminal and a + sign marks the positive. The capacitance value is written in Farads (F), most often in microfarads (µF) or nanofarads (nF) for typical hobby components.
What it does: Stores charge temporarily. Used for filtering, decoupling, timing, and energy storage in power supplies.

0.1µF Ceramic Capacitor (Pack of 50)
The workhorse decoupling capacitor found in almost every digital circuit. Recognising the ceramic capacitor symbol becomes natural once you have handled the real part.
Inductor
An inductor is drawn as a series of curved humps or loops (like a coiled wire) between two terminals. A transformer uses two parallel inductor symbols facing each other, sometimes with vertical lines in the middle representing the iron core. Variable inductors add an arrow across the coil.
What it does: Stores energy in a magnetic field. Used in filters, power supplies, RF circuits, and motor drivers.
Active Component Symbols
Active components can amplify signals or switch current, and they typically require a power supply to operate.
Diode
A diode symbol looks like a triangle pointing to a vertical bar. Current flows in the direction the triangle points (anode → cathode). Variations include: Zener diode (bent bar ends, used for voltage regulation), LED (outward arrows for emitted light), Schottky diode (S-shaped bar ends, lower forward voltage drop), and photodiode (inward arrows for received light).
Transistor — BJT
Bipolar Junction Transistors (BJT) have three terminals: Base (B), Collector (C), and Emitter (E). The NPN symbol shows an arrow on the emitter pointing away from the base; the PNP shows the arrow pointing toward the base. A helpful mnemonic: NPN = Not Pointing iN, PNP = Pointing iN Proudly.

2N2222 NPN Transistor (Pack of 20)
One of the most widely used NPN transistors worldwide — great for practising transistor circuits and understanding the BJT symbol in action.
Transistor — MOSFET
MOSFETs show four terminals: Gate (G), Drain (D), Source (S), and Body (B, often internally connected to source). The N-channel enhancement MOSFET has a dashed channel line and the arrow on the body points inward. The P-channel version flips the arrow. Unlike BJTs, MOSFETs are voltage-controlled and dominate in modern switching power supplies and motor drivers.
Operational Amplifier (Op-Amp)
An op-amp is drawn as a triangle pointing right with two inputs on the left (inverting − and non-inverting +) and one output on the right. Power supply pins (V+ and V−) are often omitted from simplified schematics. Common ICs include the LM741, LM358, and TL071.
Integrated Circuit (IC)
ICs are typically drawn as rectangles with pins along the sides, labelled with their function. A small notch or dot on one corner marks pin 1 — always find this reference before identifying other pins.
Power & Ground Symbols
Power and ground symbols replace repetitive wire runs in complex schematics. The most common ones are:
- VCC / VDD / V+ — a horizontal line at the top of a vertical line, sometimes labelled with the voltage (e.g., +5V). Represents the positive supply rail.
- GND (Earth Ground) — three horizontal lines of decreasing length stacked below a vertical line. Represents the 0V reference common to the whole circuit.
- Chassis Ground — a diagonal line with three downward spikes. Used in automotive and metal-enclosed equipment for the physical frame ground.
- Battery — alternating long and short horizontal lines. The long line is positive, the short line negative. The more cell pairs shown, the higher the voltage implied.
Logic Gate Symbols
Digital circuits use logic gate symbols to represent Boolean operations. Here are the seven fundamental gates:
- AND gate — D-shaped body. Output HIGH only when ALL inputs are HIGH.
- OR gate — curved body with pointed output. Output HIGH when ANY input is HIGH.
- NOT gate (Inverter) — triangle with a bubble at the output. Inverts the input.
- NAND gate — AND gate with an output bubble. Universal gate; any circuit can be built using only NANDs.
- NOR gate — OR gate with an output bubble. Also a universal gate.
- XOR gate — OR gate with an extra curved line at the input. Output HIGH when inputs DIFFER.
- XNOR gate — XOR gate with output bubble. Output HIGH when inputs are SAME.
A bubble on any pin of a logic symbol means that pin is active-LOW — it triggers on a 0 rather than a 1.
Sensor & Transducer Symbols
As IoT and maker projects become more common in India, sensor symbols appear frequently in project schematics:
- Thermistor (NTC/PTC) — resistor symbol with a T through it. NTC resistance decreases with temperature; PTC increases.
- Microphone — a circle with a vertical line inside. Converts sound to electrical signal.
- Speaker / Buzzer — a rectangle with a right-pointing trapezoid. Converts electrical signal to sound.
- Antenna — a vertical line with a branching top. Represents RF transmission or reception.
- Crystal Oscillator — a rectangle with two vertical lines as terminals. Provides a precise clock frequency.

LM35 Temperature Sensor
The LM35 is a classic sensor shown in countless Indian engineering lab practicals. Its three-pin TO-92 package makes it easy to spot in schematics.
Switch & Relay Symbols
Switches control current flow mechanically. Common symbols include:
- SPST (Single Pole Single Throw) — a line connected to a gap with a diagonal closing line. The simplest on/off switch.
- SPDT (Single Pole Double Throw) — one input with two possible output positions (like a change-over switch).
- Push button (Normally Open) — two horizontal lines above and below a gap, with a downward arrow indicating push action.
- Relay — a coil symbol (the electromagnet) paired with a switch symbol. When current through the coil energises it, the switch closes (or opens for NC contacts).
- Fuse — a small rectangle or wavy line between two terminals. Protects the circuit by blowing at excessive current.
Tips for Reading Schematics Faster
Knowing individual symbols is just the start. Here are practical strategies to read full schematics efficiently:
- Identify power rails first. Find VCC and GND, then trace how power flows to each part of the circuit.
- Follow signal flow left to right. Most schematics are drawn so signals enter from the left and exit to the right, just like reading text.
- Group by function. Look for clusters — a cluster of resistors and capacitors near a power pin is almost certainly a decoupling or filtering network.
- Use junction dots. A filled dot where two wires cross means they are connected. No dot means the wires cross but do NOT connect (a bridge).
- Read reference designators. R1, R2… = resistors; C1, C2… = capacitors; U1, U2… = ICs; Q1, Q2… = transistors. The numbers tell you the order the designer added them, not their importance.
- Check datasheets alongside. When you see an unfamiliar IC symbol, pull up its datasheet to understand each pin’s function.
Frequently Asked Questions
What is the difference between IEEE and IEC electronic symbols?
The main difference is in the resistor and a few other passive component symbols. IEEE/ANSI (common in the US) uses a zigzag for a resistor, while IEC (common in Europe and India’s newer textbooks) uses a plain rectangle. For active components and logic gates, the symbols are largely the same or very similar.
How do I remember all the electronic symbols quickly?
The best approach is active practice. Draw each symbol by hand, then match it to a real component. Use flashcard apps like Anki, or build simple breadboard circuits and simultaneously draw out their schematics yourself. Repetition with real components cements the knowledge far faster than passive reading.
Where can I find a printable electronic symbols chart in PDF?
Many engineering colleges provide chart printouts. You can also search for “electronic symbols chart PDF” from sources like All About Circuits, Electronics Tutorials, or the IEEE website. Laminating a A4 chart and keeping it at your workbench is a habit many experienced engineers swear by.
Are electronics symbols the same worldwide?
The IEC 60617 standard is used internationally, including in India. However, older American textbooks and many open-source schematics use ANSI symbols. Once you know both, reading any schematic becomes straightforward.
Do simulation tools like KiCad or Fritzing use standard symbols?
Yes. KiCad uses mostly IEC-aligned symbols for its default library. Fritzing uses more pictorial representations but also includes schematic view with standard symbols. Learning symbols in simulation software is an excellent way to get hands-on practice for free.
Start Building Real Circuits Today
Understanding the electronic symbols chart is your passport to reading any schematic in the world. But the real learning happens when you combine this knowledge with actual components on a breadboard. Every symbol you have read about in this guide corresponds to a real part you can hold, measure, and experiment with.
Zbotic stocks a wide range of resistors, capacitors, transistors, sensors, and prototyping tools — all shipped quickly across India. Browse our Electronics Basics category to find everything you need to bring your first schematic to life. Got questions about a specific component or symbol? Drop us a message — our team is always happy to help fellow makers.


Add comment