
Table of Contents
- Introduction
- Why Support Structures Exist
- When Do You Actually Need Supports?
- Types of Support Structures
- Key Slicer Settings Explained
- Supports by Filament Material
- Designing to Reduce Support Needs
- How to Remove Supports Cleanly
- Finishing Support Contact Surfaces
- Soluble Support Materials
- Troubleshooting Support Problems
- FAQ
Introduction
Support structures are one of the most misunderstood aspects of FDM 3D printing. Beginners often enable supports for everything — wasting filament, adding hours to print time, and fighting to remove them without scarring the surface. Experienced users understand that good support strategy is about minimising support usage through smart orientation and design, then using the right settings when supports are truly unavoidable.
This guide covers the full picture: the physics of why supports are needed, how to determine when they are genuinely required, the types of support structures and when to use each, critical slicer settings, filament-specific considerations, design strategies to avoid supports entirely, and proven removal techniques that leave the cleanest possible finish. Whether you are a beginner using an Ender 3 or an intermediate user on a Bambu Lab A1 Mini, these principles apply universally.
Why Support Structures Exist
FDM (Fused Deposition Modelling) printing works by depositing molten plastic in layers, with each new layer built on top of the previous one. This works perfectly for vertical structures and gradual angles — but creates a fundamental problem for overhangs: any portion of your part that extends horizontally beyond the edge of the layer below it has nothing to land on.
Without support, the filament in an overhang region droops, curls, or collapses — because molten plastic cannot support itself horizontally. Support structures provide a temporary scaffolding that gives the overhang something to print on. They are intentionally printed with minimal contact to the main part so they can be broken away after printing.
The key physics parameter is the overhang angle: measured from the vertical (not the horizontal). An overhang at 0° from vertical is a perfectly vertical wall — no support needed. An overhang at 90° from vertical is a completely horizontal surface — always needs support or bridging. The threshold where parts start to droop is typically 45–50° from vertical for PLA with good cooling, though this varies by material, layer height, and printer.
When Do You Actually Need Supports?
The 45° Rule is a starting point, not an absolute. Several factors determine whether a specific overhang needs support:
Overhang Angle
- 0–45°: Generally no support needed. Most printers with good cooling handle this range without drooping.
- 45–60°: Borderline zone. Print quality may be acceptable depending on the material, layer height, print speed, and cooling. Test before committing to a full print.
- 60–90°: Support strongly recommended. Printed unsupported, these will show drooping, stringing, and rough surface finish.
- 90° (true horizontal): Always needs support or bridging technique.
Bridging vs Overhangs
Bridging — where filament spans between two supported points — is fundamentally different from a cantilevered overhang. Bridges work because the filament is in tension between two anchor points; it can be pulled straight rather than drooping. FDM printers can bridge spans of up to 50–80 mm cleanly with proper slicer bridging settings (slower speed, lower temperature, increased cooling). Spans beyond 80 mm typically need support even with good bridging settings.
The practical implication: a hole in a horizontal ceiling is a series of bridges and needs no support if small enough. A large shelf projecting outward from a wall is a true overhang and needs support.
Layer Height
Thinner layers handle steeper overhangs better because each layer has a smaller step to span. At 0.1 mm layers, you can often print 55–60° overhangs without support. At 0.3 mm layers, 45° is already borderline. If you want to avoid supports on a specific feature, try reducing layer height for that print.
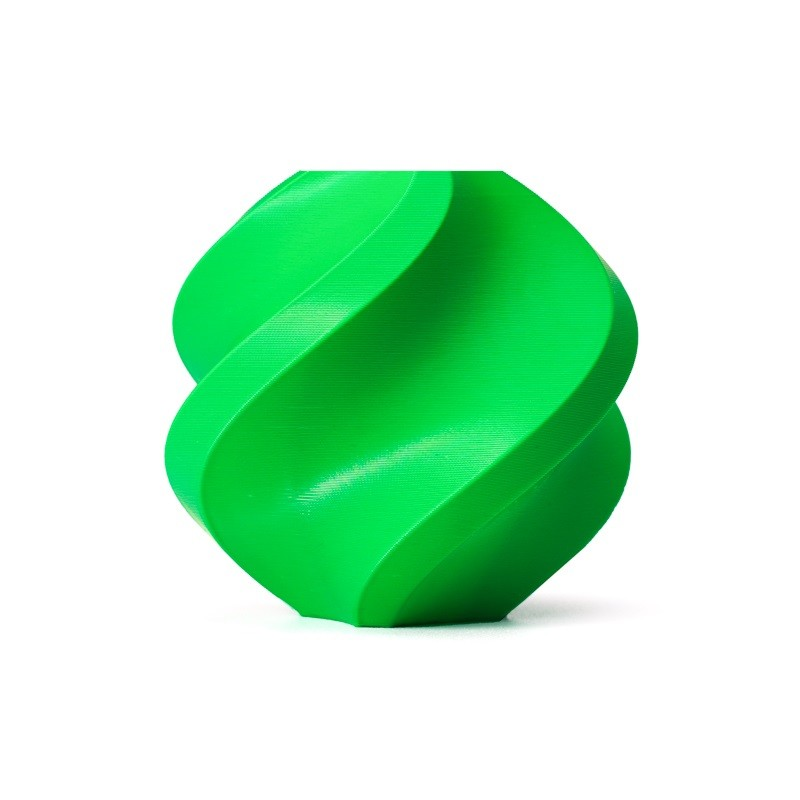
Bambu Lab ABS Filament – Bambu Green, 1.75mm
ABS bridges and overhangs differently from PLA — dialling in your support settings is especially important. Bambu Lab ABS profiles in Bambu Studio take the guesswork out.
Types of Support Structures
Linear (Grid) Supports
The traditional support pattern — a grid or linear infill pattern beneath overhangs. Simple, strong, and reliable. Works well for most applications. The downside is that grid supports are sometimes difficult to remove, especially in enclosed spaces like the inside of a curved part.
Tree Supports
Tree supports (available in PrusaSlicer, OrcaSlicer, Bambu Studio, and Cura) grow from the build plate like branches, touching only the minimum necessary points on the overhanging surface. They use significantly less material than grid supports (30–50% less) and are generally easier to remove because they contact the part at fewer points. Tree supports are the default recommendation for most users on modern slicers.
Tree supports have two sub-types in OrcaSlicer/Bambu Studio:
- Normal (Organic) Trees: Branch geometry auto-generated to support overhangs with minimal material. Best for organic shapes and models with complex overhangs.
- Hybrid Trees: Combines tree trunks with grid-style top layers near the part. Offers the ease of tree support removal with grid support’s reliability on critical flat surfaces.
Snug Supports (Cura’s Experimental)
Snug supports follow the exact contour of the overhang rather than generating a rectangular bounding box. Significantly reduces material waste and print time on models with isolated small overhangs. Less universal than tree or grid supports — test on your specific model.
Manual Supports (Paint-on)
Most modern slicers allow you to paint support regions directly on the model surface — Bambu Studio has an excellent paint-on support tool. This gives you precise control: add supports only to specific faces that actually need them, exclude faces where auto-generated supports would be difficult to remove. This is the highest-quality approach for complex models where auto-generated supports are suboptimal.
Key Slicer Settings Explained
Support Overhang Threshold (Angle)
This is the angle above which supports are automatically generated. Default is usually 45°. Increasing it to 50–55° reduces support material but may allow some drooping on borderline overhangs. Decreasing it to 35–40° generates more conservative (more) support — useful for first-time prints of new models where you want to be safe.
Support Z Distance (Gap)
The vertical gap between the top of the support structure and the bottom of the part it supports. This is the most important setting for support removal and surface quality.
- Too small (< 0.1 mm): Supports fuse to the part and are extremely difficult to remove, often tearing the surface.
- Too large (> 0.4 mm): The overhang is not adequately supported — surface droops badly.
- Recommended starting point: One layer height (0.2 mm for a 0.2 mm layer height). Adjust based on your printer and filament — PETG needs a larger gap than PLA because it bonds more aggressively to support material.
Support Interface Layers
Interface layers are a denser sub-section of the support structure immediately below the part surface. They provide a smoother, more consistent surface for the overhang to print on, improving surface quality significantly. Most slicers default to 2–3 interface layers at 100% density. For the best surface quality on critical overhangs, increase to 3–4 interface layers. For PETG, reduce interface layer density to 60–70% to prevent adhesion.
Support Infill Density
The infill density of the support structure body (not the interface layers). For grid supports, 10–15% is standard — enough for rigidity without wasting filament. For tree supports, the column density is less relevant since the branches provide structural support regardless.
Support X/Y Distance
The horizontal gap between the support structure and the sides of the part. Setting this too small causes the support to fuse to vertical walls of the part — making removal very difficult. 0.3–0.5 mm is a good starting range. On models with fine vertical details adjacent to overhangs, increase this to 0.5–0.8 mm.

B-Type Aluminium Heat Sink for MK7/MK8 Extruder
Consistent hotend cooling is critical for clean overhangs — a properly cooled hotend maintains precise filament deposition at the challenging bridging angles.
Supports by Filament Material
PLA Supports
PLA has the best support behaviour of any common filament. It bonds minimally to itself when a Z gap is used correctly, breaks cleanly at the interface, and the surface left behind is reasonably smooth. Start with a 0.2 mm Z gap and adjust from there. PLA supports work well as both support material for PLA prints and as support on multi-material printers for other materials.
PETG Supports
PETG is notorious for bonding aggressively to support material. This is because PETG has high inter-layer adhesion — excellent for functional parts, but a nightmare for supports. Use a larger Z gap (0.25–0.35 mm) and reduce interface layer density (60%) to prevent fusion. Some users print PETG parts with PLA supports on multi-material machines, as PLA-on-PETG interfaces separate cleanly. Alternatively, use a release spray (hairspray or dedicated release agent) on the interface layers.
ABS Supports
ABS is more brittle than PLA and PETG, which actually makes support removal easier — ABS supports snap off cleanly. The challenge is that ABS requires an enclosed chamber to print without warping, and adding supports means the enclosed chamber needs to maintain temperature throughout a longer print. Standard settings work well; use a 0.2–0.25 mm Z gap.
TPU (Flexible) Supports
TPU supports are nearly impossible to remove cleanly — the flexible material stretches and tears rather than breaking cleanly at the interface. For TPU prints with significant overhangs, either redesign to orient overhangs to face the build plate, or use a water-soluble support material (PVA) if your printer supports multi-material printing.
Designing to Reduce Support Needs
The best support is no support. Before running the slicer, ask these questions about your model:
- Can I reorient the part? Rotating a part 90° or 180° often converts a supported overhang into an unsupported angled surface. Most slicers can suggest optimal orientations — Bambu Studio’s “Auto-Rotate” feature does this automatically.
- Can I split the part? Splitting a complex part at the problematic overhang plane, printing each piece flat, then assembling eliminates support entirely at the cost of an assembly joint. For large parts, this is often worth it.
- Can I use a teardrop shape? Circular holes in horizontal planes need supports. A teardrop shape (round base with a 45° pointed top) is self-supporting in any orientation. A small mod with a big impact.
- Can I add a chamfer? A 45° chamfer at the junction of an overhanging shelf with a vertical wall eliminates support by making the transition gradual rather than abrupt.
- Can I bridge it? If the overhang connects two supported walls at a short distance, bridging (no support, faster speed, increased cooling) often works better than adding support material.
How to Remove Supports Cleanly
Removal technique is as important as settings. Approach it methodically:
Tools You Need
- Flush cutters (diagonal cutters): For cutting away large support structures in open areas.
- Needle-nose pliers: For grabbing and twisting support columns to break them at the interface.
- Craft knife / scalpel: For trimming remaining nubs and cutting into confined spaces.
- Dental pick / scribing tool: For getting into tight internal spaces where supports are embedded.
Removal Technique
- Let the print cool completely before attempting removal. PLA and PETG are both significantly easier to work with at room temperature — PLA in particular can deform if you handle it while still warm.
- Identify the support edges first. Look for the visible seam where the support Z-gap creates a separation line. This is where you want to apply force, not in the middle of the support body.
- Start with the easy areas: Break away large tree support trunks or grid support sections in open areas first. This gives you better access to support in more confined locations.
- Twist, don’t pull: For support columns, grip with pliers and twist rather than pulling straight out. Twisting breaks the interface bond more cleanly and is less likely to tear the part surface.
- Work along the grain: Grid supports have a preferred breaking direction — along the infill lines. Break in this direction to get clean detachment rather than tearing.
- For tight cavities: A dental pick inserted into the gap between support and part, used as a lever, breaks adhesion without requiring you to grip the support directly.
For PETG: Cold Pull Technique
If your PETG supports are stubbornly fused, try placing the entire print in the freezer for 15–20 minutes. At low temperatures, PETG becomes more brittle and the support-to-part interface (the weakest bond in the structure) breaks more cleanly before the part itself deforms.
Finishing Support Contact Surfaces
Even with perfect settings, support contact surfaces on overhangs will be rougher than non-supported surfaces. Here is how to improve them:
- Light sanding: 150–220 grit sandpaper for initial smoothing, then 400–600 grit for a final smooth finish. Sand in circles to avoid directional scratch marks.
- Heat treatment (PLA): A brief pass from a heat gun (careful — PLA softens at 60°C) can partially reflow the surface, reducing layer lines. Requires practice.
- Filler primer spray: For ABS or parts that will be painted, a filler primer spray (available in aerosol at auto parts stores in India) fills layer lines and support surface texture significantly.
- Acetone smoothing (ABS only): ABS can be smoothed with acetone vapour in a controlled environment. The acetone partially dissolves and reflows the surface layer, completely eliminating print lines. Only for ABS — acetone does nothing useful to PLA or PETG.
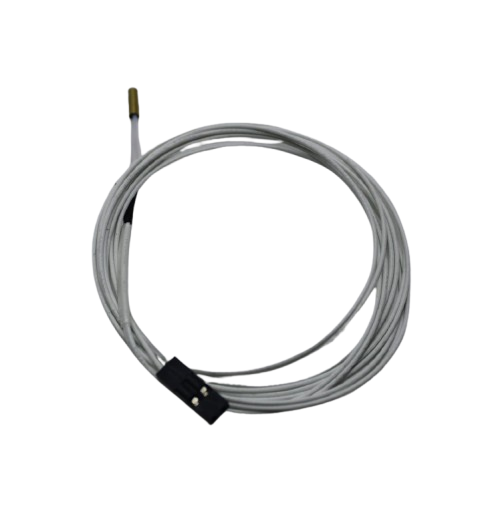
100K NTC Thermistor with Copper Tip for MK8 Extruder
Accurate temperature control is critical for consistent support quality — a faulty thermistor causes temperature swings that lead to under-extruded, poorly bonded support interfaces.
Soluble Support Materials
Multi-material printers (or single-extruder printers with filament changers) can use soluble support materials — filaments that dissolve in water or a solvent, leaving no removal marks. Two main options:
PVA (Polyvinyl Alcohol)
Dissolves in water. Compatible as support for PLA, PETG, and some TPU. Requires a multi-material setup. PVA is moisture-sensitive and must be stored in sealed containers with desiccant — in India’s humid climate, PVA filament absorbed moisture can clog the hotend. Print PVA immediately after opening and store with silica gel. Soak completed prints in warm water 2–12 hours for full dissolution.
HIPS (High Impact Polystyrene)
Dissolves in limonene solvent. Used as support for ABS. HIPS prints at similar temperatures to ABS (230–250°C) and requires an enclosed chamber. Limonene is available online in India (used in cleaning products). A less common option but very effective for ABS parts requiring complex support removal.
Troubleshooting Common Support Problems
Supports Won’t Detach / Surface Tearing
Cause: Z gap too small, or interface layer density too high. Solution: Increase Z distance by 0.05–0.1 mm. Reduce interface layer density to 60–70%. For PETG, also lower print temperature by 5–10°C specifically for interface layers (available as a separate setting in OrcaSlicer).
Overhang Still Drooping Despite Supports
Cause: Insufficient support density or Z gap too large. The overhang is drooping into the gap between support top and part bottom. Solution: Increase support interface density to 100%, or decrease Z gap by 0.05 mm increments.
Support Detaches from Build Plate Mid-Print
Cause: First layer adhesion issue, or support structure too narrow at base. Solution: Add a raft or brim specifically to the support structure (most slicers allow “support brim” as a separate setting from main part brim). Also check bed temperature and first-layer height for your filament.
Tree Supports Falling Over
Cause: Tree support trunks too thin for the height they need to reach, especially with tall prints. Solution: Increase tree support trunk diameter, or switch to hybrid tree mode which uses denser lower sections. On very tall prints, the slicer’s auto-tree algorithm sometimes generates structurally unstable support geometry — manual painting of support regions avoids this.
Frequently Asked Questions
Should I always use supports for overhangs over 45°?
Not necessarily. Test your specific printer’s overhang capability first by printing an overhang test tower (widely available on Thingiverse and Printables). Many modern printers with good part cooling handle 50–55° without any drooping on PLA. Knowing your printer’s actual threshold lets you set the support angle accurately.
Are tree supports always better than normal supports?
Tree supports use less material and are usually easier to remove. However, for flat horizontal overhangs (like the underside of a shelf), normal grid supports with interface layers often produce a better overhang surface quality because the uniform grid density supports the surface more evenly. Use tree supports for complex organic shapes, grid or hybrid for flat horizontal surfaces.
Can I reuse removed support material?
Not directly in an FDM printer. Support material comes off as broken fragments, not consistent strand. Some people collect PLA support waste and use a filament recycler (like the Artme3D Felfil Evo) to regrind and re-extrude it — though the recycled filament quality is reduced. For most hobbyists, the volume of support waste is small enough that recycling is not practical.
Does enabling supports significantly increase print time?
Yes. Supports add print time roughly proportional to the support volume. For a model with moderate support needs (30% of the part volume in support), expect 20–40% longer print time. This is one of the strongest arguments for designing parts to avoid supports where possible — eliminating supports from a 4-hour print saves 45–90 minutes.
What is the best way to support large horizontal holes (like a tunnel through a part)?
The optimal solution depends on hole diameter. Small holes ( 30 mm) should be redesigned as arches (pointed tops) — an arch shape is self-supporting in FDM because each layer is only slightly wider than the one below it, keeping angles within the printable range.
Get the Best from Every Print
Great prints need great filament and well-maintained hardware. Zbotic stocks Bambu Lab and eSUN filaments, nozzles, thermistors, bed accessories, and more — everything to keep your printer running at its best, with fast shipping across India.


Add comment