
TFT Display Image Conversion: Bitmap to C Array Tutorial
Displaying custom images on TFT screens takes your embedded project from functional to truly professional. The key challenge for Indian makers is knowing how to perform TFT display bitmap to C array conversion correctly so your images render accurately in colour without corrupting memory or slowing down your microcontroller. This step-by-step tutorial explains every method — from browser-based converters and command-line tools to SPIFFS/LittleFS storage and PROGMEM — so you can display logos, icons, splash screens, and UI graphics on any Arduino or ESP32 TFT project.
Why Convert Images to C Arrays?
Microcontrollers do not have a filesystem by default, and TFT display libraries cannot read JPEG or PNG files directly from your computer. To show an image on a TFT screen, you need to convert it into raw pixel data that your code can access. The two main approaches are:
- C Array (PROGMEM): The image pixel data is embedded directly in your Arduino sketch as a
const uint16_tarray stored in program flash memory. No SD card or filesystem required. - File Storage (SPIFFS/LittleFS/SD): The image is stored as a BMP, JPEG, or PNG file on a filesystem. The code reads and decodes it at runtime.
C arrays are the most reliable method for small images (icons, logos, splash screens under ~50 KB) because they require no additional hardware, no filesystem initialisation, and load instantly. For larger images or many images, SPIFFS or an SD card is more practical since flash memory is limited.
TFT Colour Formats: RGB565 vs RGB888
Most Arduino/ESP32 TFT displays use 16-bit colour (RGB565 format). This is critical to understand before converting images:
| Format | Bits | Bytes per Pixel | Colours |
|---|---|---|---|
| RGB565 | 16-bit | 2 bytes | 65,536 |
| RGB888 | 24-bit | 3 bytes | 16,777,216 |
| Monochrome (1-bit) | 1-bit | 1/8 byte | 2 (black/white) |
The RGB565 format packs each pixel into two bytes: 5 bits for red, 6 bits for green, and 5 bits for blue. The extra green bit is because the human eye is most sensitive to green. When converting images, always target RGB565 for ILI9341, ST7735, ST7789, GC9A01, and most other TFT controllers.
RGB565 Memory Calculation
A 100×100 pixel image in RGB565 = 100 × 100 × 2 = 20,000 bytes = ~20 KB. An Arduino Uno only has 32 KB flash — so even a 100×100 image fills most of its program memory. This is why ESP32 (with 4 MB flash) is far better suited for image display projects.
Image Conversion Tools
Several tools convert standard image formats (PNG, JPEG, BMP) to RGB565 C arrays:
- LCD Image Converter — Free, open-source, cross-platform desktop app (recommended)
- ImageConverter565.exe — Windows-only tool by notisrac
- Online converters — Browser-based tools (no installation needed)
- Python script with Pillow — Scriptable batch conversion
- LVGL Image Converter — For LVGL projects specifically (outputs lv_img format)
Using LCD Image Converter (Recommended)
LCD Image Converter is the most flexible and well-documented tool. Download it from SourceForge. It runs on Windows, Linux, and macOS.
Step 1: Prepare Your Image
Before importing into the converter:
- Resize your image to the exact dimensions you want on the display (e.g., 100×100 pixels) using any image editor (GIMP, Photoshop, or even MS Paint)
- Save as PNG or BMP — both work fine
- Avoid images larger than available flash memory (see the memory calculator above)
Step 2: Import and Configure
- Open LCD Image Converter and go to File → New Image or File → Open to import your image
- Go to Options → Conversion
- Set Preset to Color R5G6B5 (this is RGB565)
- Set Block size to 16 bits
- Under the Image tab, set Split to rows: No
- Set byte order to match your display — most SPI TFTs use Big Endian
Step 3: Export as C Array
- Go to File → Convert…
- Choose a filename for the output (e.g.,
my_logo) - The tool generates a
my_logo.hfile with the image data as aconst uint16_tarray
Inspecting the Output
The generated header file looks like this:
// my_logo.h
#pragma once
#include <avr/pgmspace.h>  // For Arduino. Remove for ESP32.

const uint16_t my_logo[] PROGMEM = {
  0xFFFF, 0xFFFF, 0x0000, 0xF800, ...
  // ... width * height values total
};

const int MY_LOGO_WIDTH  = 100;
const int MY_LOGO_HEIGHT = 100;
Online Bitmap to Array Converters
If you cannot install software, several browser-based tools do the job:
LVGL Online Image Converter (lvgl.io/tools/imageconverter)
This tool from the LVGL project converts images to LVGL’s native format or raw RGB565 C arrays. Options include:
- Output format: C array, Binary
- Colour format: True colour (RGB565), True colour with alpha (ARGB8565), etc.
- The output is a
.cfile with anlv_img_dsc_tdescriptor — perfect for LVGL projects
notisrac’s Image Converter (online)
A simple web app that converts PNG/BMP to RGB565 or RGB888 C arrays. Just upload, select the target format, and download the header file. Works well for TFT_eSPI projects.
Python One-Liner with Pillow
For batch conversion or CI/CD pipelines, a Python script is the most powerful approach:
from PIL import Image

def convert_to_rgb565_array(img_path, var_name):
    img = Image.open(img_path).convert('RGB')
    width, height = img.size
    pixels = list(img.getdata())

    print(f"const uint16_t {var_name}[] PROGMEM = {{")
    values = []
    for r, g, b in pixels:
        # Pack into RGB565
        rgb565 = ((r & 0xF8) << 8) | ((g & 0xFC) << 3) | (b >> 3)
        # Swap bytes for big-endian SPI
        rgb565 = ((rgb565 & 0xFF) << 8) | (rgb565 >> 8)
        values.append(f"0x{rgb565:04X}")

    print(", ".join(values))
    print(f"}};")
    print(f"const int {var_name.upper()}_WIDTH = {width};")
    print(f"const int {var_name.upper()}_HEIGHT = {height};")

convert_to_rgb565_array("logo.png", "my_logo")
Storing Images in PROGMEM on Arduino
On AVR-based Arduinos (Uno, Nano, Mega), large arrays must be stored in flash using PROGMEM to avoid filling up the tiny 2 KB SRAM.
#include <avr/pgmspace.h>
#include "my_logo.h" // Your converted image header

// Reading from PROGMEM
uint16_t pixel = pgm_read_word(&my_logo[row * MY_LOGO_WIDTH + col]);
On ESP32 and ESP8266, PROGMEM is optional (all data is in flash anyway) but still a good practice for clarity. The ESP32 Arduino Core maps PROGMEM to a no-op, so the same code compiles for both platforms.
Storing JPEG/BMP in SPIFFS/LittleFS on ESP32
For larger images or dynamic image loading, store images in the ESP32’s onboard flash filesystem and decode them at runtime.
Setting Up LittleFS
- Install the Arduino ESP32 LittleFS Filesystem Uploader plugin for Arduino IDE
- Create a
datafolder in your sketch directory - Place your
.jpgor.bmpfiles in thedatafolder - In Arduino IDE, go to Tools → ESP32 LittleFS Data Upload
Displaying a JPEG with TJpg_Decoder
#include <TFT_eSPI.h>
#include <TJpg_Decoder.h>
#include <LittleFS.h>

TFT_eSPI tft = TFT_eSPI();

bool tft_output(int16_t x, int16_t y, uint16_t w, uint16_t h, uint16_t *bitmap) {
  if (y >= tft.height()) return 0;
  tft.pushImage(x, y, w, h, bitmap);
  return 1;
}

void setup() {
  tft.init();
  LittleFS.begin();
  TJpgDec.setJpgScale(1);        // 1:1 scale
  TJpgDec.setCallback(tft_output);
  TJpgDec.drawFsJpg(0, 0, "/logo.jpg");
}
Displaying a BMP
For BMP files, TFT_eSPI includes a drawBmp() function that reads directly from SPIFFS/LittleFS. BMP files must be saved as 16-bit or 24-bit uncompressed BMP format (not RLE-compressed).
Displaying Images with TFT_eSPI
Once you have your image as a C array, displaying it is straightforward with TFT_eSPI:
#include <TFT_eSPI.h>
#include "my_logo.h"

TFT_eSPI tft = TFT_eSPI();

void setup() {
  tft.init();
  tft.setRotation(0);
  tft.fillScreen(TFT_BLACK);

  // Display the image at top-left corner (0, 0)
  tft.pushImage(0, 0, MY_LOGO_WIDTH, MY_LOGO_HEIGHT, my_logo);

  // Or center it on a 240x320 display:
  int x = (240 - MY_LOGO_WIDTH) / 2;
  int y = (320 - MY_LOGO_HEIGHT) / 2;
  tft.pushImage(x, y, MY_LOGO_WIDTH, MY_LOGO_HEIGHT, my_logo);
}
The pushImage() function sends the pixel data directly to the display via SPI — extremely fast, even for full-screen 240×320 images.
Animated Sprite from Image Array
You can store multiple animation frames in a single array and cycle through them for sprite animation:
// sprite_sheet.h: 4 frames of 50x50 pixels
// Total array size: 50 * 50 * 4 = 10,000 uint16_t values
const int FRAME_W = 50, FRAME_H = 50;
const int FRAME_COUNT = 4;

int frame = 0;
void loop() {
  int offset = frame * FRAME_W * FRAME_H;
  tft.pushImage(95, 135, FRAME_W, FRAME_H, &sprite_sheet[offset]);
  frame = (frame + 1) % FRAME_COUNT;
  delay(100); // 10 fps
}

LM35 Temperature Sensor
Add a temperature sensor to your TFT display project. Show readings overlaid on custom background images converted to C arrays.

DHT11 Temperature & Humidity Sensor
Display temperature and humidity on your TFT over a custom background image. Perfect for a weather station with splash-screen logo display.
GY-BME280-5V Sensor Module
Build a professional weather station that shows sensor data over a custom background image on your TFT. Converted PNG backgrounds add a premium look.

BMP280 Barometric Pressure Sensor
Pair with an ESP32 TFT display to show altitude and pressure over a custom map or gauge image background stored in LittleFS.
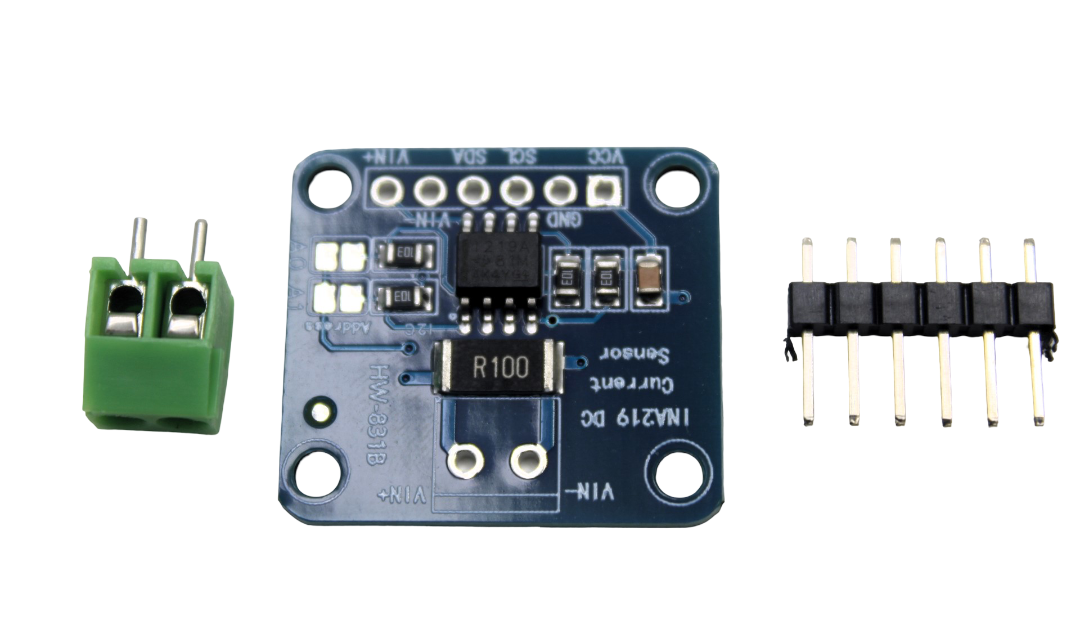
INA219 I2C Current / Power Monitor
Build a power analyser with a custom TFT UI — display a circuit diagram background image converted to C array with live current readings overlaid.
Frequently Asked Questions
Q1: Why does my image show wrong colours or look garbled?
The most common causes are: (1) wrong byte order — try swapping high and low bytes in the RGB565 value, (2) wrong colour format selected during conversion (RGB565 vs BGR565), or (3) image dimensions in the code don’t match the actual array size. Always double-check width and height constants match the converted image.
Q2: How large can my image be for an Arduino Uno?
Arduino Uno has 32 KB flash total, and your sketch takes some of that. Realistically, a 100×60 pixel image takes about 12 KB, leaving 20 KB for code. A 128×64 monochrome image takes just 1 KB. For colour images, an ESP32 with 4 MB flash is far more practical.
Q3: Can I display transparent PNG images on a TFT?
TFT displays do not support transparency natively. You can simulate transparency by designating one colour as a transparent colour and skipping those pixels during rendering. Alternatively, set the background colour in your converter tool to match the display background before converting.
Q4: What is the difference between pushImage() and drawBitmap()?
pushImage() in TFT_eSPI sends a block of 16-bit RGB565 pixel data directly and is very fast (uses DMA on ESP32). drawBitmap() in Adafruit GFX handles 1-bit (monochrome) PROGMEM images with a foreground and background colour. Use pushImage() for colour photos and icons.
Q5: How do I convert a JPEG to a C array instead of a BMP?
For JPEG, use the TJpg_Decoder library with SPIFFS storage — this is more memory-efficient than a raw C array since JPEG compression reduces file size significantly. Alternatively, decode the JPEG offline using a Python script with Pillow (img.convert('RGB')) and export the raw RGB565 pixel data as a C array.
Build Your Next TFT Display Project Today
Find ESP32 boards, TFT display modules, and sensor components for all your display projects at Zbotic.in — India’s maker-friendly electronics store.


Add comment