
SH1106 vs SSD1306: Difference Between 128×64 OLED Drivers
If you have ever ordered a 0.96″ or 1.3″ OLED display module for your Arduino project and found the image shifted or the wrong library behaviour, you have run into the SH1106 vs SSD1306 OLED difference. These are two distinct display driver ICs that look nearly identical on the outside but require different libraries and have different internal architectures. This comparison guide explains every meaningful difference between the two chips, how to identify which one you have, and how to write code that works correctly with both — essential knowledge for any Indian maker working with OLED displays.
Quick Overview: SSD1306 vs SH1106
Here is the essential comparison at a glance:
| Feature | SSD1306 | SH1106 |
|---|---|---|
| Manufacturer | Solomon Systech | Sino Wealth / Sinowealth |
| Internal RAM | 128×64 (exact) | 132×64 (wider by 4 pixels) |
| Visible pixels | 128×64 | 128×64 |
| Data write mode | Sequential (stream to full buffer) | Page-by-page (column pointer resets) |
| Horizontal address auto-increment | Yes (wraps at column 127) | No (wraps at column 131, must reset manually) |
| Interfaces | I2C, SPI (4-wire), SPI (3-wire), parallel | I2C, SPI (4-wire) |
| Max clock speed (I2C) | 400kHz (Fast mode) | 400kHz (Fast mode) |
| Supply voltage | 1.65V–3.3V (logic), 7V–15V (panel) | 1.65V–3.3V (logic), 7V–18V (panel) |
| Charge pump | Internal (no external caps needed) | External caps required (C7, C8) |
| Library support | Excellent (Adafruit, U8g2, many more) | Good (U8g2, ThingPulse, dedicated libraries) |
| Common module sizes | 0.96″, 0.91″, 1.3″ (some) | 1.3″, 0.96″ (some) |
Internal Architecture Differences
The most important architectural difference between SSD1306 and SH1106 is how they handle display RAM addressing:
SSD1306 uses a horizontal addressing mode where you can stream the entire 1024-byte frame buffer in one continuous I2C transaction. After sending column address 127 in a row, the controller automatically wraps to column 0 of the next row. This means sending a full 128×64 update is as simple as one large burst write — fast, efficient, and easy for library authors to implement. This is why SSD1306 has become the default and most well-supported OLED driver.
SH1106 uses a page addressing mode only. Its internal RAM is 132 columns wide, but only columns 2–129 map to the visible 128 pixels (with a 2-column offset on the left). You must send each of the 8 horizontal pages (rows of 8 pixels) separately, resetting the column pointer at the start of each page. This makes full-screen updates slightly more complex in software — each page needs its own set-page and set-column commands before the data bytes.
This architectural difference is why SSD1306 code does not produce correct output on an SH1106 display: the SSD1306 library streams data starting from column 0 of the SH1106’s internal RAM — but column 0 and column 1 of the SH1106 are invisible (outside the 128-pixel visible window), so the first 2 pixels of every page are lost, causing the characteristic 2-column horizontal shift.
How to Identify Your OLED Driver IC
There are several ways to determine which driver IC your OLED module uses:
Method 1 — Read the chip markings: Look at the small IC on the back of the OLED module with a magnifying glass. The markings will say SSD1306, SH1106, or SH1107. This is the definitive method.
Method 2 — Module size clue: The 0.96″ OLED module is most commonly SSD1306. The 1.3″ OLED is almost always SH1106 (sold as the “bigger 0.96″ equivalent”). This is a useful heuristic but not 100% reliable — some 1.3″ modules use SH1107 (which is a 128×128 variant).
Method 3 — Software test: Upload a sketch using the SSD1306 Adafruit library. If your image is offset 2 pixels to the right (or left 2 columns are blank), you have an SH1106. If the image displays correctly centred, you have an SSD1306.
Method 4 — Product listing: Check the seller’s listing or the module’s silk screen text. Reputable sellers (including Zbotic) list the driver IC in the product description. Look for “SSD1306” or “SH1106” or “SSH1106” in the title or specifications.
Which Display Sizes Use Which Driver?
| Display Size | Resolution | Common Driver IC | Notes |
|---|---|---|---|
| 0.91″ | 128×32 | SSD1306 | Always SSD1306 |
| 0.96″ | 128×64 | SSD1306 (most), SH1106 (some) | Verify by testing or markings |
| 1.3″ | 128×64 | SH1106 (most), SSD1306 (some) | White modules often SH1106 |
| 1.3″ | 128×128 | SH1107 | Square display — different chip |
| 2.42″ | 128×64 | SSD1309 | Compatible with SSD1306 code |
The key takeaway: if you bought a 1.3″ 128×64 OLED, assume SH1106 until proven otherwise. Use the SH1106-specific library or U8g2 with the SH1106 constructor. If you bought a 0.96″ 128×64, try SSD1306 first — it works on the majority of modules that size.
Library Compatibility Comparison
Adafruit SSD1306: Works only with SSD1306. Extremely well documented, huge community support, integrates with Adafruit GFX for shapes and fonts. If you use this on an SH1106, you will get the 2-column offset issue.
ThingPulse ESP8266/ESP32 OLED SSD1306: SSD1306 only (despite the name suggesting otherwise). Optimised for ESP boards with a simpler API. Great for fast prototyping on NodeMCU or ESP32 DevKit.
U8g2 by olikraus: The universal choice — supports both SSD1306 AND SH1106 (and dozens of other display drivers) with identical API. You only change the constructor line when switching between display types. This is the recommended library if you buy from multiple vendors and want a single codebase.
u8x8: The text-only companion to U8g2 — no frame buffer, very low RAM usage, tile-based drawing. Works with both SSD1306 and SH1106. Ideal for AVR-based boards (Uno, Nano) where the 1024-byte U8g2 buffer is tight.
Dedicated SH1106 libraries: Several exist on GitHub (greiman/SH1106, Khoi-Nguyen/SH1106). They mirror the Adafruit SSD1306 API closely, making code migration easier if you already know Adafruit GFX.
The Image Offset Problem Explained
The 2-column offset is the most visible difference when using the wrong library. Here is exactly what happens:
When you call display.display() in the Adafruit SSD1306 library, it sends a command to set the column address range from 0 to 127, then streams all 1024 bytes sequentially. The SH1106 receives this command but maps column 0 to its internal column 0 — which corresponds to physical column index -2 (invisible, off-screen left). The visible display starts at the SH1106’s column 2. So the first 2 bytes of each 8-pixel-tall page land in invisible columns, and everything visible is shifted 2 pixels to the left.
The SH1106-compatible library fixes this by issuing a Set Column Address = 0x02 command at the start of each page write, telling the controller to start writing data at column 2 (the first visible column) instead of column 0.
If you are adapting existing SSD1306 code for an SH1106 and do not want to change libraries, you can manually add this offset in your data transmission loop — but using a proper SH1106 library is far cleaner.
Power Consumption and Performance
In practice, SSD1306 and SH1106 modules consume similar amounts of power at the same brightness setting. The dominant power draw comes from the OLED panel LEDs, not the driver IC. At 128×64 all pixels white at full brightness, both modules draw approximately 20–30mA from the 3.3V supply.
Display update speed is where the difference is more noticeable:
- SSD1306: Full 128×64 update via I2C at 400kHz ≈ 20ms (one continuous burst transaction)
- SH1106: Full 128×64 update via I2C at 400kHz ≈ 25–30ms (8 separate page transactions with set-page and set-column commands between each)
This difference is imperceptible in normal use. Both displays update smoothly faster than the human eye can detect flicker. Only for very fast animation or high-frequency data logging would the extra 10ms matter.
SPI vs I2C speed: Both ICs support SPI mode which is dramatically faster than I2C — a full-screen update takes under 2ms over SPI at 8MHz. If you need fast animation or want to display rapidly changing graphs, use the SPI-wired version of your OLED module (requires 5 wires instead of 2, but screen updates are ~15× faster).
Code Examples for Both ICs
SSD1306 with Adafruit library (128×64, I2C):
#include <Wire.h>
#include <Adafruit_GFX.h>
#include <Adafruit_SSD1306.h>

Adafruit_SSD1306 display(128, 64, &Wire, -1);

void setup() {
  if (!display.begin(SSD1306_SWITCHCAPVCC, 0x3C)) {
    Serial.println("SSD1306 init failed");
    for(;;);
  }
  display.clearDisplay();
  display.setTextSize(1);
  display.setTextColor(SSD1306_WHITE);
  display.setCursor(0, 0);
  display.println("SSD1306 OLED Ready");
  display.println("Zbotic.in");
  display.display(); // Push buffer to screen
}

void loop() {}
SH1106 using U8g2 (same code works for both with constructor change):
#include <U8g2lib.h>
#include <Wire.h>

// SH1106 constructor - change to SSD1306 line below for SSD1306 modules
U8G2_SH1106_128X64_NONAME_F_HW_I2C u8g2(U8G2_R0, U8X8_PIN_NONE);

// For SSD1306 module, use this instead:
// U8G2_SSD1306_128X64_NONAME_F_HW_I2C u8g2(U8G2_R0, U8X8_PIN_NONE);

void setup() {
  u8g2.begin();
}

void loop() {
  u8g2.clearBuffer();
  u8g2.setFont(u8g2_font_ncenB10_tr);
  u8g2.drawStr(0, 20, "SH1106 Working!");
  u8g2.setFont(u8g2_font_ncenB08_tr);
  u8g2.drawStr(0, 45, "Zbotic.in");
  u8g2.sendBuffer();
  delay(2000);
}
Drawing graphics — rectangle and circle example (works same for both with U8g2):
void loop() {
  u8g2.clearBuffer();

  // Draw border rectangle
  u8g2.drawFrame(0, 0, 128, 64);

  // Draw filled circle in centre
  u8g2.drawDisc(64, 32, 20);

  // Text in white (inverted) inside circle
  u8g2.setDrawColor(0); // XOR mode
  u8g2.setFont(u8g2_font_ncenB08_tr);
  u8g2.drawStr(51, 36, "OK");
  u8g2.setDrawColor(1); // Back to normal

  u8g2.sendBuffer();
  delay(1000);
}
Which Should You Buy for Your Project?
For most beginners and intermediate makers in India, the recommendation is:
Buy the 0.96″ SSD1306 module for your first OLED project. It has the broadest library support, the most tutorials and examples available in English and Hindi on YouTube, and the least chance of driver-related confusion. The Adafruit SSD1306 library works flawlessly, and the I2C interface needs only 4 wires.
Choose the 1.3″ SH1106 module when you need a larger screen with the same 128×64 resolution — individual pixels appear bigger (0.015″ per pixel vs 0.0097″), making it easier to read from a distance. Use U8g2 library to avoid offset issues, and use the SH1106 constructor.
Buy the SPI version of either module when you are building a game, oscilloscope display, or any application that needs fast screen updates (animation, waveform display). SPI updates are 10–15x faster than I2C.
Price difference between SSD1306 and SH1106 modules in India is negligible — typically ₹50–100. The decision should be based on screen size, not price.

DHT11 Temperature and Humidity Sensor Module
A perfect first project with your SSD1306 or SH1106 OLED — display live temperature and humidity readings on your 128×64 screen.

DHT20 SIP Packaged Temperature and Humidity Sensor
I2C sensor that shares the bus with your OLED — upgraded accuracy over DHT11, ideal for a weather station with SSD1306 or SH1106 display.

BMP280 Barometric Pressure and Altitude Sensor I2C Module
Chain this I2C pressure sensor with your OLED display to build a compact weather station showing pressure, altitude, and temperature on screen.
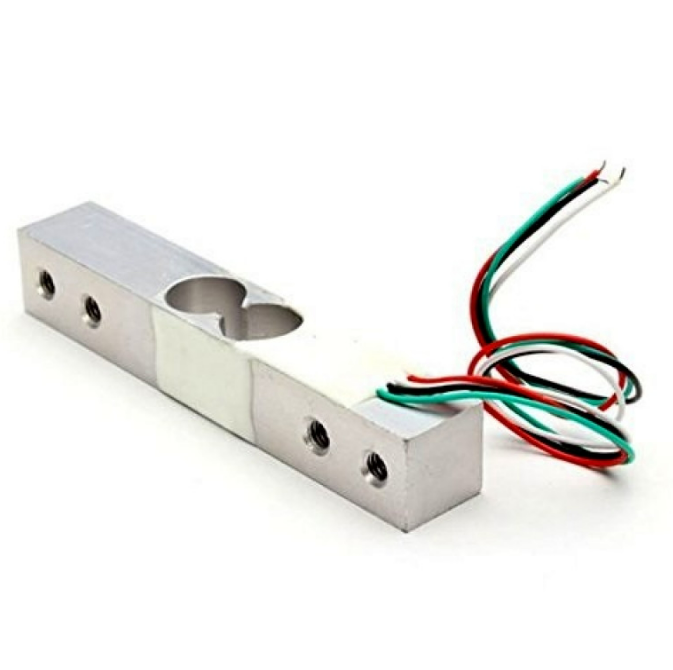
10Kg Load Cell — Electronic Weighing Scale Sensor
Build a digital weighing scale — pair with HX711 ADC and your OLED display to show live weight readings on a 128×64 screen.
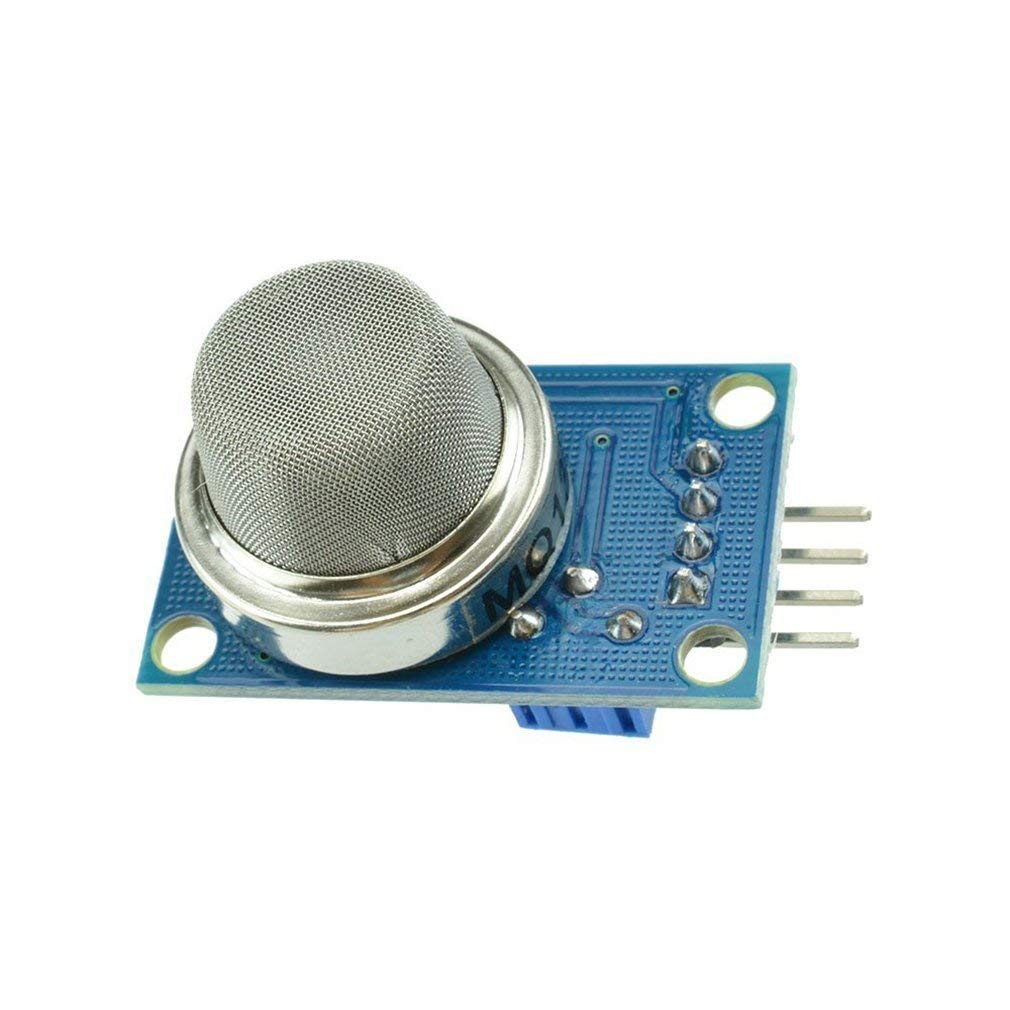
MQ-135 Air Quality / Gas Detector Sensor Module
Build an indoor air quality monitor — connect to Arduino and display AQI levels and gas concentration on your 128×64 OLED panel.
FAQ
Q1: My 1.3″ OLED display works but text is shifted 2 columns to the right — what is the fix?
Your 1.3″ display almost certainly uses an SH1106 driver but your code is using the SSD1306 library. Switch to U8g2 with the U8G2_SH1106_128X64_NONAME_F_HW_I2C constructor, or use a dedicated SH1106 library. This is the most common symptom of SSD1306 code running on an SH1106 module.
Q2: Is the SH1106 better or worse than SSD1306?
Neither is inherently better — they are different designs. SSD1306 has an advantage in library support and update simplicity. SH1106 has a slight advantage in the available panel drive voltage range. Image quality from the OLED panel itself is identical — both are used in high-quality displays. Choose based on which size module you need, not the driver IC preference.
Q3: Can I use a single sketch to support both SSD1306 and SH1106 displays?
Yes. With U8g2, you can define the constructor using a preprocessor #define flag and compile for either IC. Alternatively, detect the module at runtime by attempting to initialise both driver types in sequence and using the one that succeeds. Some community projects use this approach for hardware-agnostic OLED support.
Q4: Does U8g2 use more RAM than Adafruit SSD1306?
U8g2 in full buffer mode (_F_) uses the same 1024 bytes of frame buffer as Adafruit SSD1306 for a 128×64 display. U8g2 in page buffer mode (_1_ or _2_) uses dramatically less RAM (128 or 256 bytes) at the cost of multiple draw passes per update — ideal for Arduino Uno/Nano where RAM is scarce. Adafruit SSD1306 always uses the full 1024-byte buffer.
Q5: Can I run both an SSD1306 and an SH1106 display simultaneously on one Arduino?
Yes. Use different I2C addresses (0x3C and 0x3D) and initialise two separate U8g2 instances with the correct constructor for each display. Both can share the same SDA/SCL bus. This is useful for projects that need two displays showing different information — e.g., one for sensor data and one for status messages.
Build Your OLED Display Project with the Right Components
Now that you know the difference between SH1106 and SSD1306, you can shop and code with confidence. Whether you need a compact 0.96″ SSD1306 for a sensor dashboard or a larger 1.3″ SH1106 for a weather station, Zbotic has what you need.
Explore display modules and sensors at Zbotic.in — trusted by Indian makers nationwide, with fast shipping across India.


Add comment