
GRBL is one of the most impactful open-source projects in the maker community. This small, highly optimised firmware for the Arduino Uno transforms a ₹300 microcontroller board into the brain of a fully functional CNC machine. Tens of thousands of hobbyist CNC machines around the world — and a growing number across India — are powered by GRBL. If you’re building your own CNC router, converting a manual machine to CNC, or just want to understand how your existing GRBL machine works, this guide is for you.
We’ll cover everything from understanding what GRBL does, to wiring your stepper drivers, flashing the firmware, configuring it for your machine, and running your first job. By the end of this guide, you’ll have a complete understanding of the GRBL ecosystem.
What Is GRBL and Why Use It?
GRBL (pronounced “gerbil”) is open-source firmware written in optimised C that runs on an Arduino Uno (ATmega328P). It interprets G-code commands — the industry-standard CNC programming language — and translates them into precise step/direction signals for your stepper motor drivers. What makes GRBL remarkable is how much capability it packs into a tiny 8-bit microcontroller: real-time feed rate override, look-ahead motion planning, configurable acceleration, homing cycles, probing, and more.
The latest stable version is GRBL 1.1. There is also a 32-bit fork called GRBL-ESP32 that runs on the ESP32 microcontroller for those needing faster processing, Wi-Fi connectivity, or more I/O pins.
For Indian makers, GRBL offers unbeatable value. The Arduino Uno is widely available and affordable, stepper drivers like the A4988 and DRV8825 cost ₹50–₹150 each, and the entire controller system can be built for under ₹2,000 — versus proprietary controllers that cost ₹5,000–₹30,000+.
Hardware You Need
Microcontroller
- Arduino Uno R3 — The standard choice for GRBL. Widely available in India from ₹250 (clone) to ₹800 (genuine). Works with GRBL 1.1 out of the box.
- CNC Shield for Arduino — A convenient carrier board that plugs directly onto the Arduino Uno and provides four stepper driver slots (X, Y, Z, A), spindle PWM, coolant, and limit switch connections. Available for ₹150–₹350 in India.
Stepper Drivers
The stepper driver converts the Arduino’s step/direction signals into the actual current pulses that drive your stepper motors. Common options in India:
- A4988 — Most affordable (₹50–₹80 each), handles up to 2A per phase, 1/16 microstepping. Fine for small machines with NEMA 17 motors. Runs hot — needs a heatsink.
- DRV8825 — A step up (₹80–₹120), handles up to 2.5A, supports 1/32 microstepping for smoother motion. Better thermal performance than A4988.
- TMC2208 / TMC2209 — The premium choice (₹150–₹250 each). Silent stepper operation thanks to Trinamic’s spreadCycle/stealthChop technology. If you’re running a CNC machine in an apartment or office in India, these dramatically reduce noise complaints.
Stepper Motors
- NEMA 17 — Standard for desktop and hobby CNC machines. 40–65Ncm holding torque variants available. Good for machines up to 500×500mm with light cutting work.
- NEMA 23 — Required for larger machines and more demanding cutting. Typically needs higher-voltage dedicated drivers (TB6600, DM542) rather than the small drivers above.
Power Supply
GRBL and the CNC shield run on 5V from the Arduino’s USB. Your stepper drivers need a separate power supply — typically 12V or 24V. A 12V 5A–10A SMPS (Switch Mode Power Supply) is standard for small machines with A4988/DRV8825 drivers. If using NEMA 23 motors, consider 24V or 36V to get better high-speed performance from the motors.
Limit Switches
GRBL supports homing via limit switches on each axis. Normally-closed (NC) switches are strongly preferred — they fail safe (the machine stops) if a wire breaks. Simple micro-switches or optical limit switches both work. Budget ₹30–₹80 per switch.
Spindle
GRBL can control spindle speed via PWM output. A DC spindle motor (like the popular 775 or 555 type) can be controlled directly through a PWM-driven MOSFET. An AC spindle with a VFD (Variable Frequency Drive) can receive its speed reference from GRBL’s 0–5V or PWM output.
Complete Wiring Guide
The CNC shield makes wiring significantly easier by providing labeled headers for everything. Here is the complete connection map:
Stepper Driver Installation
Insert your stepper drivers into the shield slots (X, Y, Z, A). Ensure the driver is oriented correctly — the potentiometer (voltage trimmer) faces towards the USB connector side on standard CNC shields. If reversed, you’ll damage the driver immediately on power-up.
Set stepper driver current limit before connecting your motors. Use a multimeter on the potentiometer wiper pin referenced to ground. For A4988: Vref = (I_limit × 8 × R_sense). For a typical NEMA 17 at 1A: Vref = 0.4V (with 0.05Ω sense resistors on most clones). Start low and adjust up gradually while checking motor temperature.
Motor Connections
Identify your motor’s two coil pairs using a multimeter (resistance between paired wires). Connect each coil pair to the A1/A2 and B1/B2 terminals on the driver. Wrong wiring will cause the motor to vibrate without rotating — just swap one pair’s connections. If the motor runs backwards, either swap the motor direction in GRBL settings or reverse one coil pair.
Limit Switch Wiring
Connect normally-closed limit switches between the signal pin and ground on the shield’s limit switch headers. Enable hard limits in GRBL settings ($21=1) and enable the pullup resistors ($22=1 — note: this sets homing, also ensure internal pullups are enabled via the firmware or external resistors).
Spindle Control
The CNC shield provides a spindle enable and PWM pin. For a DC motor spindle with a MOSFET driver, connect PWM → gate, spindle enable → relay trigger. For a VFD-controlled AC spindle, consult your VFD manual for the 0–10V or PWM input configuration.
Flashing GRBL Firmware to Arduino
Flashing GRBL is straightforward using the Arduino IDE. Here are the exact steps:
- Download the Arduino IDE from arduino.cc (free)
- Download the GRBL 1.1 source from GitHub: github.com/gnea/grbl
- In Arduino IDE, go to Sketch → Include Library → Add .ZIP Library and select the downloaded GRBL zip file
- Open File → Examples → GRBL → grblUpload
- Select Board: Arduino Uno and the correct COM port your Arduino is connected to
- Click Upload and wait for the upload to complete
- Open Serial Monitor (Ctrl+Shift+M), set baud rate to 115200, and you should see GRBL’s startup message
If you see garbled text in the serial monitor, your baud rate is wrong — set it to 115200 exactly.
Configuring GRBL Settings
GRBL is configured via dollar-sign parameters sent over serial. Type $$ in the serial monitor to see all current settings. The most important parameters to configure for your specific machine:
Essential Settings
- $0 — Step pulse time (default 10 microseconds, usually fine)
- $1 — Step idle delay (time motors stay energised after move; 25–255 ms)
- $2 — Step port invert mask (invert step signals if needed)
- $3 — Direction port invert mask (set which axes run backwards; e.g. $3=4 inverts Z axis)
- $4 — Step enable invert (some drivers need this inverted)
- $100, $101, $102 — Steps/mm for X, Y, Z (the most critical settings — calibrate these!)
- $110, $111, $112 — Maximum feed rates for X, Y, Z (mm/min)
- $120, $121, $122 — Acceleration for X, Y, Z (mm/sec²)
- $130, $131, $132 — Maximum travel for X, Y, Z (sets the soft limits)
- $20 — Soft limits enable (1=enabled)
- $21 — Hard limits enable (1=enabled)
- $22 — Homing cycle enable (1=enabled)
Calibrating Steps Per Millimetre
Steps per millimetre is the most critical configuration value. It tells GRBL how many stepper pulses are needed to move the machine exactly 1mm. The formula is:
Steps/mm = (Motor steps per revolution × Microstepping factor) ÷ (Lead screw pitch in mm)
For a standard setup: NEMA 17 motor (200 steps/rev) × 16 microstepping ÷ 8mm pitch lead screw = 400 steps/mm
For belt-driven axes: Steps/mm = (200 steps × microstepping) ÷ (pulley teeth × belt pitch in mm). Example: 200 × 16 ÷ (20 teeth × 2mm GT2 belt) = 80 steps/mm
After calculating theoretically, always verify empirically: command a move of exactly 100mm, measure the actual movement with calipers, and adjust. If you commanded 100mm and got 97mm: new steps/mm = old steps/mm × (100 ÷ 97).
Sender Software: Connecting Your Computer
GRBL communicates via USB serial. You need sender software to send G-code files to the machine, jog the axes manually, set origins, and run jobs. Popular options for Indian users:
Universal G-Code Sender (UGS)
Free, open-source, runs on Windows/Mac/Linux. The UGS Platform edition has an excellent interface with real-time jog controls, visualiser, and macros. Most popular choice in the Indian GRBL community.
Candle (GRBL Panel)
Lightweight and fast. Popular for its simplicity and small footprint. Works well on older/lower-spec computers common in small Indian workshops.
bCNC
Python-based, excellent PCB probing support with auto-levelling for PCB milling. Best choice if PCB milling is your primary use case.
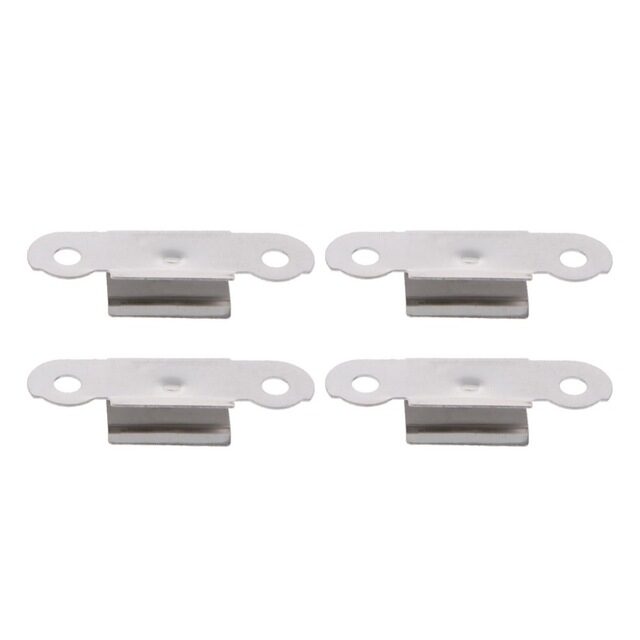
3D Printer Build Platform Glass Retainer Heated Bed Clip (Pack of 4)
Stainless steel bed clips for securing your workpiece surface — the same workholding principle applies in CNC milling: secure the workpiece firmly before cutting.
Running Your First CNC Job
Before your first real cut, do a dry run (air milling) — run the entire job with the spindle off and the tool raised 10mm above the surface. Watch for unexpected movements, check that the toolpath stays within your work area, and verify the machine doesn’t crash into its limits.
Workflow Summary
- Design your part in CAD software (Fusion 360, Inkscape, etc.)
- Import into CAM software and set toolpaths, feed rates, and cutting depth
- Export G-code file
- Open G-code in your sender software
- Home the machine ($H to home if homing enabled, or manually jog to home)
- Set work origin (zero XYZ at your workpiece reference point)
- Do a dry run at safe height
- Enable spindle, confirm speed, run the job
Safe Feed Rates for First Cuts
Start slow. For wood: 800–1200 mm/min feed rate, 1–2mm depth of cut. For PCB copper: 200–400 mm/min, 0.1–0.15mm depth. You can always push faster once you know your machine is working correctly.
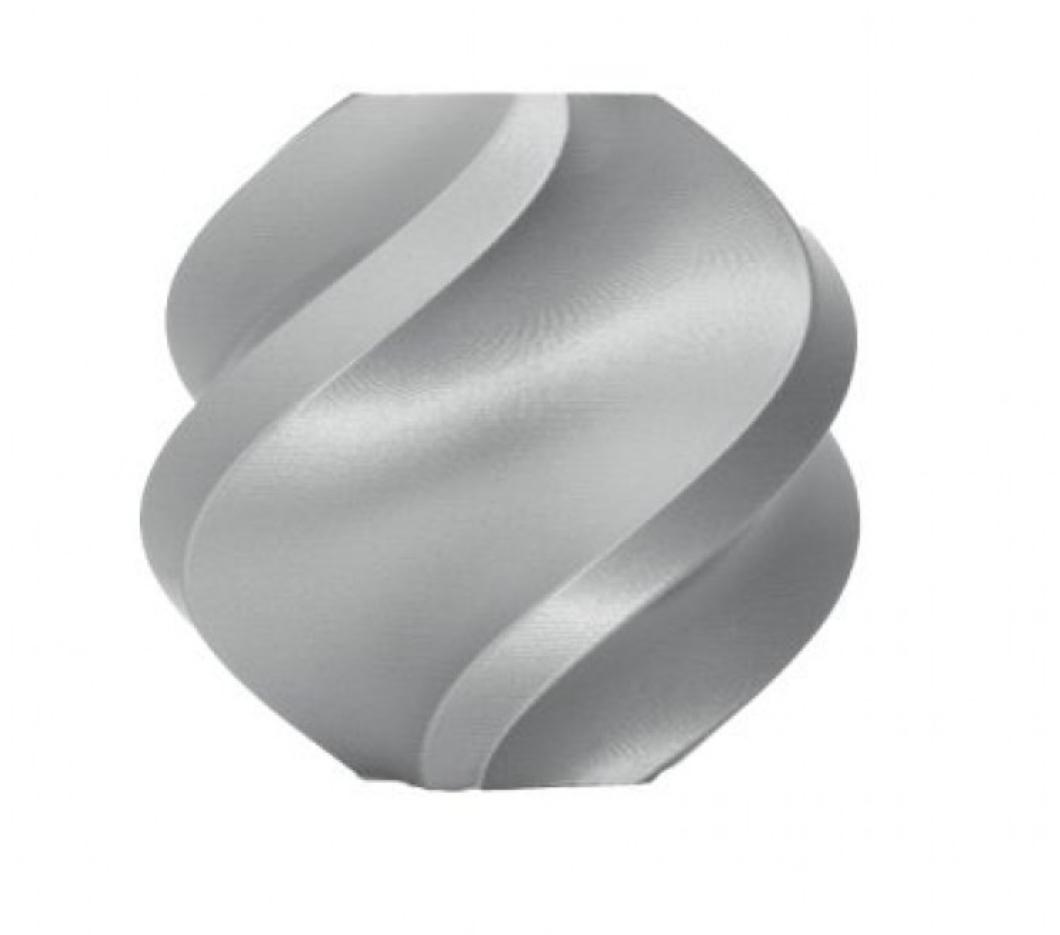
Bambu Lab PLA 3D Printer Filament Silver – 1.75mm with Reusable Spool
High-quality PLA from Bambu Lab for 3D printing — complement your GRBL CNC machine with a 3D printer for a complete maker workshop.
Troubleshooting Common GRBL Issues
Machine Moves in Wrong Direction
Adjust the $3 direction invert mask. Each bit corresponds to an axis (bit 0=X, bit 1=Y, bit 2=Z). To invert Z axis only: $3=4 (binary 100). To invert X and Y: $3=3 (binary 011). Alternatively, physically swap one coil pair on the motor connector.
GRBL Reports “Alarm: Hard Limit”
A limit switch was triggered during a move. Unlock with $X, check that your work origin isn’t set outside the machine’s travel limits, and verify limit switches are wired correctly (NC type between signal and ground).
Stepper Motors Stalling Under Load
Increase driver current (turn Vref pot up slowly). Check that your power supply is rated for the total motor current draw. Lower your acceleration values ($120/$121/$122) — this is the most common cause of stalls on acceleration. Ensure lead screws are clean and properly lubricated.
Poor Surface Quality (Chatter/Vibration)
Reduce feed rate, reduce depth of cut, tighten any loose mechanical connections, check V-wheel or linear bearing preload, and verify spindle is properly secured. Also check for loose stepper motor couplers — these are a very common overlooked cause of chatter.
GRBL Loses Position Mid-Job
Electrical interference from the spindle motor is the most common cause. Ensure your USB cable is shielded, add ferrite chokes to spindle motor cables, and keep stepper driver cables away from spindle cables. Ground your machine frame properly.
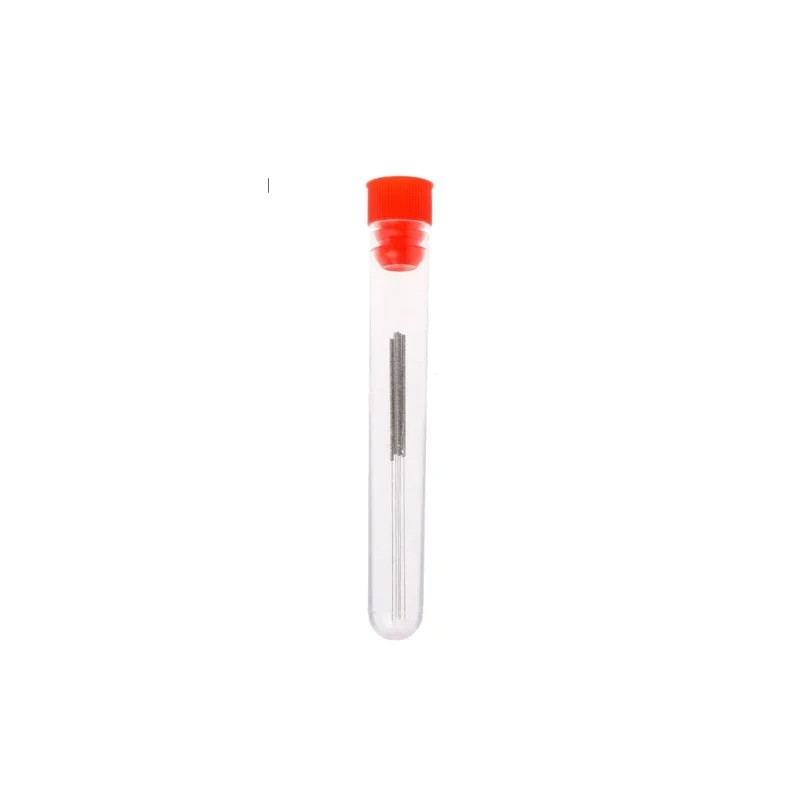
0.4mm Stainless Steel Nozzle Cleaning Needle (Pack of 10)
Fine stainless steel cleaning needles — as useful in a maker workshop as a set of small drill bits for clearing fine passages in tooling and fixtures.
Frequently Asked Questions
Can GRBL control 4 or more axes?
GRBL 1.1 supports X, Y, Z, and a fourth A-axis (clone of X for dual-motor gantries, or a rotary axis). GRBL-ESP32 and FluidNC (its successor) support more axes and additional features. For machines needing 5+ axes, look at LinuxCNC or commercial controllers.
What is the difference between GRBL and Marlin?
Both are open-source firmware for motion control, but they’re designed for different machines. GRBL is optimised for CNC milling/routing with proper G-code interpretation, hard/soft limits, and feed rate overrides. Marlin is designed for 3D printers with features like thermal management, bed levelling, and filament runout. Don’t use Marlin for CNC routing.
Is GRBL suitable for laser engravers too?
Yes. GRBL 1.1 has laser mode ($32=1) which enables dynamic power control during movement — the spindle PWM output is used to control laser power. Many of the affordable diode laser engravers popular in India (xTool, Sculpfun, etc.) use GRBL as their controller firmware.
What’s the maximum speed of a GRBL machine?
GRBL on an Arduino Uno can handle step rates up to ~30,000 steps/second. With typical microstepping (1/16) and steps/mm settings, this limits maximum speed to around 3,000–5,000 mm/min on most configurations. For faster machines, GRBL-ESP32 running on a 240MHz ESP32 handles much higher step rates.
Do I need a dedicated computer to run GRBL?
No. While a dedicated laptop or desktop is convenient, a Raspberry Pi 3 or 4 running cncjs or Octoprint (with CNC modifications) can serve as a dedicated, low-cost machine controller. Many Indian makers use an old Android tablet with OTG USB for a clean touchscreen sender interface.
Build Your CNC Project with Zbotic Components
Find Arduino boards, stepper drivers, 3D printer components, and maker supplies at Zbotic — shipped fast across India with reliable after-sales support.


Add comment