
If you’ve ever wrestled with a pocket knife trying to strip wire insulation or struggled to make a reliable crimp connection, you already know why a dedicated wire stripper and crimping tool is one of the most essential items in any electronics toolkit. Whether you’re building Arduino projects, repairing home appliances, or setting up solar panels, the right wire stripper and crimping tool for electronics in India can save hours of frustration and prevent dangerous loose connections.
In this comprehensive buying guide, we walk you through everything you need to know — from the different types of wire strippers and crimpers to the top options available at Zbotic — so you can make a confident purchase that lasts for years.
Why Every Electronics Hobbyist Needs These Tools
Bare hands and improvised tools simply cannot produce the consistent, safe wire connections that professional-grade work demands. A proper wire stripper removes insulation cleanly without nicking the conductor, which would otherwise weaken it and create a hotspot. A good crimping tool compresses a connector terminal onto the wire with precise force — far more reliably than pliers.
Here’s what you gain with dedicated tools:
- Safety: No slipped blade cutting your fingers or the conductor itself.
- Speed: Strip dozens of wires in minutes instead of seconds per wire the slow way.
- Reliability: Crimped connections have lower contact resistance and resist vibration better than hand-twisted joints.
- Professionalism: Clean strips and crimps are the hallmark of quality workmanship.
Whether you’re wiring a Raspberry Pi HAT, assembling a 3D printer harness, or doing automotive electrical work, these tools pay for themselves on the very first project.
Types of Wire Strippers Explained
Not all wire strippers are created equal. Here’s a breakdown of the major varieties:
Manual Fixed-Hole Wire Strippers
These are the most affordable type. They feature multiple notches for different wire gauges (typically AWG 10 through AWG 24 or 26). You pick the correct notch, squeeze, and pull. They work well for standard single-strand and stranded wire in moderate quantities. The downside is that you must correctly match the gauge — use the wrong hole and you’ll either nick the conductor or not strip at all.
Automatic / Self-Adjusting Wire Strippers
These are the tool of choice for production environments and serious hobbyists. A single squeeze action grips, scores, and pulls the insulation off automatically, regardless of wire gauge. Self-adjusting wire strippers handle a wide gauge range (typically AWG 10–26) without any manual adjustment. They are faster and produce more consistent results.
Thermal Wire Strippers
Used mainly in aerospace and fine electronics, thermal strippers use a heated element to melt through insulation. They’re essential for coaxial cables and insulation types that can’t be cut cleanly. However, they’re expensive and overkill for most Indian hobbyist projects.
Coaxial Cable Strippers
Specifically designed for RG58, RG59, RG6, and similar coaxial cables. They cut both the outer jacket and inner dielectric to precise depths in one motion, preserving the shield braid.
Types of Crimping Tools Explained
Crimping tools come in several forms depending on the connector type you’re working with:
Dupont / JST / Molex Crimpers (Micro Crimpers)
Essential for small electronics work — these crimp the tiny terminals used in Dupont connectors (the 2.54mm pitch connectors on Arduino and Raspberry Pi projects), JST series connectors, and Molex connectors. A good micro crimper is a revelation for anyone who has previously tried to do this with regular pliers. They typically have multiple die positions for different terminal sizes.
RJ45 / RJ11 Crimpers
Designed for Ethernet (Cat5/Cat6) and telephone connectors. They include a built-in cutter and wire stripper for the specific cable diameter. Essential for anyone running structured network cabling.
Ferrule Crimpers
Used to attach end-sleeves (ferrules) to the ends of stranded wire before inserting them into screw terminals. This is best practice for any stranded wire that goes into a terminal block — it prevents stray strands from causing short circuits.
Open-Barrel Crimpers
Used for automotive-style spade, ring, and butt connectors. These are the classic “ratchet crimper” type with a robust ratchet mechanism that ensures a full crimp before releasing.
Key Features to Look For
When shopping for a wire stripper and crimping tool in India, evaluate the following:
Wire Gauge Range
Check that the tool covers the gauges you work with most. For general electronics, AWG 22–28 is critical. For power wiring, AWG 10–18 matters more. Many combo tools cover AWG 10–22 but miss the fine end of the spectrum.
Handle Ergonomics and Grip
Spring-loaded handles reduce hand fatigue during repetitive work. Rubberised grips improve control. Look for handles with a comfortable spring return.
Jaw/Die Material
Hardened steel jaws last much longer than unhardened ones. Cheap strippers from unbranded sources often use mild steel that dulls quickly and starts chewing wire instead of stripping cleanly.
Ratchet Mechanism (Crimpers)
A ratchet ensures the crimp completes fully before the tool releases. This prevents half-crimped connections, which are one of the top causes of field failures in wiring harnesses.
Cutter Integration
Many quality wire strippers integrate a wire cutter near the pivot. This eliminates the need to switch tools for trimming leads.
Top Picks Available at Zbotic
While dedicated wire strippers and crimpers are used as the core hand tools, you’ll need high-quality wires and cables to practice on and use in your projects. Here are some of the best options available from Zbotic that pair perfectly with any wire stripper or crimping tool setup:

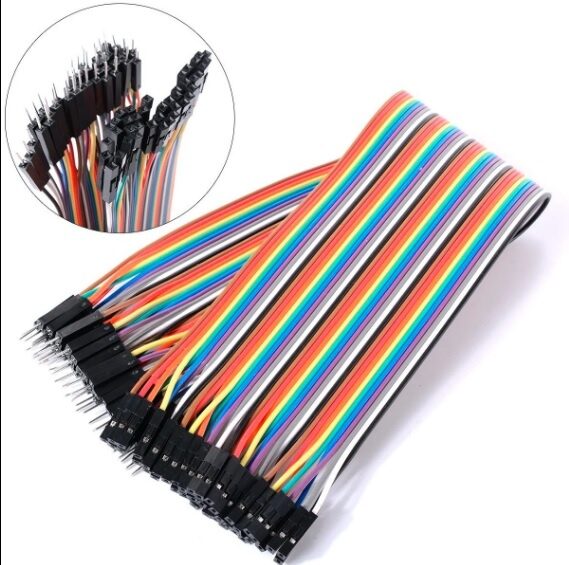
10CM Female To Female Breadboard Jumper Wires 2.54MM – 40Pcs
Pre-stripped and pre-crimped 2.54mm pitch jumper wires — the perfect reference for checking your crimp quality against a professional standard. 40 pieces in one pack for breadboard and Arduino use.
10CM Male To Female Breadboard Jumper Wires 2.54MM – 40Pcs
Versatile male-to-female jumper wires for connecting Arduino pins to breadboard rows. Works with Dupont connectors that your crimping tool will handle. 40 pieces per pack.
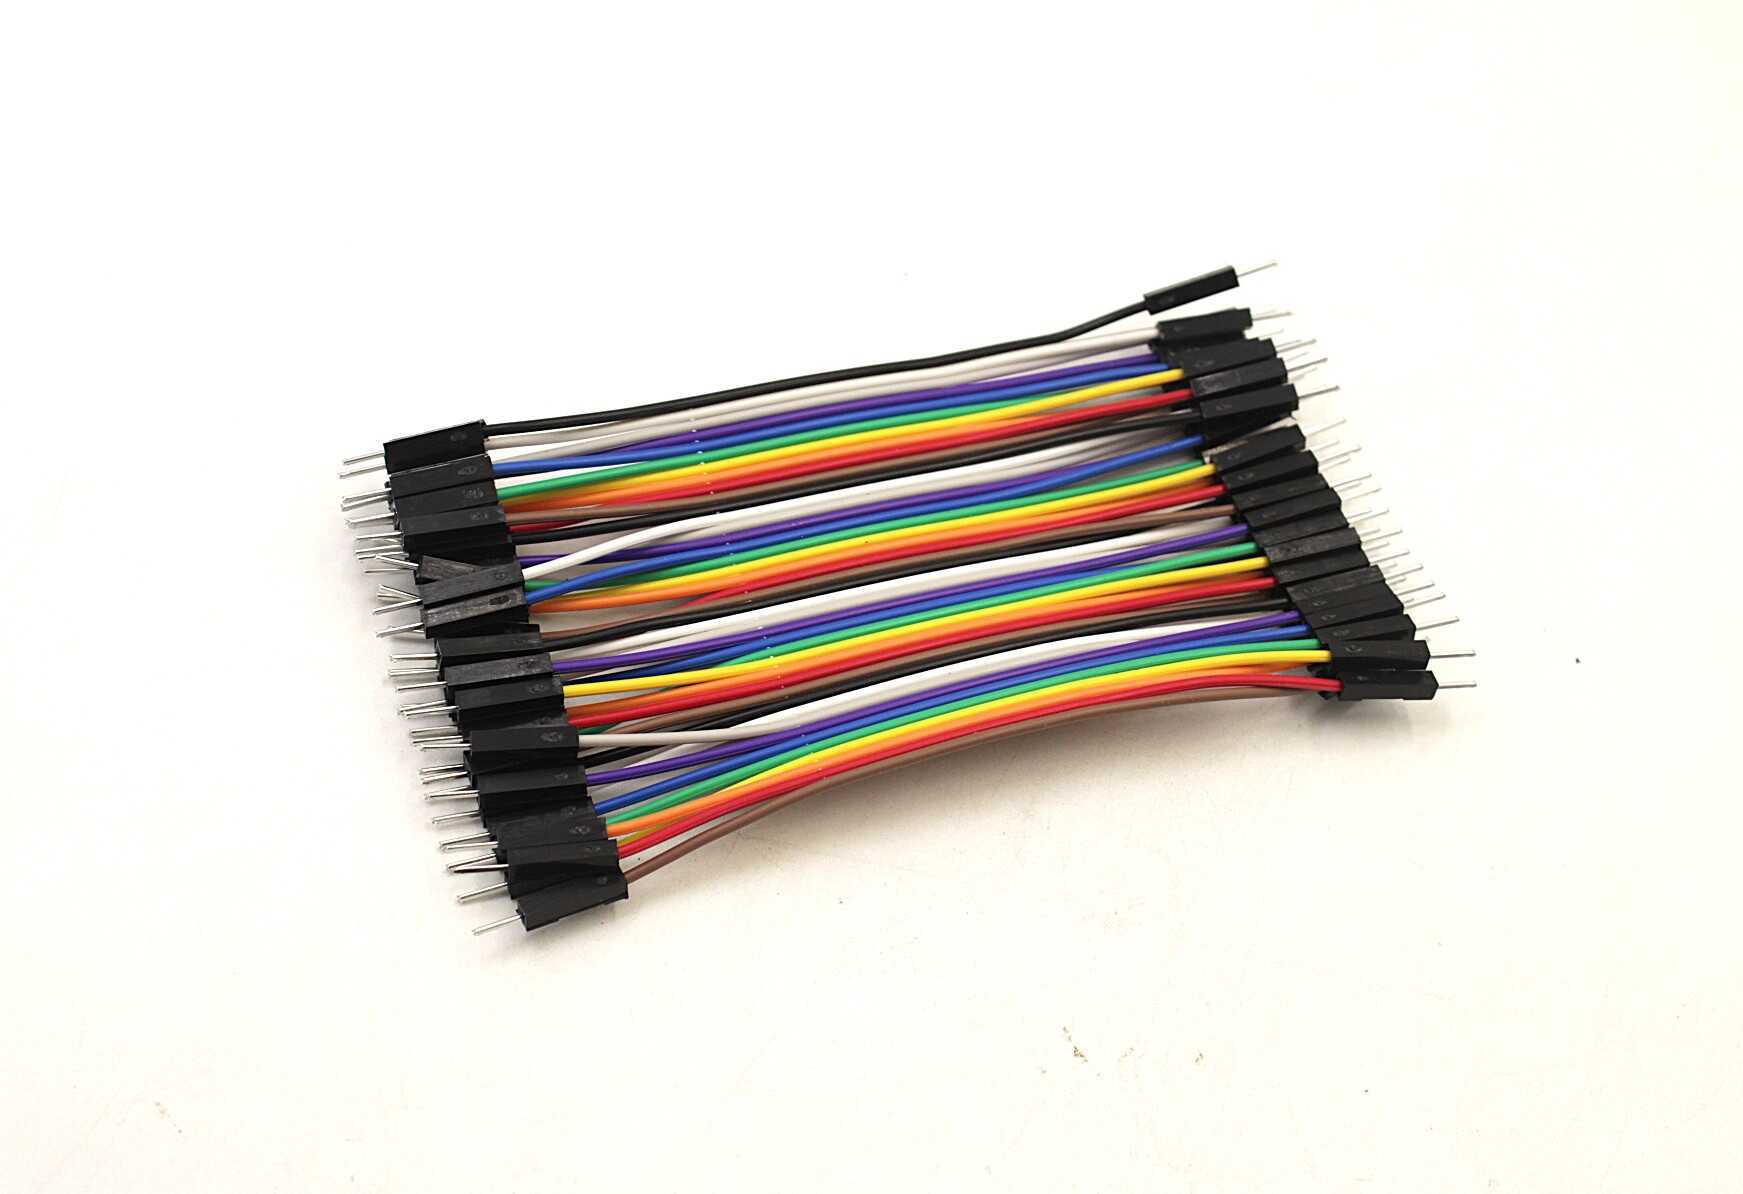
10CM Male To Male Breadboard Jumper Wires 2.54MM – 40Pcs
Essential male-to-male jumper wires for breadboard prototyping. Pre-crimped ends demonstrate the quality your tool should achieve. Available in multiple colours for easy circuit identification.
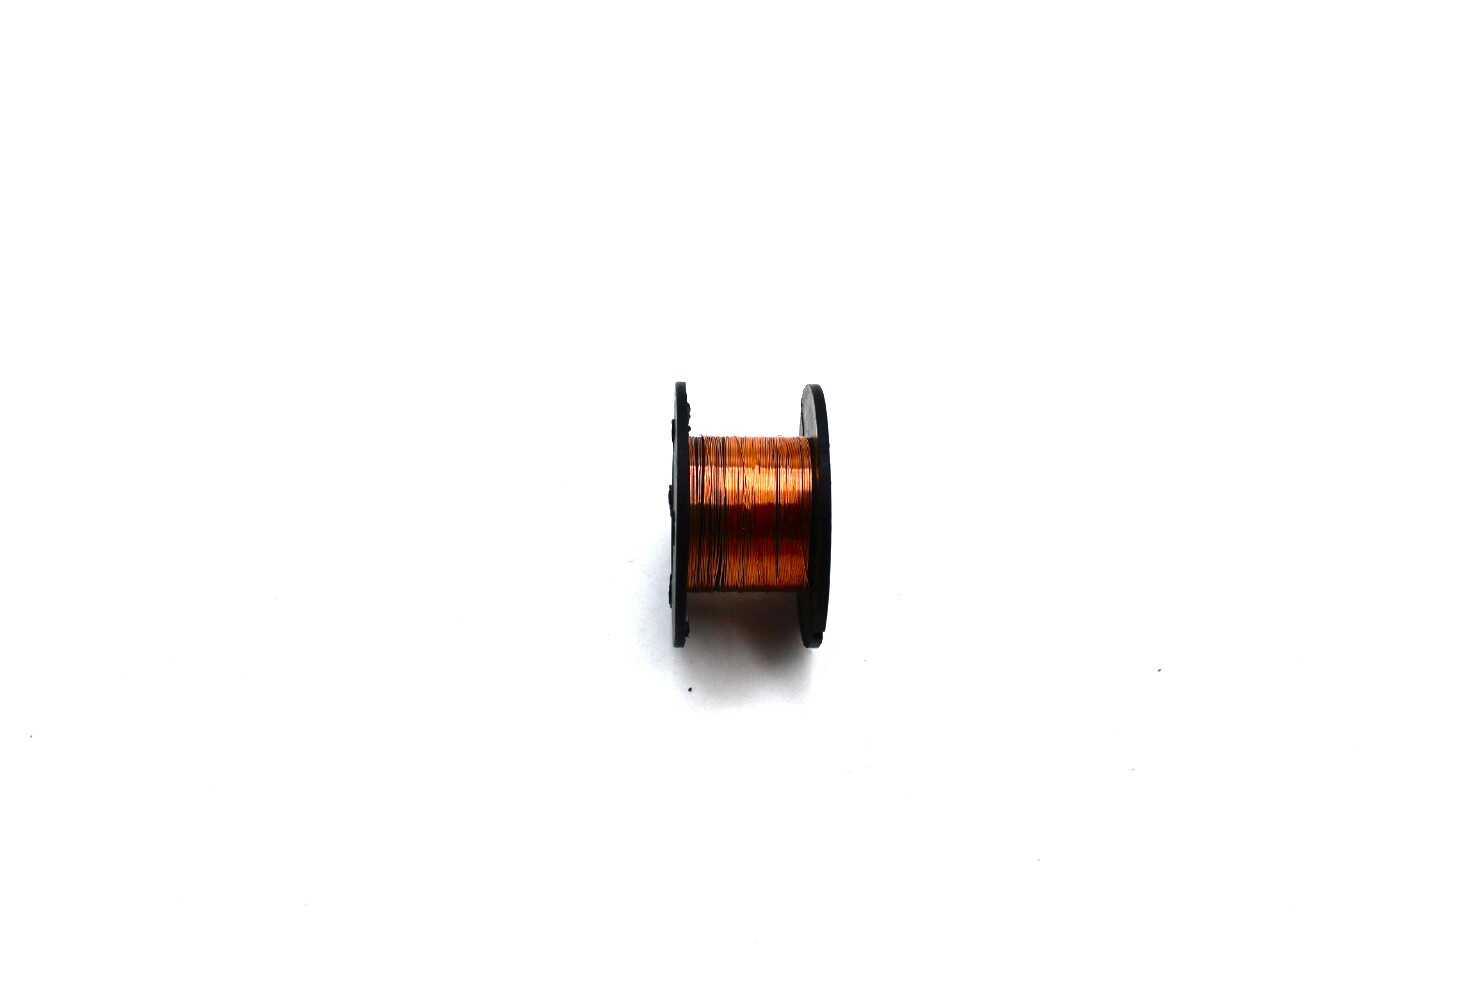
0.1MM Copper Soldering Enamelled Repair Reel Wire
Ultra-fine 0.1mm enamelled copper wire for winding coils, repair work, and fine soldering jobs. Thermal stripping is needed here — a great demonstration of why specialised tools matter.
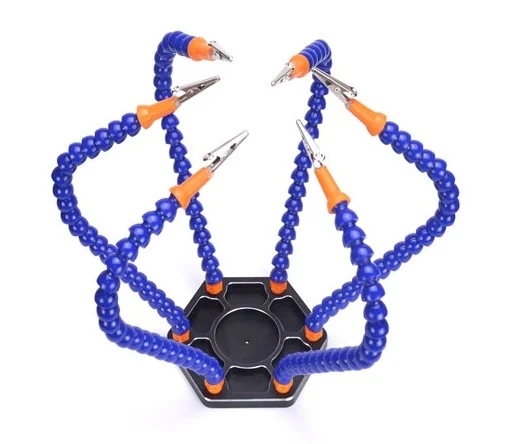
6 Flexible Arms Soldering Station With Swiveling Alligator Clip
Hold your stripped and crimped wires in place while soldering with this 6-arm helping hands station. Heavy base, 360° swiveling alligator clips — essential for fine electronics work.
How to Use a Wire Stripper and Crimper Properly
Stripping Wire: Step-by-Step
- Identify the wire gauge. Check the wire marking or use a gauge card. Select the appropriate notch on a manual stripper, or let an automatic stripper self-adjust.
- Position the wire. Insert the wire into the stripper jaws at the length you want to strip — typically 5–8mm for small terminals, 8–12mm for ferrule connectors.
- Squeeze and rotate (for manual). Apply gentle pressure while rotating slightly — this produces a clean score around the insulation.
- Pull the insulation off. Slide the insulation away from the conductor. The conductor should be bright and undeformed. Any nicking means you used the wrong gauge setting.
- Inspect. Check that all strands are present and the conductor end is even.
Crimping: Step-by-Step
- Select the right terminal. Match the terminal to the wire gauge — terminals are rated for specific gauge ranges.
- Insert the wire into the terminal. The conductor should reach the end of the terminal barrel. The insulation should just touch the rear of the barrel (or enter slightly for a strain relief wing).
- Position in the crimper die. Use the correct die position for the terminal size. Most micro crimpers have positions labelled for wire cross-section (e.g., 0.08–0.5mm² or AWG 28–22).
- Crimp fully. Squeeze until the ratchet releases (on ratchet tools) or until the handles fully close. Never release early.
- Test the crimp. Pull on the wire firmly. A good crimp should withstand at least 5N of pull force on 26AWG wire. The terminal should show no signs of looseness or rotation.
Common Mistakes and How to Avoid Them
1. Using the Wrong Gauge Notch
Using a notch that’s too small cuts into the conductor; too large fails to score the insulation. Always check the wire marking — it’s usually printed along the jacket.
2. Stripping Too Long
Excess bare conductor beyond the terminal risks short circuits. The stripped length should match the terminal barrel length exactly.
3. Not Inspecting Strands
After stripping, always fan out stranded wire and check that no strands were cut. Even one missing strand increases resistance and weakens the connection.
4. Crimping with Pliers
Pliers apply uneven force and can crack the terminal or leave it partially open. A proper ratchet crimper applies 360° force for a gas-tight joint.
5. Re-using Terminals
Terminals are one-shot devices. Once crimped, the metal is work-hardened. Remove and discard a badly crimped terminal; don’t try to re-crimp it.
Frequently Asked Questions
What is the best wire stripper for electronics in India?
For electronics work in India, a self-adjusting wire stripper covering AWG 20–30 is ideal. It handles the fine wires used in Arduino, Raspberry Pi, and sensor projects without manual gauge selection. Pair it with a Dupont micro crimper for a complete small-wire solution.
Can I use regular pliers instead of a crimping tool?
Technically yes, but the connection quality will be far inferior. Pliers cannot apply the precise, uniform force that a crimper die delivers. The result is a mechanically weak and electrically unreliable connection that can fail under vibration or thermal cycling. For anything beyond a one-off prototype, always use a proper crimping tool.
What AWG wire is used in Arduino/Raspberry Pi projects?
Most Arduino and Raspberry Pi signal wires are AWG 22–28. The standard Dupont jumper wires are 26AWG. Power connections on 5V/3.3V rails are typically AWG 22–24. For current above 1A, use AWG 20 or heavier.
Do I need separate tools for Dupont and JST connectors?
Many micro crimpers cover both Dupont (2.54mm pitch) and JST-XH/JST-PH terminals since the terminal sizes are similar. However, the smallest JST connectors like JST-SH (1.0mm) may require a specialised micro crimper with narrower jaws. Check the die compatibility before buying.
How do I know if my crimp is good?
A good crimp should: (1) hold the wire securely with no movement when pulled firmly; (2) show a uniform deformation pattern on the terminal barrel (no sharp edges or splits); (3) display the conductor slightly visible at the terminal tip; and (4) have the insulation flush or slightly inside the rear strain relief wings.
Browse Zbotic’s full range of electronics tools and equipment — from wire management accessories to soldering stations — all available with fast delivery across India. Quality tools at honest prices, trusted by thousands of Indian makers and engineers.


Add comment