
SquareLine Studio: Design UI for ESP32 TFT with LVGL Visually
Creating attractive graphical interfaces for embedded displays used to require writing hundreds of lines of C code. SquareLine Studio with LVGL on ESP32 TFT changes everything — it is a drag-and-drop visual UI designer that exports production-ready LVGL code for your microcontroller project. Whether you are building a home automation panel, a smartwatch face, or an industrial HMI, SquareLine Studio lets Indian makers design polished UIs in hours instead of weeks. This guide walks you through every step: installing the tools, designing your first screen, exporting code, and deploying it on an ESP32 with a TFT display.
What Is SquareLine Studio and LVGL?
LVGL (Light and Versatile Graphics Library) is a free, open-source embedded graphics library written in C. It powers millions of devices worldwide — from smartwatches and home appliances to industrial control panels and medical devices. LVGL provides a rich widget library (buttons, sliders, charts, labels, lists, arc gauges, etc.) with smooth animations, anti-aliased fonts, and a flexible theming system — all designed to run on microcontrollers with as little as 32 KB RAM.
SquareLine Studio is the official visual editor for LVGL. It provides a Figma-like drag-and-drop interface where you can place widgets, configure properties, set up events and animations, and export the resulting LVGL C code with a single click. The exported code integrates directly with the Arduino IDE or ESP-IDF build system.
Why Use SquareLine + LVGL Instead of Hand-Coding?
- Speed: Design a complete multi-screen UI in hours, not days
- Visual feedback: See exactly how your UI looks before flashing to hardware
- No LVGL API expertise needed: The studio generates correct LVGL code automatically
- Professional results: Smooth animations, gradients, and rounded widgets that look like a commercial product
- Iterative design: Change layouts without rewriting code — just re-export
Hardware Requirements and Supported Displays
For the best SquareLine + LVGL experience on ESP32, you want a display with a touchscreen. The most popular options are:
| Display | Controller | Interface | Resolution |
|---|---|---|---|
| 2.4-inch TFT | ILI9341 | SPI | 240×320 |
| 3.5-inch TFT | ILI9488 | SPI | 320×480 |
| 1.28-inch Round | GC9A01 | SPI | 240×240 |
| Waveshare ESP32-S3 | ST7789 | SPI/Parallel | 240×240 |
The ESP32 (original), ESP32-S3, and ESP32-S2 all work well. The ESP32-S3 is particularly recommended for LVGL projects because its higher clock speed (240 MHz), larger PSRAM (8MB), and USB OTG support make it ideal for demanding animated UIs.
For the touch driver, the XPT2046 is the most common resistive touchscreen controller found on affordable TFT modules, while the GT911 and FT6336 are used on capacitive touch panels.
Installing SquareLine Studio and Setting Up Arduino
Step 1: Download and Install SquareLine Studio
Go to squareline.io and download the free community version for Windows, macOS, or Linux. The community version supports displays up to 480×480 pixels and is free for personal and non-commercial use — perfect for hobbyist projects.
Step 2: Install Arduino Libraries
In the Arduino Library Manager, install these libraries:
- lvgl (by kisvegabor) — version 8.3.x for best SquareLine Studio compatibility
- TFT_eSPI (by Bodmer) — as the display driver backend
- XPT2046_Touchscreen (by Paul Stoffregen) — for resistive touch
After installing LVGL, copy the lv_conf_template.h file from the LVGL library folder to your Arduino libraries root directory (one level up from the lvgl folder) and rename it to lv_conf.h. Set #define LV_COLOR_DEPTH 16 and enable the fonts and widgets you need.
Step 3: Configure TFT_eSPI
Configure User_Setup.h in the TFT_eSPI library for your specific display and ESP32 pin connections (same as described in our GC9A01 guide). LVGL uses TFT_eSPI as its display driver through a flush callback function.
Creating Your First UI Project
Starting a New Project in SquareLine Studio
- Open SquareLine Studio and click Create
- Select your board template — choose Arduino with TFT_eSPI
- Set the display resolution (e.g., 240×320 for ILI9341)
- Set colour depth to 16-bit
- Give your project a name and click Create
Understanding the Interface
The SquareLine Studio workspace has four main areas:
- Canvas (center): Your display preview — drag widgets here
- Widget Panel (left): All available LVGL widgets to drag onto the canvas
- Hierarchy Panel (upper left): Tree view of all screens and widgets
- Inspector Panel (right): Properties, styles, and events for the selected widget
Designing a Simple Dashboard
Let’s build a basic temperature dashboard:
- Drag a Label widget onto the canvas. Set text to “Temperature” and font to Montserrat 18
- Drag an Arc widget for the gauge. Set range 0–100, start angle 135, end angle 45
- Add another Label in the center of the arc for the numeric value
- Drag a Button widget and add a label inside it with text “REFRESH”
- Use the Style panel to set background colours, border radius, and shadow effects
Working with LVGL Widgets
SquareLine Studio exposes all major LVGL v8 widgets. Here are the most useful ones for maker projects:
Arc (Gauge)
The Arc widget creates a circular progress indicator — perfect for temperature, humidity, or battery gauges. Set lv_arc_set_value(arc, value) in your firmware to update it dynamically.
Chart
Line or bar charts for plotting sensor data over time. LVGL’s chart widget supports scrolling, multiple data series, and customisable axes — excellent for temperature logs or current consumption graphs.
Slider
A horizontal or vertical slider for user input. Use it to set setpoints, adjust brightness, or configure thresholds in your project.
Switch and Checkbox
Toggle switches for on/off control — perfect for home automation relay control panels.
Tabview and Tileview
Multi-screen navigation widgets that let you swipe between different data screens — ideal for weather stations, smart meters, or multi-sensor monitors.
Keyboard and Text Area
Built-in on-screen keyboard for text input — useful for Wi-Fi password entry screens or name input in wearables.
Exporting Code and Deploying to ESP32
Step 1: Export the UI
In SquareLine Studio, go to Export → Export UI Files. Choose an export directory — ideally the ui subfolder of your Arduino sketch. The studio exports:
ui.handui.c— main UI initialisationui_Screen1.c(and other screens) — per-screen widget definitionsui_helpers.h/c— utility functions- Font files (if custom fonts were used)
- Image files converted to C arrays (if images were imported)
Step 2: The Arduino Main Sketch
The main sketch initialises TFT_eSPI, LVGL, and the touch driver, then calls ui_init():
#include <lvgl.h>
#include <TFT_eSPI.h>
#include "ui/ui.h"

TFT_eSPI tft = TFT_eSPI();
static lv_disp_draw_buf_t draw_buf;
static lv_color_t buf[240 * 10]; // 10-line buffer

void my_disp_flush(lv_disp_drv_t *disp, const lv_area_t *area, lv_color_t *color_p) {
  uint32_t w = area->x2 - area->x1 + 1;
  uint32_t h = area->y2 - area->y1 + 1;
  tft.startWrite();
  tft.setAddrWindow(area->x1, area->y1, w, h);
  tft.pushColors((uint16_t *)&color_p->full, w * h, true);
  tft.endWrite();
  lv_disp_flush_ready(disp);
}

void setup() {
  tft.init();
  tft.setRotation(0);
  lv_init();
  lv_disp_draw_buf_init(&draw_buf, buf, NULL, 240 * 10);
  static lv_disp_drv_t disp_drv;
  lv_disp_drv_init(&disp_drv);
  disp_drv.hor_res = 240;
  disp_drv.ver_res = 320;
  disp_drv.flush_cb = my_disp_flush;
  disp_drv.draw_buf = &draw_buf;
  lv_disp_drv_register(&disp_drv);
  ui_init(); // SquareLine Studio exported function
}

void loop() {
  lv_timer_handler(); // LVGL task
  delay(5);
}
Step 3: Updating Widgets from Firmware
Access widgets from the exported UI by their variable names (e.g., ui_Label1) and update them:
// Update label with sensor reading
float temp = readSensor();
char buf[16];
snprintf(buf, sizeof(buf), "%.1f°C", temp);
lv_label_set_text(ui_TempLabel, buf);

// Update arc gauge
lv_arc_set_value(ui_TempArc, (int)temp);
Real Project Ideas for Indian Makers
1. Smart Home Dashboard
Control relays, read temperature/humidity from DHT sensors, and show power consumption — all on a beautiful LVGL tabview interface. Use ESP32 Wi-Fi to pull data from MQTT or a home automation system.
2. Digital Multimeter Display
Display voltage, current, and power readings from an INA219 sensor with bar graph widgets. Add a chart showing the last 60 seconds of current consumption.
3. Weather Station Panel
Fetch weather data via Wi-Fi and display temperature, humidity, pressure, and a 5-day forecast using LVGL’s label and arc widgets — with icon images imported directly in SquareLine Studio.
4. Weighing Scale UI
Pair with a load cell and HX711 module. Display weight as a large number with tare button functionality using LVGL’s button click event.

LM35 Temperature Sensor
Perfect for a real-time temperature gauge built with SquareLine Studio and LVGL. Analog output directly readable by ESP32 ADC pin.
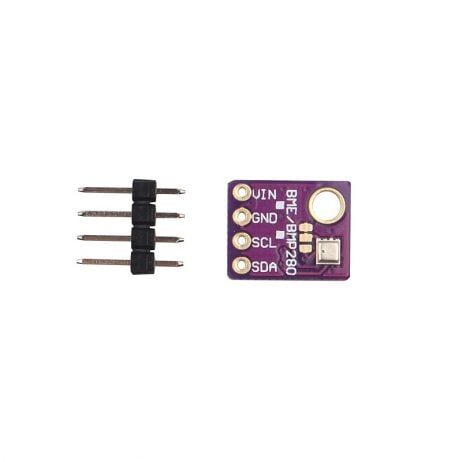
GY-BME280-5V Temperature, Humidity & Pressure Sensor
A three-in-one sensor for a comprehensive LVGL weather dashboard. Show all three readings on separate gauges designed in SquareLine Studio.
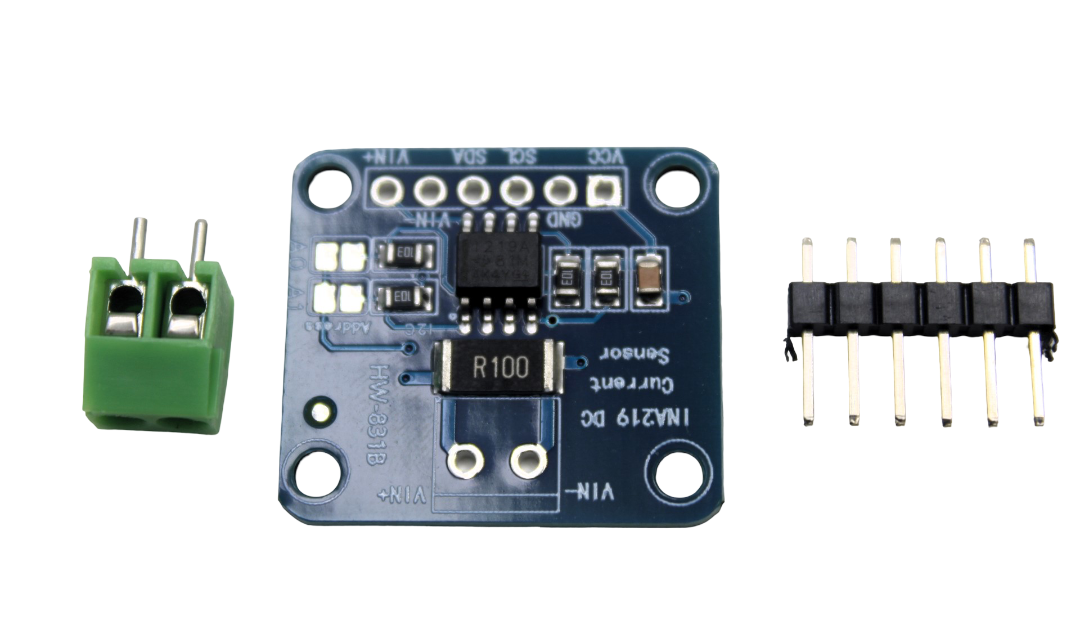
INA219 I2C Current / Power Monitoring Module
Monitor voltage and current with an I2C sensor and display live power data on a beautiful LVGL chart widget designed in SquareLine Studio.
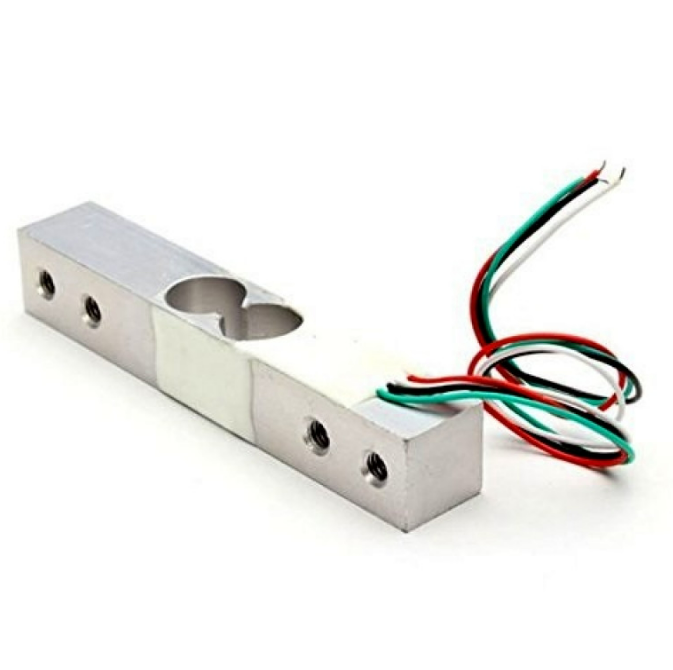
10Kg Load Cell – Weighing Scale Sensor
Build a digital weighing scale with a professional LVGL interface. Display weight, tare function, and calibration screen — all designed visually in SquareLine Studio.
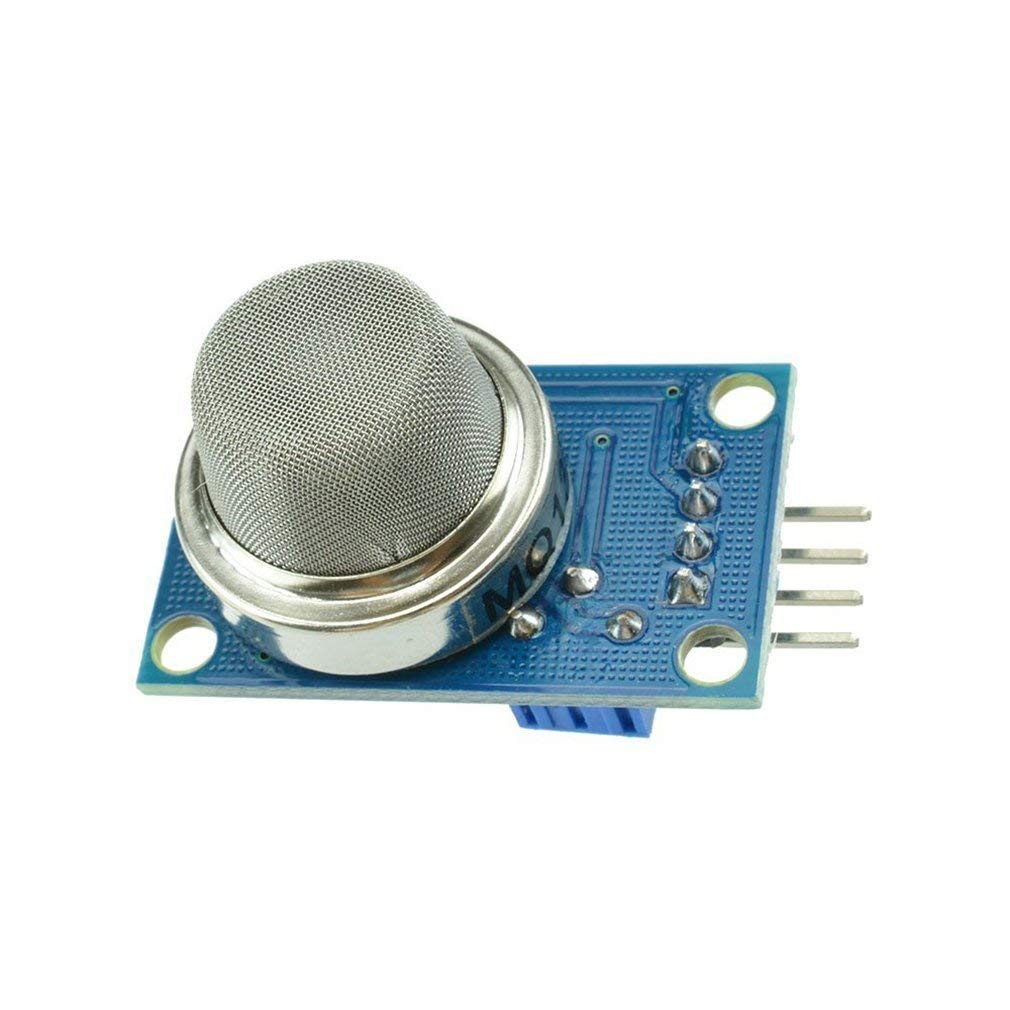
MQ-135 Air Quality / Gas Detector Sensor
Create a colour-coded indoor air quality monitor with an LVGL arc gauge that changes colour based on pollution level — designed in minutes with SquareLine Studio.
Frequently Asked Questions
Q1: Is SquareLine Studio free for hobbyist use?
Yes, SquareLine Studio has a free Community plan that supports displays up to 480×480 pixels and is free for personal, non-commercial projects. A paid plan is required for larger displays or commercial products. For most Indian maker projects, the free plan is completely sufficient.
Q2: Which LVGL version should I use with SquareLine Studio?
SquareLine Studio is version-specific. As of 2025, SquareLine Studio v1.4.x works with LVGL v8.3.x. Always match the LVGL library version to what SquareLine Studio targets — mismatches cause compilation errors. Check the release notes on squareline.io for the current compatibility matrix.
Q3: Can I use SquareLine Studio with ESP32-S3 and an RGB parallel display?
Yes. The ESP32-S3 with its RGB LCD peripheral supports high-bandwidth parallel displays at much higher refresh rates than SPI. SquareLine Studio supports this through the ESP32_Display_Panel library. It requires using ESP-IDF or the ESP32 Arduino Core v3.x.
Q4: How do I add touch input support from SquareLine Studio exports?
SquareLine Studio generates the UI but you must implement the touch driver yourself. Register an lv_indev_drv_t with a read callback that reads XPT2046 or capacitive touch coordinates. The touch events then automatically trigger LVGL’s button click and swipe events from your SquareLine-designed UI.
Q5: Can I import my own images and fonts into SquareLine Studio?
Absolutely. Go to Assets in SquareLine Studio to import PNG images (converted to C arrays automatically) and TTF/OTF fonts (converted to LVGL font format). Custom fonts and icons from icon fonts like Font Awesome are fully supported.
Start Building Beautiful LVGL Interfaces Today
Get all the sensors and display modules you need for your SquareLine Studio + LVGL projects from Zbotic.in — India’s trusted electronics store for makers.


Add comment