
A resistor network array is one of those components that experienced electronics engineers swear by but beginners often overlook. If you have ever built a multi-LED display, interfaced a parallel data bus, or wired up I²C sensors, you have almost certainly faced the repetitive task of placing the same resistor value over and over again. A resistor network array solves this elegantly by packing 4, 8, or even 16 resistors into a single compact IC-like package — saving board space, assembly time, and money.
What Is a Resistor Network Array?
A resistor network array (also called a resistor pack, resistor SIP, or resistor module) is a passive component that houses multiple resistors in a single package. Instead of soldering eight individual 10 kΩ resistors to pull up an 8-bit data bus, you drop in one 10 kΩ × 8 resistor network and you are done in seconds.
These components look similar to ICs — they come in DIP (Dual In-line Package) or SIP (Single In-line Package) form factors — but they are entirely passive. You will find them on old computer motherboards, printer driver boards, industrial PLCs, and modern microcontroller breakout boards alike. In India, they are available from as little as ₹5–₹15 per unit at electronics markets in Lamington Road (Mumbai), SP Road (Bengaluru), or online via stores like Zbotic.
There are two fundamental internal topologies:
- Bussed (or Commoned) network: All resistors share one common pin. Ideal for pull-up arrays where one end connects to VCC or GND.
- Isolated network: Each resistor is completely independent. These behave like multiple discrete resistors in one package and suit differential or balanced circuits.
Types: SIP, DIP, and Bussed vs. Isolated
Understanding the physical packages helps you pick the right component and read its datasheet correctly.
SIP (Single In-line Package)
The most popular form for resistor networks. Pins line up in a single row, making hand soldering easy. A 9-pin SIP bussed network contains 8 resistors — pin 1 is the common bus and pins 2–9 are the individual resistor taps. This is the classic pull-up pack you’ll see on microcontroller boards and LED matrices.
DIP (Dual In-line Package)
Looks like a small IC. Hosts isolated resistor pairs — pin 1 and pin 16 are the two ends of one resistor, and so on. DIP networks are typically used where isolation between resistors is important, for example in voltage divider ladders or R-2R DAC networks.
Choosing Between Bussed and Isolated
The rule is simple: if all your resistors share a common rail (VCC for pull-ups, GND for pull-downs, or a common current path for an LED cathode bus), choose a bussed SIP. If every resistor is in a completely independent circuit path, choose an isolated network. Misidentifying this will give you incorrect circuit behaviour and can be confusing to debug.
Using Resistor Networks for LED Current Limiting
The most common hobbyist use of a resistor network array is driving multiple LEDs simultaneously — for example in a 7-segment display, a bar-graph indicator, or a Charlieplexed LED matrix.
Quick Calculation
For a standard 5 V microcontroller driving red LEDs (Vf ≈ 2.0 V, If = 10 mA):
R = (Vsupply − Vf) / If
R = (5 − 2.0) / 0.010 = 300 Ω
So you would use a 330 Ω resistor network (closest standard value). An 8-resistor 330 Ω SIP handles all 8 segments of a 7-segment display in one component.
Common Cathode vs. Common Anode Displays
- Common cathode display: Use a bussed resistor network on the anodes, common pin of the network to VCC, individual pins to each segment. The microcontroller pulls the cathode LOW to light a segment.
- Common anode display: The microcontroller must sink current. Place the resistor network on the cathode side, common pin to GND, individual taps between each segment cathode and GND — but wait, this is a pull-down configuration. Usually it is simpler to place discrete resistors between the MCU output pins and the segment anodes in this case.
Driving LED Strips and Bars
A 10-LED bar-graph IC like the LM3914 uses a resistor network to set the reference voltage, but you can also drive a simple 10-LED bargraph with a 10-pin bussed network (470 Ω values are common for 5 V systems). This reduces your BOM count by 9 components and halves your hand soldering time on a perf board.
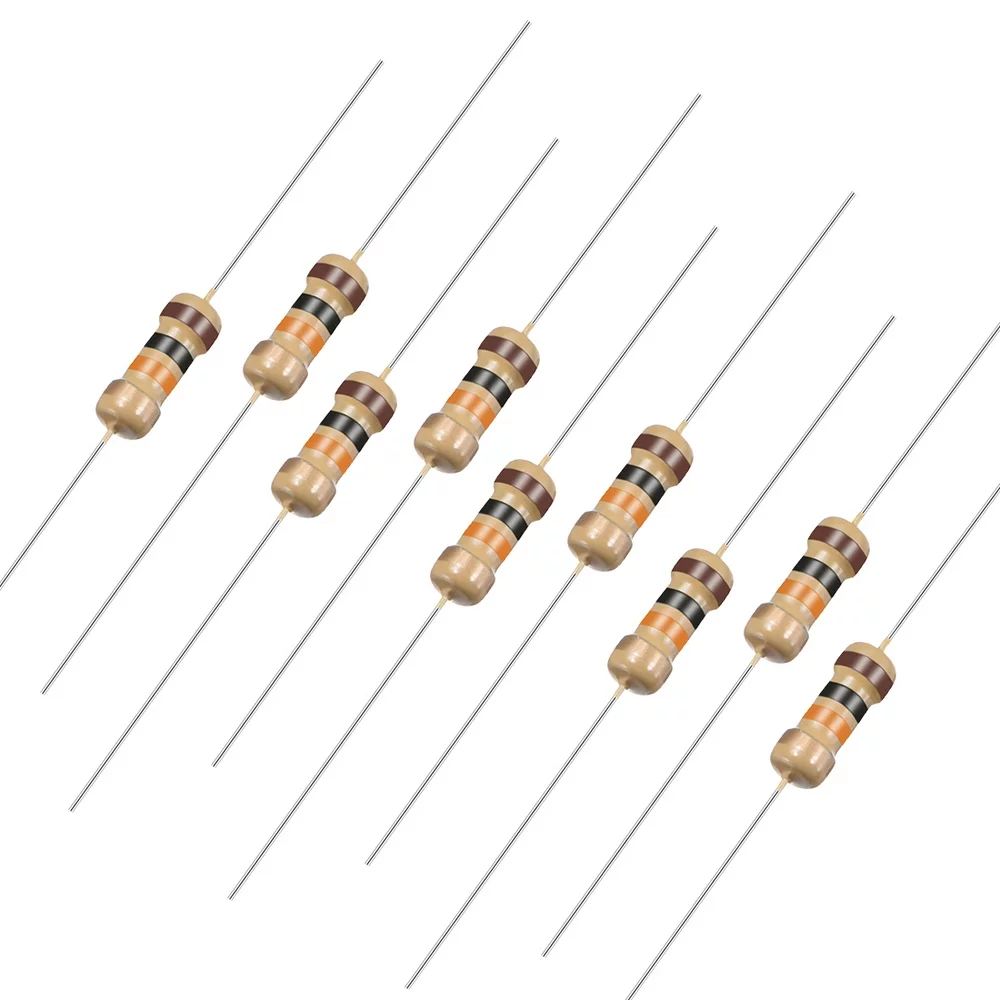
0 Ohm 0.25W Carbon Film Resistor (Pack of 100)
Perfect for jumper replacements and prototyping when you need a direct link in a resistor footprint. Handy alongside resistor network arrays.
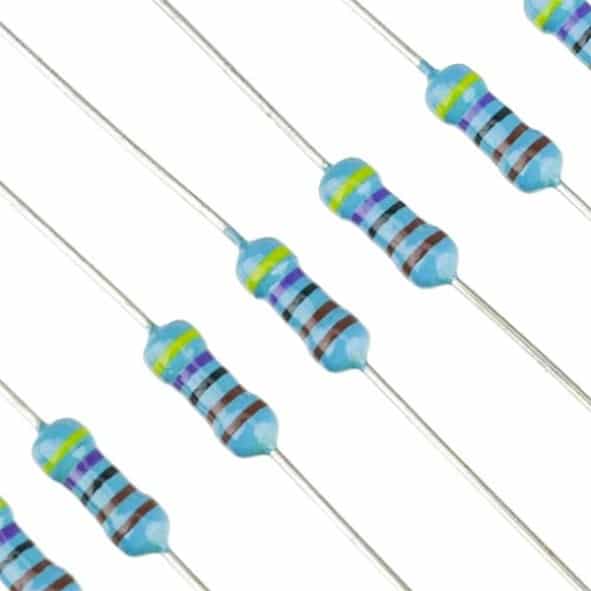
1.5 Ohm 0.25W Metal Film Resistor (Pack of 100)
Metal film resistors offer tighter tolerances (1%) — great for precision current-limiting in LED applications where colour balance matters.
Pull-Up and Pull-Down Applications
This is where resistor network arrays truly shine in modern digital electronics. Any time you have a shared bus with multiple devices, you need pull-up (or pull-down) resistors, and a resistor network is the elegant solution.
I²C Bus Pull-Ups
I²C requires pull-up resistors on both SDA and SCL lines. While this is only 2 resistors, a 4-element bussed network (common = 3.3 V or 5 V) lets you have spare pull-ups for future expansion without redesigning the board. Standard values: 4.7 kΩ for slow I²C (100 kHz), 2.2 kΩ for fast mode (400 kHz).
SPI, UART, and GPIO Pull-Ups
Microcontrollers like the STM32, ESP32, and Arduino AVR chips have internal pull-ups (typically 20–50 kΩ), but these are often too weak for long cables or multiple slaves on a bus. An external 10 kΩ bussed network ensures reliable logic levels especially when cables exceed 30 cm.
Address Jumper Configuration
Many I²C peripherals (OLED modules, port expanders like MCP23017) use address pins A0–A2. Pulling these HIGH or LOW selects the 7-bit address. A 3-resistor section of a bussed network to VCC (with solder jumpers to override to GND) is a clean PCB design pattern that lets you configure addresses without changing the schematic.
Reset and Enable Pin Defaults
ICs with active-low RESET or active-low ENABLE pins need a pull-up to keep them inactive at power-on until the MCU explicitly drives them. A single bussed network on a CPU bus (8 control signals) replaces 8 individual resistors.
10 Ohm 0.25W Carbon Film Resistor (Pack of 50)
Low-value resistors useful for series termination and inrush current limiting alongside your resistor network designs.
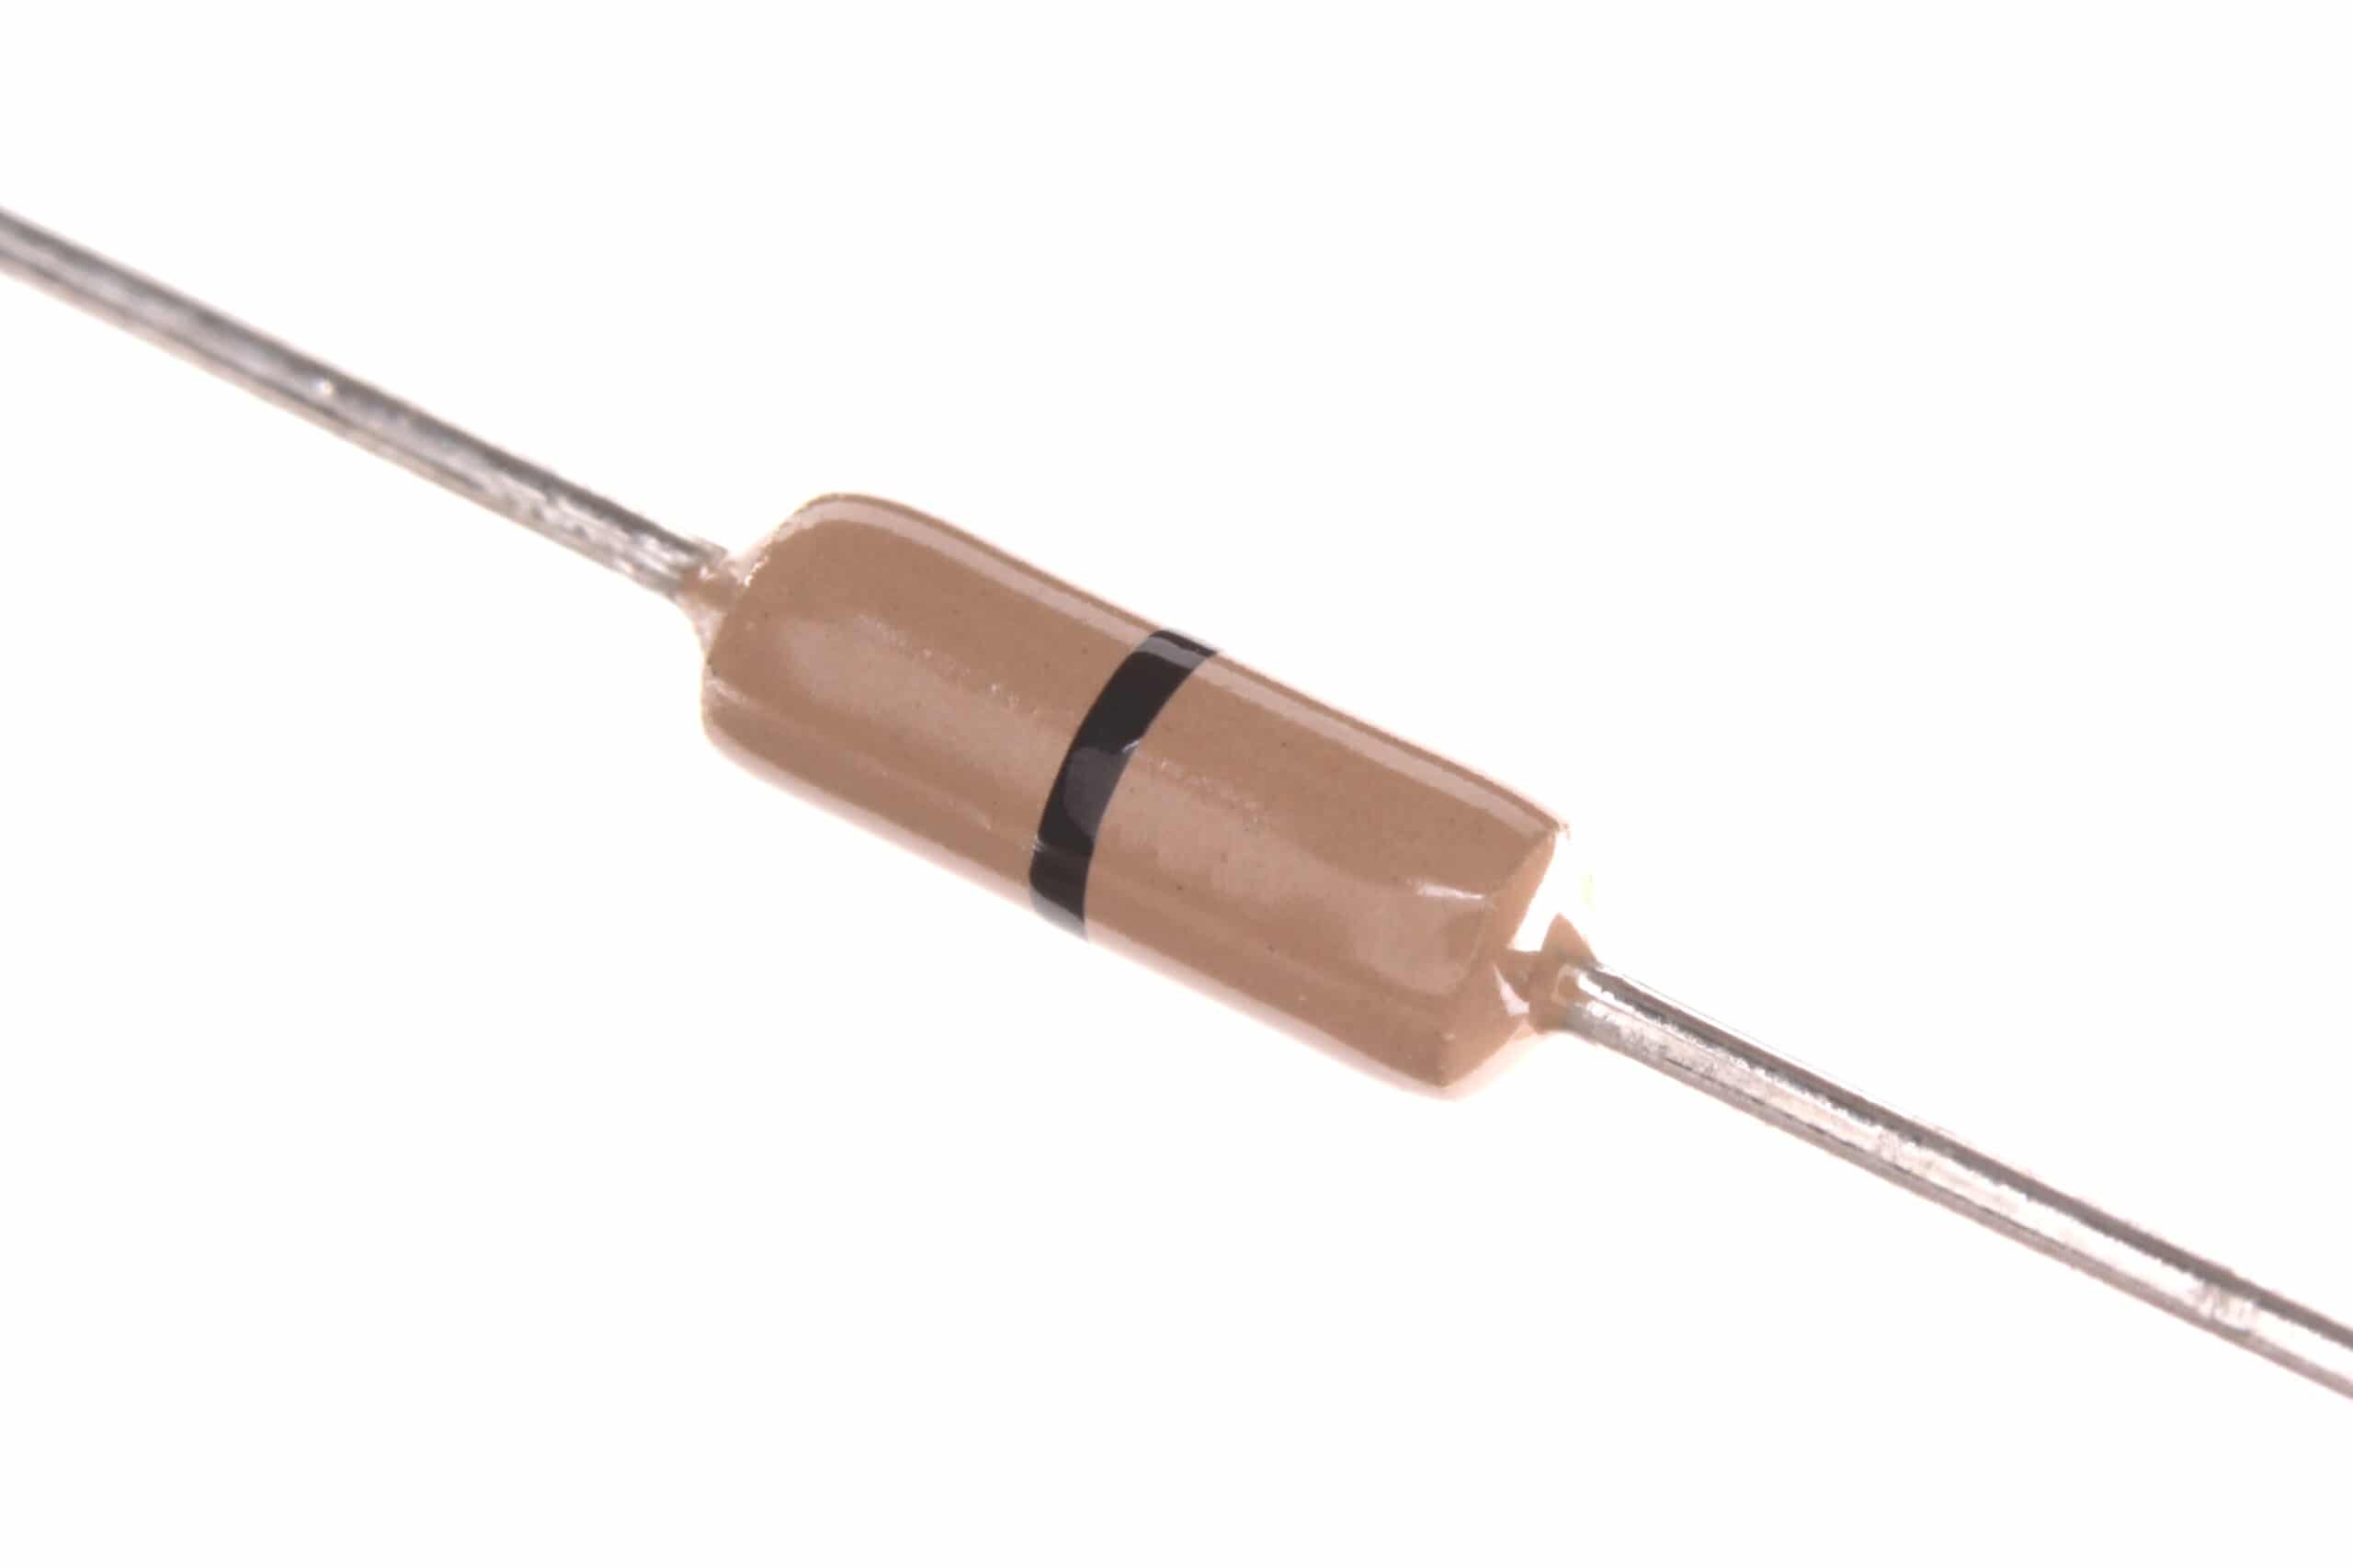
Reading Resistor Network Values and Markings
Resistor networks are marked with a 3 or 4-character code on their body — similar to SMD resistor coding. Here is how to decode them:
- 3-digit code (e.g., 103): First two digits are significant figures, third is multiplier (number of zeros). 103 = 10 × 10³ = 10,000 Ω = 10 kΩ.
- 4-digit code (e.g., 4701): First three digits are significant figures, fourth is multiplier. 4701 = 470 × 10¹ = 4,700 Ω = 4.7 kΩ.
- Letter suffix: Sometimes you see 103J — J means 5% tolerance, F means 1%.
On SIP packages, the pin 1 marker is usually a dot, a cut corner, or a different-coloured pin. Always verify orientation before soldering — inserting a bussed network backwards connects your bus to GND through a resistor instead of to VCC. This will not destroy components (it is just a resistor) but it will make every device on the bus non-functional, which wastes your debugging time.
Use a multimeter in resistance mode to verify: measure from the common pin (pin 1) to each numbered pin — you should read the rated resistance each time.
Designing with Resistor Networks: Practical Tips
Tip 1: Stick to Common Values
Resistor networks are manufactured in standard values: 100 Ω, 220 Ω, 330 Ω, 470 Ω, 1 kΩ, 2.2 kΩ, 4.7 kΩ, 10 kΩ, 47 kΩ, 100 kΩ. Designing around these values means you can source replacements easily from any Indian electronics market or online store.
Tip 2: Watch Power Dissipation
Even small resistors have power ratings. A 470 Ω resistor in a 5 V LED circuit dissipates about 50 mW. A pack of 8 dissipates 400 mW total. Most SIP networks are rated at 125 mW or 250 mW per resistor — check the datasheet. If you are driving LEDs at high current, ensure good airflow or use higher-rated packs.
Tip 3: Use Decoupling Capacitors Nearby
When resistor networks are used as pull-ups on fast digital buses, the rapid switching of multiple lines simultaneously can inject current spikes on the VCC rail. Place 100 nF ceramic capacitors close to the network’s common pin to suppress this noise.
Tip 4: Prototyping with Discrete Resistors First
When building on perf board or breadboard before committing to a PCB, discrete resistors are easier to work with since you can change values quickly. Once the design is verified, replace the discrete resistors with a network on the PCB to save space and cost.

0.1/100nF Multilayer Ceramic Capacitor (Pack of 50)
Essential decoupling capacitors to pair with resistor network arrays on digital buses — suppresses switching noise from pull-up currents.
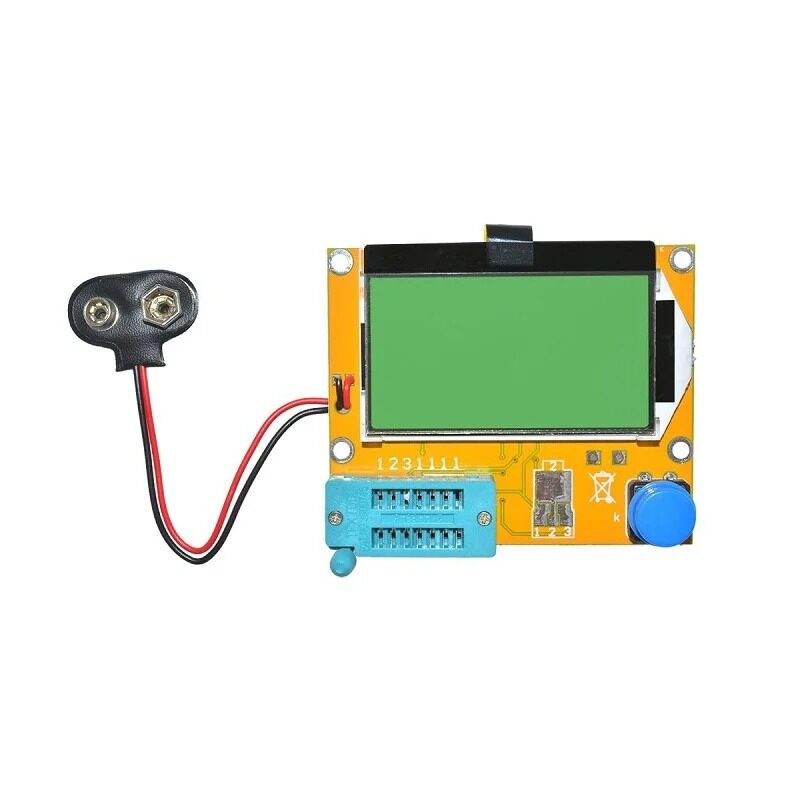
LCR-T4 Component Tester — Resistance, Capacitance & ESR
Quickly verify resistor network values, measure capacitors, and test transistors. An indispensable tool when sorting through unmarked components.
Frequently Asked Questions
Q1: Can I substitute a resistor network with individual resistors?
Yes, always. A resistor network is just a convenience component. If you do not have the right network value, place individual resistors of the same value. The circuit behaviour is identical. Networks simply save space and speed up assembly.
Q2: What is the difference between a bussed and an isolated resistor network?
A bussed network has all resistors sharing one common pin (pin 1), making it ideal for pull-up/pull-down arrays. An isolated network has each resistor fully independent, so it functions like multiple discrete resistors in one package.
Q3: How do I know which pin is pin 1 on a SIP resistor network?
Look for a dot, a notch, or a different-coloured pin at one end of the package. The datasheet will confirm. You can also verify with a multimeter — pin 1 of a bussed network will read the rated resistance to every other pin, while a non-common pin will read 2× the resistance between two non-common pins.
Q4: What value should I use for I²C pull-ups?
For standard mode (100 kHz) I²C at 3.3 V: 4.7 kΩ. At 5 V: 4.7 kΩ to 10 kΩ. For fast mode (400 kHz): 2.2 kΩ. For fast-plus (1 MHz): 1 kΩ. If multiple I²C devices share a bus, the combined parallel resistance of multiple pull-ups drops, so use higher individual values when adding more pull-up sources.
Q5: Are resistor networks reusable from old circuit boards?
Yes, if you can desolder them without overheating. SIP networks are easy to pull out with solder wick or a desoldering pump. Test them with a multimeter or LCR meter after removal to confirm all resistors still read the correct value.
Explore Zbotic’s full range of resistors, capacitors, and passive components — all sourced for Indian makers and hobbyists, with fast shipping across India.


Add comment