
3D Printing Overhangs Without Supports: Bridging Tricks That Actually Work
One of the most satisfying moments in 3D printing is watching a long bridge come off the printer clean — no drooping, no stringing, no spaghetti. And one of the most frustrating is peeling away support structures from a print, ruining the surface finish underneath, wasting filament, and adding an hour of post-processing.
The good news? With the right techniques, you can print surprisingly aggressive overhangs and bridges without a single support structure. This guide covers everything: the physics behind overhangs, slicer settings that make the biggest difference, design tricks, and filament-specific tips that will change the way you approach models.
The Physics of Overhangs and Bridges
FDM printing builds parts layer by layer. Each layer needs something below it to rest on — either the previous layer or support structures. An overhang is any geometry where the layer extends beyond the edge of the layer below it. A bridge is a horizontal span between two supported points, with nothing below the middle.
The reason overhangs fail is gravity. Molten plastic is hot and heavy. If it’s hanging in mid-air, gravity pulls it down before it solidifies, causing drooping. The trick is to:
- Cool the plastic fast enough that it solidifies before drooping significantly
- Give each filament strand enough lateral support from adjacent strands
- Use the previous layer’s edge as a partial foundation
Bridges work differently — the filament strand is extruded across a gap, pulled taut by the printer’s movement, and cooled rapidly. A good bridge is almost like a tightrope — the tension in the extruded line helps it stay straight.
Understanding Overhang Angle Limits
The commonly cited rule is the 45° rule — FDM printers can handle overhangs up to 45° without supports. This is a conservative estimate. In practice, many printers with good cooling can handle 55°–60° overhangs cleanly, and some setups push to 70°+ with the right settings.
Overhang angle is measured from vertical (not from horizontal). So:
- 0° = perfectly vertical wall = easy
- 45° = the classic 45-degree chamfer = most printers handle fine
- 60° = challenging but achievable with good cooling and tuned settings
- 90° = perfectly horizontal overhang = requires bridges or supports
Instead of thinking in terms of hard limits, think of it as a performance curve — the steeper the overhang, the more carefully you need to tune temperature, speed, and cooling.
Bridging Basics: How FDM Bridges Work
Bridging is the printer’s ability to print horizontal sections across a gap. Unlike overhangs (which are partial cantilevers), a bridge is anchored at both ends. This makes bridges easier than you might think — the anchoring at both ends means the filament strand can hold itself up if cooled fast enough.
Most printers can cleanly bridge gaps of 50–80mm without supports with proper settings. Well-tuned machines with good part cooling can bridge 100mm+ cleanly.
Key factors for good bridging:
- Temperature: Lower temperature = less runny plastic = less sag
- Speed: The right speed is counterintuitive — slightly faster bridges cool more evenly because the strand is pulled taut
- Cooling: Maximum fan speed during bridging, always
- Flow rate: Slightly reduced flow (90–95%) prevents material buildup at bridge start/end
Key Slicer Settings for Better Overhangs
Whether you use Cura, PrusaSlicer, OrcaSlicer, or Bambu Slicer, these settings make the biggest difference for overhangs:
Temperature
Reduce your printing temperature by 5–10°C for parts with challenging overhangs. Cooler plastic is less fluid and sags less. For PLA, try 200–205°C (down from typical 210–215°C). Don’t go so low that you get under-extrusion — find the sweet spot.
Print Speed
Slow down overhang perimeters. In Cura, set Overhang Wall Speed to 25–30 mm/s (half your normal perimeter speed). In PrusaSlicer/OrcaSlicer, there’s a dedicated overhang perimeter speed setting. Slower speed gives each layer more time to cool before the next layer adds weight.
Layer Height
Thinner layers have better overhang performance because the layer height determines how much of each new layer is unsupported. At 0.1mm layers, the unsupported portion of each layer is much smaller than at 0.3mm layers. For parts with critical overhangs, use 0.15–0.2mm layers.
Wall Count / Perimeters
More perimeters give overhang walls more lateral support from adjacent strands. Use at least 3 perimeters for parts with overhangs steeper than 50°. The outermost perimeter benefits from the inner ones behind it.
Fan Speed
Set fan speed to 100% for overhang regions. Most slicers let you set fan speed by overhang angle threshold — for example, ramp to 100% fan at overhangs steeper than 45°. This is one of the most impactful settings.
Bridging-Specific Settings to Tune
Slicers have dedicated bridging settings separate from overhang settings. Here’s what to tune:
Bridge Flow Rate
Reduce to 80–90% of normal. Less material = thinner strand = less sag from gravity. The filament is also pulled tighter. Don’t go below 75% or you’ll get gaps.
Bridge Speed
This is the most debated setting. The general advice: bridge at 30–60 mm/s. Slower speeds (20–30 mm/s) give more time for cooling but can create sagging at the ends. Faster speeds (50–80 mm/s) pull the strand taut and cool it faster. Test with your specific printer — print a bridge calibration tower to find the optimal speed.
Bridge Wall Count
In Cura, there’s a setting called Bridge Wall Count. Setting this to 1–2 dedicates additional wall perimeters around bridge regions to reinforce them.
Fan During Bridges
Always 100%. No exceptions. This is the single biggest factor in bridge quality.
The Role of Part Cooling
Cooling is arguably the most important factor for both overhangs and bridges. If you’re struggling with droopy overhangs despite good slicer settings, the problem is often inadequate cooling.
Cooling Fan Upgrades
The stock cooling fans on entry-level printers (like Ender 3) are mediocre. Upgrading to a higher-CFM blower fan, a better duct design (Satsana duct, Hero Me, Fang duct — all free models on Printables), or adding a secondary fan can dramatically improve overhang performance.
Enclosure Users: Be Careful
Enclosed printers (like Bambu Lab X1C or Creality K1 Max) have higher ambient temperatures inside the enclosure. This is great for ABS/ASA but terrible for PLA overhangs. For PLA with challenging overhangs, leave the enclosure door open or disable active chamber heating.
Room Temperature
In Indian summers, room temperatures of 35–40°C inside the printing space can noticeably affect PLA overhang quality. Running an air conditioner or fan near (not directly at) the printer helps during summer.
Design Tricks to Eliminate Supports
The best support is the one you never needed in the first place. Good design for 3D printing means thinking about how the printer will build the part.
Chamfers Instead of Overhangs
Replace 90° overhangs (like the underside of a horizontal ledge) with 45° chamfers. A chamfer is always self-supporting. This is the simplest and most effective design change you can make.
Teardrops for Horizontal Holes
Circular holes printed horizontally (parallel to the build plate) have a 90° overhang at the top. Replace the top of the circle with a teardrop shape (pointed top). The teardrop’s apex is only 45°, which prints cleanly without supports.
Self-Supporting Arches
An arch shape (like a doorway) is self-supporting if the angle of the arch sides stays below 45°. An ogive arch (pointed Gothic arch shape) is especially good for 3D printing. Design doorways and window openings as arches rather than rectangles.
Split Parts
Complex parts with unavoidable overhangs can often be split into two or more pieces that print without supports and then glued or bolted together. This is a valid and widely used strategy — don’t dismiss it.
Strategic Orientation
Rotating a part 90° or even 180° can move an impossible overhang to a bridgeable position. Think about which face of the part should face up on the build plate.
Filament Choice for Overhangs
Different filaments have very different overhang characteristics:
- PLA: Best overhang performance due to low printing temperature and excellent cooling characteristics. The go-to choice for challenging geometry.
- PETG: Harder to bridge than PLA. PETG is stringy and sticky — it droops more easily. Use slower speeds, more cooling, and lower temp for PETG overhangs.
- ABS/ASA: Very difficult to bridge in open air (warps). Needs enclosed printer with controlled temperature. Fans must be minimal to prevent warping, but this hurts overhang quality. Design for minimised overhangs when printing ABS.
- TPU: Flexible filament bridges terribly — avoid overhangs by design when printing flexible parts.
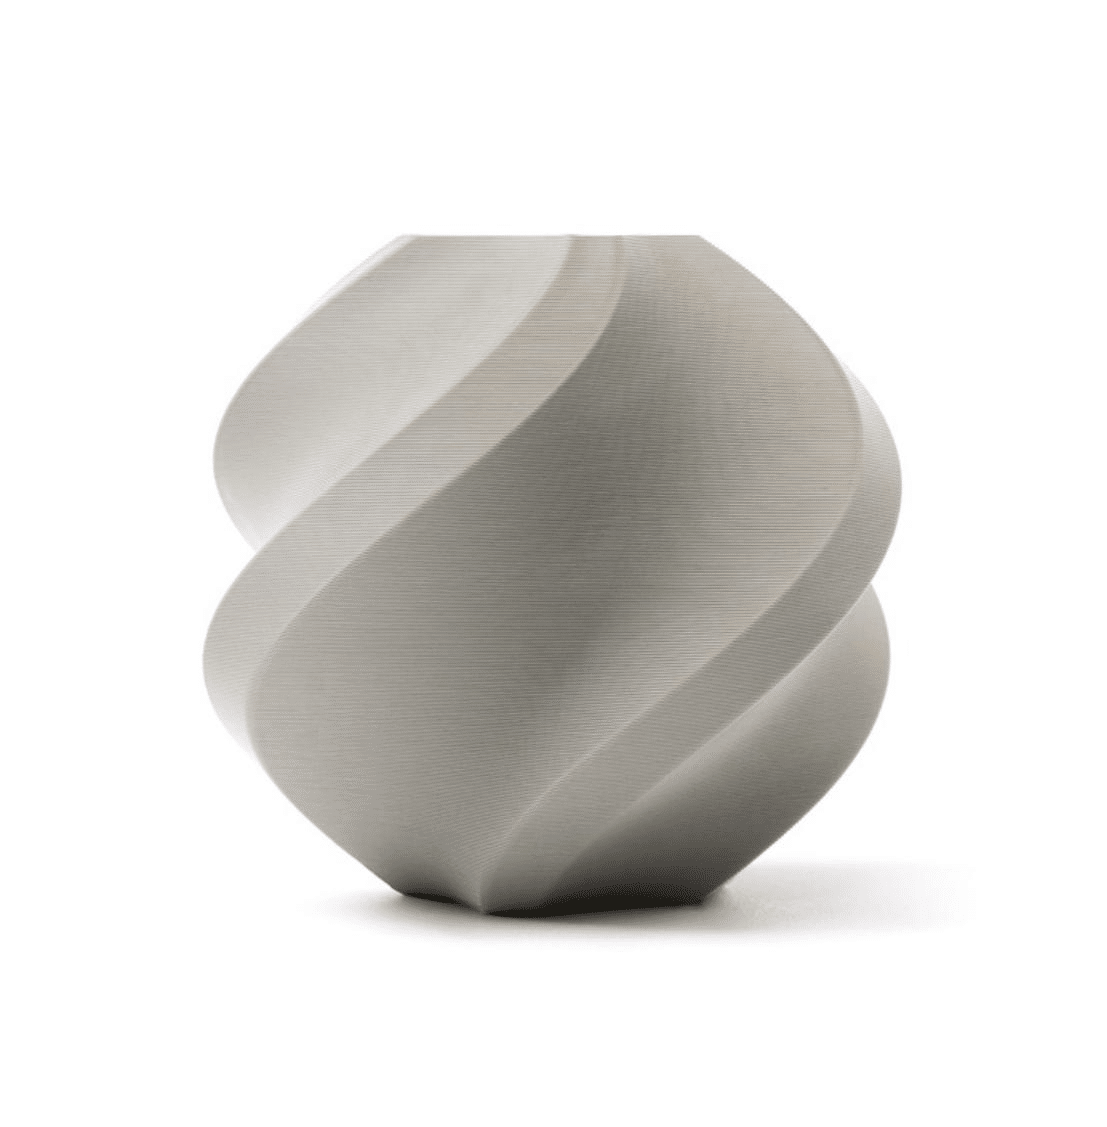
Bambu Lab PLA 3D Printer Filament – Grey 1.75mm with Reusable Spool
Bambu’s precision-controlled PLA is ideal for printing challenging overhangs. Consistent diameter and high-quality formulation for clean bridging.
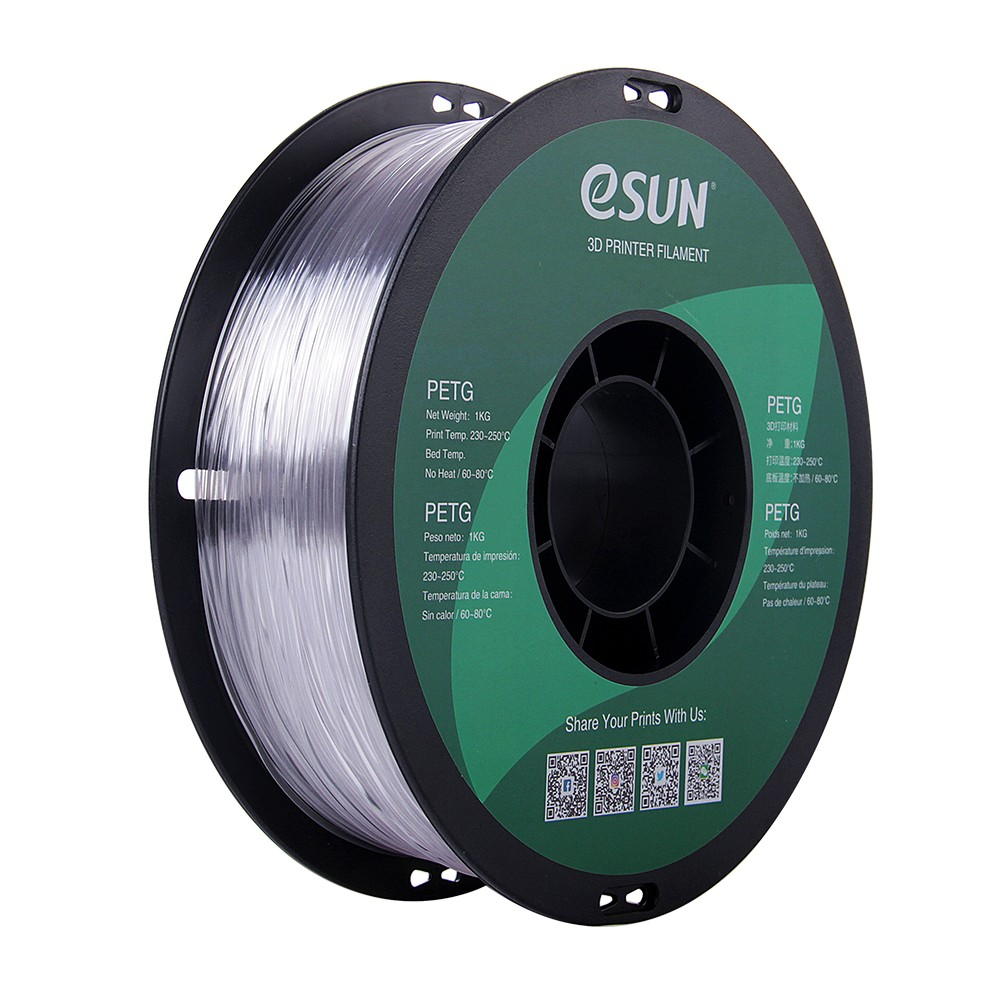
eSun PETG 1.75mm 3D Printing Filament 1kg – Clear
Quality PETG for durable functional parts. Tune your bridging settings carefully with PETG for best results on overhangs.
Print Orientation Strategy
Before you fight overhangs with slicer tricks, step back and ask: What is the optimal orientation for this part?
The Overhang Audit
Load your model in your slicer and use the overhang preview (all major slicers have this, usually shown in red/orange). Rotate the model and watch how the highlighted areas change. The goal is the orientation with the fewest and shallowest overhangs.
Trade-offs
- Rotating to reduce overhangs may increase part height (more print time)
- The Z-direction is the weakest in FDM parts — sometimes it’s better to accept more supports in exchange for better mechanical orientation
- The bottom surface will always be the smoothest — orient your most visible surface face-down for the best finish on that face (though this may require supports on the surface)
More Recommended Products from Zbotic
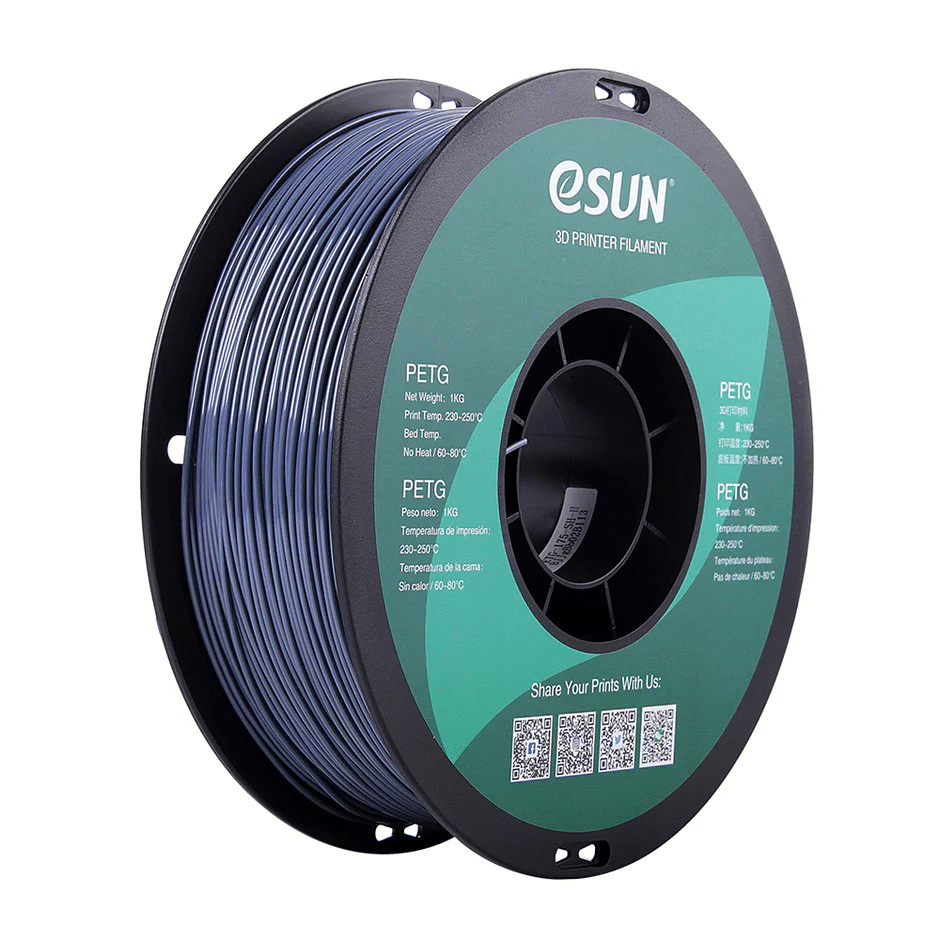
eSUN PETG 1.75mm 3D Printing Filament 1Kg – Grey
eSUN PETG Grey for strong, functional prints. Great for mechanical parts where you want durability along with manageable overhangs.
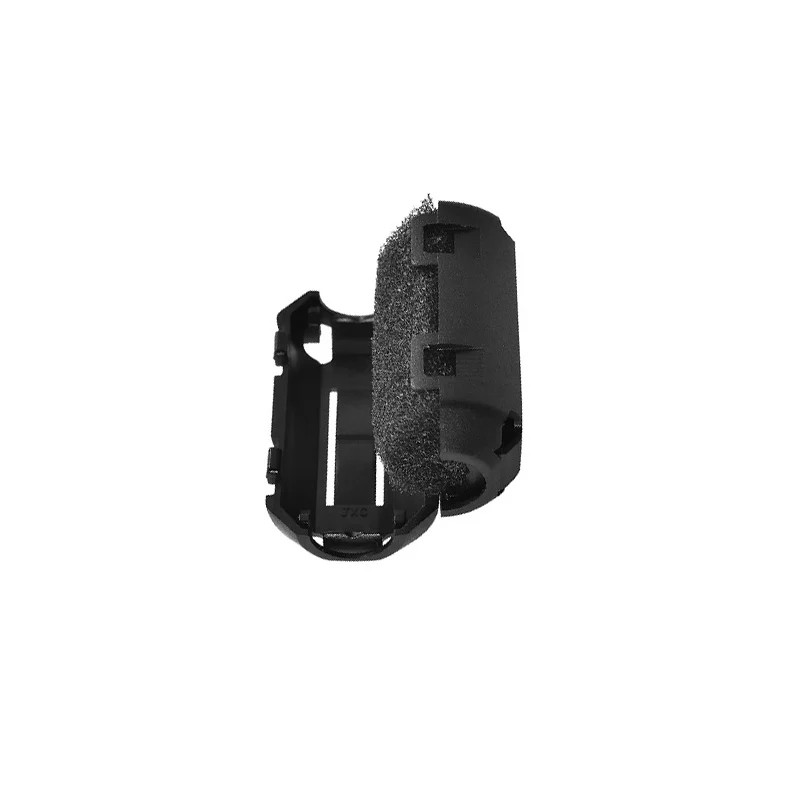
ABS PLA PETG 1.75mm Filament Filter Cleaner – Dust Removal for 3D Printer
Clean filament means consistent extrusion — essential for bridging where uneven flow causes sagging. A simple upgrade for better print quality.
Frequently Asked Questions
What is the maximum overhang angle for 3D printing without supports?
Most FDM printers can handle up to 45°–50° reliably without supports. With excellent cooling, tuned settings, and PLA, you can push to 60°–65°. Beyond that, supports are usually the practical choice. Bridges (fully horizontal spans) are a special case and can often span 50–100mm without supports.
Why does my bridge sag even with 100% fan?
Check: (1) Print temperature — try reducing by 5–10°C. (2) Bridge speed — try adjusting, both slower and faster. (3) Bridge flow — try reducing to 85%. (4) Fan effectiveness — the stock duct on many printers is inefficient. A duct upgrade can make a huge difference. Also confirm your fan is actually running at 100% during bridges using a temperature tower test.
How do I print a horizontal hole without supports?
Use a teardrop shape: keep the bottom semicircle as-is, but replace the top with a pointed teardrop apex at 45° instead of the circular arc. This keeps every point on the hole’s perimeter within the 45° printable range. Most CAD tools can create teardrop holes with a simple Boolean operation.
Does PETG bridge better or worse than PLA?
Worse. PETG has higher printing temperatures, is more viscous when molten, and tends to string. Bridging with PETG requires lower temperatures, slower speeds, and maximum cooling. Expect 10–20% worse bridging performance versus PLA.
Can I use supports only for specific areas?
Yes — use “support blockers” in your slicer to mark areas where you want supports removed. Cura, PrusaSlicer, and OrcaSlicer all support this. You can also use custom supports (“tree supports” in Cura, “organic supports” in PrusaSlicer) which are easier to remove and leave better surface finish.
High-quality PLA and PETG from Zbotic gives you the consistent extrusion needed for clean overhangs and bridges. Shop premium filaments with fast delivery across India.
Conclusion
Printing without supports is achievable on any FDM printer — it just requires understanding the limits and tuning the right settings. Start by reducing temperature by 5–10°C, cranking the fan to 100% during overhangs, and slowing down overhang perimeters. For bridges, tune the flow rate to 85–90% and let the cooling do the work.
Beyond settings, think about design. Every chamfer you add, every teardrop hole you use, and every split joint you design in saves you from fighting bad overhangs later. The best support is the one you designed away.
With quality filament and a little patience, you’ll consistently produce clean, support-free prints that impress every time.


Add comment