
Table of Contents
- Why Your Slicer Choice Matters
- Quick Overview: Cura and PrusaSlicer
- Interface and Ease of Use
- Feature Comparison
- Print Quality: Which Produces Better Results?
- Printer Compatibility
- Support Generation Compared
- Slicing Speed and Performance
- Community, Plugins and Updates
- The Verdict: Which Should You Use?
- Frequently Asked Questions
Why Your Slicer Choice Matters
A slicer is the software that translates your 3D model into a set of physical instructions for your printer. It decides how thick each layer is, where supports go, how fast the nozzle moves, how much plastic is extruded, and hundreds of other parameters. In short, the slicer has an enormous influence over whether your print comes out beautiful or a tangled mess of spaghetti.
Two slicers dominate the FDM 3D printing world in 2026: Ultimaker Cura and Prusa Research PrusaSlicer. Both are free. Both run on Windows, macOS, and Linux. Both have massive communities. Yet they are significantly different software products with different philosophies, and the choice between them genuinely matters — especially for beginners who are learning to calibrate their printer and understand how slicer settings affect output.
This comparison is written for someone who has recently bought their first 3D printer and wants to understand which slicer to invest time in learning. We will cover interface, features, print quality, compatibility, and support generation in detail.
Quick Overview: Cura and PrusaSlicer
Cura
Developed and maintained by Ultimaker (now part of UltiMaker after a merger with MakerBot), Cura is the world’s most widely used desktop 3D printing slicer. It has a huge library of built-in printer profiles, an active plugin ecosystem through the Ultimaker Marketplace, and a beginner-friendly interface that hides most complexity behind Recommended and Custom modes.
Cura is what most Indian 3D printing tutorials reference, because it is the easiest to set up for popular printers like the Ender 3, and its default profiles are reliable enough that absolute beginners can get good prints without deep customisation.
PrusaSlicer
Originally a fork of Slic3r, PrusaSlicer was developed by Prusa Research in Prague to support their popular i3 series of printers. It has since become a fully independent slicer that works with any FDM printer, not just Prusa machines. PrusaSlicer is known for its powerful print settings, excellent support generation, paint-on supports, and its more engineering-oriented approach to workflow.
PrusaSlicer is also the basis for Bambu Studio, which Bambu Lab uses as the official slicer for their X1 and P1 series printers.
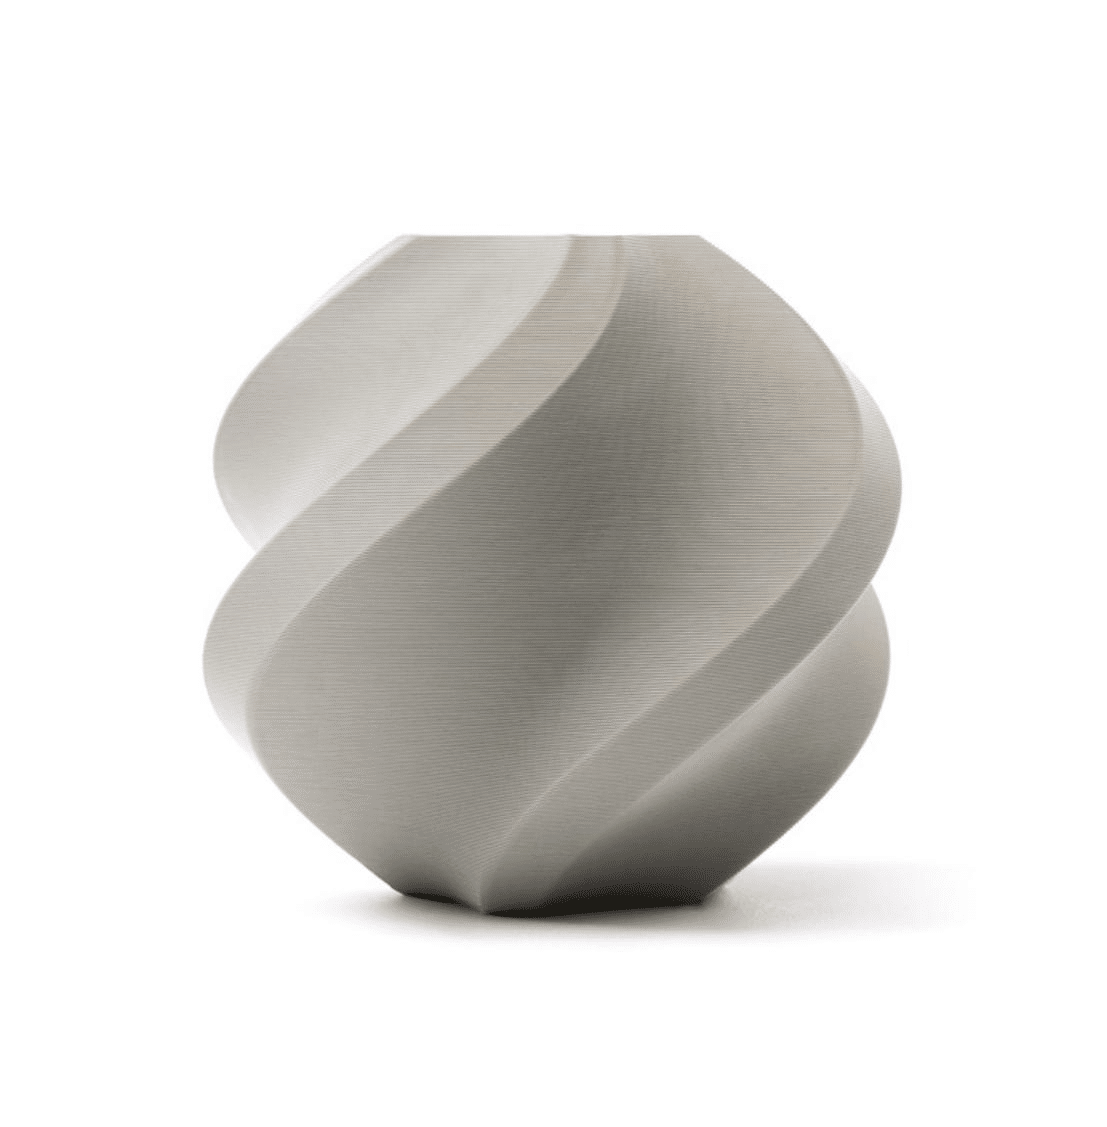
Bambu Lab PLA Filament Grey — 1.75mm with Reusable Spool
Reliable PLA with tight tolerance — perfect for testing prints while you dial in your slicer of choice. Works excellently with both Cura and PrusaSlicer profiles.
Interface and Ease of Use
Cura Interface
Cura’s interface is clean and intuitive. When you first open it, you get a large 3D viewport showing your build plate, a left sidebar with basic print controls, and a mode selector at the top right: Recommended or Custom.
In Recommended mode, Cura presents just five settings: layer height, infill density, support toggle, build plate adhesion, and a quality/speed slider. This is genuinely beginner-friendly. You can get a decent print without understanding any of the underlying mechanics.
Custom mode reveals the full settings tree — around 400 parameters grouped into categories. The interface handles this complexity reasonably well with a search bar and the ability to mark settings as Favourites.
PrusaSlicer Interface
PrusaSlicer has a three-panel layout: a left settings panel (Print, Filament, Printer), a large central viewport, and a right-side panel with object manipulation tools. It also has Simple, Advanced, and Expert modes that progressively reveal more settings.
The learning curve is steeper in Simple mode because PrusaSlicer’s default view is less guided than Cura’s. However, PrusaSlicer’s settings organisation is arguably cleaner once you get past the initial unfamiliarity — each setting category is well-grouped and the tooltips are more detailed than Cura’s.
Verdict on interface: Cura wins for absolute beginners. PrusaSlicer is more powerful once you invest the time to learn it.
Feature Comparison
| Feature | Cura | PrusaSlicer |
|---|---|---|
| Beginner-friendly mode | Yes (Recommended) | Yes (Simple) |
| Paint-on supports | Plugin only | Built-in |
| Variable layer height | Yes | Yes (adaptive) |
| Modifier meshes | Yes (per-model settings) | Yes (height modifiers) |
| Multi-material / MMU | Limited | Excellent |
| Plugin ecosystem | Excellent (Marketplace) | Limited |
| G-code preview | Yes | Excellent |
| Organic tree supports | Yes | Yes (Organic mode) |
| Printer profiles library | Very large | Good |
Print Quality: Which Produces Better Results?
This is the question everyone wants answered, and the honest answer is: both produce excellent prints, and the difference largely comes down to how well you have tuned your settings rather than which slicer you are using.
That said, experienced users consistently report a few trends:
- PrusaSlicer’s default profiles tend to produce slightly better first results for Prusa printers, because the profiles are created by the same engineers who designed the machines. For third-party printers, results are comparable to Cura.
- Cura’s tree supports have improved massively in versions 5.x and are now competitive with PrusaSlicer. Previously, PrusaSlicer was clearly better here.
- PrusaSlicer’s adaptive layer height feature automatically uses finer layers on curved surfaces and coarser layers on flat areas, producing a better appearance at shorter print times than a fixed layer height.
- Cura’s Surface Mode (set to Spiralize Outer Contour / vase mode) produces very smooth single-wall vases and hollow objects.
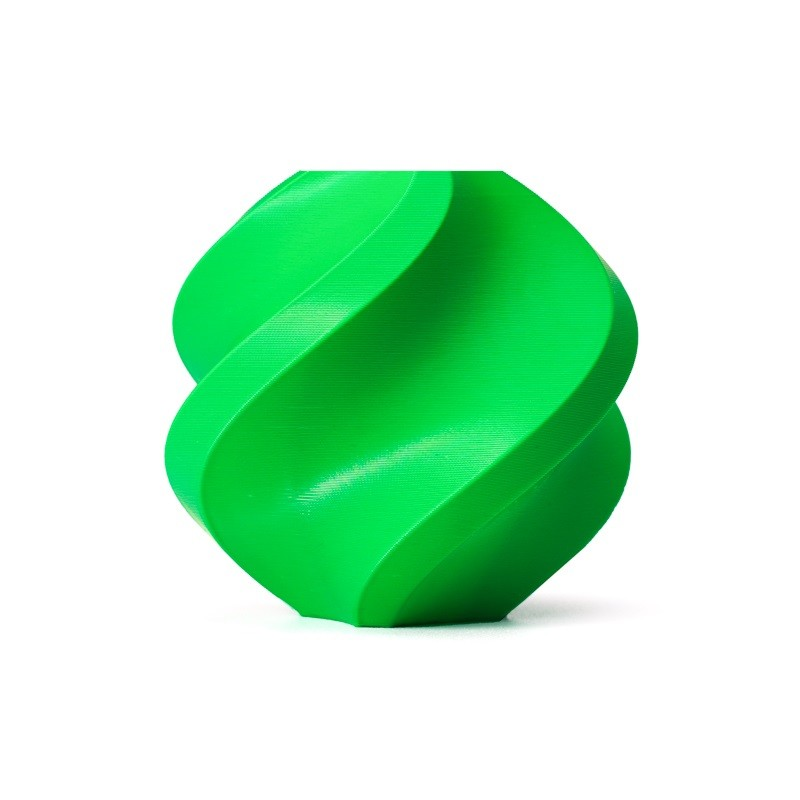
Bambu Lab ABS Filament Bambu Green — 1.75mm with Reusable Spool
High-quality ABS that showcases the difference between slicers clearly — PrusaSlicer’s fine-grained temperature and cooling control shines with ABS.
Printer Compatibility
Cura
Cura has the largest built-in printer library of any slicer — hundreds of machines from Creality, Anycubic, Artillery, Elegoo, Ultimaker, and many more are included. For printers not in the library, the Generic FDM profile is easy to configure manually. This makes Cura the safer choice if you have an off-brand or older printer without an official profile in either slicer.
PrusaSlicer
PrusaSlicer has a growing but smaller built-in library. It excels with Prusa machines (i3 MK4, XL, Mini) and also has solid support for Bambu Lab, Artillery, Anycubic, Creality, and others. The profiles are generally well-maintained because the PrusaSlicer development team actively works with printer manufacturers.
For Indian users with popular printers like the Ender 3, Ender 3 V2, or Ender 3 S1, both slicers have adequate profiles. Cura’s Ender 3 profile is arguably more battle-tested simply due to the enormous number of Indian and global Ender 3 users who have refined it over the years.
Support Generation Compared
Support generation is one of the areas where the choice of slicer genuinely impacts print quality the most. Supports that are too dense are hard to remove and leave rough marks. Supports that are too sparse fail to hold overhangs properly.
Cura Supports
Cura’s tree support algorithm (introduced significantly improved versions in Cura 5.x) generates organic, branch-like supports that contact the model at minimal points. This leaves cleaner surfaces and requires less filament. The support settings in Cura are extensive — you can control interface layer density, horizontal expansion, roof and floor settings, and more.
PrusaSlicer Supports
PrusaSlicer’s paint-on supports are a unique advantage. You can literally paint directly onto your model in the slicer viewport to specify exactly where supports should and should not generate. This level of control is not available natively in Cura without adding a plugin.
PrusaSlicer’s Organic support mode also produces excellent results with very clean supported surfaces. The G-code preview in PrusaSlicer is significantly more detailed than Cura’s, making it easier to preview exactly what your supports will look like before printing.
Verdict: PrusaSlicer has the edge in support control, particularly the paint-on feature. Both produce comparable results with standard auto-generated supports.
Slicing Speed and Performance
Slicing speed — the time it takes to process a model — matters less than it used to as computers have become faster. Both slicers can slice a typical model in under 30 seconds on a modern PC. For very large and complex models, PrusaSlicer tends to be slightly faster due to its more optimised slicing engine.
On older or lower-spec computers common in India’s tier-2 and tier-3 cities, Cura can feel sluggish with complex models, particularly when using tree supports which require significant computation. PrusaSlicer handles this more gracefully.
Community, Plugins and Updates
Cura’s community is larger and more active simply due to its larger user base. The Ultimaker Marketplace offers plugins for OctoPrint integration, cloud print management, calibration tools, and more. Most YouTube tutorials, Reddit posts, and Indian maker community guides reference Cura settings.
PrusaSlicer has a deeply engaged community, excellent official documentation from Prusa Research, and very responsive development. The GitHub repository is actively maintained and new features come regularly. However, the plugin ecosystem is smaller than Cura’s.
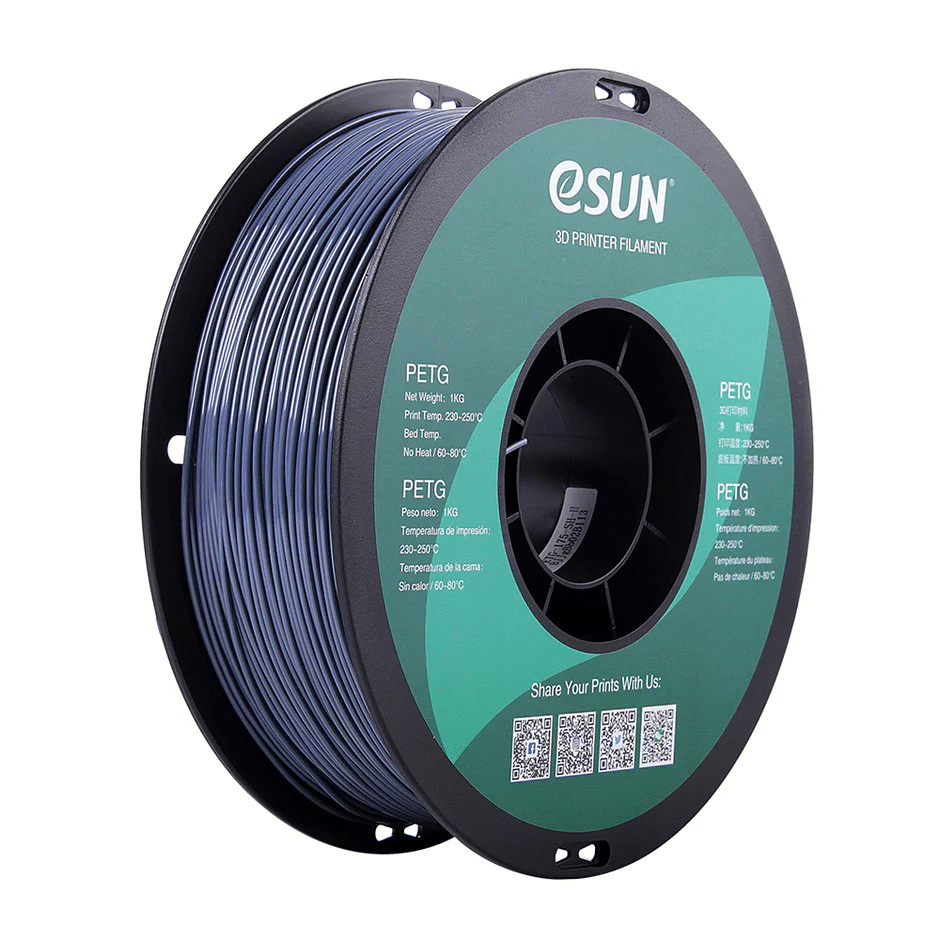
eSUN PETG 1.75mm 3D Printing Filament 1kg — Grey
PETG filament to test PrusaSlicer’s superior multi-material and temperature control features. Works beautifully with both slicers once you tune the profile.
The Verdict: Which Should You Use?
Here is the honest, practical recommendation for different types of users:
Choose Cura if:
- You are a complete beginner and want a guided, forgiving experience.
- You are using a Creality Ender 3, Ender 3 V2, or other non-Prusa budget printer.
- Most of the tutorials and community resources you follow reference Cura.
- You want the largest library of printer profiles with minimal manual configuration.
Choose PrusaSlicer if:
- You own a Prusa printer (it is simply the best-tuned option).
- You print a lot of complex models requiring careful support placement.
- You want more detailed G-code preview and analysis before printing.
- You are printing in multi-material setups or using advanced features like variable layer height regularly.
The Real Answer: Learn Both
Neither slicer costs anything to download and use. Many experienced 3D printing enthusiasts in India and globally use both — Cura for quick, straightforward prints where its defaults are good enough, and PrusaSlicer for complex models requiring careful support control or multi-material printing. Install both, and let the job dictate the tool.
Frequently Asked Questions
Can PrusaSlicer be used with Creality printers?
Yes. PrusaSlicer works with any FDM printer that generates standard G-code. It has built-in profiles for most popular Creality models including the Ender 3. You may need to slightly tune the profile for your specific machine.
Is PrusaSlicer completely free?
Yes. PrusaSlicer is open-source and completely free. It is licensed under the AGPL-3.0 license, meaning anyone can use, modify, and distribute it.
Does Bambu Studio work with non-Bambu printers?
Bambu Studio is primarily designed for Bambu Lab printers and has features deeply tied to their hardware. While it can technically export G-code for other printers, it is not recommended for non-Bambu use. Use PrusaSlicer or Cura for other printers instead.
Which slicer produces less stringing?
Stringing is more a function of your retraction settings and print temperature than the slicer itself. Both Cura and PrusaSlicer have adequate retraction tuning options. PrusaSlicer’s combing/avoid crossing perimeters feature can marginally reduce stringing on complex models.
Can I import Cura profiles into PrusaSlicer?
Not directly. The profile formats are incompatible. However, you can manually transfer settings by opening both slicers side by side and copying the values for temperature, speed, retraction, and other parameters.
Ready to start printing? Stock up on high-quality filaments and accessories for your 3D printer at Zbotic’s 3D Printing store — the best-stocked online 3D printing shop in India.


Add comment