Product Description :
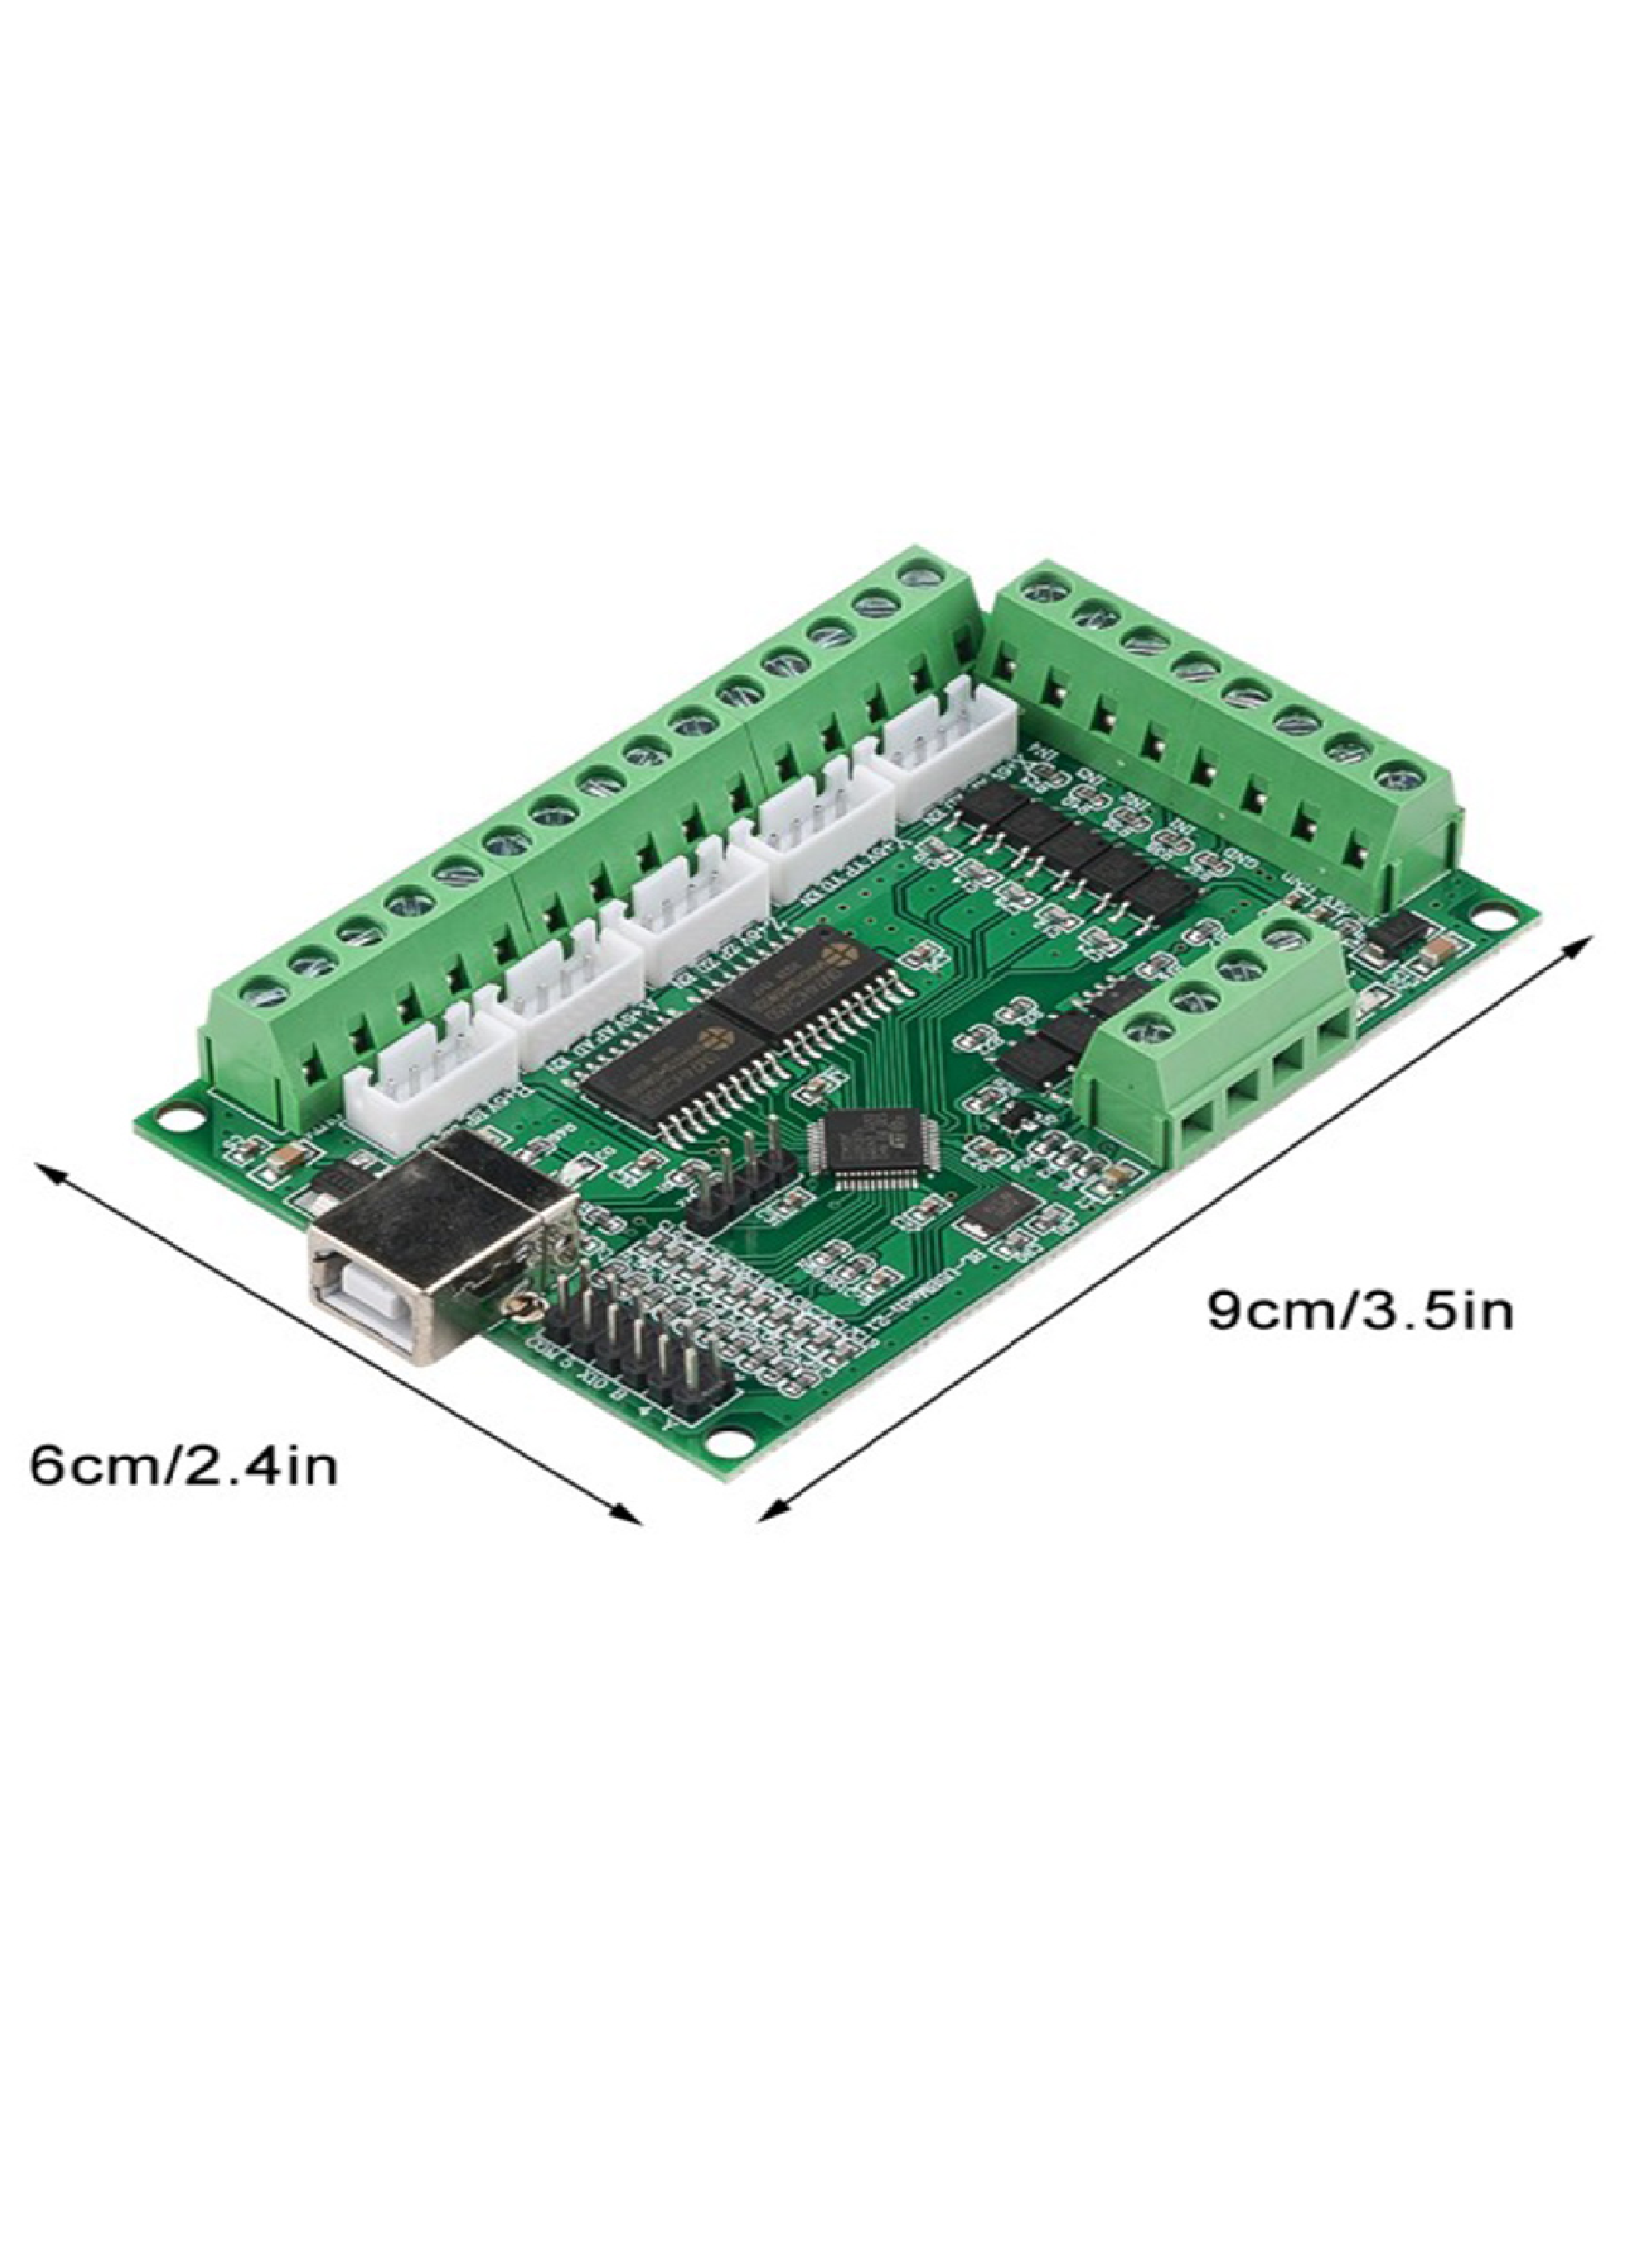
If you’re tired of needing a parallel port and an outdated PC to run Mach3, this is the solution you’ve been waiting for! Our newest interface board runs through any standard USB port for communication. You simply need to install the card’s plugin for Mach3 and follow the setup instructions.
This Mach3 USB Controller will run Mach3 through a standard USB port on a PC. You can use Windows 10 and older Windows version 32-bit or 64-bit.
Features:
- External wide voltage input, 12-24V, and anti-reverse function.
- Support various versions of MACH3 software and support the latest version.
- Support Windows XP, WIN7, WIN8, WIN10, support for 64-bit systems, support laptops, support for tablet computers.
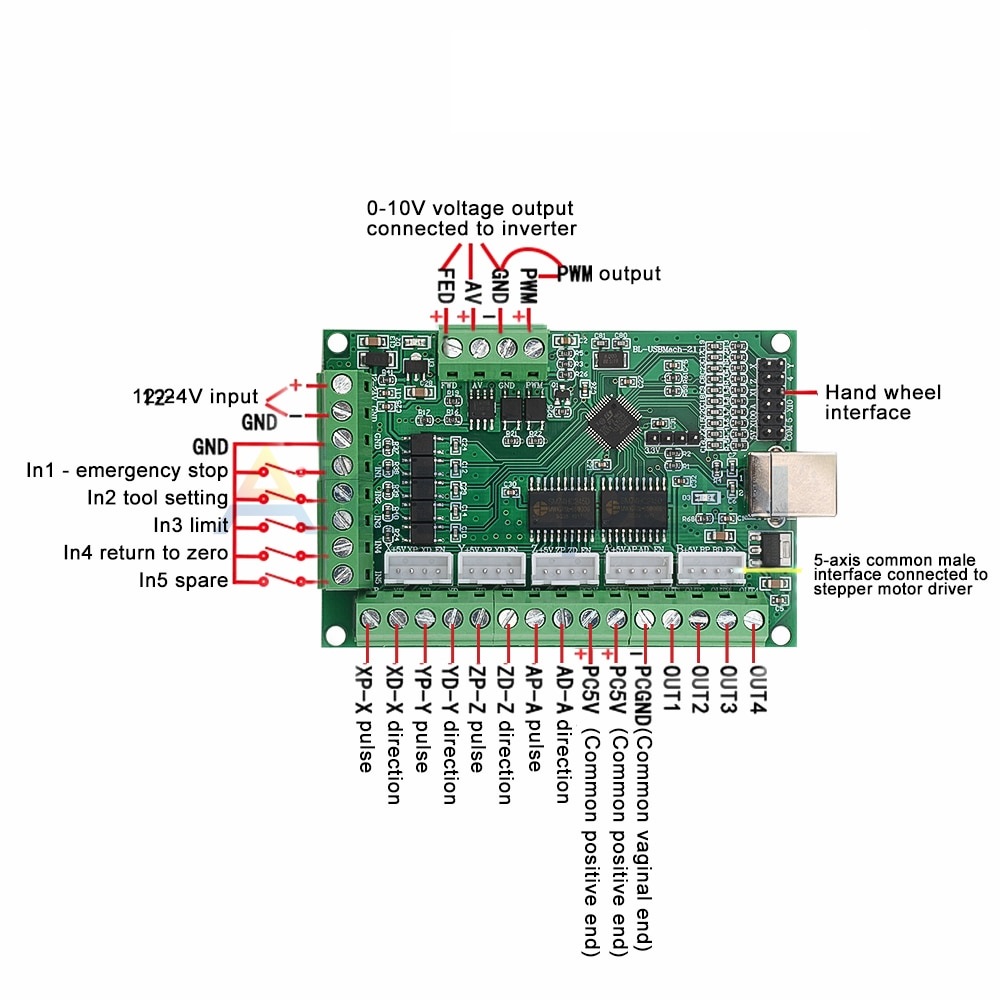
- All input signals are separated by light, and emergency stop, knife set, limit, and zero return can be connected to ensure computer security. The input can be connected to a mechanical switch or a proximity switch (normally open with NPN).
- All the way through the optocoupler isolated 0-10V analogue voltage output, you can control the 0-10V analogue voltage input inverter, control the spindle speed.
- Provide PWM output (5V level), which can be connected to the spindle speed controller controlled by PWM.
- Provide 4 output ports (5V level), can be connected with the optocoupler relay module, control water cooling, spray and so on.
- Maximum 100KHZ output per axis can be connected to the common anode or common cathode, the input level is 5V, stepper or servo motor driver with optocoupler input (pulse direction).
- At the same time provide a 5-axis interface cable socket (XH2.54), easy to connect
Connection Diagram:
Setup Instructions:
- Step 1: Install Mach3 software.
- Step 2: Download the USB Motion Driver BL-UsbMach-V22.dll and copy and paste the file into your Mach3 Plugins folder Example: “C:/Users/ProgramFiles/Mach3/Plugins”
- Step 3: Make sure your board is connected to the PC via USB cable. It should automatically recognize the USB device.
- Step 4: Open Mach3 and you should be prompted to select a driver. Select the “USBMach V2.0” and check “Don’t ask me again”. This will allow your board to communicate with Mach3.
- Step 5: Download the XML Mach3 Config File above by right-clicking on the link and selecting “save as”. Save the Mac3Mill.xml file in your Mach3 root folder.
Package Includes:
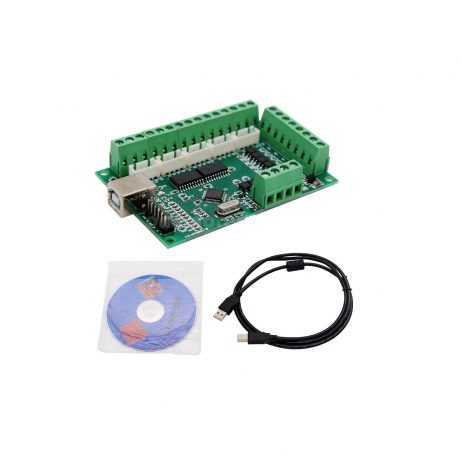
1 x MACH3 V2.1 Engraving Machine Motherboard CNC 5- Axis USB Cable CD

