
If you’ve ever wanted your ESP32 project to look as polished as a commercial product — with smooth animations, buttons, sliders, charts, and even touch gestures — LVGL (Light and Versatile Graphics Library) is the tool you’ve been waiting for. LVGL is a free, open-source embedded GUI framework that runs on microcontrollers, and when combined with ESP32 and a TFT display, it produces UIs that rival tablet applications. This guide walks through everything you need to get started with lvgl esp32 tft gui display development: installation, configuration, creating widgets, handling touch input, and building a real project dashboard.
What is LVGL and Why Use It?
LVGL (formerly known as LittlevGL) is a mature, production-grade embedded graphics library written in C. It was created by Gabor Kiss-Vamosi and is now maintained by a large open-source community with corporate backing from companies like Espressif (makers of ESP32), NXP, and STMicroelectronics.
What LVGL gives you over raw TFT_eSPI drawing:
- Widget system: Ready-made UI components — labels, buttons, sliders, drop-downs, charts, gauges, image buttons, tabs, list views, and more. Dozens of widgets out of the box.
- Themes & styles: A powerful CSS-like style system. Apply colors, fonts, padding, borders, shadows, and animations to any widget or widget state (normal, pressed, focused).
- Animation engine: Smooth interpolated animations for position, opacity, size, and color transitions with customizable easing curves.
- Event system: Attach callback functions to user actions (click, long press, drag, scroll) on any widget.
- Layout managers: Flex and grid layouts for responsive UI that adapts to different screen sizes automatically.
- Font engine: Beautiful anti-aliased bitmap fonts in multiple sizes, with emoji support and sub-pixel rendering.
The trade-off is complexity — LVGL has a steeper learning curve than drawing raw pixels with TFT_eSPI. But for anything that needs multiple screens, navigation, and interactive controls, LVGL saves weeks of UI coding.
Hardware Requirements
LVGL is demanding by microcontroller standards. Here’s what you need:
- Microcontroller: ESP32 (recommended — 240MHz dual-core, 520KB SRAM). LVGL on Arduino Uno is not practical; it needs at least 64KB RAM and 2MHz+ CPU.
- Display: Any TFT display supported by TFT_eSPI — ST7789 (240×240), ILI9341 (240×320), ILI9488 (320×480), or similar. Larger displays produce better-looking UIs but require more RAM for frame buffers.
- Touch controller (optional but recommended): XPT2046 for resistive touch (common on 2.8″ and 3.5″ TFT shields), or GT911/FT6336 for capacitive touch (common on 7″ LCDs).
- RAM requirements: LVGL needs at minimum two display buffers. For a 240×240 display, a 1/10th-screen buffer (240×24 = 5,760 pixels × 2 bytes = ~11KB per buffer) works fine on ESP32.
Minimum recommended spec: ESP32 + 240×320 ILI9341 TFT with XPT2046 touch. This combination has the most documentation and community examples.
Installing LVGL & TFT_eSPI
You need two libraries: TFT_eSPI (display driver) and LVGL (GUI framework). Install both via Arduino Library Manager:
Sketch → Include Library → Manage Libraries- Search “TFT_eSPI” → Install by Bodmer
- Search “lvgl” → Install the official LVGL library (v8.x or v9.x)
After installing LVGL, you must copy the config file template:
# Navigate to your Arduino libraries folder:
# Windows: Documents/Arduino/libraries/lvgl/
# Copy lv_conf_template.h to the parent folder (libraries/) as lv_conf.h
# Then edit lv_conf.h
Also configure TFT_eSPI’s User_Setup.h for your specific display (see the ST7789 guide above for details).
Configuring lv_conf.h
The lv_conf.h file controls what LVGL compiles — smaller footprint = fewer features enabled. Key settings to change:
/* First line: change 0 to 1 to enable the file */
#if 1

/* Color depth: 16-bit matches TFT_eSPI RGB565 */
#define LV_COLOR_DEPTH 16

/* Tick period in ms (call lv_tick_inc() every LV_TICK_PERIOD_MS ms) */
#define LV_TICK_PERIOD_MS 1

/* Enable logging */
#define LV_USE_LOG 1
#define LV_LOG_LEVEL LV_LOG_LEVEL_WARN

/* Enable widgets you need (saves flash) */
#define LV_USE_BTN    1
#define LV_USE_LABEL  1
#define LV_USE_SLIDER 1
#define LV_USE_CHART  1
#define LV_USE_GAUGE  0  // Disable if not needed
#define LV_USE_ARC    1

/* Font sizes */
#define LV_FONT_MONTSERRAT_14 1
#define LV_FONT_MONTSERRAT_20 1
#define LV_FONT_DEFAULT &lv_font_montserrat_14
Creating Widgets: Labels, Buttons, Sliders & Charts
Here is a complete working sketch that initializes LVGL with TFT_eSPI and creates several widget types:
#include <lvgl.h>
#include <TFT_eSPI.h>

TFT_eSPI tft = TFT_eSPI();
static lv_disp_draw_buf_t draw_buf;
static lv_color_t buf[240 * 24]; // 1/10 screen buffer

// Display flush callback (LVGL → TFT_eSPI)
void my_disp_flush(lv_disp_drv_t *disp, const lv_area_t *area,
                   lv_color_t *color_p) {
  uint32_t w = area->x2 - area->x1 + 1;
  uint32_t h = area->y2 - area->y1 + 1;
  tft.startWrite();
  tft.setAddrWindow(area->x1, area->y1, w, h);
  tft.pushColors((uint16_t *)&color_p->full, w * h, true);
  tft.endWrite();
  lv_disp_flush_ready(disp);
}

void setup() {
  Serial.begin(115200);
  tft.init();
  tft.setRotation(1); // Landscape

  lv_init();
  lv_disp_draw_buf_init(&draw_buf, buf, NULL, 240 * 24);

  static lv_disp_drv_t disp_drv;
  lv_disp_drv_init(&disp_drv);
  disp_drv.hor_res  = 320; // ILI9341 landscape
  disp_drv.ver_res  = 240;
  disp_drv.flush_cb = my_disp_flush;
  disp_drv.draw_buf = &draw_buf;
  lv_disp_drv_register(&disp_drv);

  // --- Create UI ---

  // Label with large font
  lv_obj_t *label = lv_label_create(lv_scr_act());
  lv_label_set_text(label, "Temperature: 28 C");
  lv_obj_set_style_text_font(label, &lv_font_montserrat_20, 0);
  lv_obj_align(label, LV_ALIGN_TOP_MID, 0, 20);

  // Button
  lv_obj_t *btn = lv_btn_create(lv_scr_act());
  lv_obj_set_size(btn, 120, 50);
  lv_obj_align(btn, LV_ALIGN_CENTER, 0, 40);
  lv_obj_add_event_cb(btn, btn_event_cb, LV_EVENT_CLICKED, NULL);
  lv_obj_t *btn_label = lv_label_create(btn);
  lv_label_set_text(btn_label, "REFRESH");
  lv_obj_center(btn_label);

  // Slider
  lv_obj_t *slider = lv_slider_create(lv_scr_act());
  lv_obj_set_width(slider, 200);
  lv_obj_align(slider, LV_ALIGN_BOTTOM_MID, 0, -30);
  lv_slider_set_value(slider, 65, LV_ANIM_OFF);
}

static void btn_event_cb(lv_event_t *e) {
  Serial.println("Button clicked!");
}

void loop() {
  lv_timer_handler(); // Handle LVGL tasks
  delay(5);
}
LVGL’s lv_timer_handler() must be called repeatedly in loop() — this is the main LVGL task that handles rendering, animations, and input processing. Also call lv_tick_inc(1) from a hardware timer or millis() inside loop for accurate animation timing.
Adding Touch Input
For resistive touch (XPT2046 controller on many TFT shields), install the XPT2046_Touchscreen library and add an input driver:
#include <XPT2046_Touchscreen.h>

XPT2046_Touchscreen ts(/*CS=*/SS);

void my_touchpad_read(lv_indev_drv_t *indev_driver,
                      lv_indev_data_t *data) {
  if (ts.tirqTouched() && ts.touched()) {
    TS_Point p = ts.getPoint();
    // Map raw touch coords (0-4095) to screen coords (0-319, 0-239)
    data->point.x = map(p.x, 200, 3900, 0, 320);
    data->point.y = map(p.y, 200, 3900, 0, 240);
    data->state = LV_INDEV_STATE_PR;
  } else {
    data->state = LV_INDEV_STATE_REL;
  }
}

// In setup(), after LVGL init:
ts.begin();
static lv_indev_drv_t indev_drv;
lv_indev_drv_init(&indev_drv);
indev_drv.type = LV_INDEV_TYPE_POINTER;
indev_drv.read_cb = my_touchpad_read;
lv_indev_drv_register(&indev_drv);
Touch calibration is critical — the raw XPT2046 values (0–4095) need mapping to screen pixels. The map values (200, 3900) are approximate; calibrate for your specific module by reading raw touch values at the screen corners.
Complete Project: Sensor Dashboard GUI
Here’s the design for a complete LVGL-powered environment monitor with navigation:
Screen 1 — Main Dashboard:
- Large arc gauge (lv_arc) showing temperature with color zones (green 15–25°C, yellow 25–35°C, red 35°C+)
- Two info cards (lv_obj with style) showing humidity and pressure as numeric labels
- Navigation tab bar at bottom (lv_tabview or manual buttons)
Screen 2 — Historical Chart:
- lv_chart widget showing 60-point temperature history (last hour at 1-sample/minute)
- Smooth line series with filled area below the line
- Y-axis auto-scaled to min/max of data
Screen 3 — Settings:
- lv_slider for brightness control (connected to PWM on BLK pin)
- lv_switch for enabling/disabling alerts
- lv_dropdown for update interval selection (1s / 5s / 30s)
This entire GUI — three screens with navigation, smooth transitions, and live sensor data — can run at a comfortable 10–15 FPS on an ESP32 at 240MHz. Use FreeRTOS tasks to read sensors in the background while LVGL renders on the main core.
Recommended Products from Zbotic
Build your LVGL GUI project with these components from Zbotic:

GY-BME280-3.3 Precision Altimeter Atmospheric Pressure Sensor Module
Three sensor readings (temp, humidity, pressure) in one I2C module — perfect for populating a three-panel LVGL dashboard with real environmental data from a single sensor.
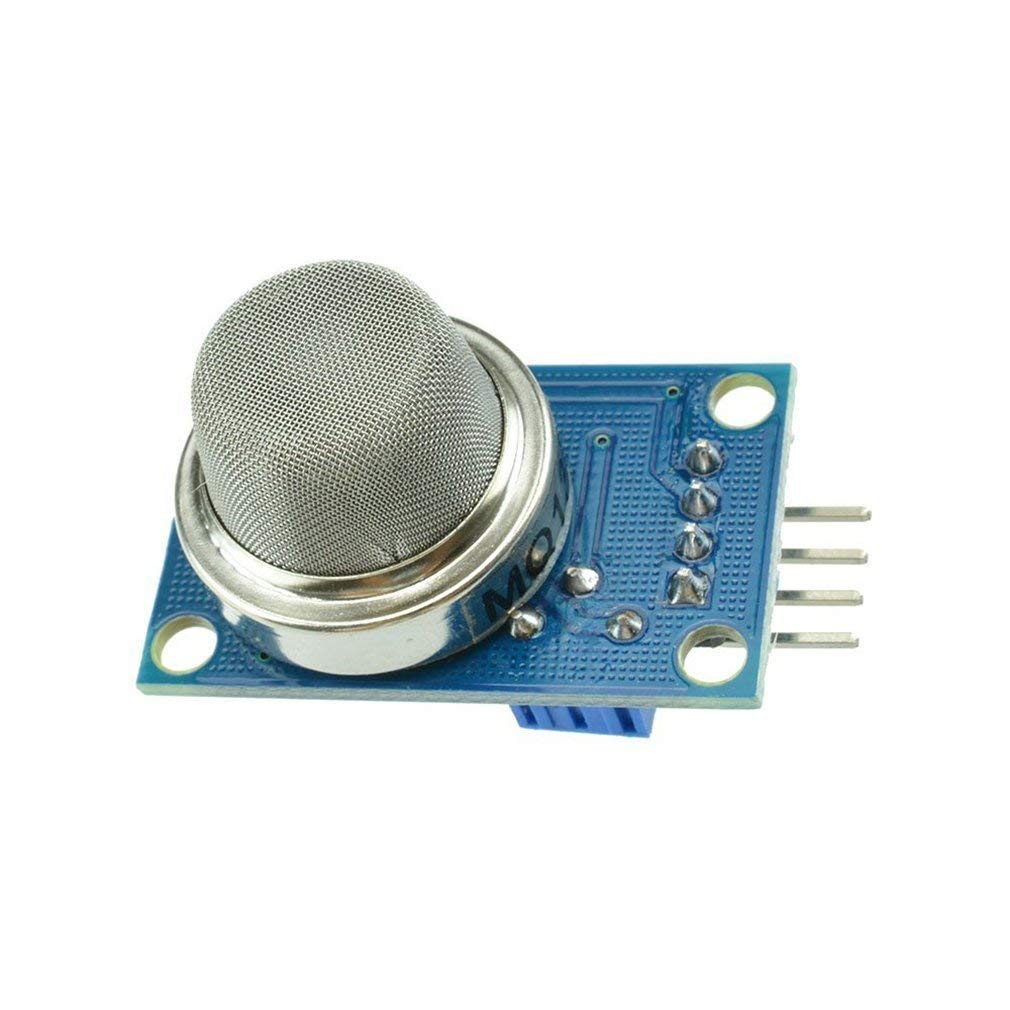
MQ-135 Air Quality/Gas Detector Sensor Module for Arduino
Add an air quality indicator to your LVGL GUI — display an lv_arc gauge with color-coded zones (green/yellow/red) driven by MQ-135 readings for a professional indoor monitor.

Capacitive Soil Moisture Sensor
Display soil moisture as an lv_bar percentage widget on an LVGL touch screen. Tap a button on the touchscreen to trigger a relay and water the plant — a complete smart garden controller.
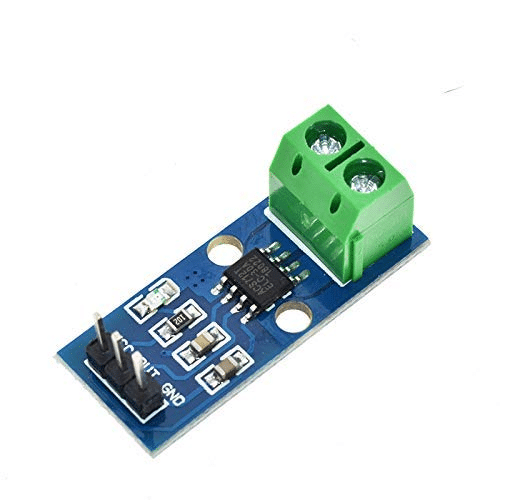
30A Range Current Sensor Module ACS712
Build a power dashboard with LVGL — show real-time current draw as a live chart (lv_chart) and total energy usage as a big number label. Great for solar system monitoring displays.
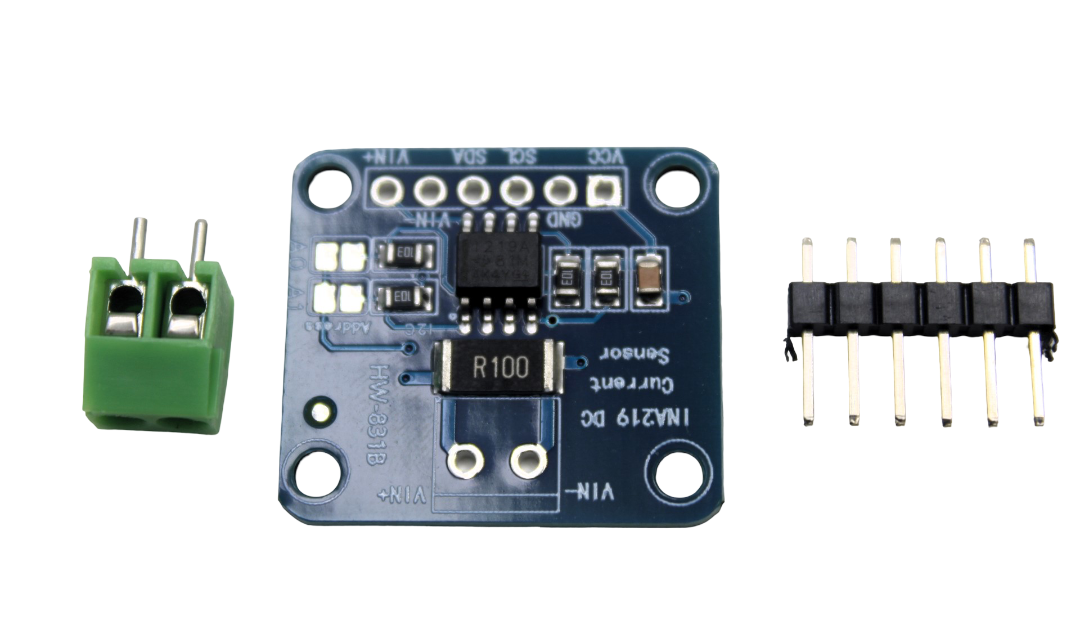
CJMCU-219 INA219 I2C Bi-directional Current/Power Monitor
Accurate bidirectional power measurement over I2C — populate an LVGL gauge and historical chart with real voltage and wattage for a premium bench power monitor with touch controls.
Frequently Asked Questions
How much RAM does LVGL need on ESP32?
LVGL itself uses around 50–80KB of RAM for internal data structures, object trees, and style information. The biggest RAM consumer is the display buffer — for a 320×240 display, two 1/10-screen buffers (each 320×24×2 bytes = ~15KB) = 30KB. ESP32 has 520KB SRAM, so LVGL fits comfortably. Avoid creating too many objects (more than 100 widgets on screen at once) as each object allocates heap memory.
What version of LVGL should I use with Arduino?
As of 2026, LVGL v8.3.x has the most Arduino examples and community tutorials. LVGL v9.x introduced API changes that break many existing examples. Unless you need v9-specific features, start with v8.3 — install it by clicking the version dropdown in Arduino Library Manager. The lv_conf.h template and API calls in this article target v8.3.
My LVGL display flickers when updating widgets. How do I fix it?
Flickering is usually caused by using a single display buffer instead of two alternating buffers, or by calling lv_timer_handler() too infrequently. Solutions: (1) Use two buffers in lv_disp_draw_buf_init() — pass buf1 and buf2. (2) Call lv_timer_handler() every 5ms or less. (3) Use TFT_eSprite for sub-regions you update frequently, composited with LVGL for the rest of the screen. (4) On ESP32, enable DMA in TFT_eSPI (set #define USE_HSPI_PORT and #define ILI9341_DRIVER with DMA flags).
Can I use LVGL with a display that has no touch screen?
Absolutely. LVGL works perfectly without touch input — you simply don’t register an input driver. You can still create all widgets and update them programmatically from sensor data, timers, or incoming data (MQTT, serial). For navigation without touch, you can attach physical buttons using LV_INDEV_TYPE_BUTTON to simulate touch events at specific screen coordinates.
Is LVGL suitable for commercial products made in India?
Yes — LVGL is MIT licensed, meaning you can use it in commercial products without royalties or attribution requirements (though attribution is appreciated). Companies like Espressif, NXP, STMicro, and Renesas actively support LVGL. The library is used in commercial medical devices, industrial panels, and consumer electronics worldwide. It’s a serious, production-grade option, not just a hobby tool.
Get ESP32 boards, TFT displays, sensors, and all the components you need at Zbotic.in — India’s trusted electronics store delivering to makers and engineers nationwide.


Add comment