
ESP32 BLE Scanner: Detect Nearby Devices & Signal Strength
The ESP32 BLE scanner capability makes it one of the most powerful tools in any Indian maker’s toolkit. Using the ESP32 BLE scanner to detect nearby devices and measure RSSI (Received Signal Strength Indicator) opens up a world of applications — from proximity detection and indoor positioning to people counters and asset tracking. In this complete guide, we’ll walk through everything you need to know to build an ESP32 BLE scanner that detects nearby Bluetooth devices and their signal strength, with working Arduino IDE code.
BLE Scanning Basics: Advertising and RSSI
Bluetooth Low Energy (BLE) devices constantly broadcast small data packets called advertising packets. These packets contain the device name, MAC address, manufacturer data, and service UUIDs. Any nearby Bluetooth device in scanner (observer) mode can pick up these packets without establishing a connection — this is the foundation of passive BLE scanning.
RSSI (Received Signal Strength Indicator) is measured in dBm (decibels relative to 1 milliwatt). A typical RSSI scale for BLE:
- -40 to -60 dBm: Excellent signal, device is very close (0–2 metres)
- -60 to -70 dBm: Good signal, device is nearby (2–5 metres)
- -70 to -80 dBm: Fair signal, moderate distance (5–15 metres)
- -80 to -90 dBm: Weak signal, far or with obstacles (15–30 metres)
- Below -90 dBm: Very weak, barely detectable
RSSI is affected by walls, furniture, the human body, and RF interference. For accurate distance estimation, you’ll need to calibrate using the measured RSSI at 1 metre (known as TX Power or RSSI@1m) and apply a path loss model. For simple proximity detection though, raw RSSI thresholds work well enough.
Hardware Requirements
For a basic ESP32 BLE scanner project, you need:
- ESP32 development board (any variant — ESP32 DevKit, ESP32-C3, ESP32-S3)
- USB cable for programming
- Optional: 0.96″ OLED display (I2C, SSD1306) for showing scan results
- Optional: Micro SD card module for logging scan data
The ESP32 has a built-in 2.4GHz radio that handles both WiFi and Bluetooth simultaneously. No external BLE module is required. The ESP32-C3 and ESP32-S3 variants offer improved BLE 5.0 support with longer range and better throughput.
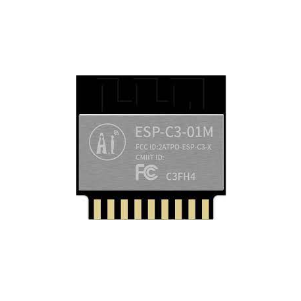
Ai Thinker ESP32-C3-01M Wi-Fi + BLE Module
Compact ESP32-C3 module with BLE 5.0 and Wi-Fi 4 support. Ideal for space-constrained BLE scanner projects. Lower power than classic ESP32 with RISC-V core.
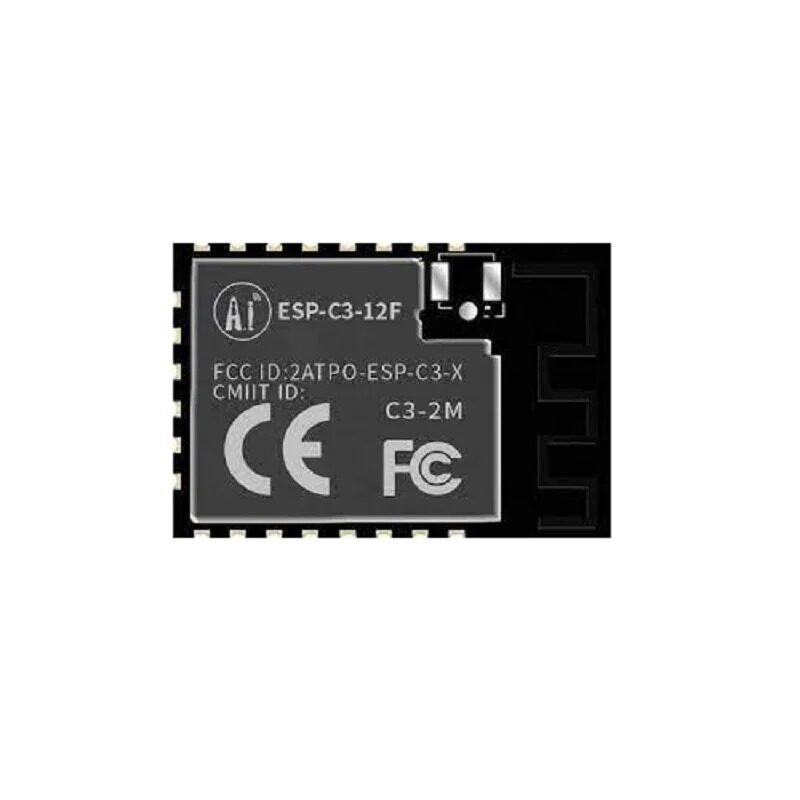
Ai-Thinker ESP32-C3-12F Wi-Fi + BLE Module
ESP32-C3 with 4MB flash and PCB antenna, offering excellent BLE 5.0 range. Great for embedding into custom enclosures for permanent BLE scanner deployments.
Setting Up Arduino IDE for ESP32 BLE
Install the ESP32 board package in Arduino IDE if you haven’t already:
- Open Arduino IDE → File → Preferences
- Add to “Additional Boards Manager URLs”:
https://raw.githubusercontent.com/espressif/arduino-esp32/gh-pages/package_esp32_index.json - Tools → Board → Boards Manager → Search “esp32” → Install “esp32 by Espressif Systems”
- Select your board: Tools → Board → ESP32 Arduino → ESP32 Dev Module (or your specific variant)
The BLE library comes bundled with the ESP32 Arduino package — no additional library installation is needed. For the OLED display, install the Adafruit SSD1306 and Adafruit GFX libraries via Library Manager.
BLE Scanner Code: Detect Devices and RSSI
Here’s a complete, working BLE scanner sketch that detects all nearby advertising BLE devices and displays their MAC address, name (if available), and RSSI value:
#include <BLEDevice.h>
#include <BLEScan.h>
#include <BLEAdvertisedDevice.h>

int scanTime = 5; // BLE scan duration in seconds
BLEScan* pBLEScan;

class MyAdvertisedDeviceCallbacks : public BLEAdvertisedDeviceCallbacks {
  void onResult(BLEAdvertisedDevice advertisedDevice) {
    Serial.print("Device Found: ");
    Serial.print(advertisedDevice.getAddress().toString().c_str());
    Serial.print(" | RSSI: ");
    Serial.print(advertisedDevice.getRSSI());
    Serial.print(" dBm");

    if (advertisedDevice.haveName()) {
      Serial.print(" | Name: ");
      Serial.print(advertisedDevice.getName().c_str());
    }

    if (advertisedDevice.haveServiceUUID()) {
      Serial.print(" | Service: ");
      Serial.print(advertisedDevice.getServiceUUID().toString().c_str());
    }
    Serial.println();
  }
};

void setup() {
  Serial.begin(115200);
  Serial.println("ESP32 BLE Scanner Starting...");

  BLEDevice::init("");
  pBLEScan = BLEDevice::getScan();
  pBLEScan->setAdvertisedDeviceCallbacks(new MyAdvertisedDeviceCallbacks());
  pBLEScan->setActiveScan(true);  // Active scan uses more power but gets more data
  pBLEScan->setInterval(100);
  pBLEScan->setWindow(99);  // Less than or equal to setInterval
}

void loop() {
  Serial.println("n--- Starting BLE Scan ---");
  BLEScanResults foundDevices = pBLEScan->start(scanTime, false);
  Serial.print("Devices found: ");
  Serial.println(foundDevices.getCount());
  pBLEScan->clearResults(); // Free memory
  delay(2000);
}
Upload this sketch, open Serial Monitor at 115200 baud, and within seconds you’ll see all nearby BLE devices listed with their RSSI values. Typical output looks like this:
Device Found: 4c:65:a8:e2:11:23 | RSSI: -54 dBm | Name: Mi Band 7
Device Found: 38:8b:59:f1:aa:04 | RSSI: -72 dBm
Device Found: a4:c1:38:b2:9e:77 | RSSI: -81 dBm | Name: Amazfit GTR
Devices found: 3
Filtering by Device Name, MAC Address, and RSSI
In real projects, you’ll want to filter the scan results. Here are common filtering techniques:
Filter by minimum RSSI (proximity threshold):
void onResult(BLEAdvertisedDevice advertisedDevice) {
  if (advertisedDevice.getRSSI() > -70) { // Only devices within ~5m
    Serial.println(advertisedDevice.toString().c_str());
  }
}
Filter by device name:
if (advertisedDevice.haveName() &&
    String(advertisedDevice.getName().c_str()).startsWith("Mi Band")) {
  Serial.println("Target device found!");
}
Filter by specific MAC address:
String targetMAC = "4c:65:a8:e2:11:23";
if (advertisedDevice.getAddress().toString() == targetMAC.c_str()) {
  Serial.print("Target RSSI: ");
  Serial.println(advertisedDevice.getRSSI());
}
Displaying Results on an OLED Screen
Adding a 0.96″ OLED display turns your ESP32 BLE scanner into a standalone portable device — no laptop needed. Connect the OLED to the ESP32 via I2C (SDA → GPIO21, SCL → GPIO22 for classic ESP32). Here’s the extended code with OLED output:
#include <Wire.h>
#include <Adafruit_GFX.h>
#include <Adafruit_SSD1306.h>
#include <BLEDevice.h>
#include <BLEScan.h>

#define SCREEN_WIDTH 128
#define SCREEN_HEIGHT 64
Adafruit_SSD1306 display(SCREEN_WIDTH, SCREEN_HEIGHT, &Wire, -1);

int deviceCount = 0;
int strongestRSSI = -100;
String strongestName = "Unknown";

// In onResult callback:
void onResult(BLEAdvertisedDevice device) {
  deviceCount++;
  int rssi = device.getRSSI();
  if (rssi > strongestRSSI) {
    strongestRSSI = rssi;
    strongestName = device.haveName() ?
      device.getName().c_str() : device.getAddress().toString().c_str();
  }
}
0.96 Inch I2C OLED LCD Module SSD1306 (White)
Perfect companion display for ESP32 BLE scanner projects. I2C interface with just 2 wires, bright white pixels visible indoors and outdoors. Supported by Adafruit SSD1306 library.
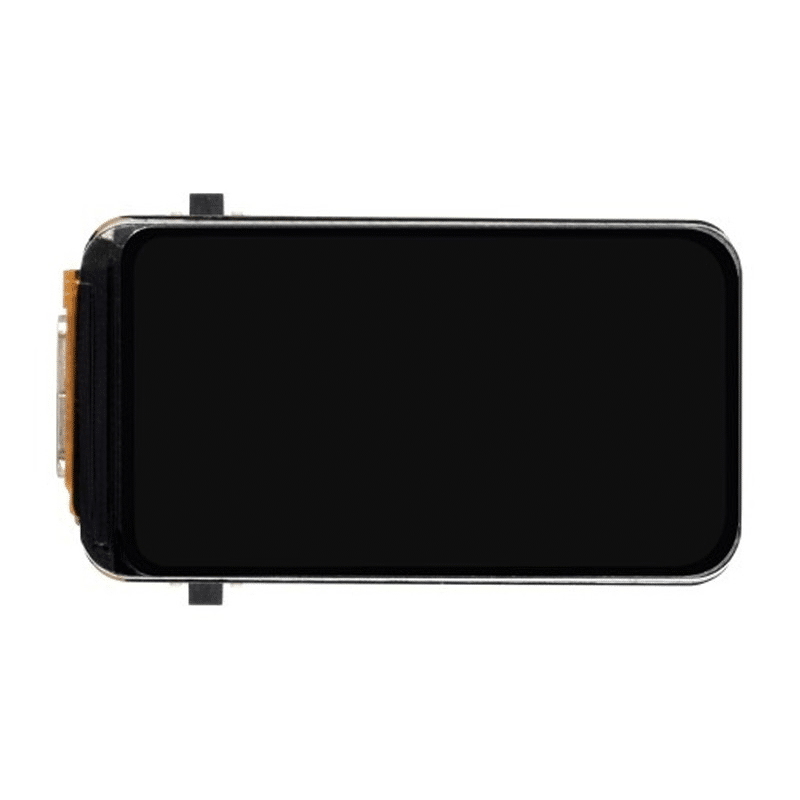
Waveshare ESP32-S3 1.47inch LCD Display Development Board
ESP32-S3 with built-in color LCD display — no separate screen wiring needed. Great for an all-in-one BLE scanner with a rich graphical interface. Full BLE 5.0 support.
Real-World Applications of ESP32 BLE Scanning
Once you have the basics working, here are high-impact projects you can build with ESP32 BLE scanning in an Indian context:
1. Attendance System: Give each student a BLE beacon (or use their phone’s Bluetooth). The ESP32 scanner logs MAC addresses and timestamps to an SD card or sends data to a server via WiFi. No NFC tapping or QR scanning required — just walk into the room.
2. People Counter for Retail Shops: Count unique BLE devices (smartphones) entering a shop to measure footfall. Filter by minimum dwell time (RSSI above threshold for >30 seconds) to eliminate passers-by. Upload daily counts to Google Sheets via ESP32 WiFi.
3. Indoor Asset Tracking: Tag equipment with BLE beacons, place ESP32 scanners at strategic points, and triangulate position based on RSSI from multiple scanners. Useful for tool tracking in workshops or labs.
4. Smart Doorbell with Phone Detection: When the homeowner’s phone (known MAC address) is within range (RSSI > -70 dBm), auto-unlock or send a notification. When the phone is out of range, activate security mode.
5. Pet Tracker: Attach a BLE beacon to a pet’s collar. Multiple ESP32 nodes around the house/compound detect the beacon and report its last known location — entirely offline and private, no subscription needed.
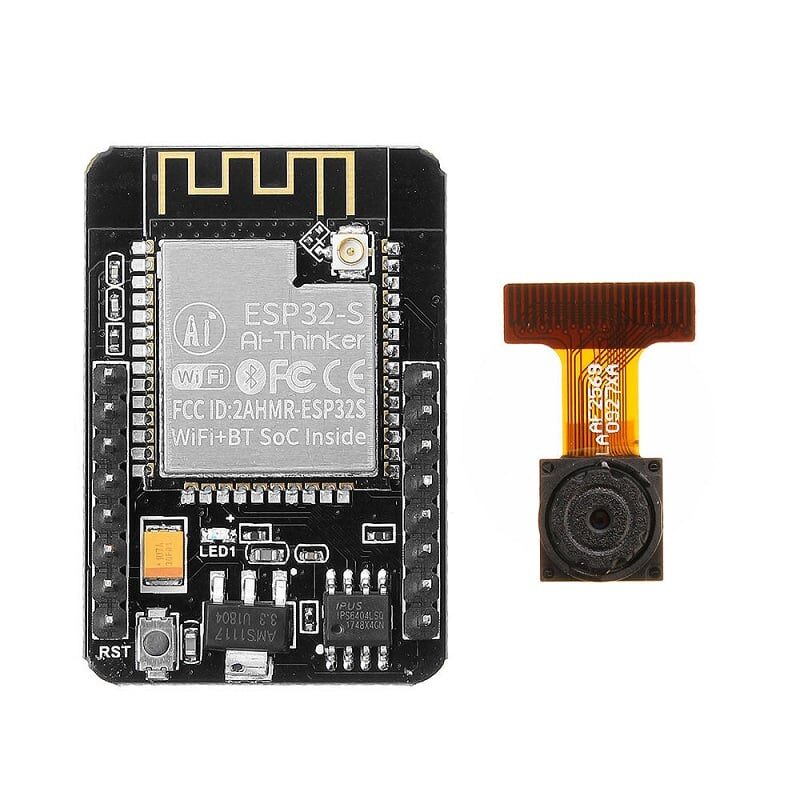
Ai Thinker ESP32 CAM Development Board WiFi+Bluetooth
Combine BLE scanning with a camera module. Ideal for security projects that scan for known BLE devices and capture an image when an unknown device is detected nearby.
Frequently Asked Questions
How many BLE devices can the ESP32 detect simultaneously?
The ESP32 BLE scanner can detect all advertising devices in range during a scan window. Practically, in a typical indoor environment, you might see 10–50 devices. The BLEScanResults object can hold results for all detected devices — memory is the practical limit. Using clearResults() after each scan prevents memory overflow.
Can ESP32 BLE scanner detect iPhones and Android phones?
Modern smartphones use Bluetooth MAC address randomization for privacy. iOS devices randomize their MAC every 15 minutes; many Android devices do too. You can detect them during a scan (you’ll see random MAC addresses), but you cannot reliably track a specific phone over time by MAC address alone. For specific phone detection, you need to match by device name or have the app broadcast a known service UUID.
What is the maximum BLE scan range of the ESP32?
In open air with no obstacles, the ESP32 can detect BLE devices up to 30–50 metres away (at very low RSSI, around -90 to -95 dBm). In typical indoor environments with walls and furniture, practical range is 10–20 metres. Using external antennas or ESP32 modules with built-in PCB antennas improves range. The ESP32-C3 and S3 with BLE 5.0 offer better sensitivity than the original ESP32.
Does BLE scanning work simultaneously with WiFi on ESP32?
Yes, ESP32 supports WiFi and Bluetooth coexistence. They share the 2.4GHz antenna using time-division multiplexing. However, running both simultaneously reduces throughput and range for both. For data logging projects, a good pattern is: scan BLE for 5 seconds, then briefly connect to WiFi to upload data, then repeat. Avoid continuous simultaneous operation for best reliability.
How accurate is RSSI for distance estimation?
RSSI-based distance estimation has roughly ±30–50% accuracy in real environments due to multipath interference, body absorption, and obstacles. For zone-based proximity (“device is in the same room” vs “device is in the next room”), RSSI works well. For sub-metre accuracy, use BLE AoA (Angle of Arrival) with specialized hardware, or combine multiple RSSI readings from different anchor points for triangulation.
Build Your ESP32 BLE Scanner Today
Get all the ESP32 modules, OLED displays, and accessories you need for BLE scanning projects from Zbotic — India’s trusted electronics components store with fast shipping.


Add comment