
A lithophane is one of the most magical things a 3D printer can produce: a seemingly plain white plastic slab that transforms into a detailed photograph the moment you hold it up to light. The effect comes from varying wall thickness — thicker areas block more light (shadows), thinner areas let light pass (highlights) — creating a greyscale image visible only when backlit.
The best part? Lithophanes are surprisingly easy to make. You need a photo, free software, and about two hours of print time. This tutorial covers everything from photo selection to final display, with specific settings tested on common Indian-market printers like the Ender 3 and Bambu Lab series.
1. What Is a Lithophane?
The word lithophane comes from Greek — litho (stone) and phainein (to show). Traditional lithophanes were made in translucent porcelain during the 18th and 19th centuries, used as decorative lamp shades and window art. 3D printing has democratised the art form: what once required a master craftsman and a kiln now takes a printer and a photo from your phone.
The physics is elegant. A greyscale image is converted to a 3D heightmap where:
- Dark pixels produce greater wall thickness, blocking more light, and appear dark when lit
- Light pixels produce thinner walls, allowing more light to pass through, and appear bright when lit
The total thickness typically ranges from 0.8mm (highlights) to 3.5mm (deep shadows). The image is essentially invisible in normal room light but appears with striking clarity when backlit by a phone torch, LED strip, or dedicated light box.
2. Choosing the Right Photo
Photo selection is the most important step — a bad photo choice will result in a muddy, unreadable lithophane regardless of how well you print it.
What Works Well
- High contrast portraits: Close-up faces with clear shadows and highlights work exceptionally well. Wedding portraits, baby photos, graduation shots.
- Landscapes with tonal range: Sunrise/sunset shots with dark foregrounds and bright skies.
- Sharp, in-focus images: Blur translates to mushy gradients. Use the sharpest version of any photo.
- High resolution: At least 1000×1000 pixels for a 100x100mm print.
What Does Not Work Well
- Low-contrast images (flat, overcast lighting, or heavily edited matte-style photos)
- Group photos with many small faces — detail is lost at typical lithophane resolutions
- Photos with very busy or cluttered backgrounds
- Screenshots or images with text — font details rarely survive the conversion
Quick Photo Editing Tip
Before generating the STL, open your photo in any editor (even Google Photos) and boost contrast by 20-30%. This punches up the shadow/highlight difference and results in a lithophane with much better tonal separation. You can also try converting to black and white first to preview how the image will look as a monochrome print.
Bambu Lab PLA Filament Grey – 1.75mm with Reusable Spool
Natural white or light grey PLA gives the best light transmission for lithophanes. Bambu Lab’s consistent diameter and quality ensures smooth, artifact-free prints every time.
3. Free Tools to Generate Lithophane STLs
ItsLitho.com (Recommended)
The most popular and feature-rich free online generator. Upload your photo, set dimensions, choose flat/curved/box/lamp shade shape, and download the STL in seconds. No account required. Works on mobile browsers too.
3DP Rocks Lithophane Maker
Browser-based, open-source, and very fast. More technical controls (gamma, white/black base thickness) and includes a live 3D preview of the generated lithophane with simulated backlighting.
Cura Plugin (Lithophane Mode)
Ultimaker Cura 5.x has a built-in image-to-mesh conversion feature. Go to File — Open — select your image file (PNG/JPG) directly — Cura will ask how to import it, and one option is as a lithophane mesh.
PrusaSlicer
PrusaSlicer can also import images directly as heightmaps. The result is functionally identical to ItsLitho but integrated directly into the slicer workflow.
4. Step-by-Step: ItsLitho Tutorial
- Go to ItsLitho.com and click Create Lithophane from the homepage.
- Upload your photo. ItsLitho accepts JPG, PNG, WebP. The preview panel will show a greyscale version of your converted image.
- Set dimensions. For a first print, start with 100mm x 75mm. Recommended maximum for Ender 3: 120mm x 90mm flat or up to 180mm as a curved lithophane.
- Set thickness. Total thickness: 3.0-3.5mm. Minimum thickness (highlights): 0.6-0.8mm. These are the most important settings.
- Choose shape. Flat is simplest for beginners. Curved lithophanes look excellent in a circular frame.
- Set border. A 3-5mm solid border around the image makes the lithophane much easier to frame and hang.
- Download the STL. Click the Model tab and Download STL.
- Import into your slicer. Lay the lithophane flat (image-side up, or print it vertically for best results).
5. Slicer Settings for Best Results
Critical Settings
- Layer height: 0.1mm. This is mandatory for good detail. 0.2mm layers create visible banding in gradual grey transitions.
- Infill: 0% (none). Lithophanes are entirely wall-based. There is no infill. Setting infill above 0 wastes filament and can create irregular light patterns.
- Walls/perimeters: Set wall count to 99 (or max), or set wall line count so that walls fill the entire part.
- Print speed: 40-60mm/s maximum. Slower speeds give better layer adhesion and cleaner detail.
- Print orientation: vertical (standing upright). Vertical printing means each layer is a full-width stripe across the image, creating better light transmission than horizontal layers. Use a brim for adhesion.
Temperature Settings
- PLA: 200-210 degrees C nozzle, 60 degrees C bed
- PETG: 230-240 degrees C nozzle, 75-80 degrees C bed
- Reduce cooling fan to 50-70% for better layer adhesion on tall vertical prints
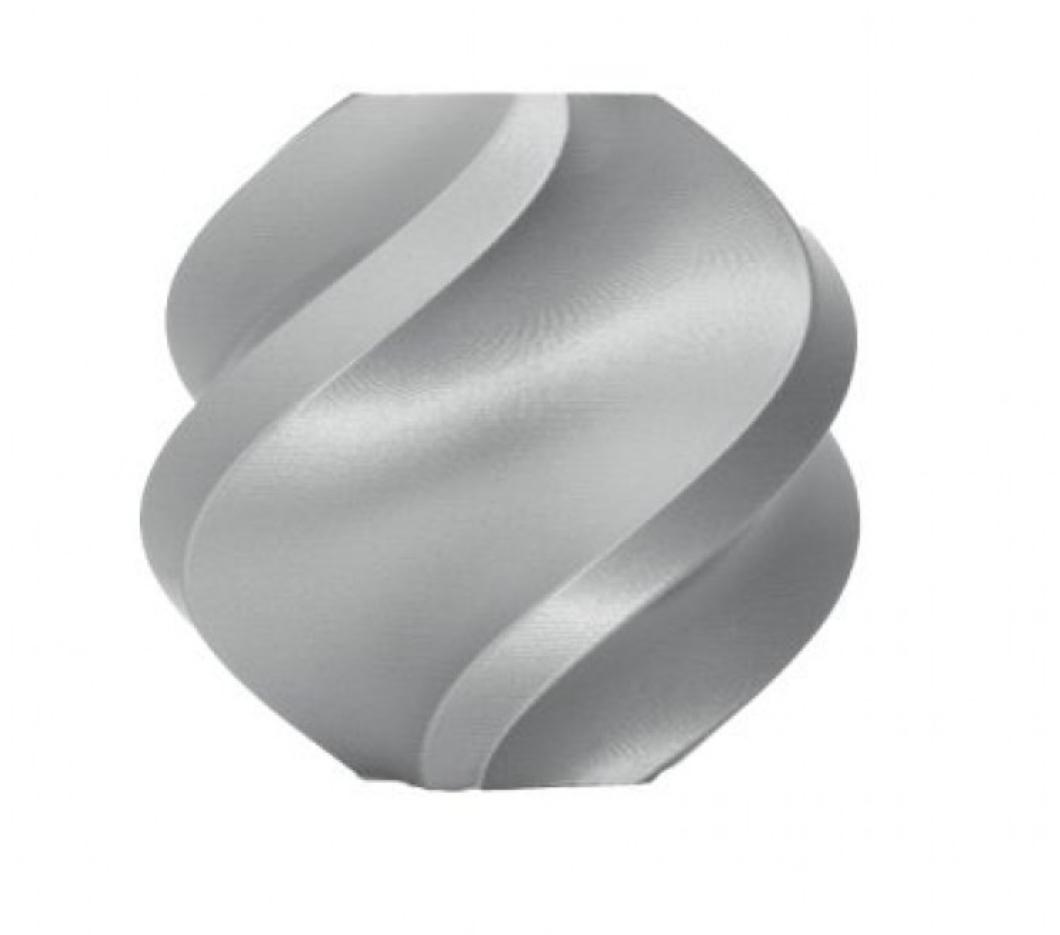
Bambu Lab PLA Filament Silver – 1.75mm with Reusable Spool
Bambu Lab’s silver PLA offers excellent translucency at thin walls — a great alternative to pure white for lithophanes with a subtle metallic quality. Consistent diameter for reliable thin-wall extrusion.
6. Best Filament for Lithophanes
Natural/White PLA — Best Choice
Natural (translucent/milky white) PLA is the gold standard for lithophanes. It transmits light beautifully with almost no colour cast. White PLA works nearly as well — avoid bright white with high titanium dioxide pigment content as it can reduce translucency. Most major brands in India — eSUN, Bambu Lab, Sunlu — offer natural or white PLA that works excellently.
PETG — For Durability
White or natural PETG produces very similar results to PLA but with better heat resistance — useful for lithophanes that will sit near lamps or in hot environments (relevant for Indian summers). PETG also warps less on large prints.
Avoid These for Lithophanes
- Coloured filaments: Block or tint light, ruining the greyscale image.
- ABS: Warps badly on large flat/vertical prints and the fumes are toxic without proper ventilation.
- Silk/shiny PLA: The surface reflectivity interferes with light transmission.
- Wood, metal, or composite filaments: Filled materials reduce translucency dramatically.
Filament Diameter Matters
Lithophane thin walls (0.6-0.8mm) push slicer math to the limit. Filament with inconsistent diameter causes under/over-extrusion that appears as noise in the image. Use high-quality filament with plus/minus 0.02mm diameter tolerance. Bambu Lab and eSUN are reliable choices available in India.
7. Types of Lithophanes
Flat Panel
The simplest form. Square or rectangular, designed to be framed or mounted on a light box. Easiest to print reliably. Great for photo frames, gift cards, and wall art.
Curved / Cylindrical
The image wraps around a cylinder. Designed to be viewed from outside with a light inside. Stunning as lamp shades or LED candle holders. Requires a circular LED tea light or USB-powered light insert.
Box Lithophane
A hollow box with lithophane images on multiple sides. Place an LED strip inside and all four sides glow with different images. Popular for family photo gifts. Requires more filament and careful support removal.
Ornaments
Circular discs printed with a hanging loop. Backlit by phone torch. Popular for Christmas tree decorations, wedding favours, and personalised keychains.
Lamp Shade
The full cone or cylinder shade variety. Designed to slip over a standard E27 or B22 bulb (use LED bulbs only — incandescent bulbs generate heat that will warp PLA). These are popular gifting items that command premium pricing at Indian craft markets and online platforms.
8. Displaying Your Lithophane
Light Box
A slim LED light box (readily available on Amazon.in for ₹500-₹1,500) gives the most professional presentation. Simply tape or clip your flat lithophane to the light box surface. 5000K-6500K daylight colour temperature gives the most neutral, photograph-accurate appearance.
Phone Torch
The simplest option — hold the lithophane over your phone’s flashlight. The small point source of light can actually produce better shadow detail than diffuse light boxes for some designs.
Custom LED Frame
3D print a frame with a channel for an LED strip, power connector at the back, and a diffuser in front of the LEDs. Full DIY builds are available on Thingiverse and Printables — search lithophane frame LED for dozens of designs.
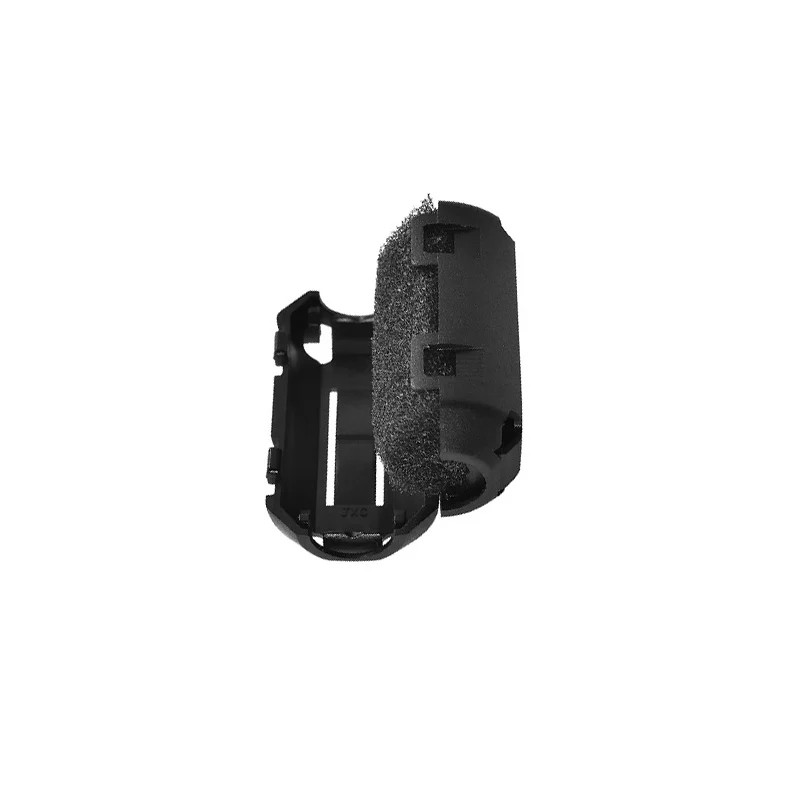
PLA/PETG Filament Filter and Dust Remover for 3D Printers
Dust and debris on filament causes tiny inclusions that appear as specks in thin-wall lithophane prints. A filament filter is inexpensive insurance for flawless results — essential for photo-quality prints.
9. Troubleshooting Common Issues
Image Looks Flat / Low Contrast
The most common complaint. Causes: too-low contrast in source photo; total thickness too thin (increase to 3.5mm); white base too thick (reduce minimum thickness to 0.6mm); over-powered/too-close light source washing out shadow areas. Fix: regenerate STL with increased thickness range and use a diffused LED light box.
Visible Layer Lines
Cause: 0.2mm layer height is too coarse for smooth tonal gradients. Fix: always use 0.1mm layer height. A light sanding with 400-grit sandpaper on the back face can help reduce prominence without affecting detail.
Spaghetti / Print Failure on Vertical Prints
Vertical lithophanes are tall and narrow — they are prone to toppling from vibration. Fix: increase brim to 8-10mm, slow print speed to 30mm/s, and ensure your bed is level. Glue stick or hairspray on the build plate improves adhesion significantly on Indian-humidity days when PLA tends to peel.
Blurry or Soft-Looking Image
Cause: low-resolution source photo stretched too large; OR filament diameter inconsistency causing random over/under-extrusion. Fix: use a higher-resolution photo; switch to a quality filament brand; recalibrate extruder e-steps.
Frequently Asked Questions
How long does it take to 3D print a lithophane?
A 100x75mm flat lithophane printed vertically at 0.1mm layer height typically takes 2-4 hours on a well-tuned FDM printer. Larger prints (150x100mm) take 5-8 hours. Curved lamp shade designs can take 10-15 hours. Fast printers like the Bambu Lab A1 Mini can cut these times by 40-50% while maintaining quality at 0.1mm layers.
Can I make a lithophane with coloured filament?
Standard coloured filaments block too much light for traditional lithophanes. However, there is a creative technique called colour lithophane where you use multi-colour printing (filament swaps) to add a coloured tint to specific tonal ranges. This is advanced and requires a multi-material printer or manual filament swaps. For standard lithophanes, always use white or natural filament.
What is the best free software for making lithophane STLs?
ItsLitho.com is the most popular free online tool — it handles flat, curved, box, and lamp shade designs with a user-friendly interface. For more technical control, 3DP Rocks Lithophane Maker offers finer adjustments and a simulated backlit preview. Both are completely free and require no software installation.
Can I sell 3D printed lithophanes in India?
Yes — personalised lithophanes are a popular and profitable product on platforms like Etsy (for international buyers), Instagram, and Indian local markets. Typical pricing for a framed lithophane (100x75mm with LED frame) ranges from ₹500-₹1,500 depending on size and presentation. Wedding season drives high demand for couple portraits and family photo lithophanes. The materials cost is low (₹30-₹80 in filament) so margins are healthy.
Why does my lithophane look inverted (dark where it should be bright)?
This happens when the STL is generated with inverted polarity — shadows become thin (bright) instead of thick (dark). In ItsLitho, check the Positive / Negative setting under Image Options. Most generators default to Positive which is correct for white PLA with backlighting. If your image looks correct in the preview but inverted when printed, try toggling the setting and re-generating.
Get the Right Filament for Perfect Lithophanes
The secret to stunning lithophanes is quality white PLA with consistent diameter. Zbotic stocks Bambu Lab, eSUN, and other trusted filament brands that Indian makers rely on for photo-quality thin-wall prints. Browse our 3D printing filament range and find the perfect spool for your next lithophane project.


Add comment