
Table of Contents
- What Is a 3D Printer Nozzle Clog?
- Common Causes of Nozzle Clogs
- Signs Your Nozzle Is Clogged
- Clearing Partial Clogs
- The Cold Pull (Atomic Pull) Method
- Cleaning with Nozzle Needles and Drill Bits
- When to Replace the Nozzle
- Prevention: Keep Your Nozzle Clog-Free
- Clog Risks by Filament Type
- FAQ
Nothing is more frustrating mid-print than a clogged nozzle. One moment your printer is humming along perfectly; the next, you are watching the extruder click-grind while no filament comes out, leaving a half-finished print on the bed. A 3D printer nozzle clog is one of the most common issues every maker faces, but it is also one of the most preventable and fixable. This guide walks you through everything you need to know — from diagnosing and clearing clogs to preventing them entirely — with practical tips tailored for Indian hobbyists and makers.
What Is a 3D Printer Nozzle Clog?
A nozzle clog (also called a blockage or jam) occurs when the flow of filament through the hotend nozzle is partially or completely obstructed. This can happen at different points in the hotend assembly:
- Partial clog: Flow is reduced but not zero. Print quality degrades significantly — underextrusion, gaps, or thin walls — but the extruder is still moving filament.
- Complete clog: No filament passes through at all. The extruder motor skips or clicks as it tries to push against the blockage.
- Heat creep jam: Not a nozzle clog in the traditional sense — the filament melts too high up in the cold zone (above the heat break), solidifies, and blocks the entire throat. This feels like a clog but requires a different fix.
Common Causes of Nozzle Clogs
1. Carbonized / Burnt Filament
When you leave filament sitting in a hot nozzle for too long (for example, pausing a print for hours without cooling the hotend), the plastic degrades and carbonizes. This black residue coats the nozzle interior and builds up over multiple prints.
2. Moisture-Damaged Filament
Filament absorbs moisture from the air, especially in India’s humid climate (particularly during monsoon season). Wet filament produces steam bubbles when it hits the hot nozzle. These bubbles cause erratic extrusion, and the steam can also leave residue that accumulates into a partial clog. PETG and Nylon are the most hygroscopic; PLA is moderate.
3. Contaminated Filament
Dust, debris, or tiny particles of previously printed material on the filament surface enter the nozzle and accumulate. Filament cleaners (foam or felt pads that wipe the filament before it enters the extruder) prevent this.
4. Printing Too Cold
If the nozzle temperature is too low for the filament, the plastic does not melt fully. Partially melted filament can clog the nozzle or the heat break zone. Always print at or slightly above the manufacturer’s recommended minimum temperature.
5. Printing Too Fast
At very high print speeds, the extruder can push filament faster than the hotend can melt it — especially with a standard 0.4mm nozzle and a budget hotend. Unmelted filament compresses in the nozzle and causes a jam.
6. Retraction Distance Too High
Excessive retraction pulls semi-molten filament up into the heat break where it can solidify and create a jam. This is especially common with Bowden-style printers where retraction distances are already long (4–7mm). Direct drive setups are less prone to this.
7. Material Change Without Proper Purging
Switching from a high-temperature material (ABS, PETG) to a low-temperature material (PLA) without fully purging the previous material can leave residue that chars at the lower print temperature and causes a clog.
8. Abrasive Filaments Without Hardened Nozzle
Glow-in-the-dark, metal-filled, carbon fiber, or wood-filled filaments contain abrasive particles that wear down the inside of a standard brass nozzle rapidly, creating rough surfaces that catch and accumulate filament debris.
Signs Your Nozzle Is Clogged
- Extruder motor clicking or skipping during a print
- Underextrusion — thin walls, gaps between infill lines, or missing layers
- Filament not extruding when you do a manual extrusion from the display or Pronterface
- Print surface looks rough, stringy, or incomplete despite correct settings
- Filament curls back up toward the nozzle instead of sticking to the bed
- The extruder motor is hot (more resistance than normal)
A quick diagnostic: heat the nozzle to printing temperature and try manually pushing filament by hand. If you cannot push it through with firm pressure (not brute force), you have a clog.
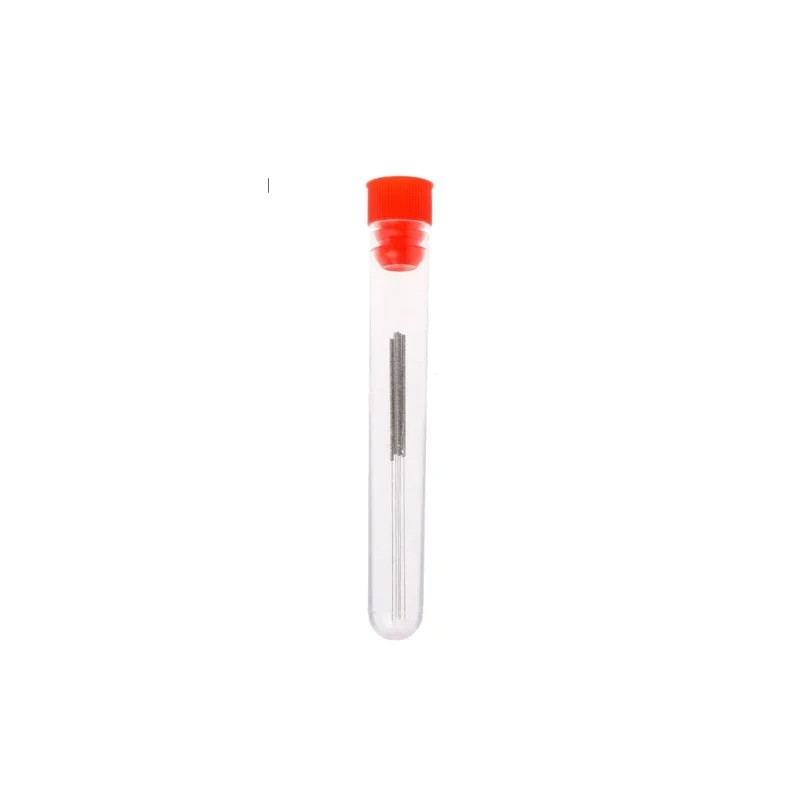
0.1–1.0mm Mixed 3D Printer Nozzle Cleaning Drill Bit Kit – 10Pcs
Essential kit with 10 micro drill bits from 0.1mm to 1.0mm for clearing nozzle clogs without removing the hotend. Works on MK7, MK8, and RepRap nozzles.
Clearing Partial Clogs
Start with the simplest methods and work up to more invasive techniques.
Method 1: Heat and Manual Push
- Heat the nozzle to 10–20°C above your normal print temperature (for PLA, go to 220–230°C instead of 200°C).
- Manually push filament by hand — grip the filament above the extruder and apply steady downward pressure.
- Often, the increased heat and pressure will flush out the blockage. You may see dark or discolored filament come out first — that is the burned residue.
- Continue pushing until clean filament extrudes consistently.
Method 2: Purge with a Different Filament (Cleaning Filament)
Commercial cleaning filaments are designed to grab and pull out residue from nozzles. Alternatively, printing a few meters of a high-viscosity nylon at high temperature can clean the nozzle through abrasion and displacement.
Method 3: Needle Clearing (While Hot)
- Heat the nozzle to printing temperature.
- Using a nozzle cleaning needle or pin (0.4mm for a standard nozzle), gently insert into the nozzle tip from below.
- Move the needle in and out carefully to break up the blockage. Do not force it.
- Immediately extrude a few millimeters of filament to flush out the loosened debris.
Never use a needle on a cold nozzle — you risk damaging the nozzle orifice.
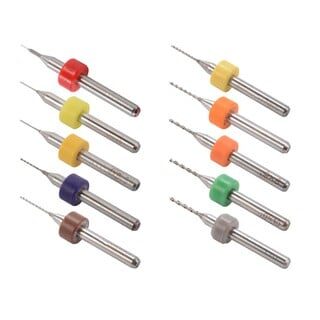
0.4mm Stainless Steel Nozzle Cleaning Needle – Pack of 10
Precision stainless steel needles designed for clearing 0.4mm nozzle clogs without damage. A must-have maintenance tool for every 3D printing workbench.
The Cold Pull (Atomic Pull) Method
The cold pull — also known as the atomic pull — is the single most effective method for clearing stubborn nozzle clogs. It works by embedding the clog material in softened filament and yanking it out cleanly.
Step-by-Step Cold Pull Procedure
- Load nylon or PLA: Nylon works best for cold pulls because it stays flexible when cooled. PLA is acceptable if you do not have nylon.
- Heat to 250°C (nylon) or 220°C (PLA). Manually push a few centimeters of filament through until clean plastic comes out.
- Set temperature to 90°C (nylon) or 75°C (PLA). As the temperature drops, maintain gentle downward pressure on the filament. You should feel it becoming harder to push.
- At the target temperature, pull firmly and steadily upward. Pull with smooth, consistent force — not a jerk. The filament should come out as a plug with the shape of the nozzle interior embedded in it, including any debris or burned material.
- Inspect the pulled plug: A successful cold pull produces a clean, tapered tip. If the tip is rough or discolored, repeat the process until the pulled filament comes out with a clean, shiny tip.
- Repeat 3–5 times for a thorough clean.
The cold pull is so effective it can restore nozzles that appear completely blocked. Indian makers often skip this technique because it sounds complicated, but once you try it, you will use it as a regular maintenance procedure every 1–2 months.
Cleaning with Nozzle Needles and Drill Bits
For stubborn partial clogs that do not yield to a cold pull, mechanical cleaning is the next step.
Using Micro Drill Bits
A nozzle cleaning drill bit kit (0.1–1.0mm range) allows you to gently ream out a clogged nozzle. Use a pin vise (small hand drill holder) to avoid snapping the delicate bits.
- Heat the nozzle to 200°C to soften any residue.
- Turn off the heater and let it cool to around 120°C (firm but not hard).
- Insert the appropriately-sized drill bit (0.4mm for a standard 0.4mm nozzle) from the nozzle tip.
- Rotate gently by hand — do not use a power drill.
- Reheat and extrude to flush debris.
This method is slightly risky — a snapped drill bit inside the nozzle is worse than the original clog. Go slowly and do not force it.
Acetone Soak (ABS/ASA Only)
If you are printing ABS and the clog is ABS residue, remove the nozzle (cold) and soak it in acetone for 30–60 minutes. Acetone dissolves ABS completely. Do not use acetone on PLA, PETG, or nylon clogs — it has no effect.

ABS PLA PETG 1.75mm Filament Filter Cleaner – Dust Removal for Ender 3, CR-10, Prusa
Pre-emptive dust and debris removal directly on the filament path. Compatible with most popular 3D printers. Prevents clogs caused by contaminated filament.
When to Replace the Nozzle
Sometimes clearing a clog is not worth the effort. Replace your nozzle if:
- The nozzle has been in use for 500+ hours — brass nozzles wear out and the orifice becomes irregular.
- The clog cannot be cleared after multiple cold pulls and mechanical cleaning.
- The nozzle orifice is visibly enlarged or misshapen (check under magnification).
- You have been printing abrasive filaments (carbon fiber, metal-filled, glow-in-dark) with a brass nozzle — switch to a hardened steel nozzle.
- Carbonization is severe (nozzle has been overheated, filament has burned black inside).
Nozzles are inexpensive — a replacement brass nozzle costs ₹50–₹200 in India. Budget makers often keep a pack of 5–10 spare nozzles to swap immediately rather than spending an hour trying to unclog a ₹100 part.
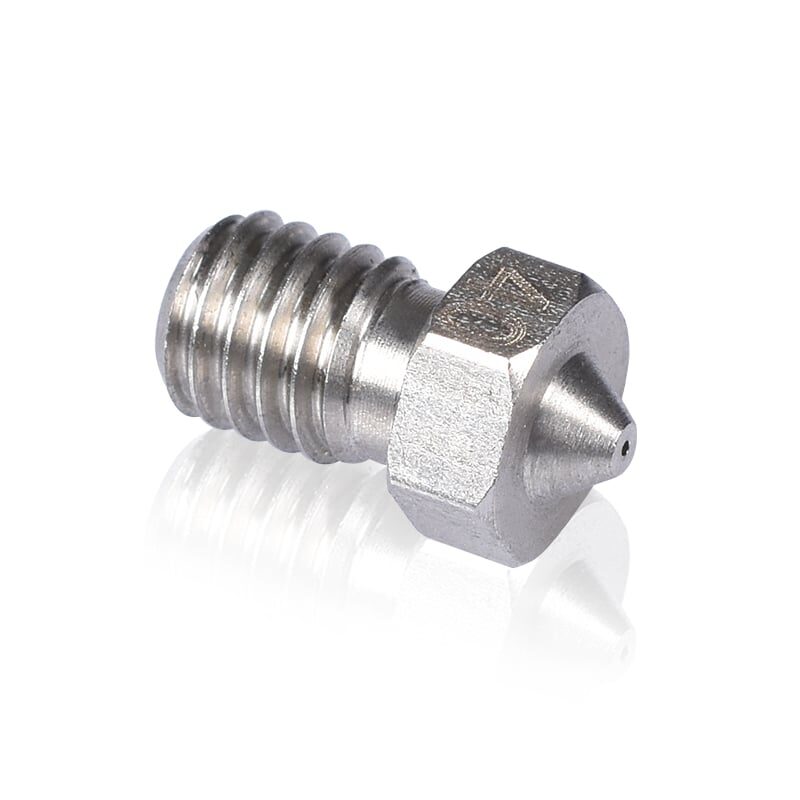
3D Printers Stainless Steel Nozzle 0.4mm
Premium stainless steel nozzle offering better wear resistance than brass. Ideal for semi-abrasive filaments and extended printing sessions.
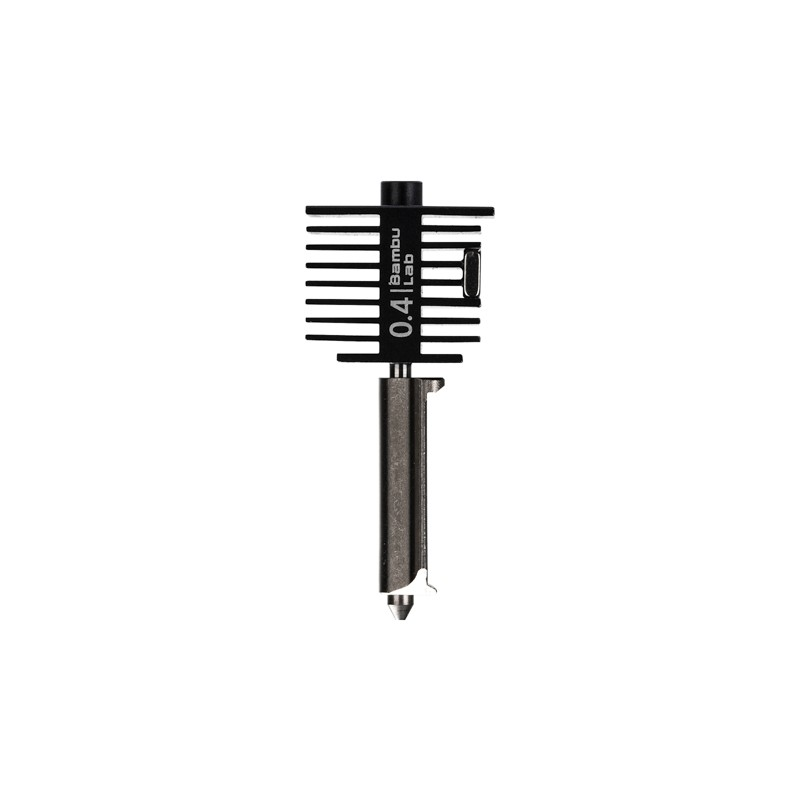
Bambu Lab Hotend with Hardened Steel Nozzle – 0.4mm
Complete hotend assembly with hardened steel nozzle for Bambu Lab printers. Handles abrasive filaments without premature wear. Drop-in replacement.
Prevention: Keep Your Nozzle Clog-Free
Prevention is always better than cure. Here are the most effective practices to keep your nozzle running clean:
1. Use a Filament Cleaner / Dust Filter
Place a foam or felt filament cleaner on the filament path, just before it enters the extruder. It wipes dust and debris off the filament on every print. You can print one for free from Thingiverse, or buy a pre-made cleaner.
2. Dry Your Filament Properly
In India’s humid climate, filament drying is non-negotiable, especially for PETG, Nylon, TPU, and PVA. Use a food dehydrator, oven (60°C for 4–6 hours), or a dedicated filament dryer before each print session. Store open spools in zip-lock bags with silica gel desiccant.
3. Never Leave Filament Sitting Hot
Do not leave the nozzle at printing temperature for more than 10–15 minutes without extruding. If you need to pause, reduce the temperature to 130–150°C (solid but not flowing) to prevent carbonization.
4. Purge Between Material Changes
When switching filament types, especially from high-temp to low-temp materials, purge at least 100–200mm of transition material. Run the new filament through until the color and texture are completely consistent.
5. Use the Correct Temperature
Print within the manufacturer’s recommended range. Too low causes jams; too high causes carbonization. Use a temperature tower to find the sweet spot for each filament brand and color.
6. Calibrate Retraction
Retraction distance that is too long (especially on Bowden setups) is a leading cause of heat creep jams. Use a retraction calibration tower and find the minimum retraction that eliminates stringing.
7. Regular Cold Pulls (Maintenance)
Do a preventive cold pull every 1–2 months or every 100–200 hours of printing. This cleans out accumulated residue before it becomes a problem.
Clog Risks by Filament Type
| Filament | Clog Risk | Main Cause | Best Prevention |
|---|---|---|---|
| PLA | Low–Medium | Heat creep, dust | Filament cleaner, fan cooling |
| ABS | Medium | Carbonization if idle hot | Don’t idle at temp, dry filament |
| PETG | Medium–High | Moisture, stringing residue | Dry thoroughly, reduce retraction |
| Nylon | High | Moisture (extreme hygroscopic) | Dry immediately before print |
| TPU / Flex | High | Buckling in Bowden tube | Use direct drive, slow speed |
| Carbon Fiber / Metal Fill | Very High | Abrasive wear creates rough interior | Use hardened nozzle |
Frequently Asked Questions
How do I know if it is a nozzle clog or a heat creep jam?
A nozzle clog is at the nozzle tip; heat creep is a jam in the heat break or Bowden tube above the heat block. With heat creep, you will often find that filament has melted higher up in the cold zone. Symptoms are similar, but heat creep is usually caused by inadequate hotend cooling (fan failure or blocked airflow). Check that the hotend cooling fan is running at full speed.
Can I use a torch or open flame to clear a clogged nozzle?
Some makers burn out clogs with a blowtorch after removing the nozzle. This works but risks damaging the nozzle geometry and PTFElining. It is a last resort before replacement, not a standard practice.
How often should I replace my nozzle?
For standard PLA/PETG printing with a brass nozzle, every 300–500 print hours is a good guideline. With abrasive filaments, replace far more often — every 50–100 hours. With a hardened steel nozzle, you can go much longer.
My extruder clicks during printing but the nozzle seems clear. What is wrong?
Extruder clicking (grinding noise) without an obvious clog can indicate: too-high print speed for your hotend, incorrect flow rate / over-extrusion settings, too-tight extruder arm tension, or a partial clog. First try increasing nozzle temperature by 5–10°C and reducing print speed by 20%. If the clicking stops, it was a flow rate issue.
Is it safe to print without a filament cleaner?
Yes, most people do not use a filament cleaner and print fine. However, if you are in a dusty environment (common in Indian workshops and garages) or print frequently with abrasive filaments, a cleaner adds a useful layer of protection.
What is the best filament for doing a cold pull?
Nylon (PA) is the best material for cold pulls because it stays flexible when cooled, grips debris well, and has a high print temperature that loosens most common residues. If you do not have nylon, PLA works adequately for PLA-specific clogs.
Keep Your Printer Running Smoothly
Stock up on nozzle cleaning tools, replacement nozzles, and quality filaments to prevent clogs before they happen. Zbotic offers a wide range of 3D printer maintenance supplies delivered across India.


Add comment