
Table of Contents
- What Is Step Loss and Why Does It Matter?
- Cause 1: Insufficient Motor Current
- Cause 2: Running the Motor Too Fast
- Cause 3: Inadequate Supply Voltage
- Cause 4: Driver or Motor Overheating
- Cause 5: Microstepping Misconfiguration
- Cause 6: Excessive Mechanical Load
- Cause 7: Wiring and Noise Issues
- Step-by-Step Fixes for Each Cause
- Tuning the A4988 Driver: Current Limit Procedure
- Using Acceleration to Prevent Step Loss
- Recommended Products
- Frequently Asked Questions
- Conclusion
What Is Step Loss and Why Does It Matter?
A stepper motor is designed to move in precise, discrete angular increments called steps. Unlike DC motors, there is no position feedback in a basic open-loop stepper system—the controller simply assumes that every commanded step was actually executed. When the motor fails to complete a commanded step, that error accumulates silently. This is known as step loss or missed steps.
In a 3D printer, a single missed step can ruin an entire print. In a CNC router, step loss causes tool paths to drift, ruining workpieces. In a camera slider or telescope mount, it means your subject drifts out of frame. Whether your application demands sub-millimetre positioning or consistent rotation, step loss is the enemy of reliability.
The frustrating part is that stepper motors look like they’re working. The shaft spins, the printer head moves, but at some point the accumulated error becomes visible. This guide identifies every major root cause and gives you actionable fixes you can apply today to your Arduino or microcontroller project.
Cause 1: Insufficient Motor Current
This is the single most common cause of step loss for hobbyists. A stepper motor produces torque proportional to the current flowing through its coils. If the driver is set to deliver less current than the motor is rated for, the magnetic field inside the motor is too weak to hold the rotor in position against any opposing force—and a step is missed.
Each stepper motor has a rated phase current printed on its datasheet or label. For example, the popular NEMA 17 motors commonly used in 3D printers and robotics are rated anywhere from 0.4 A to 2.0 A per phase. The A4988 driver has a small trimmer potentiometer that sets the current limit via a reference voltage (Vref). If Vref is too low, the motor is underpowered.
Symptom check: The motor makes a buzzing or stuttering sound, feels weak to the touch, and loses steps under even light load but works fine unloaded.
Cause 2: Running the Motor Too Fast
Every stepper motor has a pull-out torque curve that drops steeply as speed (step frequency) increases. At very high step rates, the motor coils don’t have enough time to build up current to full rated value before the next step is commanded. The result is dramatically reduced torque at speed, which leads to missed steps.
The maximum reliable speed depends on the motor’s inductance, the supply voltage, the driver’s current chopping frequency, and the load. A motor that performs perfectly at 200 steps/second may start losing steps at 800 steps/second.
Symptom check: The motor works perfectly at slow speeds but loses steps consistently at higher step rates, especially under load.
Cause 3: Inadequate Supply Voltage
This is closely related to the speed issue. Stepper driver ICs like the A4988 or DRV8825 use a technique called constant-current chopping: they switch a higher supply voltage on and off rapidly to maintain the set current through the motor coils. A higher supply voltage means the coil current rises faster, which means the motor can reach full rated torque at higher step rates.
Running a 12 V rated motor on a 5 V supply through an A4988 will severely limit its high-speed performance. Most NEMA 17 applications run at 12 V or 24 V even though the motor coil resistance is only a few ohms (which would imply a lower rated voltage). The extra voltage headroom is used to push current in quickly.
Symptom check: Motor loses steps at medium to high speeds, and increasing voltage noticeably improves performance.
Cause 4: Driver or Motor Overheating
Stepper motor drivers like the A4988 and DRV8825 have thermal protection that reduces output current or shuts down entirely when they overheat. Without a heat sink or adequate airflow, a driver running at 1 A can reach dangerous temperatures in minutes.
Motors also have a thermal limit. Running a stepper motor at rated current continuously heats the windings. As coil resistance increases with temperature, the effective torque drops, making step loss more likely under the same load conditions.
Symptom check: The motor works fine for the first few minutes but starts losing steps after warming up. Driver chip is too hot to touch briefly.
Cause 5: Microstepping Misconfiguration
Drivers like the A4988 support full-step, half-step, quarter-step, eighth-step, and sixteenth-step modes via MS1, MS2, MS3 pins. Microstepping provides smoother motion and quieter operation, but it significantly reduces holding torque at each microstep position—sometimes to as low as 30% of full-step torque.
If you’ve set your driver to 1/16 microstepping and your application has significant load or vibration, the reduced per-microstep torque can cause the rotor to slip back to the nearest full step, which appears as a large, sudden position jump.
Additionally, if the MS pins are left floating (unconnected) instead of being pulled to a defined level, the microstepping mode becomes unpredictable and can change randomly, causing missed steps.
Symptom check: Position errors come in large jumps (multiples of full steps), not single steps. Motor is noisier or rougher than expected.
Cause 6: Excessive Mechanical Load
Even a correctly configured stepper motor with a properly set driver will lose steps if the mechanical load exceeds the motor’s available torque at the operating speed. This includes:
- Friction: Tight linear rails, dry lead screws, binding pulleys
- Inertia: Heavy gantries accelerating too quickly
- Gravity: Vertical Z-axis movement without counterbalancing
- Mechanical resonance: The motor hitting its resonant frequency and losing synchronism
Symptom check: Step loss only occurs in specific movement directions or when the head is at a particular position (friction point).
Cause 7: Wiring and Noise Issues
Incorrect wiring is surprisingly common. Stepper motors have two coils (phases), and each phase has two wires. If phase pairs are swapped or one wire is disconnected, the motor may stutter, vibrate in place, or produce torque in only one direction. A loose connection that intermittently opens a phase will cause the motor to lose all holding torque on that phase, resulting in step loss.
Electrical noise on the STEP and DIR signals from the Arduino can also cause phantom step pulses or missed pulses, especially with long cable runs or when using a switching power supply nearby.
Symptom check: Motor vibrates excessively but makes little net movement. Resistance measured across each coil pair should be equal and match the datasheet.
Step-by-Step Fixes for Each Cause
Fix 1: Set Correct Driver Current Limit
For the A4988, use a multimeter to measure Vref at the trimmer wiper pin while the driver is powered (motor not required). The formula is:
Vref = I_max × 8 × R_sense
For the red A4988 boards common in India (R_sense = 0.1 Ω): Vref = I_max × 0.8. For a 1.2 A motor, set Vref to approximately 0.96 V. Start at 70% of rated current for testing and increase if step loss occurs under load.
Fix 2: Reduce Speed or Use Acceleration
Never jump from 0 to full speed instantly. Use the AccelStepper library for Arduino, which implements trapezoidal velocity profiles. Set setMaxSpeed() and setAcceleration() to ramp up speed gradually. This alone eliminates step loss in the majority of speed-related cases.
#include <AccelStepper.h>
AccelStepper stepper(AccelStepper::DRIVER, 3, 4); // STEP=3, DIR=4
void setup() {
  stepper.setMaxSpeed(800);
  stepper.setAcceleration(400);
  stepper.moveTo(3200);
}
void loop() {
  stepper.run();
}
Fix 3: Increase Supply Voltage
Switch from a 5 V or 9 V supply to a 12 V regulated supply for standard NEMA 17 motors. For demanding applications (fast 3D printers, CNC machines), use 24 V. The driver’s current limiting will prevent over-current regardless of the higher voltage. Ensure the driver’s absolute maximum voltage rating is not exceeded (A4988: 35 V, DRV8825: 45 V).
Fix 4: Add Heat Sinks and Cooling
Attach a small aluminium heat sink to the driver IC. For continuous duty, add a small 5 V fan. Ensure there is airflow through the enclosure. Never run drivers at full current without a heat sink—the bare driver IC can reach 150°C in under a minute at 1 A.
Fix 5: Confirm Microstepping Configuration
Physically verify that MS1, MS2, MS3 pins are connected and not floating. If you don’t need ultra-smooth motion, switch to half-step (1/2) or full-step mode for maximum torque. For 3D printers where smooth motion matters, stick with 1/16 but reduce acceleration demands through mechanical improvements (lighter gantry, lower friction).
Fix 6: Reduce Mechanical Load
Lubricate lead screws and rails with appropriate grease. Check belt tension—both too tight and too loose cause problems. Add a counterweight or spring assist to vertical axes. Reduce print speed or feed rate. If friction is the issue, fixing it gives more benefit than any electrical tuning.
Fix 7: Verify Wiring Continuity
Use a multimeter in continuity mode to identify coil pairs. For most 4-wire steppers, the two wires of coil A will have the rated resistance between them, and the two wires of coil B will have the same resistance. Cross-pair resistance will be infinite (open circuit). Connect each coil pair to one output pair of the driver (A1/A2 and B1/B2).

NEMA17 5.6 kg-cm Stepper Motor with Detachable Cable
High-torque NEMA17 with 5.6 kg-cm holding torque and D-type shaft — ideal for 3D printers and CNC routers where step loss tolerance is zero.
Tuning the A4988 Driver: Current Limit Procedure
The A4988 is the most widely used stepper driver in Arduino projects. Here is the exact procedure to set its current limit correctly:
- Power the driver board from a regulated 12 V supply (motor not connected yet, or connected but disabled).
- Set your multimeter to DC voltage mode, range 2 V or auto.
- Place the negative probe on the GND pin of the driver (or power supply ground).
- Place the positive probe on the small trimmer potentiometer wiper (the metallic centre contact of the small blue or white potentiometer on the board).
- Turn the trimmer slowly clockwise to increase Vref, counter-clockwise to decrease.
- For a 1.2 A rated motor with R_sense = 0.1 Ω, target Vref = 0.96 V (that’s 80% of 1.2 A × 0.8).
- Power cycle the system, connect the motor, and test under load.
- If step loss persists under heavy load, increase Vref by 0.05 V increments until resolved, but never exceed the motor’s rated current.
Important: Always adjust Vref with the driver powered from the logic supply, not while the motor is actively moving, to avoid damage from static discharge at the wiper.

A4988 Stepper Motor Driver Controller Board (RED)
The classic A4988 red board with adjustable current limiting via onboard trimmer — the go-to driver for NEMA17 motors in Arduino and 3D printer projects.
Using Acceleration to Prevent Step Loss
Acceleration is the most underused tool in the hobbyist’s arsenal. The physics is simple: a stepper motor has a pull-in torque (maximum torque at which it can start and stop without losing steps) and a pull-out torque (maximum torque it can sustain while already moving). The pull-in torque is always lower than pull-out torque at speed.
By ramping up speed gradually, you allow the motor’s momentum and magnetic field to build incrementally, staying within the torque curve at each speed point. The AccelStepper library makes this trivial on Arduino.
For more advanced control, consider using a S-curve acceleration profile (sinusoidal jerk limiting) which further reduces mechanical shock and step loss at direction reversals. This is the approach used in high-end 3D printer firmware like Klipper’s Input Shaper.
As a practical starting point for NEMA 17 with A4988 at 12 V and 1/16 microstepping:
- Max speed: 1000–1500 steps/second (safe region)
- Acceleration: 500–800 steps/second²
- Current: 80% of rated motor current
Test by commanding a long move (10,000 steps), marking the shaft position at start and end, and verifying zero net drift across 10 repeated moves.
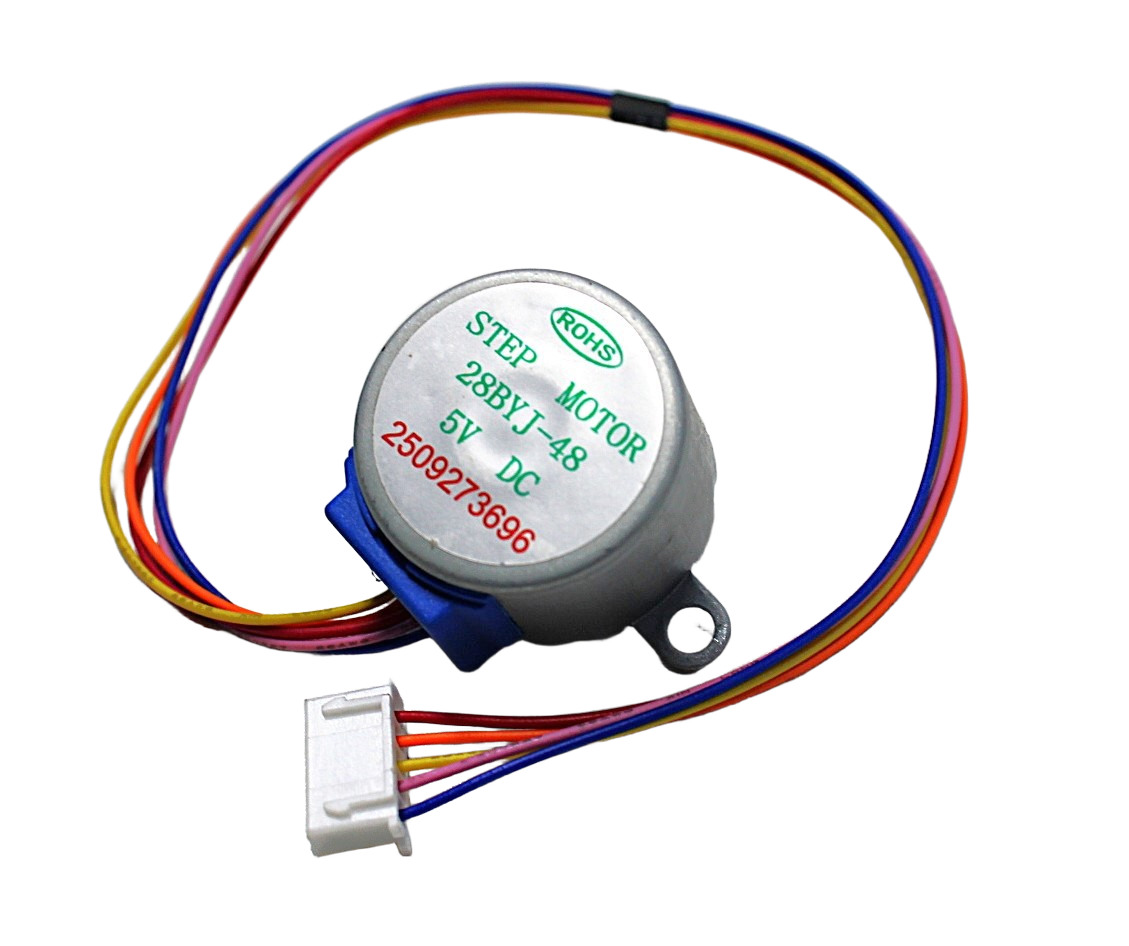
28BYJ-48 5V Stepper Motor
The beginner-friendly 5 V stepper motor with integrated gearbox — great for learning step loss diagnostics and AccelStepper library basics at low cost.
Recommended Products for Reliable Stepper Control
Getting consistent, step-loss-free performance starts with quality hardware. Here are our top picks from Zbotic’s motors and drivers range:
42HS48-1204A NEMA17 5.6 kg-cm Stepper Motor
High holding torque with detachable cable makes this NEMA17 ideal for CNC routers, 3D printers, and robotics requiring precise, step-loss-free positioning.
A4988 Stepper Motor Driver Controller Board
Adjustable current limiting, up to 1/16 microstepping, thermal shutdown protection — everything needed to drive NEMA17 motors reliably from Arduino.
Frequently Asked Questions
Why does my stepper motor lose steps only when moving in one direction?
This usually indicates a mechanical issue: friction, a binding rail, or gravity load is opposing motion in one direction more than the other. Check that linear rails are clean and lubricated, and that the carriage moves freely by hand in both directions. If the issue is gravity on a vertical axis, consider a counterweight or a motor with higher holding torque.
Can I use a stepper motor without a driver IC and just use transistors?
Technically yes for very small motors like the 28BYJ-48 with the ULN2003 driver array, but for NEMA17 and larger motors, a dedicated driver IC (A4988, DRV8825, TMC2209) is essential. These ICs provide constant-current control, microstepping, and thermal protection that discrete transistors cannot easily replicate.
Will adding a bigger power supply fix step loss?
A bigger supply in terms of amperage (current capacity) helps ensure the supply doesn’t sag under load. But a higher voltage supply (within driver limits) helps more by allowing faster current rise times in the coils. Both matter, but the driver’s current-limit setting is the primary control over how much torque the motor produces.
How do I know if my stepper motor is sized correctly for my application?
Calculate the required torque from your mechanical load (force × moment arm + friction + inertia), then select a motor whose rated holding torque is at least 2× the calculated requirement. The safety factor accounts for speed-related torque reduction and microstepping torque reduction.
Does enabling microstepping cause more step loss?
Microstepping reduces torque per microstep (down to ~30% at 1/16) but the full motor torque is still available between major full steps. For positional accuracy under load, use 1/4 or 1/2 microstepping which offers a better torque-to-smoothness trade-off than 1/16. Reserve 1/16 for light-load, smooth-motion applications.
Can I detect step loss automatically in Arduino?
In open-loop systems, no—that’s the fundamental limitation. To detect and correct step loss, add a rotary encoder to the motor shaft and compare commanded vs actual position. If the difference exceeds a threshold, trigger a re-home sequence. This converts your open-loop stepper into a closed-loop system.
Conclusion
Stepper motor step loss is almost always solvable once you systematically identify the root cause. Start with the driver current setting—it’s the fix that resolves the majority of cases. Then verify your supply voltage, add heat sinks, implement AccelStepper-based acceleration, and check your mechanical system for friction and binding.
The key insight is that stepper motors are precision devices that reward careful setup. Spend 30 minutes getting the basics right—correct current, adequate voltage, proper wiring, and smooth acceleration—and you’ll have a system that runs reliably for thousands of hours.
Ready to build a reliable stepper-driven project? Browse Zbotic’s full range of stepper motors and drivers and find the right combination for your application.


Add comment