
SIM800C Module: GSM GPRS IoT Tracker Project Step-by-Step
Building a SIM800C GSM GPRS IoT tracker is one of the most practical and rewarding projects for Indian electronics hobbyists. Whether you want to track a vehicle, monitor a remote asset, or build a low-cost fleet management system, the SIM800C module gives you reliable 2G GSM and GPRS connectivity at a fraction of the cost of newer LTE modules. In this step-by-step guide, you will learn everything from understanding the SIM800C hardware to wiring it with a GPS module, sending AT commands, and pushing live location data to a server — all using readily available components in India.
What Is the SIM800C Module?
The SIM800C is a compact, quad-band GSM/GPRS module manufactured by SIMCom. It operates on 850/900/1800/1900 MHz frequency bands, which means it works perfectly with Indian telecom operators such as Airtel, Jio (2G fallback in some areas), Vi, and BSNL. Unlike its more popular sibling the SIM800L, the SIM800C integrates a Bluetooth 3.0 stack alongside GSM and GPRS, making it a more feature-rich choice for embedded IoT designs.
Key specifications of the SIM800C include:
- Supply voltage: 3.4V to 4.4V (ideal operating range 3.7V–4.2V)
- Current draw: Up to 2A peak during transmission bursts; sleep mode as low as 1 mA
- GPRS class: Class 10 (max 85.6 kbps downlink / 42.8 kbps uplink)
- SIM card type: 1.8V / 3V micro SIM
- Antenna connector: IPEX/U.FL for external antenna
- Bluetooth: v3.0 SPP/HFP/A2DP
- Operating temperature: -40°C to +85°C
For IoT tracker projects in India, the SIM800C is particularly attractive because 2G networks still have excellent coverage across rural and semi-urban areas where LTE might be spotty. The low power consumption in sleep mode also makes battery-powered deployments viable for weeks or months at a time.
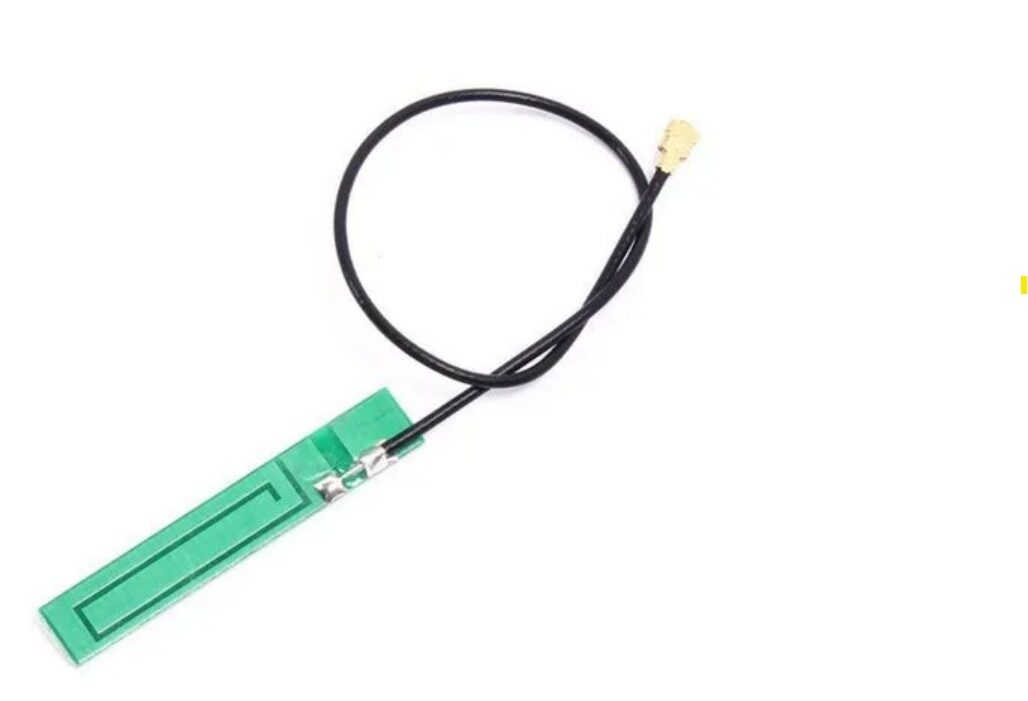
15cm 3DBI GSM/GPRS/3G PCB Antenna with IPEX Connector
A 15cm flexible PCB antenna with IPEX connector, compatible with SIM800C, SIM800L, and other GSM modules. 3dBi gain ensures reliable connectivity across Indian 2G networks.
SIM800C vs SIM800L: Which One to Choose?
Both modules are based on the same SIMCom chip family, but they differ in form factor and features. Here is a quick comparison to help you decide:
| Feature | SIM800C | SIM800L |
|---|---|---|
| Bluetooth | Yes (v3.0) | No |
| Form factor | LCC (castellated) | Module with pins |
| Breakout boards | Less common | Widely available |
| Best for | Custom PCB designs | Breadboard prototyping |
| Price | Slightly higher | Lower |
For a one-off tracker prototype using a breadboard, the SIM800L-based breakout board is easier to use. However, if you are building a PCB for production or want Bluetooth for local data offload, the SIM800C is the better choice. This guide’s code and AT commands work on both since they share the same firmware.
Components Needed for the IoT Tracker
Here is the full bill of materials for this project. All components are readily available in India from Zbotic:
- SIM800C / SIM800L GSM GPRS module (or equivalent breakout board)
- NEO-6M GPS module
- Arduino Uno or Arduino Nano
- 3.7V LiPo battery (2000mAh minimum) + TP4056 charging module
- LM2596 or MT3608 DC-DC converter for 4.0V regulated supply
- 0.96-inch OLED display (optional, for on-device status)
- GSM antenna with IPEX connector
- GPS ceramic active antenna (NEO-6M compatible)
- Jumper wires, breadboard, push button
- SIM card with data plan (Airtel prepaid works well)
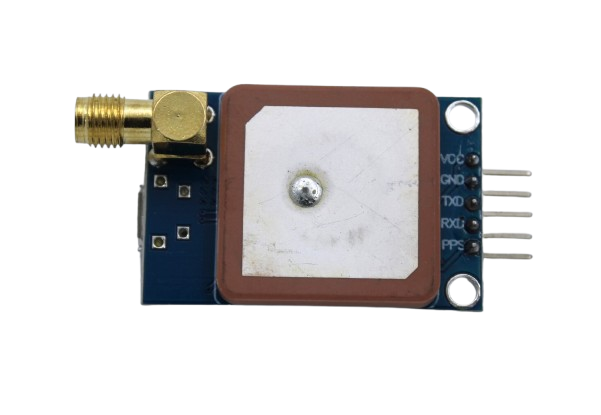
GPS NEO-6M Satellite Positioning Module for Arduino
The popular NEO-6M GPS module with onboard antenna connector and UART interface. Easily pairs with SIM800C for a complete GSM+GPS tracker. Compatible with Arduino, STM32, and ESP32.
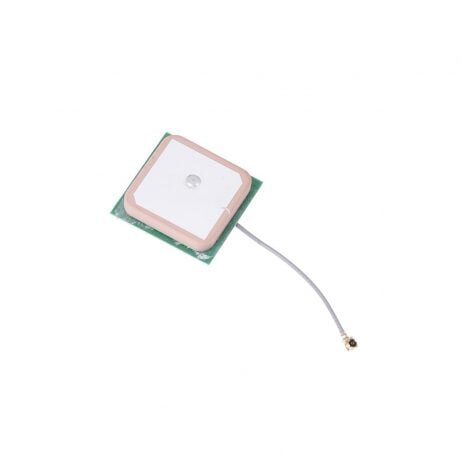
28dB High Gain Active GPS Antenna for NEO-6M/7M/8M
A 25x25mm ceramic active GPS antenna with 28dB gain. Significantly improves satellite lock time, especially useful in urban areas with obstructed sky view. Works with NEO-6M, NEO-7M, NEO-8M.

0.96 Inch I2C OLED Display Module (White, SSD1306)
A compact 0.96-inch OLED with I2C interface (SDA/SCL). Displays GPS coordinates, GSM signal strength, or GPRS status on your tracker. Only requires 2 data pins, freeing up Arduino’s serial pins for the GSM module.
Wiring: SIM800C + GPS + Arduino
The wiring for this project uses SoftwareSerial to give both the GSM module and GPS module their own serial channels while keeping the hardware serial port free for debugging.
SIM800C/SIM800L to Arduino connections:
- SIM800 TX → Arduino pin 7 (SoftwareSerial RX)
- SIM800 RX → Arduino pin 8 (SoftwareSerial TX) — use a voltage divider (2kΩ + 1kΩ) since SIM800 is 2.8V logic
- SIM800 GND → Arduino GND
- SIM800 VCC → Regulated 4.0V supply from DC-DC converter (NOT the Arduino 5V pin — it cannot supply enough current)
- SIM800 RST → Arduino pin 4 (optional, for hardware reset)
NEO-6M GPS to Arduino connections:
- GPS TX → Arduino pin 3 (SoftwareSerial RX, separate instance)
- GPS RX → Arduino pin 2 (SoftwareSerial TX)
- GPS VCC → Arduino 3.3V or 5V (check your module’s regulator)
- GPS GND → Arduino GND
Critical note on power: The SIM800 can draw up to 2A in short bursts during GSM transmission. A 470µF–1000µF capacitor placed close to the SIM800 VCC and GND pins will prevent brown-outs that cause random resets. Many builders in India struggle with this issue — the capacitor fix solves 90% of random disconnection problems.
Essential AT Commands for GSM and GPRS
Before uploading your full sketch, always test the SIM800C via the Arduino serial monitor using these AT commands to verify the module is working and your SIM card is registered:
AT                    ; Basic ping — should return OK
AT+CSQ                ; Signal quality (0-31; above 10 is usable)
AT+CREG?              ; Network registration (0,1 = registered home)
AT+COPS?              ; Shows registered operator name
AT+CGATT?            ; GPRS attachment (1 = attached)
AT+SAPBR=3,1,"Contype","GPRS"   ; Set connection type
AT+SAPBR=3,1,"APN","airtelgprs.com"  ; Set APN (change for your operator)
AT+SAPBR=1,1         ; Open bearer — starts GPRS connection
AT+SAPBR=2,1         ; Query IP address assigned
Common Indian APN settings:
- Airtel:
airtelgprs.com - Vi (Vodafone/Idea):
www - BSNL:
bsnlnet - Jio: Jio does not support 2G — use an Airtel or Vi SIM for SIM800C projects
For HTTP POST (to send data to your server or an IoT platform like ThingSpeak):
AT+HTTPINIT           ; Initialize HTTP service
AT+HTTPPARA="CID",1   ; Use bearer context 1
AT+HTTPPARA="URL","http://your-server.com/update?lat=18.52&lng=73.85"
AT+HTTPACTION=0       ; GET request (use 1 for POST)
AT+HTTPREAD           ; Read response
AT+HTTPTERM           ; Terminate HTTP service
Sending GPS Data Over GPRS to a Server
Here is a simplified Arduino sketch that reads NMEA data from the NEO-6M GPS module and sends latitude/longitude to a server via HTTP GET every 30 seconds. You will need the TinyGPS++ library (install via Arduino Library Manager).
#include <SoftwareSerial.h>
#include <TinyGPS++.h>

SoftwareSerial gsmSerial(7, 8);   // SIM800C: RX=7, TX=8
SoftwareSerial gpsSerial(3, 2);   // NEO-6M: RX=3, TX=2
TinyGPSPlus gps;

void setup() {
  Serial.begin(9600);
  gsmSerial.begin(9600);
  gpsSerial.begin(9600);
  delay(3000);
  initGPRS();
}

void loop() {
  // Read GPS data for 5 seconds
  unsigned long start = millis();
  while (millis() - start < 5000) {
    while (gpsSerial.available())
      gps.encode(gpsSerial.read());
  }

  if (gps.location.isValid()) {
    sendToServer(gps.location.lat(), gps.location.lng());
  }
  delay(30000); // Send every 30 seconds
}

void initGPRS() {
  sendAT("AT+SAPBR=3,1,"Contype","GPRS"");
  sendAT("AT+SAPBR=3,1,"APN","airtelgprs.com"");
  sendAT("AT+SAPBR=1,1");
}

void sendToServer(double lat, double lng) {
  String url = "http://your-server.com/update?lat=" + String(lat, 6)
               + "&lng=" + String(lng, 6);
  sendAT("AT+HTTPINIT");
  sendAT("AT+HTTPPARA="CID",1");
  gsmSerial.println("AT+HTTPPARA="URL","" + url + """);
  delay(500);
  sendAT("AT+HTTPACTION=0");
  delay(3000);
  sendAT("AT+HTTPTERM");
}

void sendAT(String cmd) {
  gsmSerial.println(cmd);
  delay(500);
  while (gsmSerial.available()) Serial.write(gsmSerial.read());
}
For a free tracking dashboard, send your data to ThingSpeak (by MathWorks) — it has a generous free tier and works well with HTTP GET from SIM800C. Use the URL format: http://api.thingspeak.com/update?api_key=YOURKEY&field1=LAT&field2=LNG.
Power Supply Tips for Stable Operation in India
Power issues are the number one reason SIM800C projects fail. Here are practical tips for building a reliable tracker in Indian conditions:
- Use a dedicated 4.0V supply: A LiPo battery with an adjustable DC-DC step-down regulator set to 4.0V is the most reliable approach. Do not use the Arduino’s onboard 3.3V or 5V regulators.
- Add bulk capacitance: Place a 1000µF/6.3V electrolytic capacitor across VCC and GND pins of the SIM800C to handle current spikes during transmission.
- Use heat-resistant components: Indian summers with temperatures above 40°C can cause LiPo batteries to swell. Use batteries rated for high ambient temperatures, or add ventilation to your enclosure.
- Sleep mode: Use AT commands
AT+CSCLK=2(slow clock mode) between transmissions to extend battery life dramatically. The SIM800C drops to under 1mA in sleep mode. - Waterproofing: For vehicle or outdoor trackers, use an IP65-rated enclosure. Monsoon humidity can corrode exposed PCB pads within weeks.
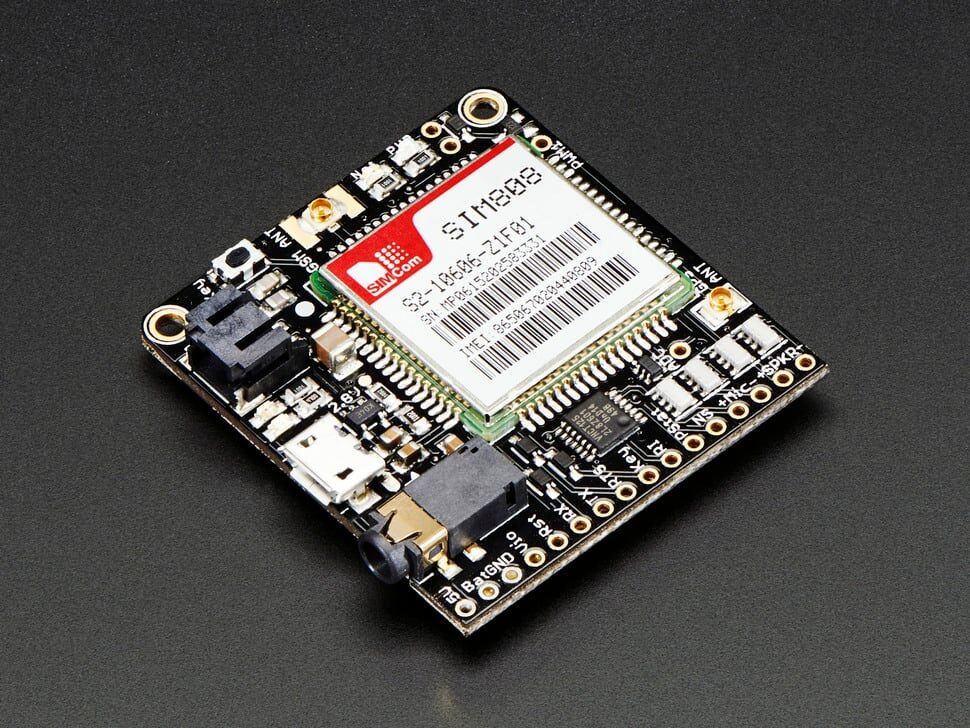
Adafruit FONA 808 – Mini Cellular GSM + GPS Breakout
If you want an all-in-one GSM + GPS solution on a single breakout board, the Adafruit FONA 808 combines a SIM808 module (quad-band GSM/GPRS + GPS) with LiPo charging circuitry. Ideal for a polished tracker build without the separate GPS module wiring.

NEO-6M GPS Module with EPROM
The NEO-6M with onboard EPROM stores configuration settings across power cycles, giving faster hot-start times on your IoT tracker. It saves satellite almanac data so your device finds GPS fix in seconds after restart.
Frequently Asked Questions
Does SIM800C work with Jio SIM in India?
No. Jio operates exclusively on 4G LTE and VoLTE networks. Since the SIM800C only supports 2G GSM/GPRS, it will not register on Jio’s network. Use an Airtel, Vi, or BSNL prepaid SIM instead. Airtel has the best 2G coverage for IoT applications across India.
How far can I track using SIM800C GPRS?
GPRS coverage is nationwide wherever 2G towers exist. Unlike LoRa or NRF24L01 which are limited to a few kilometres, the SIM800C can send data from anywhere in India that has 2G coverage. This makes it ideal for long-distance vehicle tracking, logistics, and remote asset monitoring.
Why does my SIM800C keep resetting randomly?
This is almost always a power issue. The SIM800C draws up to 2A during GSM burst transmissions. If your power source cannot supply that current, the voltage droops below 3.4V and the module resets. Add a 1000µF capacitor across VCC/GND and ensure your DC-DC converter is rated for at least 3A output.
Can I run SIM800C directly from Arduino 5V pin?
No. The Arduino’s onboard 5V regulator (AMS1117 or similar) can only supply 500mA–800mA. The SIM800C needs up to 2A during transmission. You must use a dedicated power supply or DC-DC converter capable of 2A+ output at 3.7V–4.2V.
What is the best free platform to visualise SIM800C tracker data?
ThingSpeak (free up to 3 million messages/year) and Traccar (open-source, self-hosted) are the most popular choices among Indian makers. For commercial deployments, AWS IoT Core or Ubidots offer scalable paid plans with good GPRS compatibility.
Ready to Build Your IoT Tracker?
Get all the components for your SIM800C GSM GPRS IoT tracker project in one place. Zbotic stocks GSM modules, GPS modules, antennas, and display modules with fast shipping across India.


Add comment