
The SIM7600 4G LTE Arduino HTTP GPS module is arguably the most capable cellular module available to Indian makers at an accessible price point. Unlike older 2G modules like the SIM800L, the SIM7600 connects to 4G LTE networks (Jio, Airtel, Vi, BSNL), supports simultaneous GPS positioning, makes HTTP and HTTPS requests natively, and handles data transfers at speeds that make real IoT applications practical. This guide provides a complete, tested reference for getting your SIM7600 working with Arduino, from AT commands to HTTP POST and GPS coordinate parsing.
SIM7600 Module Overview and Variants
The SIM7600 is a product family from SIMCom Wireless Solutions. The specific variant matters for Indian use because LTE band support differs by region:
- SIM7600G-H: Global variant, supports LTE-FDD Bands 1, 2, 3, 4, 5, 7, 8, 12, 13, 18, 19, 20, 25, 26, 28 plus WCDMA and GSM. This is the recommended choice for India.
- SIM7600E-H: Europe/Asia variant, supports Indian LTE bands including Band 3 (1800 MHz, used by Jio and Airtel) and Band 5 (850 MHz). Works well in India.
- SIM7600I: India-specific variant explicitly optimized for Indian network bands.
Key features of the SIM7600 family relevant to Indian makers: LTE Cat-4 downlink up to 150 Mbps, GNSS (GPS + GLONASS + BeiDou) receiver integrated, UART AT command interface compatible with older SIM800 commands (with some differences), support for USB, UART, and SPI interfaces.
Hardware Setup and Power Requirements
The SIM7600 is significantly more power-hungry than the SIM800L. During LTE registration and data transfer, current consumption can reach 2 A at 3.8V (7.6W peak). This means:
- Do NOT power from Arduino’s 5V pin or any USB host’s 5V output directly.
- Use a dedicated LiPo battery (3.7V nominal, 3.8V optimum) or a 5V supply with a 3.8V DC-DC converter capable of at least 2.5A.
- Place a minimum 1000 uF capacitor across the module’s power input to absorb current spikes.
UART Wiring to Arduino Mega (Recommended)
Use an Arduino Mega rather than Uno for this project. The Mega has multiple hardware serial ports, allowing you to use Serial1 or Serial2 for the SIM7600 without blocking the USB debugging port. The SIM7600 module’s UART operates at 3.3V logic, but most modules include onboard level shifters for 5V compatibility. Check your specific module’s datasheet.
| SIM7600 Pin | Arduino Mega Pin | Notes |
|---|---|---|
| VCC / VIN | External 3.8V supply | Not from Arduino |
| GND | GND (shared) | Common ground critical |
| TXD | RX1 (Pin 19) | Module TX to Arduino RX1 |
| RXD | TX1 (Pin 18) | Arduino TX1 to module RX |
| PWRKEY | D8 | Pulse LOW for 1.5s to power on |
Insert a valid nano-SIM card (Jio, Airtel, Vi, or BSNL — any 4G-enabled plan). The module requires a data-enabled SIM. Jio’s cheapest prepaid plan (Rs.15/day) works perfectly for IoT use.
Essential AT Commands
All SIM7600 configuration is done via AT commands over the UART interface. Here are the most important ones for getting started:
| AT Command | Purpose | Expected Response |
|---|---|---|
| AT | Test communication | OK |
| AT+CSQ | Signal quality | +CSQ: 20,0 (0-31, higher=better) |
| AT+CREG? | Network registration | +CREG: 0,1 (1=registered) |
| AT+CGREG? | GPRS registration | +CGREG: 0,1 |
| AT+COPS? | Current operator | +COPS: 0,0,”Jio 4G” |
| AT+CGDCONT? | Check APN | +CGDCONT: 1,”IP”,”jionet” |
| AT+NETOPEN | Open network | +NETOPEN: 0 |
| AT+IPADDR | Get IP address | +IPADDR: 10.x.x.x |
Making HTTP GET and POST Requests
The SIM7600 has a built-in HTTP client that can make GET and POST requests directly, without needing to manage raw TCP sockets. This greatly simplifies sending data to cloud platforms like ThingSpeak, Blynk, or custom AWS API Gateway endpoints.
HTTP GET Request
// Set up HTTP session
AT+CHTTPSSTART            // Start HTTPS service
AT+CHTTPSOPSE="api.thingspeak.com",443,2  // Open SSL connection
AT+CHTTPSSEND=128         // Prepare to send N bytes
// Then send the raw HTTP request:
GET /update?api_key=YOUR_KEY&field1=28.5 HTTP/1.1

Host: api.thingspeak.com


// Receive response
AT+CHTTPSRECV=1500        // Read up to 1500 bytes of response
AT+CHTTPSCLSE             // Close connection
AT+CHTTPSSTOP             // Stop HTTPS service
HTTP POST to Custom API
String postData = "{"temperature":28.5,"humidity":65}";
int contentLen = postData.length();

sim7600.println("AT+CHTTPSOPSE="your-api.example.com",443,2");
waitForResponse("CHTTPSOPSE: 0");

String header = "POST /data HTTP/1.1
Host: your-api.example.com
";
header += "Content-Type: application/json
";
header += "Content-Length: " + String(contentLen) + "

";

int totalLen = header.length() + contentLen;
sim7600.println("AT+CHTTPSSEND=" + String(totalLen));
delay(100);
sim7600.print(header);
sim7600.print(postData);
Reading GPS Data from SIM7600
The SIM7600’s integrated GNSS receiver can be enabled independently of the cellular modem. It outputs standard NMEA sentences over the same UART, selectable via AT commands.
// Enable GNSS
AT+CGPS=1,1               // Start GPS, port=1 (UART)
AT+CGPSINFO               // Get position (polled)

// Response format:
// +CGPSINFO: 1852.33,N,07355.12,E,110326,045700.0,550.0,0.0,0
// Lat: 18 deg 52.33 min N
// Lon: 73 deg 55.12 min E
// Date: 11 March 2026
// Time: 04:57:00 UTC
// Altitude: 550.0 m
// Speed: 0.0 km/h
Parse latitude and longitude from the CGPSINFO response. The format is DDmm.mmmmm where DD is degrees and mm.mmmmm is decimal minutes. Convert to decimal degrees: DD + (mm.mmmmm / 60). For Pune coordinates (18 deg N, 73 deg E), this gives 18 + 52.33/60 = 18.872 N, 73 + 55.12/60 = 73.919 E.
Complete Arduino Sketch
#define SIM_SERIAL Serial1
#define PWRKEY 8

String sendAT(String cmd, int timeout = 2000) {
  SIM_SERIAL.println(cmd);
  String response = "";
  long start = millis();
  while (millis() - start < timeout) {
    while (SIM_SERIAL.available()) {
      response += (char)SIM_SERIAL.read();
    }
  }
  return response;
}

void powerOnSIM7600() {
  pinMode(PWRKEY, OUTPUT);
  digitalWrite(PWRKEY, LOW);
  delay(1500);
  digitalWrite(PWRKEY, HIGH);
  delay(5000); // Wait for boot
}

void setup() {
  Serial.begin(115200);
  SIM_SERIAL.begin(115200);
  powerOnSIM7600();

  Serial.println(sendAT("AT"));         // Test
  Serial.println(sendAT("AT+CSQ"));     // Signal quality
  Serial.println(sendAT("AT+CREG?"));   // Registration
  Serial.println(sendAT("AT+NETOPEN")); // Open network
  Serial.println(sendAT("AT+IPADDR")); // Get IP

  // Enable GPS
  sendAT("AT+CGPS=1,1");
  delay(10000); // Wait for GPS fix
  Serial.println(sendAT("AT+CGPSINFO")); // Print position
}

void loop() {
  // Send sensor data every 30 seconds
  sendAT("AT+CHTTPSSTART");
  sendAT("AT+CHTTPSOPSE="api.thingspeak.com",443,2", 5000);
  sendAT("AT+CHTTPSSEND=80", 1000);
  SIM_SERIAL.print("GET /update?api_key=YOURKEY&field1=28.5 HTTP/1.1
Host: api.thingspeak.com

");
  delay(3000);
  sendAT("AT+CHTTPSCLSE");
  sendAT("AT+CHTTPSSTOP");
  delay(30000);
}
APN Settings for Indian Networks
| Network | APN | AT Command |
|---|---|---|
| Jio (Reliance) | jionet | AT+CGDCONT=1,”IP”,”jionet” |
| Airtel | airtelgprs.com | AT+CGDCONT=1,”IP”,”airtelgprs.com” |
| Vi (Vodafone Idea) | portalnmms | AT+CGDCONT=1,”IP”,”portalnmms” |
| BSNL | bsnlnet | AT+CGDCONT=1,”IP”,”bsnlnet” |
For most SIM7600 boards with Jio SIMs, the APN auto-configures correctly. If the module does not get an IP address after AT+NETOPEN, manually set the APN for your operator using the table above, then restart the module.
Adafruit FONA 808 Mini Cellular GSM + GPS Breakout
Combined GSM and GPS module on a single breakout board from Adafruit. Great for tracking projects where you need cellular connectivity and GPS together. Excellent documentation and Arduino library support.
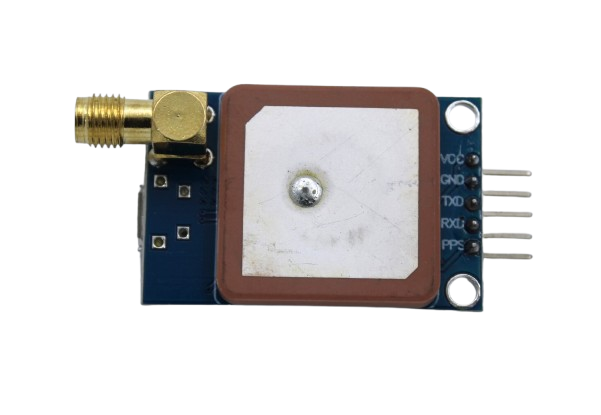
GPS NEO-6M Satellite Positioning Module for Arduino
If you need GPS without cellular, the NEO-6M is the classic choice. Very fast cold start, excellent sensitivity, and plug-and-play with TinyGPS++ library. Pair with ESP32 for GPS plus Wi-Fi logging.
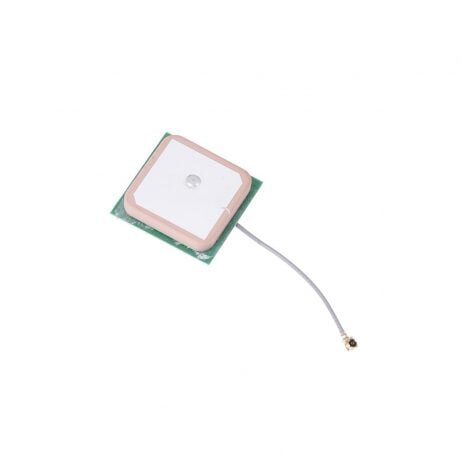
28dB High Gain Active GPS Antenna for NEO-6M, NEO-7M, NEO-8M
External active GPS antenna with 28dB gain, ideal for projects where the GPS module is inside an enclosure or vehicle. Compatible with SIM7600 GPS antenna connector for better satellite acquisition.
Frequently Asked Questions
Does SIM7600 work with Jio SIM in India?
Yes. The SIM7600G-H and SIM7600E-H both support Jio’s LTE bands (Band 3 at 1800 MHz and Band 5 at 850 MHz). Use APN “jionet” and ensure the SIM is data-enabled. Jio nano-SIMs work directly in SIM7600 modules that take a nano-SIM slot. Some older development boards have micro-SIM slots and need an adapter.
How long does it take to get a GPS fix with SIM7600?
Cold start (first fix after power-on or after moving location significantly) typically takes 30 to 90 seconds with a clear sky view. Hot start (module remembers last position and almanac) is typically under 5 seconds. In India’s urban canyons with buildings blocking the sky, expect 2 to 5 minutes for reliable cold start. Use an external active antenna for faster and more reliable fixes indoors or in vehicles.
Can SIM7600 make phone calls?
Yes, the SIM7600 supports voice calls via AT commands (ATD for dial, ATA for answer). However, most breakout boards do not include a speaker/microphone circuit. You would need to add audio codec hardware. For most IoT projects, the data and GPS capabilities are used and voice is ignored.
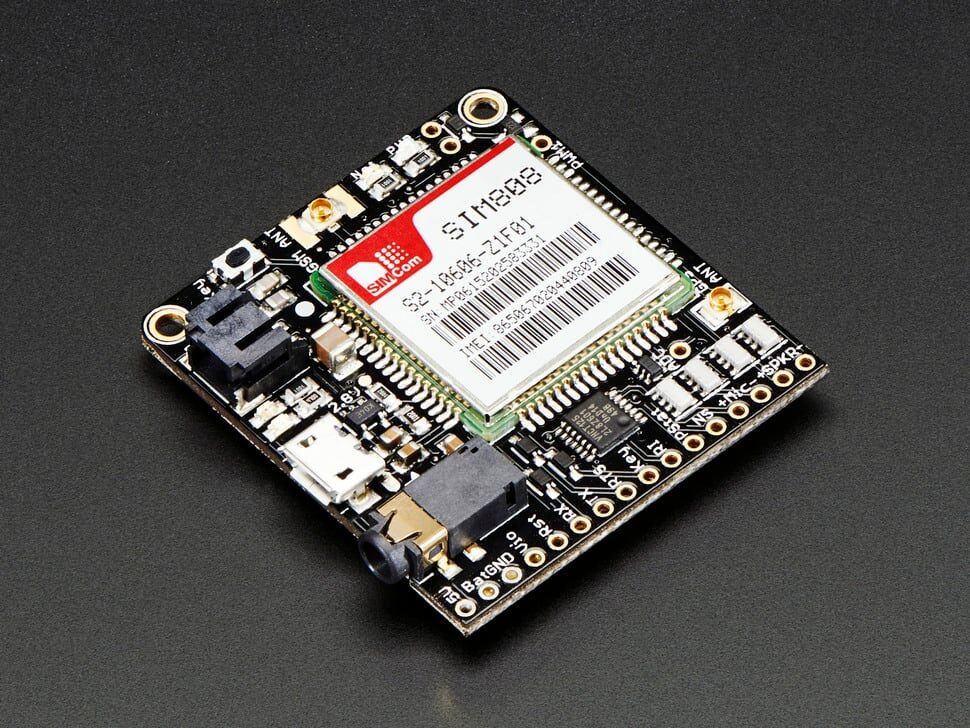
What is the difference between SIM7600 and SIM800L for Indian projects?
The SIM800L is a 2G (GPRS/EDGE) module that is being phased out as Indian operators including Jio have shut down 2G networks. The SIM7600 is 4G LTE, works on all Indian operators, is significantly faster (150 Mbps vs 236 kbps), and has built-in GPS. The SIM7600 costs more (Rs.1,500 to Rs.3,000 vs Rs.150 to Rs.300 for SIM800L) but is the correct choice for new projects in 2026.
My SIM7600 connects but HTTP requests timeout. What is wrong?
Most common causes: (1) APN not set correctly for your operator, causing IP assignment failure. Run AT+IPADDR to check if you have an IP. (2) HTTPS requires AT+CHTTPSSTART before opening a connection, not AT+CHTTPSTART. (3) The server response is large and the RECV buffer is full. Try AT+CHTTPSRECV=1500 in a loop until the response ends. (4) Firewall or NAT on the operator network blocking certain ports. Try port 80 first to confirm basic connectivity.
Build Your 4G IoT Tracker Today
Zbotic carries GPS modules, cellular antennas, and development boards for every stage of your IoT tracking project. All orders ship fast to every corner of India.


Add comment