
You picked up a small cylindrical component from your parts box and you are not sure what value it is. The coloured bands painted around it hold the answer — if you know how to decode them. Learning how to read resistor color code takes less than 10 minutes, and once it clicks, you will never need to look it up again.
This step-by-step tutorial walks you through the entire process from scratch. We start with the colour chart, move through 4-band and 5-band decoding, work through real examples, and finish with tips that make the process faster in practice.
Why Resistors Use Colour Codes
Resistors are tiny — often just 6 to 9 mm long. Printing a legible number on something that small is impractical. The electronics industry solved this in the 1920s by adopting a standardised colour-coding system where each colour represents a digit. The system was formalised as IEC 60062 and has remained essentially unchanged for decades.
Today, colour codes are used on through-hole resistors of all types: carbon film, metal film, and wirewound. Surface mount resistors (SMD) use a different numerical printing system because they are even smaller, but through-hole components — the ones you use in breadboard and hobbyist projects — will always have colour bands.
Tools You Need
To read resistor colour codes you need:
- The resistor itself
- Good lighting (natural daylight or a bright bench lamp)
- This guide or a colour code reference chart
- A digital multimeter (for verification — optional but recommended)
That is it. No special equipment required. The skill is in training your eye to recognise colours accurately, which improves quickly with practice.

LCR-T4 Graphical Component Tester
Instantly measures resistance, capacitance, and transistor parameters. Drop any component in and see the value on the LCD display — perfect for verifying resistor values.
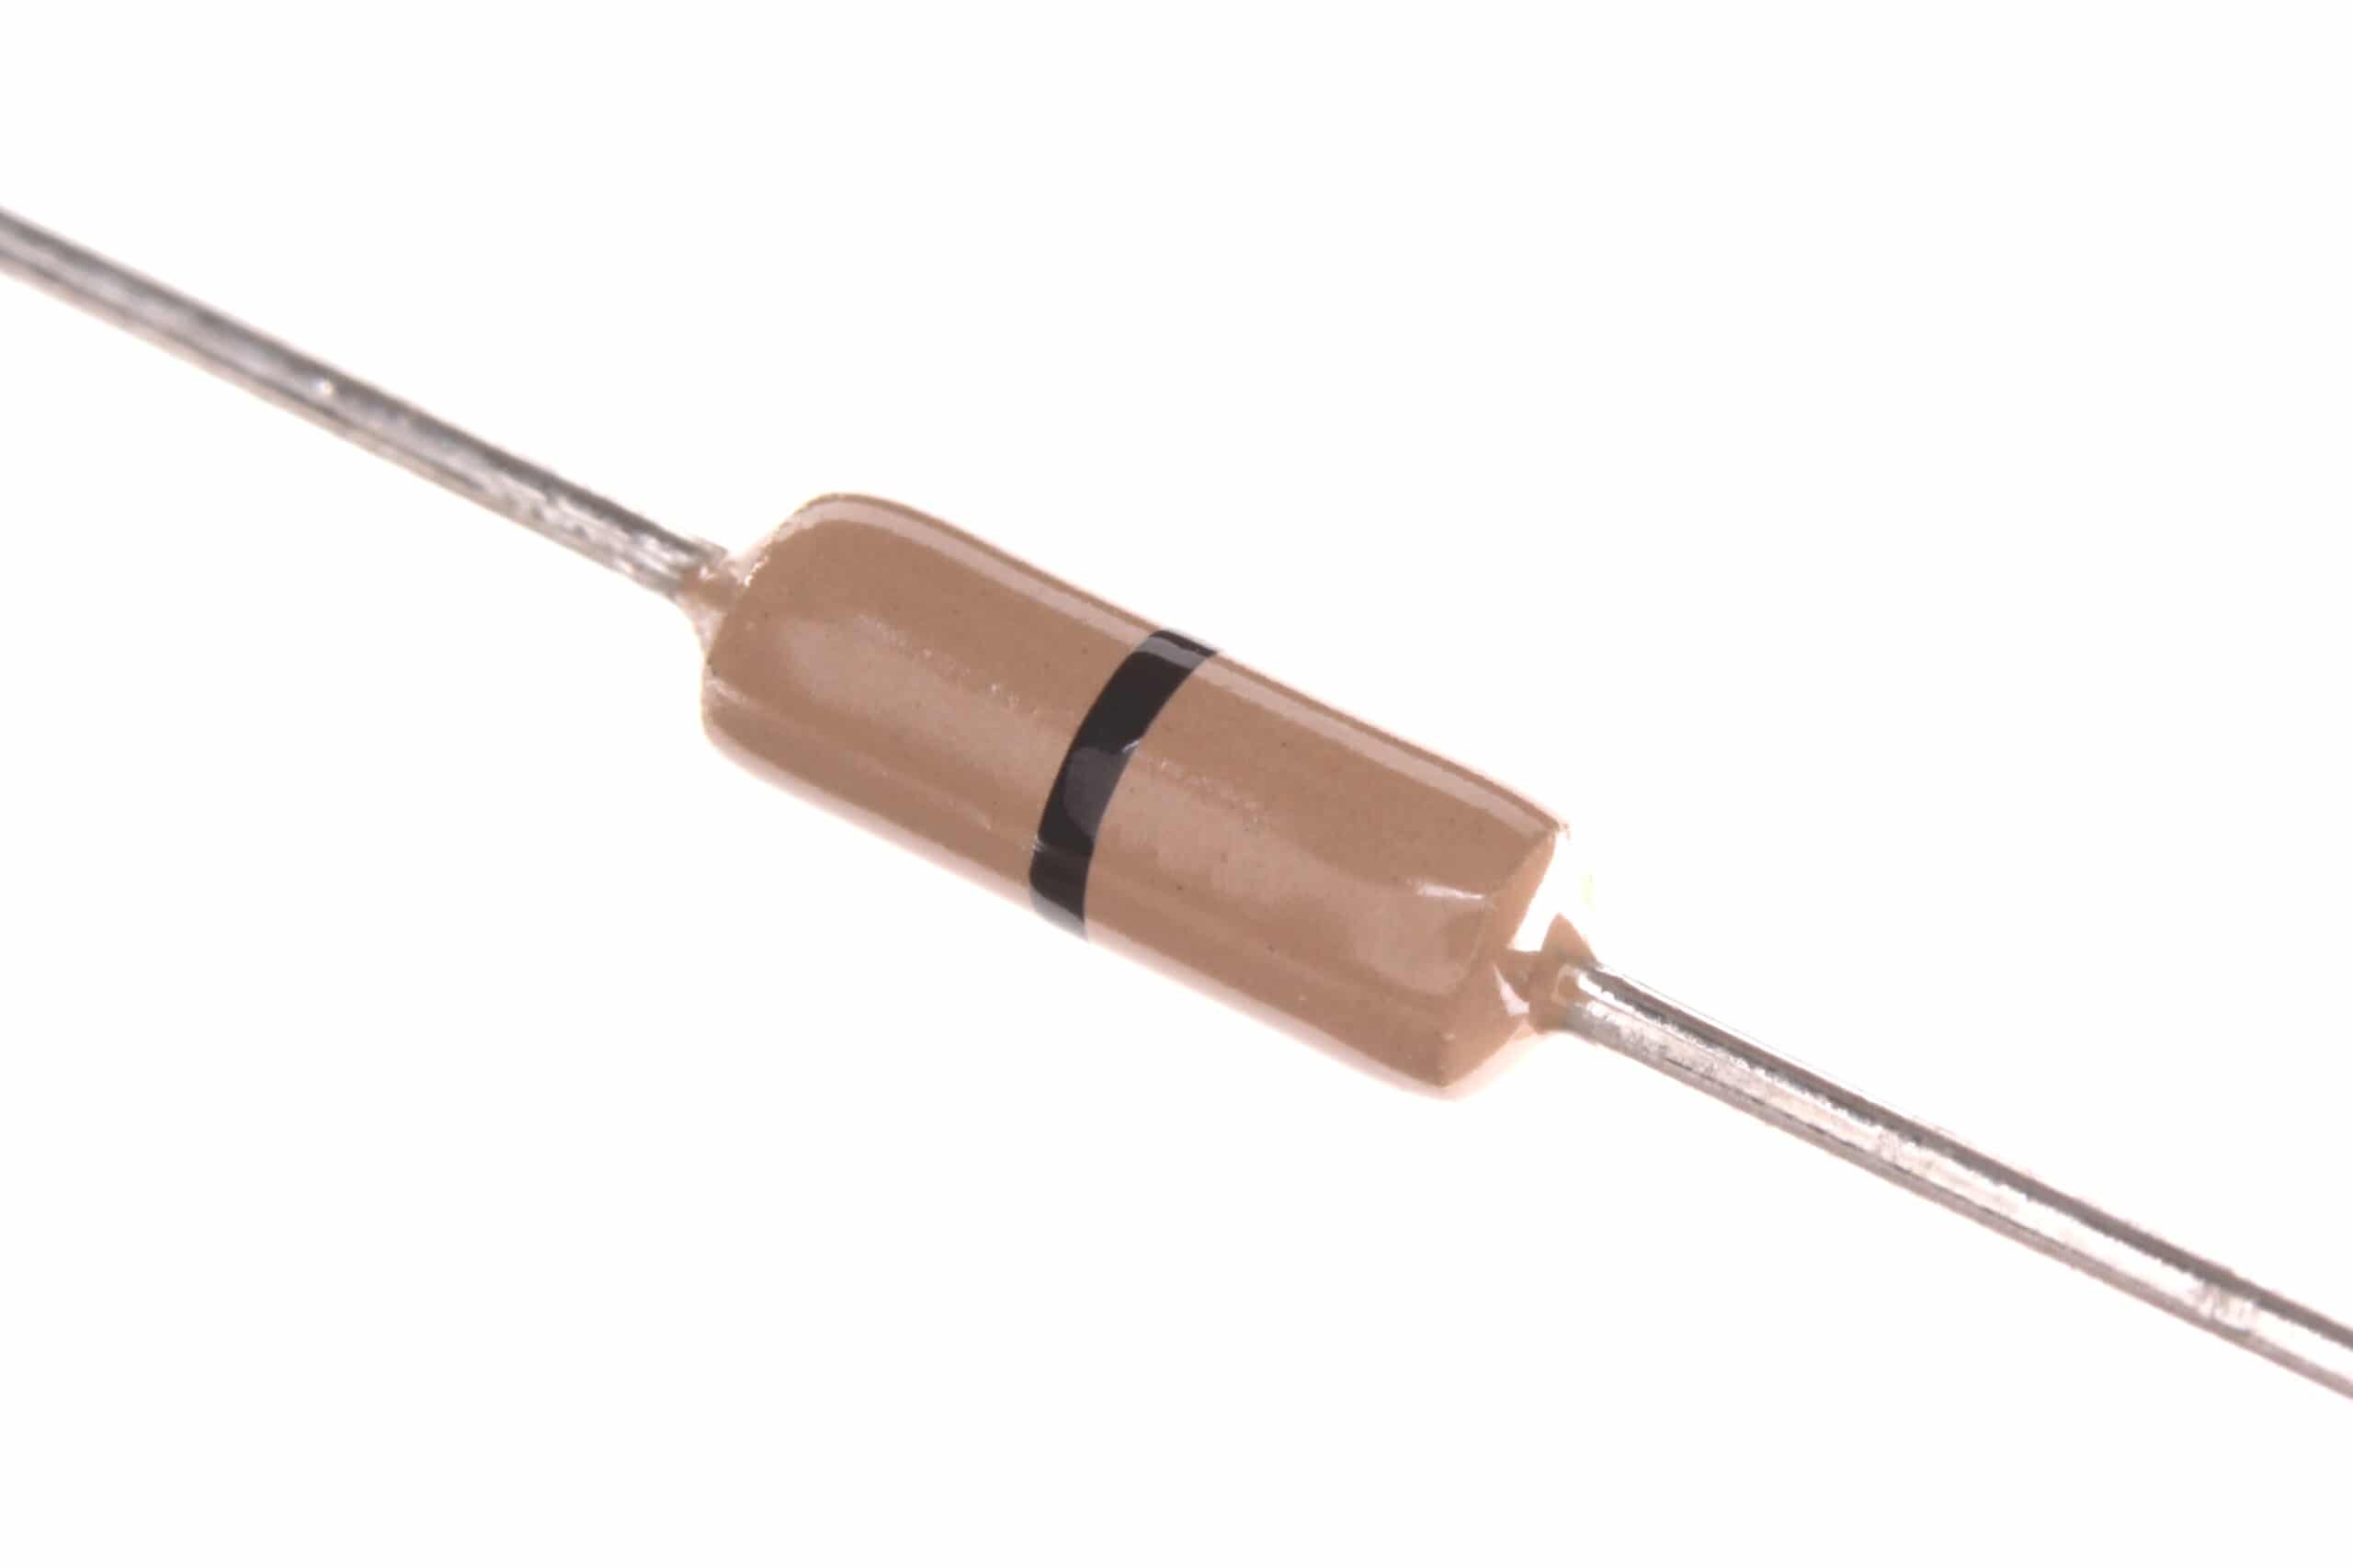
Step 1 — Count the Bands
Before you decode anything, count how many coloured bands are painted on the resistor body. This tells you which system to use:
- 3 bands — Very old. Two significant digits + multiplier, 20% tolerance (no tolerance band).
- 4 bands — Most common. Two significant digits + multiplier + tolerance. Found on 5% and 10% carbon film resistors.
- 5 bands — Precision resistors. Three significant digits + multiplier + tolerance. Found on 1% metal film resistors.
- 6 bands — Rare. Five-band system plus a temperature coefficient band.
The large majority of resistors you encounter in Indian hobby electronics will be 4-band. Precision metal film resistors — which typically come in a blue or beige body — are 5-band.
Step 2 — Find the Correct Orientation
Reading the bands in the wrong direction gives you a completely different (wrong) value. Here is how to orient the resistor correctly:
For 4-Band Resistors
- Look for the gold or silver band — this is always the tolerance band and always goes on the right.
- Hold the resistor so the gold/silver band is on your right.
- Read the remaining bands from left to right.
For 5-Band Resistors
- On 5-band resistors, the tolerance band is usually brown (1%), red (2%), or green (0.5%).
- Look for a slightly larger gap between the 4th and 5th bands — the gap appears before the tolerance band.
- Alternatively, some 5-band resistors have the tolerance band slightly wider than the rest.
- Failing these visual cues, read both ways and check which gives a value in a standard E-series (E24, E96). Standard values are listed in resistor datasheets.
Pro tip: When in doubt, measure with a multimeter and compare to both possible readings to figure out which orientation is correct.
Step 3 — Decode Each Band Using the Colour Chart
Each colour maps to a number. Memorise this table or keep it pinned above your workbench:
| Colour | Digit | Multiplier | Tolerance |
|---|---|---|---|
| Black | 0 | ×1 | — |
| Brown | 1 | ×10 | ±1% |
| Red | 2 | ×100 | ±2% |
| Orange | 3 | ×1,000 | — |
| Yellow | 4 | ×10,000 | — |
| Green | 5 | ×100,000 | ±0.5% |
| Blue | 6 | ×1,000,000 | ±0.25% |
| Violet | 7 | ×10,000,000 | ±0.1% |
| Grey | 8 | ×100,000,000 | ±0.05% |
| White | 9 | ×1,000,000,000 | — |
| Gold | — | ×0.1 | ±5% |
| Silver | — | ×0.01 | ±10% |
Write down the digit for each band in order. You now have two or three significant digits and a multiplier to work with.
Step 4 — Calculate the Final Value
Once you have your digit values and multiplier, the calculation is simple:
Resistance = (Significant Digits) × (Multiplier)
For a 4-band resistor: combine Band 1 and Band 2 into a 2-digit number, then multiply by Band 3’s multiplier value.
For a 5-band resistor: combine Bands 1, 2, and 3 into a 3-digit number, then multiply by Band 4’s multiplier value.
Complete Worked Examples
Let us decode six real resistors step by step.
4-Band Example 1 — 330 Ω
Bands: Orange – Orange – Brown – Gold
- Orange = 3 (Digit 1)
- Orange = 3 (Digit 2)
- Brown = ×10 (Multiplier)
- Gold = ±5% (Tolerance)
- Combine digits: 33
- Multiply: 33 × 10 = 330 Ω ±5%
4-Band Example 2 — 2.2 kΩ
Bands: Red – Red – Red – Gold
- Red = 2, Red = 2, Red = ×100, Gold = ±5%
- Combine: 22
- Multiply: 22 × 100 = 2,200 Ω (2.2 kΩ) ±5%
4-Band Example 3 — 1 MΩ
Bands: Brown – Black – Green – Gold
- Brown = 1, Black = 0, Green = ×100,000, Gold = ±5%
- Combine: 10
- Multiply: 10 × 100,000 = 1,000,000 Ω (1 MΩ) ±5%
4-Band Example 4 — 0.47 Ω (sub-ohm)
Bands: Yellow – Violet – Silver – Gold
- Yellow = 4, Violet = 7, Silver = ×0.01, Gold = ±5%
- Combine: 47
- Multiply: 47 × 0.01 = 0.47 Ω ±5%
Sub-ohm resistors use gold or silver as the multiplier (not the tolerance band). The silver multiplier here is in position 3, not position 4.
5-Band Example 1 — 10 kΩ ±1%
Bands: Brown – Black – Black – Red – Brown
- Brown = 1, Black = 0, Black = 0, Red = ×100, Brown = ±1%
- Combine: 100
- Multiply: 100 × 100 = 10,000 Ω (10 kΩ) ±1%
5-Band Example 2 — 4.7 kΩ ±1%
Bands: Yellow – Violet – Black – Brown – Brown
- Yellow = 4, Violet = 7, Black = 0, Brown = ×10, Brown = ±1%
- Combine: 470
- Multiply: 470 × 10 = 4,700 Ω (4.7 kΩ) ±1%
0.25W Carbon Film Resistor (Pack of 100)
Stock your workbench with carbon film resistors and practise reading colour codes on real components. Affordable packs make it easy to keep common values on hand.
Step 5 — Verify with a Multimeter
Even experienced engineers verify component values with a meter before soldering them into a circuit. Here is how to do it:
- Set your digital multimeter to the resistance (Ω) function.
- Select a range above the expected value, or use auto-range if available.
- Touch the red probe to one lead and the black probe to the other lead of the resistor.
- The display shows the actual resistance. It should be within the tolerance of your colour-coded value.
For example, if you decoded a 10 kΩ ±5% resistor, the meter should read between 9,500 Ω and 10,500 Ω. If it reads far outside this range, double-check your colour decoding and your orientation.

Female to Female Breadboard Jumper Wires (40 Pcs)
Essential for connecting resistors and other components on a breadboard without soldering. Keep a set handy while you practise reading and testing resistor values.
Quick Reference — Reading at a Glance
Once you start recognising common band patterns, you can read most resistors instantly without going through each band formally. Here are the patterns to memorise first:
- Brown – Black – anything = starts with 10 (10 Ω, 100 Ω, 1 kΩ, 10 kΩ…)
- Red – Red – anything = starts with 22 (22 Ω, 220 Ω, 2.2 kΩ…)
- Yellow – Violet – anything = starts with 47 (47 Ω, 470 Ω, 4.7 kΩ…)
- Green – Blue – anything = starts with 56 (56 Ω, 560 Ω, 5.6 kΩ…)
These patterns correspond to preferred E24 values — the values most commonly manufactured. Learn these and you will recognise roughly 80% of resistors in your parts bin by sight.
Common Mistakes to Avoid
- Reading from the wrong end: This is the most frequent error. Always orient the tolerance band to the right first.
- Confusing orange and red: Under artificial light these can look similar. Orange is deeper and warmer; red has more of a blue tint. When in doubt, measure.
- Confusing brown and red on 5-band resistors: The tolerance band on a 5-band resistor can be brown (±1%), which looks like a significant digit. Check the gap spacing.
- Not accounting for the multiplier: It is easy to forget to multiply and write down just the significant digits. Always complete the calculation.
- Ignoring tolerance when it matters: For precision circuits, two resistors with the same colour code can differ by 10% if you mix ±5% and ±10% types.
Frequently Asked Questions
Q: I keep reading resistors backwards. Any tricks?
A: Train yourself to always pick up a resistor and immediately look for the gold or silver band. Make it a habit to orient that band to the right before you do anything else. After doing this a hundred times, it becomes automatic.
Q: My resistor has two gold bands. Which is the tolerance band?
A: This does not happen on standard commercial resistors. If you see what looks like two gold bands, look more carefully — one is likely yellow (the digit 4) or the body colour is playing tricks. Confirm with a multimeter.
Q: How do I read a resistor with no visible bands?
A: If the bands have faded or the component is unlabelled, use a multimeter set to the ohms range. You cannot rely on appearance alone for unknown components.
Q: Is there an app for reading resistor colour codes?
A: Yes — several free apps exist (search “resistor color code calculator” on the Play Store). They let you tap on colour bands and get the value. Useful as a learning aid, but you should aim to memorise the chart.
Q: What resistor values should a beginner stock?
A: For Arduino and general hobbyist work, stock: 100 Ω, 220 Ω, 330 Ω, 470 Ω, 1 kΩ, 2.2 kΩ, 4.7 kΩ, 10 kΩ, 47 kΩ, and 100 kΩ. These cover the majority of common circuit needs.
Q: Do resistors have polarity?
A: No. Resistors are not polarised — you can connect them in either direction. The colour bands only tell you the resistance value, not which lead goes where.
Zbotic stocks carbon film and metal film resistors in all standard values, sold in packs of 50–100 for maximum value. Fast shipping across India. Shop resistors on Zbotic →


Add comment