
A poorly calibrated 3D printer is the source of nearly every print quality complaint — stringing, under-extrusion, blobs, warping, bad first layers, weak layer adhesion. The good news is that proper calibration fixes all of these issues, and once done correctly, your printer will consistently produce excellent results for months without touching the settings again.
This guide walks you through the complete calibration sequence in the right order. Each step builds on the previous — don’t skip ahead or the results won’t be reliable.
Calibration Order: Why Sequence Matters
Calibration steps are interdependent. Here’s why order matters:
- E-steps must come first because every subsequent calibration (flow rate, pressure advance) depends on the extruder delivering the exact amount of filament commanded.
- PID tuning must come before printing because temperature stability affects every other calibration result.
- Bed levelling before flow rate — an unlevel bed causes first-layer over/under extrusion that looks like a flow problem but isn’t.
- Flow rate before pressure advance — pressure advance assumes correct bulk flow. Wrong flow rate makes pressure advance tuning unreliable.
- Temperature tower before retraction — retraction depends on viscosity, which depends on temperature.
Step 1: E-Steps Calibration (Extruder Steps Per Millimetre)
E-steps tell the printer’s firmware how many motor steps equal 1mm of filament movement. If your extruder motor is configured with wrong e-steps, it either pushes too much or too little filament — everything downstream will be wrong.
When to Calibrate E-Steps
- After installing a new extruder (BMG, Orbiter, Sherpa, Dragon Burner)
- After replacing the extruder motor
- On a brand new printer (factory values are close but rarely perfect)
- When you change from Bowden to direct drive or vice versa
E-Steps Calibration Procedure
- Mark the filament: Load filament until it just enters the extruder. Make a mark on the filament 100mm from where it enters the extruder body, and another mark at 120mm (a safety margin).
- Command 100mm of extrusion: In your printer’s terminal or Pronterface, send:
G91(relative mode), thenG1 E100 F100. This tells the printer to extrude 100mm at 100mm/min. - Measure what actually moved: Measure from the extruder entry to where the 100mm mark ended up. If you marked at 100mm and the mark is now 5mm away from entry, you only extruded 95mm (5mm short).
- Calculate new e-steps: Formula:
New E-steps = (Current E-steps × 100) ÷ Actual mm extruded. Example: Current e-steps = 93, actual extruded = 95mm. New e-steps = (93 × 100) ÷ 95 = 97.9. - Update firmware: Send
M92 E97.9(Marlin) thenM500to save. In Klipper, updaterotation_distancein printer.cfg. - Verify: Repeat the test. The 100mm mark should now move exactly 100mm.
Important Note on Klipper
Klipper uses rotation_distance instead of e-steps. The formula to convert: rotation_distance = (original_rotation_distance × actual_distance) ÷ requested_distance. The Klipper docs have a complete calibration guide for this.
Step 2: PID Tuning (Hotend and Heated Bed)
PID (Proportional-Integral-Derivative) is the control algorithm that regulates temperature. Poorly tuned PID causes temperature swings of ±5–15°C during printing — this leads to inconsistent extrusion, surface defects, and failed prints.
Signs Your PID Needs Tuning
- Temperature graphs show oscillating waves (not a flat line) during printing
- The printer reports temperature fluctuations like 210→220→205°C when set to 215°C
- After major thermal changes (new heater block, thermistor, fan, or enclosure)
Hotend PID Tuning
- Send the auto-tune command in your printer’s terminal. In Marlin:
M303 E0 S215 C8(tune for 215°C over 8 cycles). Wait for it to complete — takes 5–10 minutes. - The printer outputs the new PID values:
Kp, Ki, Kd. - Apply with:
M301 P[Kp] I[Ki] D[Kd]thenM500to save. - In Klipper:
PID_CALIBRATE HEATER=extruder TARGET=215, thenSAVE_CONFIG.
Tune at your most commonly used print temperature — PID values are temperature-specific. If you print PLA at 215°C and PETG at 240°C, consider tuning at 220°C as a compromise, or tune twice and manually switch configs.
Bed PID Tuning
The heated bed also needs PID tuning, especially if you’ve changed the bed, SSR, or silicone mounts. Command: M303 E-1 S60 C8 (tune bed at 60°C). This takes longer — up to 20 minutes for large beds. Apply with M304 P[Kp] I[Ki] D[Kd] then M500.
Step 3: Bed Levelling and Z-Offset
A perfectly level bed at the correct Z height is the foundation of every successful print. First layer issues — not sticking, too squished, gaps, blobs — are almost always a bed levelling problem.
Manual Bed Levelling
- Home all axes (
G28). - Disable steppers (
M84) so you can move the head manually. - Move the nozzle to each of the four bed corners (15–20mm from edge).
- Slide a piece of 80gsm A4 paper under the nozzle. Adjust the corner spring knob until you feel slight resistance when pulling the paper — the nozzle should drag slightly without tearing.
- Repeat all four corners twice — adjusting one corner affects others slightly.
- Check the centre of the bed last.
Auto Bed Levelling (ABL) Calibration
If you have a BLTouch, CR Touch, or inductive probe:
- Home all axes.
- Run the bed levelling routine:
G29in Marlin,BED_MESH_CALIBRATEin Klipper. - Save the mesh:
M500in Marlin;SAVE_CONFIGin Klipper. - Fine-tune the Z-offset (baby stepping) during the first layer of your next print.
Z-Offset / Baby Stepping
The Z-offset is the distance from your probe trigger point to the nozzle tip touching the bed. Even after ABL, you need to fine-tune this. During a first layer print, use baby stepping (in Marlin: tune menu on screen; in Klipper: SET_GCODE_OFFSET Z_ADJUST=-0.05) until the first layer looks perfect:
- Too high: Lines don’t stick, spaghetti strands float
- Correct: Lines are flat and bond firmly, slight squish visible
- Too low: Nozzle drags, blocked, makes scraping sound, plastic accumulates
Step 4: Flow Rate / Extrusion Multiplier Calibration
Flow rate (also called extrusion multiplier) fine-tunes how much filament the slicer commands per mm of movement. Even with correct e-steps, different filament brands have slightly different actual diameters — flow rate compensates for this.
Calibration Cube Method
- Print a 20×20×20mm calibration cube with: 1 perimeter wall, no infill, no top layers. Only the single-wall tube shape.
- Measure the wall thickness with digital calipers at multiple points.
- Your target is your configured line width (usually 0.4mm or 0.45mm).
- If measured wall is 0.48mm but target is 0.4mm: new flow = current flow × (0.4 ÷ 0.48) = 0.833 → set to 83.3%.
- Repeat until wall thickness matches target within ±0.02mm.
SuperSlicer / OrcaSlicer Flow Calibration
OrcaSlicer (popular in India’s Bambu community) has a built-in flow calibration tool under Calibration → Flow Rate. It prints a series of test lines at different flow percentages and you select the best-looking one. Quicker than the manual cube method.
Step 5: Pressure Advance / Linear Advance
At high print speeds, filament pressure builds up in the hotend. When the nozzle slows at a corner, excess pressure causes a blob of plastic to ooze out. When the nozzle accelerates from a corner, it under-extrudes briefly. Pressure Advance (Klipper) / Linear Advance (Marlin) compensates by modulating extruder speed ahead of acceleration/deceleration events.
Klipper Pressure Advance Calibration
- Print the Klipper pressure advance calibration pattern (available on Klipper docs).
- The pattern prints a series of square waves at increasing PA values. The value where corners are sharpest without bulging is your target.
- Typical values: Direct drive: 0.02–0.08; Bowden: 0.4–1.2.
- Add to printer.cfg:
pressure_advance: 0.05(your value).
Marlin Linear Advance
Linear Advance must be enabled in Configuration_adv.h (LIN_ADVANCE) and compiled into Marlin. Once enabled, use the Marlin Linear Advance K-factor Calibration Pattern generator (Marlin’s website) and set K via M900 K0.05.
Step 6: Temperature Tower
Every filament brand and type has an optimal printing temperature range. The temperature tower lets you find the exact temperature that gives the best strength, bridging, detail, and surface finish for your specific filament spool.
How to Print a Temperature Tower
- Download a temperature tower STL (available on Printables/Thingiverse for your printer).
- In your slicer, add a height-based temperature change. In PrusaSlicer/OrcaSlicer: Custom GCode at specific layer heights with
M104 S[temp]. - Print in a range spanning the filament’s published range, e.g. 195→230°C in 5°C steps from top to bottom.
- Evaluate each section for: stringing (lower is better), bridging (should not sag), surface smoothness, layer adhesion (can you delaminate by hand?).
Evaluating the Tower
- Too cold: Layer delamination, poor bridging, rough surface, poor strength
- Too hot: Significant stringing, droopy overhangs, blobs on outer perimeters
- Just right: Minimal stringing, clean bridges, smooth surface, strong layer bonds
Step 7: Retraction Calibration
Retraction pulls filament back when the nozzle travels without printing, reducing ooze and stringing. Too little retraction = stringing. Too much = grinding, clogs, gaps.
Retraction Settings by Setup
| Setup | Retraction Distance | Retraction Speed |
|---|---|---|
| Direct Drive (e.g. Bambu, Orbiter) | 0.5–2mm | 25–45 mm/s |
| Bowden (Ender 3 stock) | 4–7mm | 40–60 mm/s |
| PETG (any setup) | Reduce by 30% vs PLA | Same or slightly faster |
Retraction Calibration Tower
Print a retraction test tower (available in PrusaSlicer’s built-in calibration tools or on Printables). The tower tests multiple retraction distances in one print. Choose the distance with least stringing that doesn’t show grinding marks on the filament.
Troubleshooting Common Calibration Issues
Stringing
Primary causes: retraction too low, temperature too high, travel speed too low. Check all three. Enable combing in slicer to route travels within printed regions.
Under-Extrusion
Causes: e-steps too low, flow rate too low, nozzle partially clogged, extruder slipping, temperature too low. Start by doing a cold pull to clear partial clogs, then verify e-steps.
Blobs and Zits
Causes: pressure advance too low (excess ooze at corners), retraction too low, coasting disabled. Enable coasting in Cura or adjust pressure advance.
Poor First Layer Adhesion
Causes: bed not level, Z-offset too high, bed temperature too low, bed surface contaminated. Clean bed with IPA before every print session.
Layer Shifting
Causes: acceleration too high for frame rigidity, belts too loose, driver current too low, print speed too high. Reduce acceleration first — it’s the most common cause on bed-slinger printers.
Recommended Products from Zbotic
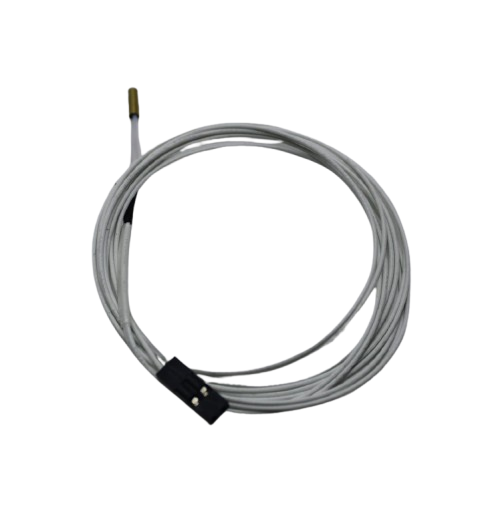
100k NTC Thermistor with Copper Tip for MK8 Extruder
A failing thermistor causes wild temperature swings that no PID tuning can fix. Replace it with this accurate 100k NTC thermistor for stable, consistent temperature readings during calibration and printing.
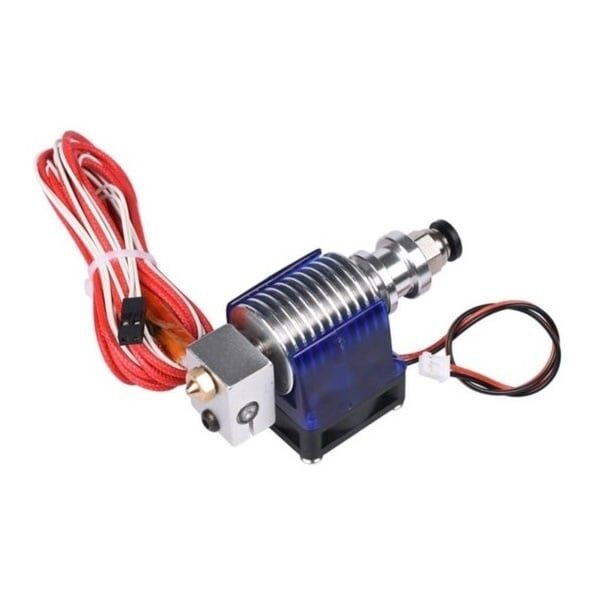
All Complete Bowden V6 with Fan Cable 30cm – 1.75mm
Upgrading or replacing your hotend is a key calibration trigger — this complete V6 Bowden assembly includes everything needed to get your hotend in perfect spec before starting the calibration sequence.
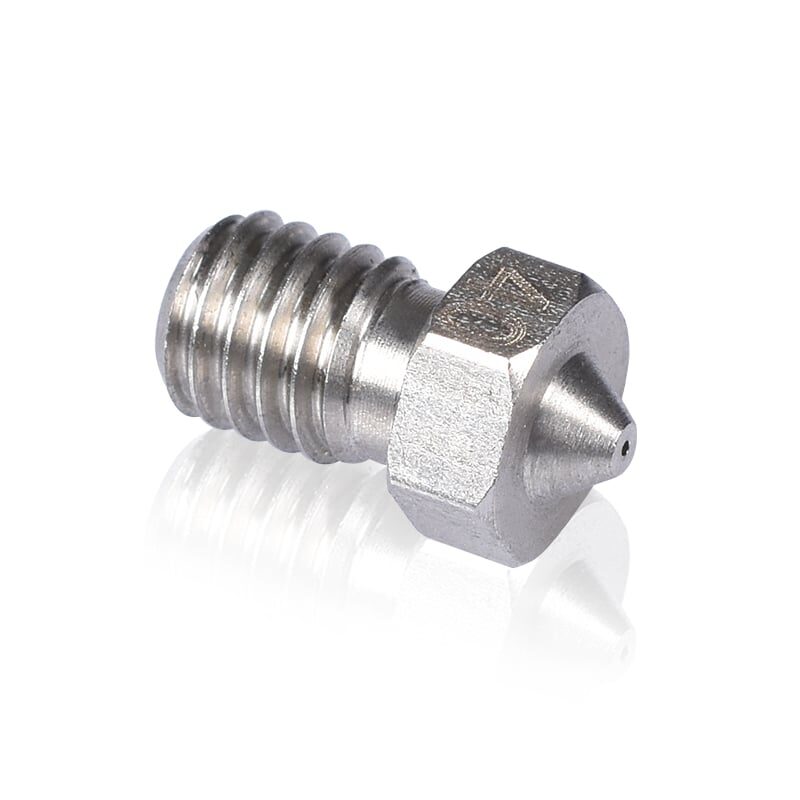
3D Printers Stainless Steel Nozzle 0.4mm
A worn or partially clogged nozzle will defeat all calibration attempts. Start fresh with a quality 0.4mm stainless steel nozzle — calibration results will be consistent and repeatable from the first print.
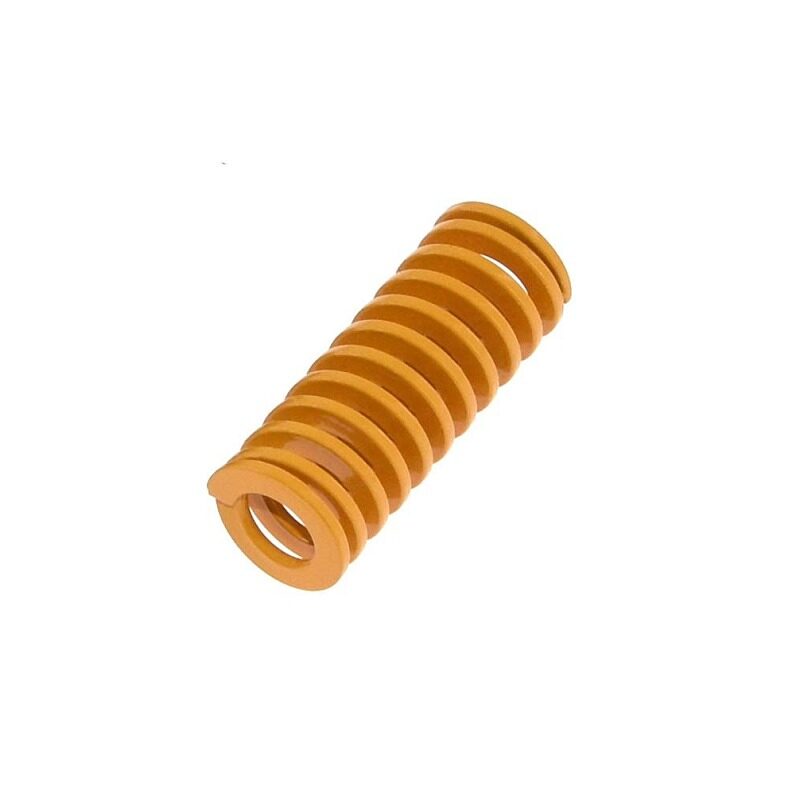
3D Printer Parts Spring for Heated Bed MK3/CR-10
Bed levelling knobs rely on the spring tension beneath the bed. Worn or uneven springs cause levelling to drift during print. Replace all four springs together for consistent tension and stable bed calibration.

Frosted Heated Bed Sticker Build Plate Tape 220×220mm
A degraded or contaminated build surface makes first-layer calibration impossible — parts won’t stick no matter how perfect your Z-offset. This frosted adhesive sticker provides a fresh, reliable adhesion surface for your calibration prints.
Frequently Asked Questions
How often should I calibrate my 3D printer?
E-steps: once when setting up or after hardware changes. PID: after any thermal hardware change. Bed levelling: before every print session (manual), or once with ABL (only re-level if prints start to fail). Flow rate: whenever you switch filament brands or materials. Temperature tower: when trying a new brand or type of filament.
Do I need to calibrate E-steps if I already have a BLTouch?
Yes — BLTouch handles Z-offset and bed levelling, not extruder calibration. E-steps are completely separate from bed probing. Both need to be calibrated independently.
What is the difference between flow rate and E-steps?
E-steps calibrate the physical hardware (how many motor steps = 1mm of filament). Flow rate is a slicer-side multiplier that fine-tunes extrusion per filament. Always set E-steps in firmware first, then fine-tune flow rate per filament profile in the slicer.
Why does my calibration cube come out with wrong dimensions?
Dimensional accuracy issues (different story from wall thickness) are usually caused by: XY steps/mm being wrong (check axis calibration), belt tension too loose/too tight, or backlash. Print a cube and measure X, Y, Z dimensions separately — if only X or Y is off, that axis’s steps or belt is the culprit.
Can I calibrate a 3D printer without a computer?
Basic calibration (bed levelling, Z-offset, temperature) can be done from the printer’s display menu. E-steps and PID tuning require sending GCode commands — you can do this from the display’s “Send GCode” or “Console” menu if available, or via USB from a terminal on any computer.
My printer was printing fine, now it’s under-extruding. Did calibration drift?
E-steps don’t drift on their own. Sudden under-extrusion is almost always caused by: partial nozzle clog (do a cold pull), extruder arm cracked or spring worn out, PTFE tube gap at the hotend, or filament humidity (moisture causes steam and gaps in extrusion). Check these physical causes before recalibrating.
Get the Parts That Make Calibration Stick
Calibration only works when your hardware is in spec. Zbotic stocks genuine hotend parts, bed springs, build surfaces, and filaments to give your calibration a solid foundation.


Add comment