
How to Build a Long Range FPV Wing (DIY Guide India)
Long range FPV fixed wing flying is one of the most exciting branches of the hobby. Unlike racing quads that scream around a track for a few minutes, a well-built FPV wing can cruise silently for 30–60+ minutes, covering tens of kilometres on a single battery charge. Whether you want to do aerial mapping, survey farmland, or simply explore the Indian countryside from a bird’s eye view, building your own FPV wing is deeply rewarding and surprisingly accessible in 2026.
This guide walks you through every step of the process — from choosing a frame and electronics to configuring iNAV and taking your first long range flight — all with components you can source right here in India.
Why Choose a Fixed Wing for Long Range FPV?
Fixed wing aircraft have a fundamental aerodynamic advantage over multirotors: they generate lift from their wings, not their motors. This means the motors only need to overcome drag, not support the full weight of the aircraft. The result is dramatically better efficiency — a typical FPV wing might consume 8–15W per 100 grams of aircraft weight at cruise, while a quadcopter at the same all-up weight might need 40–60W just to hover.
For Indian hobbyists, this efficiency translates into practical benefits. You can cover large agricultural fields for visual inspection, follow a river valley through the Sahyadris or Aravalli hills, or conduct long-duration surveys with a single 4S or 6S LiPo. Flight times of 45–90 minutes are achievable with a modest 4,000–6,000 mAh pack.
Fixed wings are also more stable in mild wind. Indian afternoons can be gusty, especially in coastal states like Maharashtra, Gujarat and Tamil Nadu, and a well-tuned wing handles moderate turbulence far better than a lightweight racing quad.
Choosing the Right FPV Wing Frame
The most popular frame choices for DIY FPV wings fall into three categories:
1. Foam Flying Wings (Flying Wings / Deltas)
The classic entry point. Planes like the Reptile S800 Sky Shadow, SonicModell AR Wing, and various Zohd designs are made from EPP or EPO foam and weigh 250–500g empty. They are inexpensive, crash-resistant and easy to repair with hot glue. Wingspan typically ranges from 900mm to 1,200mm, offering a good balance between portability and stability. These are ideal for first-time builders.
2. Traditional Flying Wing Planks
Slightly more conventional in shape with a visible fuselage pod and swept wings. Designs like the Skywalker X8 (2,120mm wingspan) or Believer 1960mm twin motor wing offer massive cargo bay volume, perfect for carrying heavy FPV cameras, gimbal systems or payload modules. The Skywalker X8 in particular is extremely popular in India among survey and agriculture mapping communities.
3. Professional Survey Frames
Injection-moulded or carbon-reinforced frames designed for professional use. These are heavier and more expensive but offer excellent rigidity and repeatable mounting points for cameras and sensors.
For most Indian hobbyists starting out, we recommend a 1,000–1,200mm foam flying wing. It fits in a car, survives crashes, and teaches you fixed wing fundamentals before you invest in larger frames.
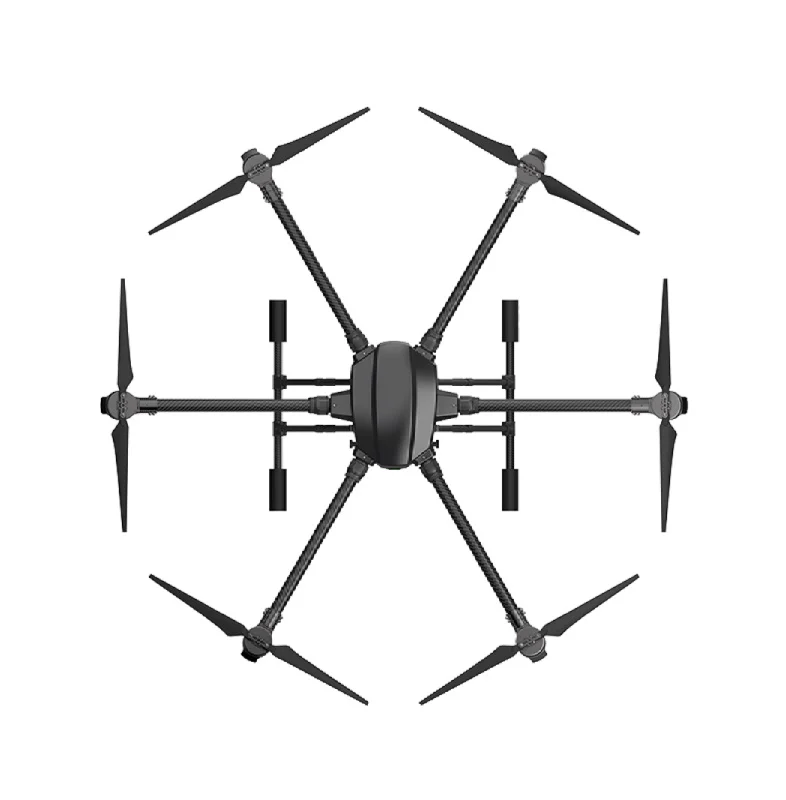
EFT 6120 Multifunction Surveillance Drone Frame
A robust modular drone frame built for surveillance and long range missions. Offers excellent payload capacity and rigid construction for professional FPV builds in India.
View on ZboticElectronics: Motors, ESC, Flight Controller
Motor Selection
Fixed wing motors are typically outrunner brushless motors with lower KV ratings compared to quad motors. For a 1,000–1,200mm foam wing, common choices include:
- 1806 2300KV or 2212 1400KV on 3S packs — adequate for lighter wings under 700g AUW
- 2216 810KV or 2826 1200KV on 4S packs — better efficiency and power for 700–1,200g AUW wings
- 3536 910KV on 4S/6S — for heavier Skywalker-class wings exceeding 1,500g AUW
A useful rule of thumb: your motor/propeller combination should produce at least 1.3× thrust-to-weight ratio at full throttle for comfortable level flight and adequate climb performance.
ESC
For a single-motor flying wing, a standard 30A–40A brushless ESC is sufficient. Ensure it has a battery eliminator circuit (BEC) output of 5V/2A or higher to power the flight controller and servos. For twin-motor wings, use two matched ESCs from the same batch for consistent throttle response.
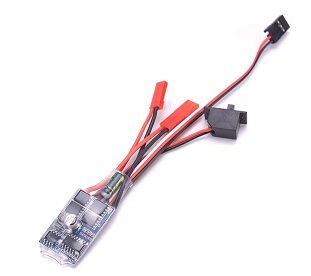
30A Brushed ESC No Brake
Reliable 30A ESC suitable for fixed wing motor installations. No brake mode is ideal for gliding aircraft where motor free-spinning is desirable.
View on ZboticFlight Controller
The flight controller is the brain of your FPV wing. For long range fixed wing builds, iNAV is the go-to firmware (see the iNAV section below). Common iNAV-compatible boards include:
- Matek F405-Wing — purpose-built for fixed wing, has dedicated servo rail, dual UARTs, barometer and OSD
- SpeedyBee F405 Wing — newer board with BLE configuration, great feature set
- Matek F722-Wing — F7 processor for faster loop times, though less critical on wings than quads
Wing-specific flight controllers have dedicated I/O for servos, making wiring cleaner. Mount the FC on vibration-damping pads to reduce gyro noise from the motor.
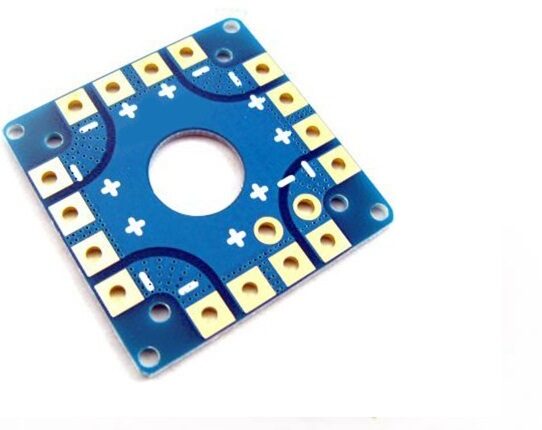
100A Multirotor ESC Power Distribution Battery Board
Centralised power distribution board for clean wiring on your FPV wing build. Handles high-current loads from motor ESCs with dedicated BEC outputs.
View on ZboticFPV Video System Selection
For long range wings, video link reliability is paramount. Your options in 2026 include:
Analog FPV
Traditional 5.8GHz analog video is the most proven technology for long range wings. With a quality camera like the RunCam Phoenix 2 or Foxeer Racer, a 200–600mW VTX and patch or helical antennas, you can maintain a clear picture at 5–10km in open terrain. Analog has zero digital latency and the gradual signal degradation (snowy picture) gives you warning before complete loss of video — crucial for long range flying.

1/3″ CMOS 700TVL Mini FPV Camera 2.1mm Lens PAL/NTSC
Compact and lightweight analog FPV camera delivering 700TVL resolution. PAL/NTSC switchable, ideal for long range wing builds where weight is critical.
View on ZboticDigital FPV (DJI O3, Walksnail, HDZero)
Digital systems offer vastly superior image quality, but typically have shorter range and higher latency than analog. DJI O3 Air Unit can reach 10km line-of-sight under ideal conditions, and HDZero is making strides in long range performance. For casual long range cruising, digital is viable. For extreme range or survey work where reliability is non-negotiable, experienced pilots often still prefer analog.
RC Link and Telemetry
For long range flying, your RC link is as important as your video system — arguably more so. You can fly without video (return-to-home will save you), but you cannot fly without RC control.
ExpressLRS (ELRS)
ELRS on 900MHz is the current gold standard for long range RC links. Running at 50Hz packet rate, you can expect reliable link at 40–80km in ideal conditions with 100mW output. For Indian conditions with hills and trees, 10–30km is a practical expectation. A Radiomaster Ranger or BetaFPV SuperD ELRS module for your transmitter pairs with an ELRS RX on the wing.
Telemetry
Telemetry brings back real-time flight data — battery voltage, GPS coordinates, altitude, heading, airspeed — to your goggles OSD or ground station. For iNAV wings, 3DR-compatible telemetry radios at 915MHz (for India, where 900MHz ISM is permitted) are the reliable choice. Connect to Mission Planner or iNAV Configurator for live monitoring.

3DR 100mW Radio Telemetry 915MHz for APM/PX4/Pixhawk
Industry-standard 915MHz telemetry radio for real-time flight data on your laptop or phone. Compatible with iNAV, Ardupilot, and all popular fixed wing flight controllers.
View on Zbotic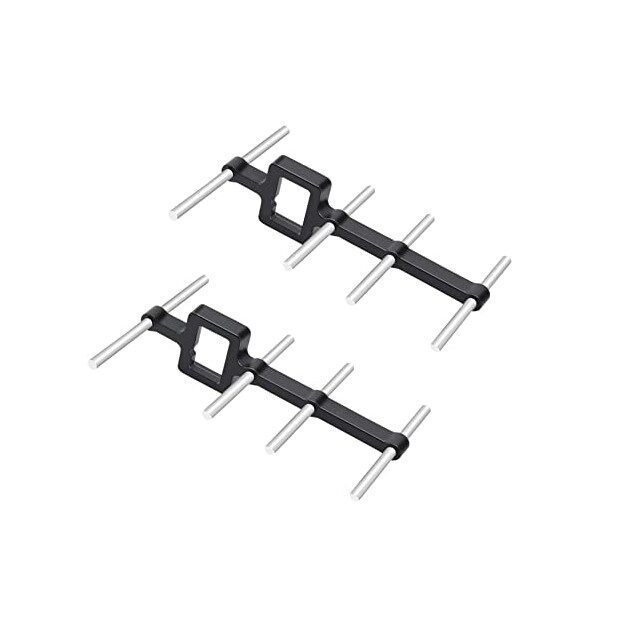
2.4GHz Yagi-UDA Drone Signal Booster
High-gain directional Yagi antenna for extended RC and FPV link range. A must-have for long range FPV wing pilots flying beyond 3–5km.
View on ZboticBattery and Power System
Battery selection dramatically affects flight time and overall flying experience. For long range wings:
Chemistry and Cell Count
- 4S LiPo (14.8V nominal): The sweet spot for most 1,000–1,500mm wings. Balances motor efficiency, ESC availability and cell weight.
- 6S LiPo (22.2V nominal): Better for larger, heavier wings with high-KV motors. Lower current draw means thinner wires and less heat.
- Li-Ion (21700 cells, 6S packs): Substantially higher energy density than LiPo — up to 40% more flight time at the cost of lower burst current capability. Only suitable for gentle throttle inputs on wings. Samsung 21700 packs from Molicel or Vapcell are popular for long range builders.
Capacity
For a 1,000mm foam wing with 700g AUW, a 4S 3,000–4,000mAh LiPo typically gives 35–50 minutes of flight. The Skywalker X8 at 2,200g AUW wants a 4S 8,000–10,000mAh pack for 45+ minutes. Always calculate expected current draw and verify the battery’s C-rating can handle it.
iNAV Setup for Autonomous Flight
iNAV (Inertial Navigation) firmware transforms your wing from a manually-flown model into an autonomous platform. Here is a condensed setup process:
Step 1: Flash and Connect
Download iNAV Configurator from GitHub, flash the latest stable release for your FC target, and connect via USB. Select the “Fixed Wing” vehicle type in the Setup tab.
Step 2: Gyro and Accelerometer Calibration
Place the wing perfectly level and run accelerometer calibration. The gyro calibrates at startup automatically. Ensure the FC orientation matches iNAV’s expected mounting orientation, or set the board alignment offsets in Configurator.
Step 3: GPS Configuration
A GPS with at least M8N quality is recommended. Set protocol to UBLOX in iNAV Configurator, enable Galileo satellite system for India (adds 4–6 more visible satellites in South Asia), and set the update rate to 10Hz. Wait for 6+ satellite fix before any autonomous flight.
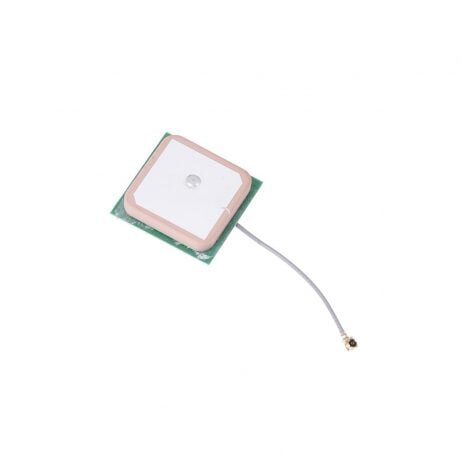
25x25mm 28dB High Gain Ceramic Active GPS Antenna for NEO-6M/7M/8M
High-gain ceramic patch GPS antenna for reliable satellite fix. Essential for iNAV GPS-assisted autonomous flight on fixed wing FPV aircraft in India.
View on ZboticStep 4: Servo and Motor Mapping
In iNAV Configurator’s Configuration tab, set the mixer for your wing type (flying wing, conventional with rudder, etc.). Assign servo outputs and verify direction — surfaces must deflect correctly relative to stick input and stabilisation response.
Step 5: PID Tuning
iNAV’s autotune feature works well for fixed wings. Enable autotune mode, fly some manoeuvres in calm conditions, and iNAV will dial in roll/pitch PID values automatically. Manual tune the yaw axis for coordinated turns.
Step 6: Failsafe and RTH
Configure return-to-home (RTH) altitude well above your local terrain. In India, this is typically 80–120m AGL for open areas. Set failsafe to trigger RTH after 1–2 seconds of signal loss. Test this by walking out of range briefly before any extended long range flight.
Step 7: Waypoint Missions
Use the iNAV Mission Control or Mwp Tools GCS to plan waypoint missions. Upload the mission before flight, arm in angle mode, switch to mission mode after takeoff, and the wing will autonomously complete the route and return home.
Maiden Flight Tips for India
The maiden flight of any scratch-built wing is both exciting and nerve-wracking. Here’s how to maximise your chances of success in Indian flying conditions:
- Choose early morning: Indian afternoons (especially October–May) are thermally active and gusty. Mornings before 9 AM offer the calmest, most consistent air.
- Large open field: A cricket ground, unused agricultural field or open grassland works well. Avoid flying near trees, power lines and roads.
- Check Centre of Gravity (CG): Balance the wing at the manufacturer’s recommended CG point (typically 25–30% of mean aerodynamic chord from the leading edge). A nose-heavy wing is more stable; tail-heavy is dangerous.
- Hand launch in ANGLE mode: Grip the wing under the fuselage, face into wind, give throttle to 75%, and launch forward and slightly upward. iNAV’s angle mode will immediately stabilise.
- Trim before switching modes: Fly in Angle mode first. Trim out any persistent pitch or roll bias before attempting GPS or autonomous modes.
Legal Requirements in India (DGCA Rules)
India’s Unmanned Aircraft System (UAS) Rules 2021 and subsequent DGCA Digital Sky platform govern all drone flying in India. Key points for FPV wing pilots:
- Wings above 250g require registration on the Digital Sky portal and an Unmanned Aircraft Operator Permit (UAOP) for non-recreational use.
- FPV flying (where you cannot see the aircraft with unaided eyes) requires an observer to maintain visual line of sight and a special BVLOS (Beyond Visual Line of Sight) waiver for extended range.
- Flying above 400 feet AGL, within 5km of airports, or in restricted airspace (Red Zones) is prohibited without explicit permission.
- Most of India is Yellow Zone by default — check the Digital Sky app before every flight session.
- Always carry your pilot certificate, drone registration certificate and insurance documents when flying in public areas.
Frequently Asked Questions
A basic foam flying wing build with analog FPV, ELRS link and iNAV flight controller costs approximately ₹12,000–18,000 including all components. A more advanced build with digital FPV and telemetry can reach ₹30,000–45,000.
Drones above 250g require registration on Digital Sky. For recreational flying within VLOS under 400ft AGL, a basic remote pilot certificate is required. BVLOS (long range) requires additional UAOP and waivers from DGCA.
The Matek M8Q-5883 or BN-220 GPS modules are popular iNAV-compatible options. Look for M8N-based modules with at least 10Hz update rate and support for multiple GNSS constellations including Galileo.
Any ELRS-compatible transmitter works — Radiomaster TX16S, Zorro, Boxer, or a TX module for existing Frsky/Spektrum radios. For long range, use a TX with 100mW+ output and a 900MHz ELRS module for maximum penetration and range.
Initially yes, as takeoff and landing require either hand launching or a runway, and you must maintain forward airspeed to stay airborne. With a flight controller in Angle mode, the stability is comparable to flying a quad in Angle mode. Most pilots are comfortable within 5–10 flights.
Ready to Build Your Long Range FPV Wing?
Zbotic stocks a wide range of drone components — ESCs, GPS modules, telemetry radios, FPV cameras and more — shipped across India from Mumbai.
Shop Drone Components at Zbotic


Add comment