
Table of Contents
- Understanding FPV Video Range Limitations
- How Video TX Booster Amplifiers Work
- Types of Range Extension Solutions
- Antenna Selection for Maximum Range
- Legal Limits in India
- Installing a Video TX Booster
- Receiver Side Improvements
- Digital FPV Systems vs Analog Boosters
- Troubleshooting Range Problems
- Recommended Products
- FAQ
One of the most frustrating FPV experiences is watching your video feed go to snow or break up right at the edge of a planned flight path. Whether you’re exploring India’s vast agricultural plains, flying in hilly terrain where multipath reflections are aggressive, or pushing the limits of a long-range freestyle session, video link range is often the first system to limit your ambitions.
This guide covers everything about extending your FPV drone’s video transmitter (VTX) range — from booster amplifiers and high-gain antennas to digital FPV systems — so you understand your options, their trade-offs, and what’s legally permissible for Indian operators.
Understanding FPV Video Range Limitations
The Fundamentals of RF Range
Radio frequency (RF) signal strength decreases with distance according to the inverse square law — doubling your distance from the transmitter reduces received signal power to one quarter (6dB loss). This means range improvements come at diminishing returns: to double your range, you need to quadruple your transmitted power.
In practice, FPV video range is limited by:
- Transmitter power (mW): Higher power = more range (to a legal and practical limit)
- Transmitter antenna gain (dBi): A directional antenna focuses power in one direction, effectively increasing range in that direction
- Receiver sensitivity: How weak a signal the receiver can still decode
- Receiver antenna gain: High-gain receiving antennas are often the most cost-effective range improvement
- Frequency: Lower frequency (900MHz) penetrates obstacles better and has less free-space path loss vs 5.8GHz
- Environment: Multipath reflections in urban areas, electromagnetic interference from power lines, and terrain all affect range
Real-World Range Expectations (5.8GHz, Standard Build)
| VTX Power | Typical Range (Line of Sight) | Notes |
|---|---|---|
| 25mW | 300-500m | Legal in most countries for unlicensed use |
| 200mW | 800m-1.5km | Common racing/freestyle setting |
| 600mW | 1.5-3km | Maximum for most VTXs |
| 1W (booster) | 3-6km | May require licensing |
Indian context: India’s diverse terrain creates unique range challenges. Flying in the Indo-Gangetic plains means excellent line-of-sight conditions, but 5.8GHz interference from telecom towers and WiFi networks is significant near cities. In the Deccan plateau and hilly areas, terrain reflections create multipath that degrades video quality even at short distances.
How Video TX Booster Amplifiers Work
A video TX booster (power amplifier, or PA) is a device that sits between your VTX output and your antenna. It takes the RF signal from your VTX and amplifies it before transmitting — effectively increasing the transmitted power beyond what the VTX itself can produce.
Key Specifications of a Booster Amplifier
Frequency Range: Boosters are frequency-specific. A 5.8GHz booster won’t work on 1.2GHz or 2.4GHz systems. Buy a booster that matches your VTX frequency band.
Gain (dB): How much the amplifier increases signal power. 20dB gain = 100x power increase. Common booster gains range from 10dB to 30dB. Apply this carefully — starting with a 25mW VTX and a 30dB booster gives you 25W output, which is heavily regulated.
Input Power Range (mW): The amplifier needs an appropriate input signal level to work correctly. Most FPV boosters are designed for 25-200mW input from a VTX. Feeding too high an input signal distorts the amplifier.
Output Power (mW/W): The amplified output power. This is what determines your legal compliance.
Saturation Point: Above the rated input power, the amplifier saturates and distorts the signal — this is actually more damaging to video quality than no amplifier at all. Always operate within the recommended input power range.
Booster Architecture
A complete booster installation uses:
- VTX running at low power (e.g., 25mW) to stay within booster input range
- Short RF cable (SMA male to SMA female) from VTX to booster input
- Booster amplifier module
- High-gain antenna on booster output
- Dedicated power supply for booster (separate from VTX 5V rail — boosters draw significant current)
Types of Range Extension Solutions
Option 1: VTX Power Upgrade
The simplest approach: buy a VTX with higher native output power. Many modern VTXs offer switchable power levels from 25mW to 600mW or even 1W. Running a 600mW VTX vs 25mW gives you roughly 14dB more power — about 5x range improvement.
Pros: Simple, integrated, no extra wiring
Cons: Heat generation at high power, battery consumption, legal limits
Option 2: Directional Transmit Antenna (on Drone)
A high-gain directional antenna on the drone focuses transmission power in one direction. A patch antenna or yagi with 8-12dBi gain gives equivalent range increase to 6-16x power boost while staying at legal power levels.
Pros: No regulatory issues, legal at all power levels, improves signal quality
Cons: Antenna must point toward the pilot/receiver — works only for flying away from yourself in one direction, problematic for freestyle or racing
Option 3: External Power Amplifier (Booster)
A dedicated RF power amplifier module between VTX and antenna. Typical drone boosters for 5.8GHz can amplify to 1-3W output.
Pros: Maximum output power, works with any existing VTX
Cons: Significant heat generation (needs cooling), power consumption (1-3W extra), weight, regulatory compliance concerns in India
Option 4: High-Gain Receiving Antenna (Ground Station)
Arguably the most cost-effective range extension for many builds: replace the omnidirectional antennas on your FPV goggles or ground station with high-gain directional antennas. A pair of 12dBi patch antennas on the receiver gives 24dB system gain improvement — the equivalent of transmitting at 250x the original power.
Pros: No changes to the drone, no regulatory concerns, often the biggest range improvement per rupee
Cons: Directional — requires pointing the antenna at the drone; automatic tracking systems available but expensive
Option 5: Frequency Change (1.2GHz or 900MHz)
Lower frequencies travel farther and penetrate obstacles better. A 1.2GHz FPV system at the same power covers roughly 3-4x the distance of a 5.8GHz system. This is the choice for serious long-range FPV (10km+).
Pros: Dramatically extended range, better obstacle penetration
Cons: Significantly larger, heavier antennas; 1.2GHz is a licensed amateur radio band in India; requires Amateur Radio Licence
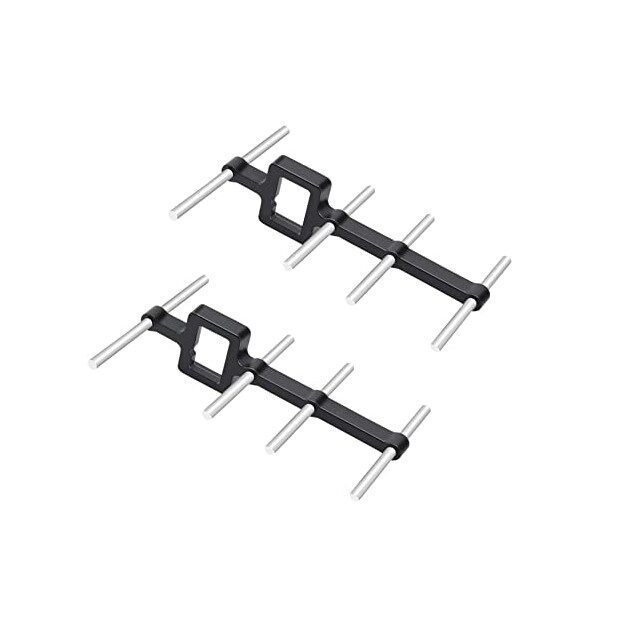
2.4GHz Yagi-UDA Drone Signal Booster
High-gain Yagi-UDA directional antenna booster for 2.4GHz control link. Significantly extends RC control range — critical when flying long-distance FPV missions over Indian farmland or terrain.
Antenna Selection for Maximum Range
Omnidirectional Antennas (on Drone)
The drone’s VTX antenna must be omnidirectional — you can’t predict which direction the drone will face. However, not all omnidirectional antennas are equal:
Linear (dipole/whip): Simple, cheap, omnidirectional but with polarisation issues — signals are strongest when transmitter and receiver antennas are aligned. Misalignment causes 3-6dB signal loss. Still used in budget builds.
Circular Polarised (RHCP/LHCP cloverleaf, pagoda, triforce): Circularly polarised antennas transmit signal in a rotating polarisation pattern that is largely insensitive to antenna orientation. Reduces multipath interference (reflections flip polarisation). The gold standard for FPV drones — use RHCP on both transmitter and receiver for best performance.
Important: Mixing circular polarisation — RHCP on drone, LHCP on receiver (or vice versa) — causes 20-30dB signal loss, far worse than linear antennas. Always match polarisation between transmitter and receiver.
Directional Receiving Antennas
Patch Antenna: Flat, panel-style antenna with typically 8-13dBi gain in a hemispherical forward pattern. Hold toward the drone. Excellent for straight-line flying away from the pilot. Used in antenna trackers.
Yagi/Helical: Narrow beam, very high gain (12-20dBi). Maximum range improvement but extremely directional — requires precise pointing or an automatic antenna tracker. Used by long-range pilots and competition organisers.
Diversity Systems: Using two antennas — typically one omnidirectional for close range and one directional for distance — with automatic switching based on signal strength. The FPV goggles receiver selects the stronger signal in real time. This is the recommended approach for most serious FPV pilots.
Legal Limits in India
This is critical information for Indian FPV pilots. RF transmission power is regulated by the Wireless Planning and Coordination (WPC) Wing under the Department of Telecommunications.
5.8GHz ISM Band
The 5.725-5.875GHz band is designated as an ISM (Industrial, Scientific, Medical) band in India. Unlicensed operation is permitted at up to 1W (30dBm) EIRP (Equivalent Isotropically Radiated Power).
EIRP = Transmitter Power × Antenna Gain. So a 200mW VTX with a 5dBi antenna gives 200mW × 3.16 = 632mW EIRP — within the 1W limit. A 600mW VTX with an 8dBi antenna gives 600mW × 6.3 = 3.78W EIRP — well above the limit.
2.4GHz Band
The 2.4GHz ISM band also has a 1W EIRP limit. Most RC transmitters and some FPV systems operate here. The Yagi signal booster for control links falls under this band.
1.2GHz and 900MHz
These frequencies require an Amateur Radio Licence (HAM licence) from WPC. The exam is conducted by the Ministry of Communications. HAM licensees can legally operate FPV systems on these bands (with appropriate power limits for each licence class — Foundation, General, or Advanced).
Practical Compliance for Indian FPV Pilots
- 5.8GHz up to 200mW VTX power with standard omnidirectional antennas: safe and legal
- 5.8GHz at 600mW with standard antennas: approximately at the EIRP limit — technically marginal
- 5.8GHz power amplifiers boosting beyond 1W EIRP: legally requires WPC licence
- Receiver-side high-gain antennas: always legal — you’re only receiving, not transmitting
- 1.2GHz/900MHz FPV: requires HAM licence
Installing a Video TX Booster
If you’ve decided to install a booster amplifier (understanding the regulatory context above), here’s the process:
Planning the Installation
- Verify your booster’s input power range matches your VTX’s output. Set VTX to appropriate power mode for the booster input specification
- Calculate final EIRP to ensure legal compliance
- Plan booster mounting location — it generates heat and needs airflow
- Plan separate power supply wiring — the booster draws 500mA-2A depending on output power and needs a clean, stable supply
Hardware Installation
- Mount the booster module securely — vibration can cause RF connectors to loosen, degrading performance or damaging the VTX output stage
- Use quality SMA/RP-SMA cables between VTX and booster — cheap cables with poor shielding introduce noise and signal loss that defeats the purpose
- Keep RF cables as short as possible — even good coaxial cable has measurable loss at 5.8GHz per centimetre
- Power the booster from the drone’s main battery through a proper BEC, NOT from the 5V VTX power rail
- Ensure adequate heat dissipation — at 1W output, the booster’s MOSFET amplifier stage runs hot. Attach a small heatsink if the module doesn’t include one
Testing Before First Flight
- Connect the system and verify video output is clean at close range before flying
- Touch the booster module after 30 seconds at full power — it should be warm but not hot enough to burn. If it’s uncomfortably hot, improve heat dissipation before flying
- Check that no spurious interference is appearing in your FPV video (this indicates amplifier saturation or RF coupling issues)
Receiver Side Improvements (Often Better Value)
Before spending money on a transmitter booster, consider that receiver-side improvements are often more cost-effective, legally simpler, and actually more impactful on overall system performance.
Diversity Receiver Setup
Run two or more antennas on your FPV receiver (goggles or standalone receiver) with diversity switching. Common setups:
- One mushroom/cloverleaf omnidirectional + one 8dBi patch pointing forward
- Two patch antennas at different angles in a V configuration
- One omni + one helical
Ground Station Receiver
For serious long-range work, a dedicated ground station receiver (separate from your goggles) with a high-gain antenna array and video transmitter to goggles gives the best possible receive sensitivity. The ground station can use large, heavy, high-gain antennas that would be impractical on goggles.
Digital FPV Systems vs Analog Boosters
Modern digital FPV systems (DJI O3, Walksnail Avatar HD, HDZero) have largely changed the range extension discussion for new builds:
Why Digital Changes the Equation
- Digital systems transmit error-corrected data — the video either works or doesn’t, with no gradual degradation to snow like analog
- Built-in transmission power management and adaptive bitrate
- DJI O3 achieves 10km+ range with its integrated system
- HDZero achieves 2-4km typical range with clean digital video
- No third-party boosters needed or generally compatible
When Analog + Booster Still Makes Sense
- Racing and close-range freestyle where latency matters most (digital adds 20-100ms)
- Budget builds where the cost of digital FPV (₹15,000-30,000+) is prohibitive
- Retrofitting existing analog builds for specific range requirements
- Applications requiring specific frequency bands (1.2GHz for very long range)

1/3″ CMOS 700TVL Mini FPV Camera 2.1mm Lens PAL / NTSC
Compact 700TVL FPV camera with wide-angle 2.1mm lens. Lightweight design suitable for small freestyle builds and beginners looking for a quality analog FPV image.
Troubleshooting Range Problems
Video Breaks Up at Short Range
If your video is unreliable within 100m, the problem is almost certainly not transmitter power. Check:
- Antenna connector — SMA connectors loosen with vibration; check both ends of any RF cable
- Antenna damage — inspect for bent elements, cracked housings
- Channel conflict — another pilot or WiFi device on the same channel. Switch VTX channel
- VTX overheating — check VTX temperature. Overheated VTXs reduce power automatically
- Power supply noise — electrical noise from motors and ESCs coupling into the VTX video signal. Use LC filter on VTX power input
Good Range But Video Static (Noise Overlay)
Static/noise in otherwise clear video usually indicates:
- Power line interference from ESCs or motors — add LC filter caps on VTX power
- VTX antenna too close to motor/carbon fibre — carbon fibre shields RF. Extend antenna away from frame
- Wrong antenna polarisation — RHCP and LHCP mixed (see antenna section above)
Good Close Range, Rapid Degradation at Distance
- Increase VTX power (within legal limits)
- Switch to higher-gain antennas at receiver side
- Try a different channel — some 5.8GHz channels have more interference in your area
- Fly higher — line of sight is critical; obstacles between drone and pilot kill signal regardless of power
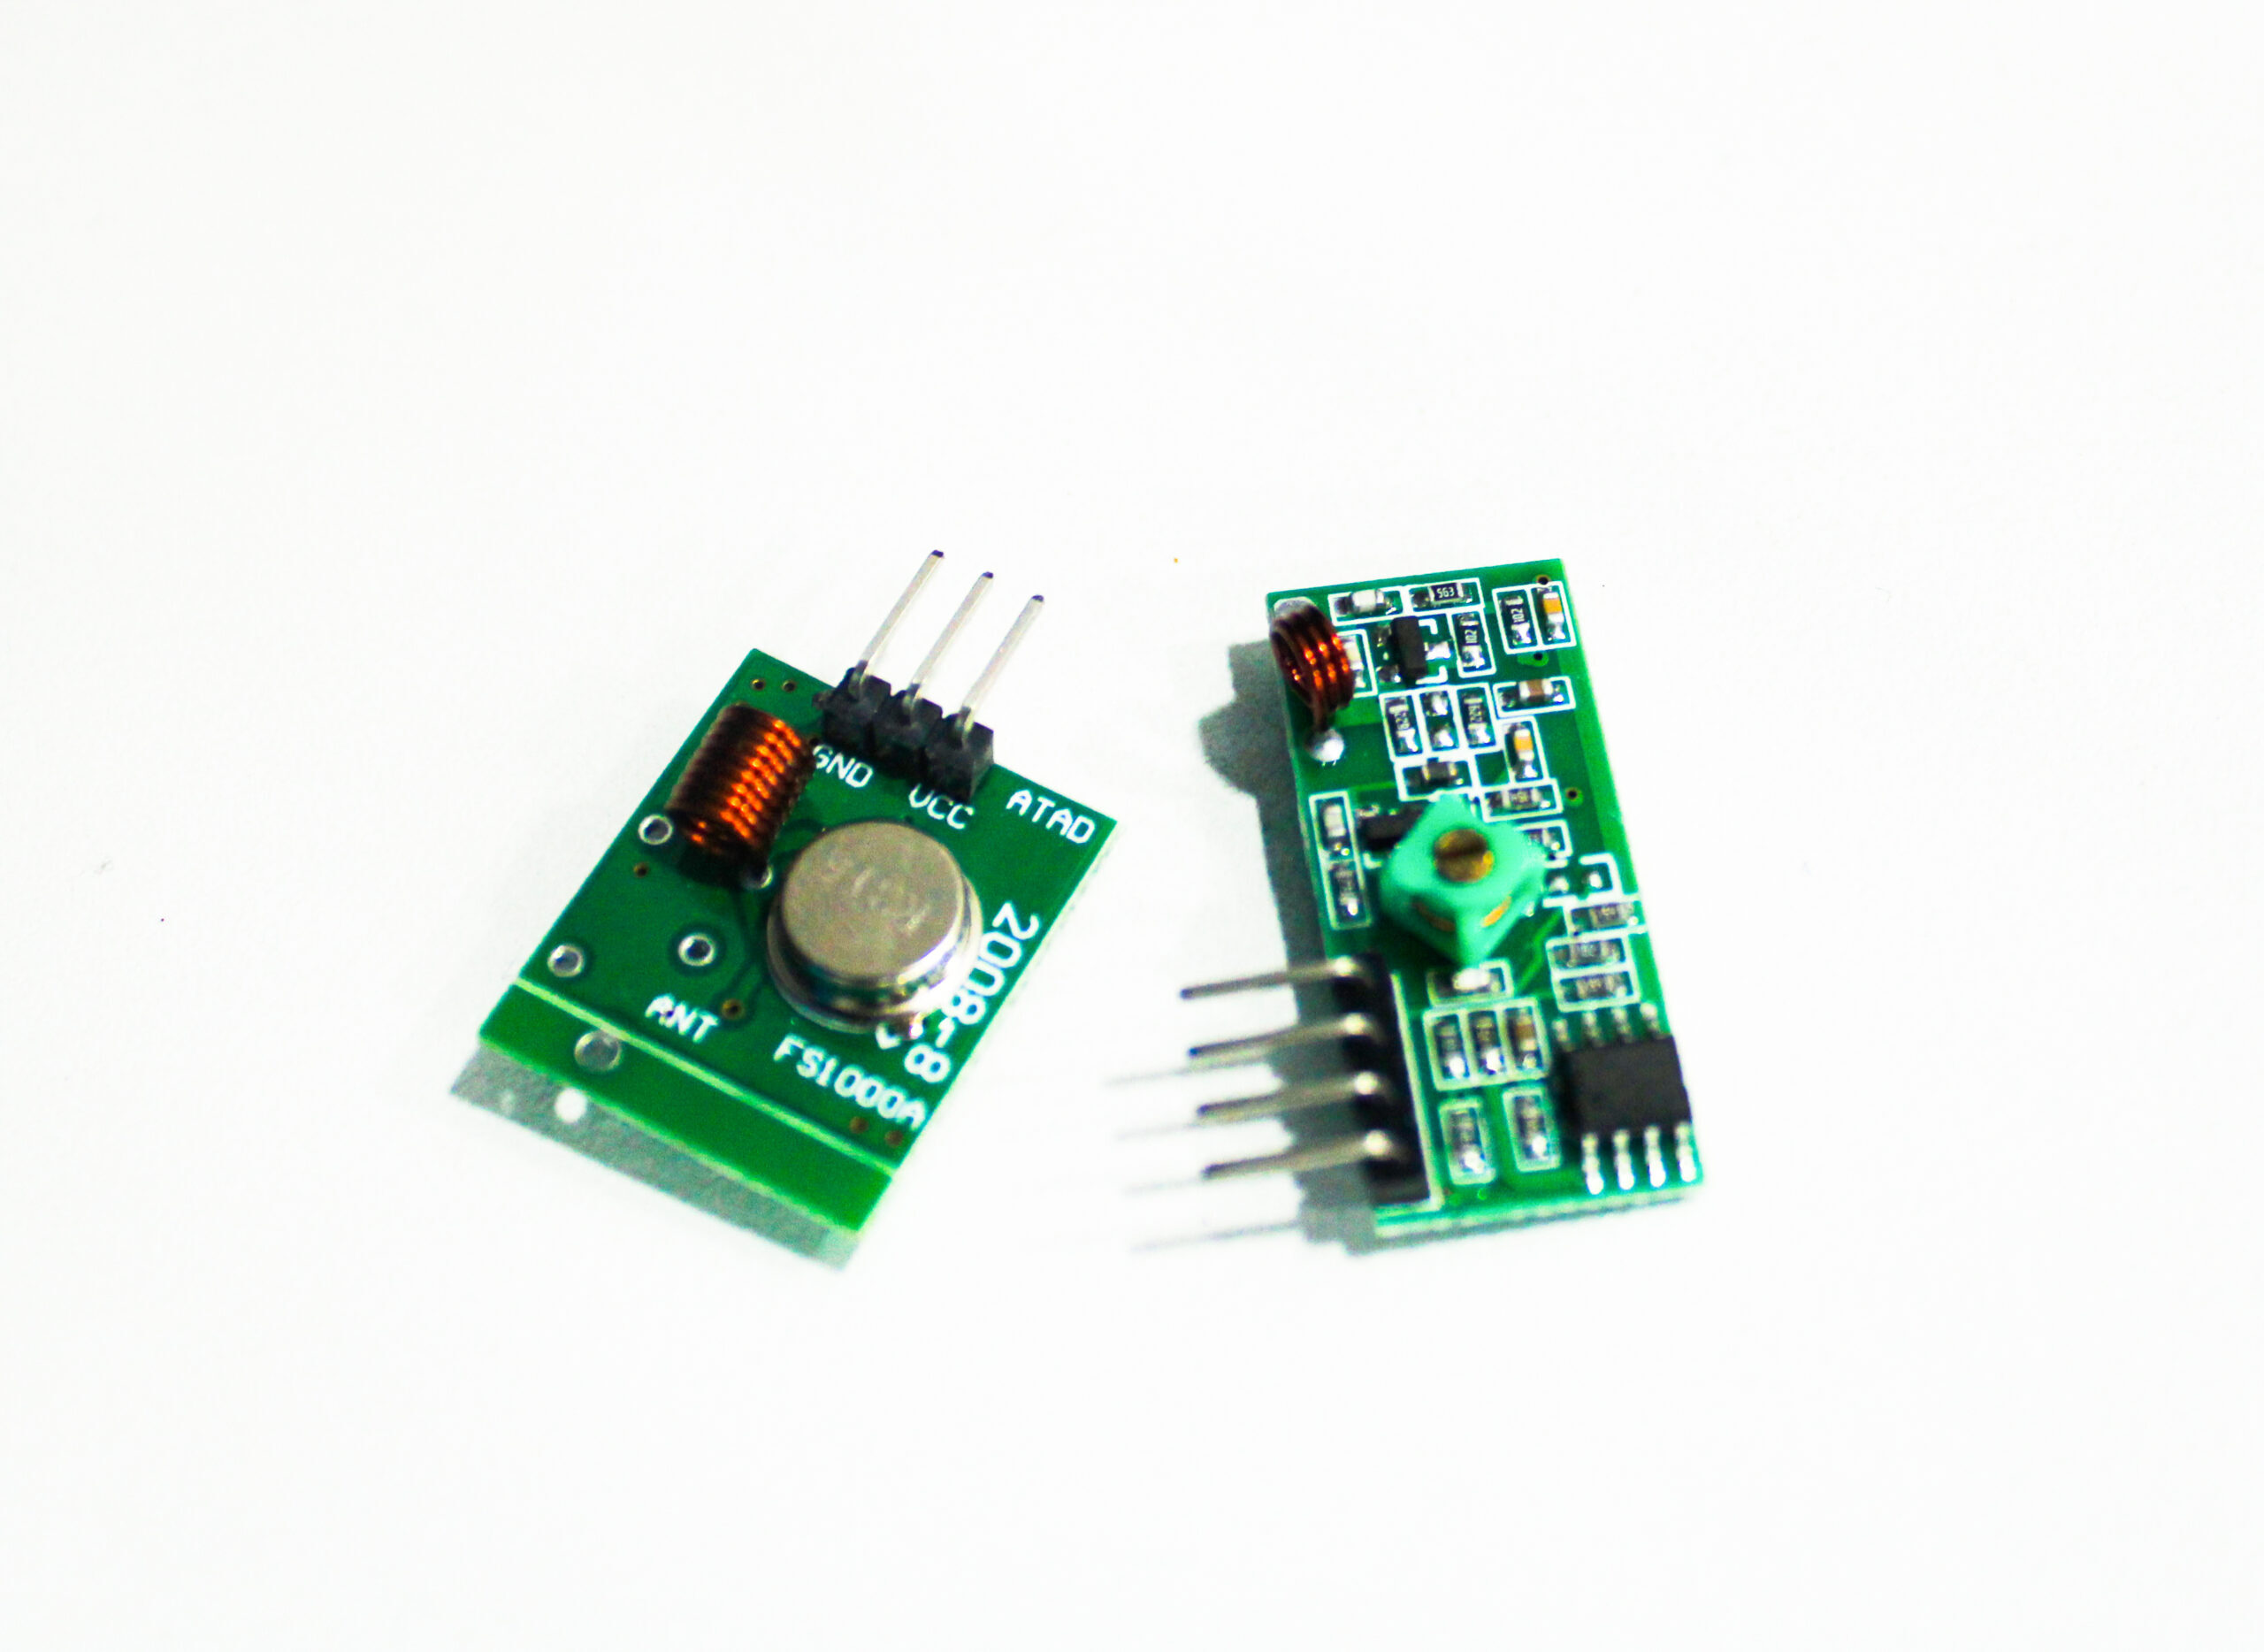
315MHz RF Transmitter Receiver Module
Low-cost 315MHz RF module for learning RF fundamentals and building custom telemetry or control link experiments. Useful for understanding range vs frequency trade-offs.
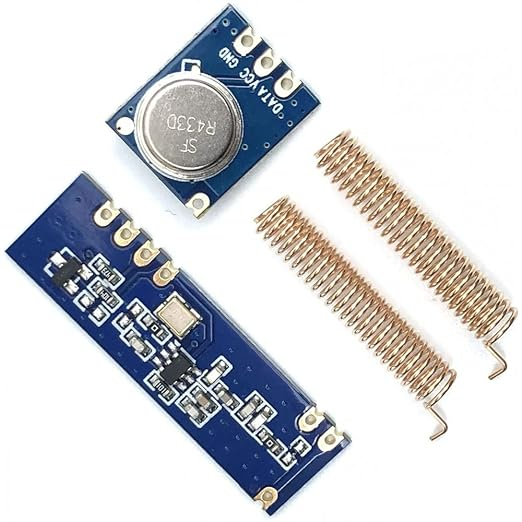
433MHz STX882 ASK Transmitter + SRX882 Superheterodyne Receiver Module
433MHz RF transmitter and receiver pair for custom telemetry link experiments. The superheterodyne receiver design provides good sensitivity at this frequency range.
2.4GHz Yagi-UDA Drone Signal Booster
Directional Yagi-UDA antenna booster for 2.4GHz systems. Excellent for extending control link range on long-range FPV or agriculture drone missions where maintaining RC link is safety-critical.
Frequently Asked Questions
What is the maximum legal FPV video transmitter power in India?
For 5.8GHz systems operating on the ISM band, the limit is 1W EIRP (Equivalent Isotropically Radiated Power) under unlicensed operation rules. EIRP includes both transmitter power AND antenna gain. For higher power or lower frequency bands (1.2GHz, 900MHz), you need an Amateur Radio Licence from WPC. Operating above these limits without a licence violates the Indian Wireless Telegraphy Act.
Will a booster amplifier damage my VTX?
A booster can damage your VTX if the booster presents a bad impedance match back to the VTX output. A properly designed booster has 50-ohm impedance matching. Additionally, if you run your VTX at too high a power level into the booster, the booster saturates and may send reflected power back to the VTX. Always use your VTX at the power level specified for the booster’s input range, and ensure the booster has proper forward power limiting.
Do I need a booster for FPV racing?
Almost never. FPV racing typically happens within 200-500m of the pilot, well within the range of a 25-200mW VTX and decent antennas. For racing, clean video (no noise, no multipath) matters far more than raw range. Focus on good antennas and a clean electrical installation on the drone — these will improve racing video quality far more than a booster.
How do I calculate EIRP for my setup?
EIRP (mW) = Transmitter Power (mW) × Antenna Gain (linear). Convert antenna gain from dBi to linear: Linear = 10^(dBi/10). Example: 200mW VTX with 5dBi antenna = 200 × 10^(5/10) = 200 × 3.16 = 632mW EIRP — within the 1W limit. Example: 600mW VTX with 8dBi antenna = 600 × 10^(8/10) = 600 × 6.31 = 3,786mW EIRP — exceeds the limit.
Is it better to improve the transmit side or the receive side for more range?
For most FPV pilots, improving the receive side (high-gain antennas on goggles/ground station, diversity receiver) gives a bigger practical benefit for the same cost and is completely legal without any licence considerations. Receiver side improvements don’t change what you’re broadcasting, only what you can hear. Start with a quality diversity receiver setup before considering transmit-side modifications.
Can I use the 2.4GHz Yagi booster for my FPV video signal?
The Zbotic 2.4GHz Yagi-UDA booster is designed for the 2.4GHz control link, not the 5.8GHz video link. Some FPV systems (notably CrossFire/ELRS long range) operate the video or control link at 2.4GHz, but standard 5.8GHz analog or digital FPV video requires 5.8GHz antennas. Match the antenna frequency to your system frequency precisely.
Extend Your FPV Range with Quality Components
From signal boosters and FPV cameras to RF modules and antennas, Zbotic.in stocks the components to maximise your FPV range and video quality. All products ship quickly across India with reliable courier partners.


Add comment