
ESP32 HTTP Client: GET & POST Requests to REST API Guide
The ESP32 HTTP client is one of the most powerful features of the ESP32 microcontroller, enabling your IoT projects to communicate directly with web services, REST APIs, and cloud platforms using GET and POST requests. Whether you are reading sensor data from a weather API, posting temperature readings to ThingSpeak, or triggering actions via IFTTT webhooks, the ESP32’s built-in WiFi combined with the HTTPClient library makes it straightforward. This guide covers everything — from a basic GET request to sending JSON via POST, handling HTTPS, custom headers, and debugging common errors. All examples are tested and working in Arduino IDE.
Prerequisites & Library Setup
You will need:
- ESP32 board installed in Arduino IDE (via Boards Manager:
https://raw.githubusercontent.com/espressif/arduino-esp32/gh-pages/package_esp32_index.json) - HTTPClient library — included in the ESP32 Arduino core, no separate install needed
- ArduinoJson library (v6.x or v7.x) — install via Library Manager for JSON parsing
- A WiFi network (2.4GHz — ESP32 does not support 5GHz)

Ai Thinker ESP32-C3-01M Wi-Fi + BLE Module
Compact ESP32-C3 module with WiFi and BLE — perfect for HTTP client IoT projects where space is a constraint.
Basic HTTP GET Request
The simplest use case: fetch data from a public API endpoint. This example reads the current time from a free API.
#include <WiFi.h>
#include <HTTPClient.h>

const char* ssid = "Your_WiFi_SSID";
const char* password = "Your_WiFi_Password";

void setup() {
  Serial.begin(115200);
  WiFi.begin(ssid, password);
  Serial.print("Connecting to WiFi");
  while (WiFi.status() != WL_CONNECTED) {
    delay(500);
    Serial.print(".");
  }
  Serial.println("nConnected! IP: " + WiFi.localIP().toString());
}

void loop() {
  if (WiFi.status() == WL_CONNECTED) {
    HTTPClient http;
    http.begin("http://worldtimeapi.org/api/timezone/Asia/Kolkata");

    int httpResponseCode = http.GET();

    if (httpResponseCode > 0) {
      Serial.println("HTTP Response code: " + String(httpResponseCode));
      String payload = http.getString();
      Serial.println("Response: " + payload);
    } else {
      Serial.println("GET error: " + String(httpResponseCode));
    }
    http.end(); // Always close connection
  }
  delay(30000); // Request every 30 seconds
}
Key points:
- Always call
http.end()to release resources — memory leaks from unclosed connections can crash the ESP32 after several hours. - Check
WiFi.status() == WL_CONNECTEDbefore every request, not just in setup(). WiFi can drop and reconnect. - HTTP response code 200 = success. Negative codes are ESP32 internal errors (e.g., -1 = connection refused, -11 = timeout).
Parsing JSON Responses with ArduinoJson
Most modern REST APIs return JSON. Here is how to parse a JSON response from an API on ESP32 using ArduinoJson v6/v7:
#include <WiFi.h>
#include <HTTPClient.h>
#include <ArduinoJson.h>

// Example: Parse weather data from OpenWeatherMap
// Replace YOUR_API_KEY and city as needed
String apiUrl = "http://api.openweathermap.org/data/2.5/weather?q=Mumbai,IN&appid=YOUR_API_KEY&units=metric";

void fetchWeather() {
  HTTPClient http;
  http.begin(apiUrl);
  int code = http.GET();

  if (code == 200) {
    String body = http.getString();

    // ArduinoJson v7 syntax
    JsonDocument doc;
    DeserializationError err = deserializeJson(doc, body);

    if (!err) {
      float temp = doc["main"]["temp"];         // 28.5
      float humidity = doc["main"]["humidity"]; // 82
      String desc = doc["weather"][0]["description"]; // "haze"

      Serial.printf("Mumbai: %.1f°C, %.0f%% RH, %sn", temp, humidity, desc.c_str());
    } else {
      Serial.println("JSON parse error: " + String(err.c_str()));
    }
  }
  http.end();
}
Tip on memory: For large JSON responses (over 10KB), use http.getStream() and stream directly into deserializeJson() instead of storing the full string in RAM:
deserializeJson(doc, http.getStream()); // Stream directly — saves heap memoryHTTP POST Request with JSON Body
Posting data to an API — for example, sending a sensor reading to ThingSpeak or your own backend — requires setting the Content-Type header and providing a JSON body.
#include <WiFi.h>
#include <HTTPClient.h>
#include <ArduinoJson.h>

void postSensorData(float temperature, float humidity) {
  HTTPClient http;
  http.begin("https://api.example.com/sensors"); // Use your API endpoint
  http.addHeader("Content-Type", "application/json");
  http.addHeader("X-API-Key", "your_api_key_here");

  // Build JSON body
  JsonDocument doc;
  doc["device_id"] = "esp32_lab_01";
  doc["temperature"] = temperature;
  doc["humidity"] = humidity;
  doc["timestamp"] = millis();

  String jsonBody;
  serializeJson(doc, jsonBody);

  int responseCode = http.POST(jsonBody);

  if (responseCode > 0) {
    Serial.println("POST response: " + String(responseCode));
    if (responseCode == 200 || responseCode == 201) {
      Serial.println("Data uploaded: " + http.getString());
    }
  } else {
    Serial.println("POST failed: " + String(responseCode));
  }
  http.end();
}

void loop() {
  float temp = 27.5;  // Replace with actual sensor reading
  float hum = 65.2;   // Replace with actual sensor reading
  postSensorData(temp, hum);
  delay(60000);
}
Waveshare ESP32-S3 1.43inch AMOLED Display Development Board
ESP32-S3 with built-in AMOLED display — perfect for IoT dashboards that display API response data locally.
HTTPS Requests (SSL/TLS)
Most production APIs use HTTPS. The ESP32’s HTTPClient supports SSL/TLS, but you need to handle certificate verification. There are three approaches:
Option 1: Skip Certificate Verification (Development Only)
http.begin("https://api.example.com/data");
http.setInsecure(); // Skip SSL certificate verification
// WARNING: Use only for testing — vulnerable to MITM attacks
Option 2: Use Root CA Certificate (Recommended for Production)
// Get the CA cert from your API's server using:
// openssl s_client -connect api.example.com:443 -showcerts
// Copy the root CA certificate (last cert in chain)
const char* rootCA = R"(
-----BEGIN CERTIFICATE-----
MIIB...your root CA cert here...xyz
-----END CERTIFICATE-----
)";

WiFiClientSecure client;
client.setCACert(rootCA);
http.begin(client, "https://api.example.com/data");
Option 3: Use Built-in Root CAs (ESP32 Arduino Core 2.0.9+)
WiFiClientSecure client;
client.setDefaultCACertBundle(); // Uses Mozilla's root CA bundle — works with most APIs
http.begin(client, "https://api.example.com/data");
Custom Headers & API Authentication
Real APIs require authentication. Here is how to handle common auth patterns:
Bearer Token (JWT / OAuth)
http.addHeader("Authorization", "Bearer eyJhbGciOiJIUzI1NiIsInR...");
http.addHeader("Content-Type", "application/json");
http.addHeader("Accept", "application/json");
Basic Authentication
#include <base64.h>
String credentials = base64::encode("username:password");
http.addHeader("Authorization", "Basic " + credentials);
API Key in Query String
// For ThingSpeak Write API:
String url = "https://api.thingspeak.com/update?api_key=YOUR_KEY&field1=" + String(sensorValue);
http.begin(url);
http.GET();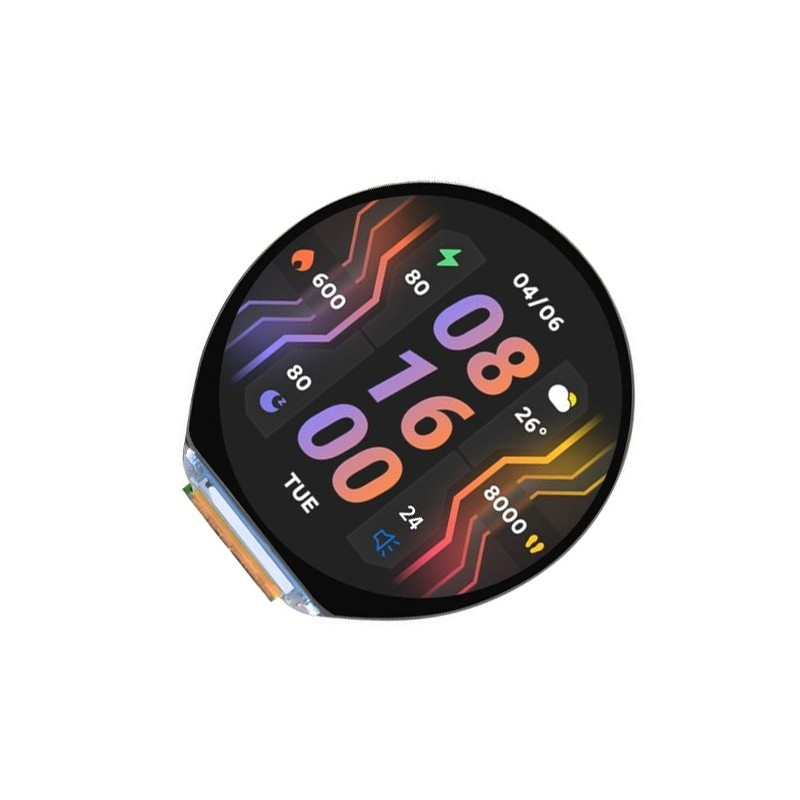
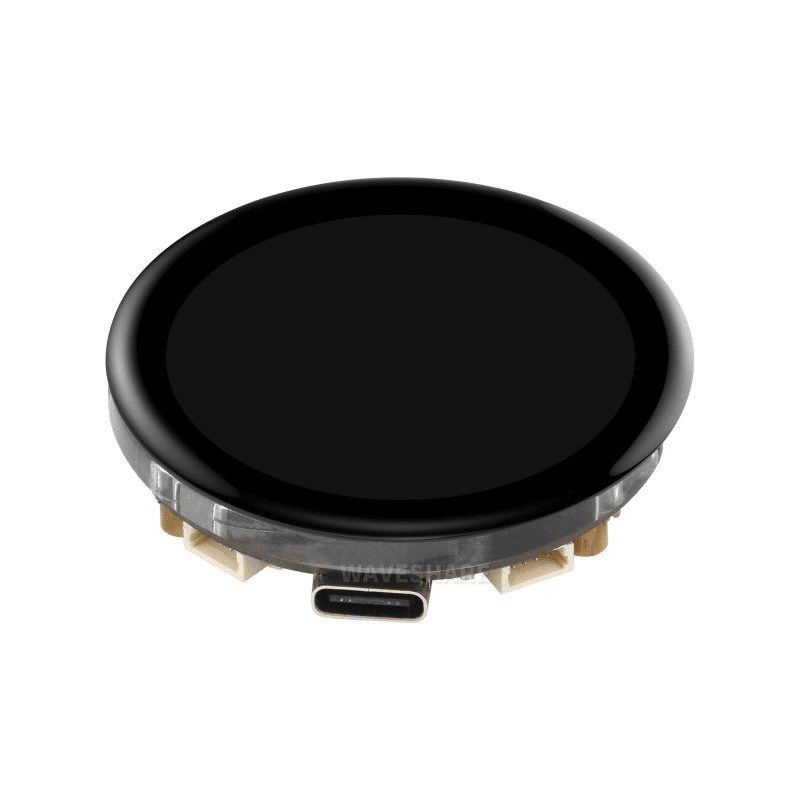
Waveshare ESP32-S3 1.46inch Round Display Development Board
ESP32-S3 with round display, WiFi, Bluetooth, accelerometer and microphone — build IoT API dashboards with a premium finish.
Error Handling & Debugging
Most ESP32 HTTP issues fall into a few categories. Here is a systematic debugging approach:
Common Error Codes
| Error Code | Meaning | Fix |
|---|---|---|
| -1 | HTTPC_ERROR_CONNECTION_REFUSED | Wrong URL, server down, or port blocked |
| -11 | HTTPC_ERROR_READ_TIMEOUT | Increase timeout: http.setTimeout(10000) |
| -5 | HTTPC_ERROR_NOT_CONNECTED | WiFi dropped — add reconnect logic |
| -2 | SSL/TLS handshake failed | Wrong CA cert or use setInsecure() for testing |
WiFi Auto-Reconnect Pattern
void ensureWiFiConnected() {
  if (WiFi.status() != WL_CONNECTED) {
    Serial.println("WiFi lost. Reconnecting...");
    WiFi.disconnect();
    WiFi.begin(ssid, password);
    unsigned long start = millis();
    while (WiFi.status() != WL_CONNECTED && millis() - start < 10000) {
      delay(500);
    }
    if (WiFi.status() == WL_CONNECTED) {
      Serial.println("Reconnected: " + WiFi.localIP().toString());
    } else {
      Serial.println("WiFi reconnect failed — will retry next loop");
    }
  }
}
Waveshare ESP32-S3 1.47inch 172×320 LCD Display Development Board
ESP32-S3 with colour LCD — display API response data like weather, stock prices, or sensor readings on a compact screen.
Frequently Asked Questions
Q: Why does my ESP32 HTTP GET request work once and then fail?
This is almost always a missing http.end() call. Every http.begin() must be paired with http.end() to release the TCP connection and heap memory. Without it, the heap fragments and eventually the ESP32 cannot allocate memory for a new connection.
Q: Can ESP32 connect to HTTPS APIs without a certificate?
Yes, using client.setInsecure() before http.begin(). This disables certificate verification and is fine for development and prototyping. For any production deployment handling sensitive data, always use proper certificate verification with setCACert().
Q: How do I send a PUT or DELETE request with ESP32 HTTPClient?
Use http.PUT(body) for PUT requests or http.sendRequest("DELETE", "") for DELETE. The sendRequest() method supports any HTTP verb: http.sendRequest("PATCH", jsonBody).
Q: How do I post form data (application/x-www-form-urlencoded) instead of JSON?
Set the Content-Type header to application/x-www-form-urlencoded and format the body as key1=value1&key2=value2. Example: http.addHeader("Content-Type", "application/x-www-form-urlencoded"); http.POST("field1=25.5&field2=60");
Q: What is the maximum response size the ESP32 can handle?
By default, the ESP32’s HTTP response buffer is limited by available heap (typically 100–200KB free). For large responses, stream the data directly with http.getStream() and process it in chunks rather than storing the full string with http.getString().
Build Your ESP32 IoT Project Today
Zbotic stocks ESP32 modules, development boards, and accessories for every IoT application. From compact modules to display-equipped boards — find your perfect ESP32 for API-connected projects.


Add comment