
If you are looking for a solid esp32-c3 beginners guide, you have come to the right place. The ESP32-C3 is a game-changer in the world of affordable IoT modules — it brings a modern RISC-V single-core processor, built-in 2.4 GHz WiFi, and Bluetooth 5.0 LE, all at a price point that makes it accessible for hobbyists, students, and startups across India. Whether you are just getting started with microcontrollers or upgrading from an ESP8266, this guide walks you through everything you need to know.
What Is the ESP32-C3 and Why RISC-V?
The ESP32-C3 is Espressif’s single-core microcontroller launched to fill the gap between the aging ESP8266 and the more powerful (and more expensive) dual-core ESP32. What makes it unique is the use of a RISC-V 32-bit processor running at up to 160 MHz — a departure from the Xtensa LX6 core found in classic ESP32 chips.
RISC-V is an open-source instruction set architecture (ISA) that has been gaining massive momentum worldwide. For hobbyists in India, this matters because the open-source nature of RISC-V means better long-term toolchain support, no licensing fees passed on to manufacturers, and an active global community. The ESP32-C3 essentially democratises access to a modern, royalty-free architecture.
Compared to the ESP8266, the ESP32-C3 offers:
- Bluetooth 5.0 LE — the ESP8266 has no Bluetooth at all
- More GPIO pins with better peripheral support
- Hardware security features including secure boot and flash encryption
- Better WiFi stack with support for WPA3
- Lower active current and improved deep sleep modes
Compared to the full ESP32, the ESP32-C3 is cheaper and consumes less power, though it trades the dual core and the extensive ADC channels for a leaner footprint. For most IoT sensor nodes and BLE peripheral applications, the ESP32-C3 is more than sufficient.
Key Features and Specifications
Before diving into code, it helps to understand what you are working with. Here are the hardware highlights of the ESP32-C3:
| Feature | ESP32-C3 Spec |
|---|---|
| CPU | RISC-V 32-bit single core @ up to 160 MHz |
| SRAM | 400 KB |
| Flash | 4 MB (typical in modules) |
| WiFi | 802.11 b/g/n 2.4 GHz, WPA3 |
| Bluetooth | Bluetooth 5.0 LE, Bluetooth Mesh |
| GPIO Pins | 22 programmable GPIO |
| SPI / I2C / UART | 3 SPI, 1 I2C, 2 UART, 2 I2S |
| ADC | 2 x 12-bit SAR ADC (6 channels) |
| Security | RSA-3072, AES-128/256, SHA-2, RNG, Secure Boot |
| Operating Voltage | 3.0 – 3.6 V |
| Deep Sleep Current | ~5 µA |
The hardware security features deserve special mention. For IoT products deployed in commercial applications — smart meters, retail kiosks, home automation controllers — the ESP32-C3’s built-in secure boot and flash encryption mean you can ship locked firmware without worrying about cloning.
Popular ESP32-C3 Modules Available in India
Ai-Thinker, one of the most reliable ESP module manufacturers, produces two widely used ESP32-C3 modules that are easily available in India through Zbotic:
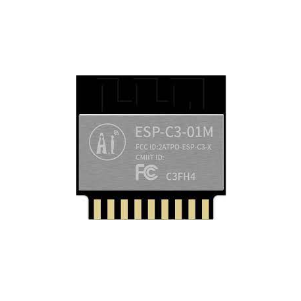
Ai Thinker ESP32-C3-01M Wi-Fi + BLE Module
A compact stamp-style module with onboard PCB antenna — perfect for space-constrained designs and beginner breadboard projects.
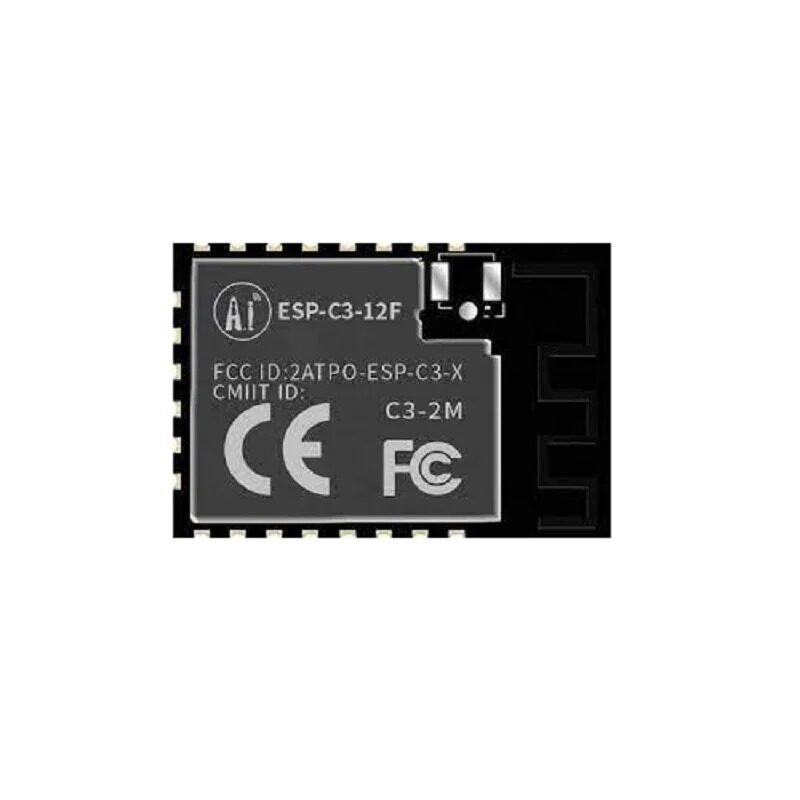
Ai-Thinker ESP32-C3-12F Wi-Fi + BLE Module
A larger form factor with an external IPEX antenna connector for longer WiFi range — ideal for projects in rooms with thick walls or metal enclosures.
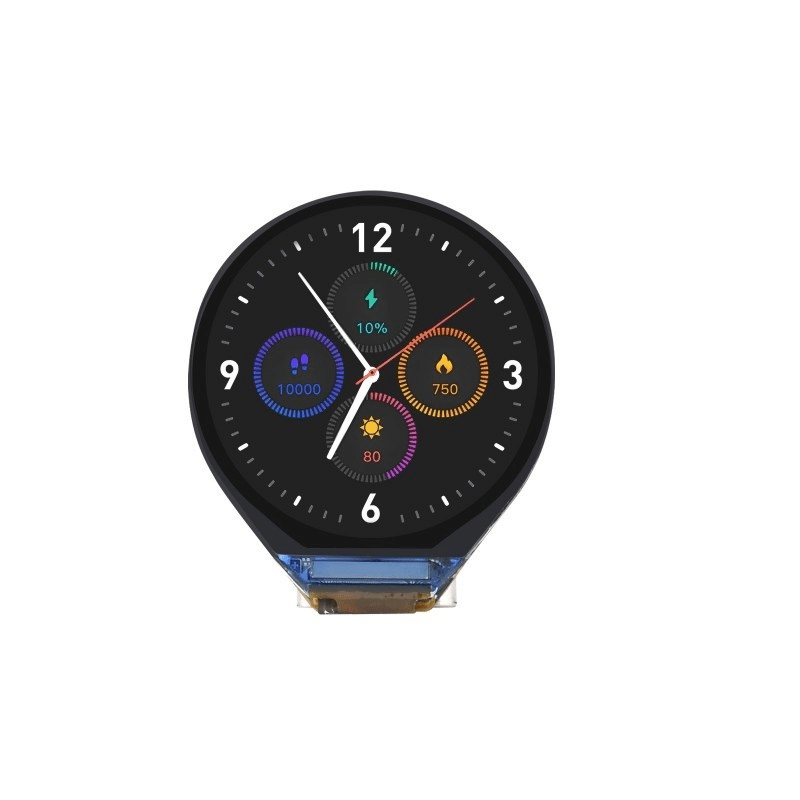
Waveshare ESP32-C3 0.71inch Round Display Development Board
A ready-to-use development board with an onboard 0.71-inch round display — great for beginners who want to see sensor readings on a tiny screen without extra wiring.
The ESP32-C3-01M is the recommended starting point for absolute beginners because of its tiny footprint (similar to an ESP-01) and affordable price. The ESP32-C3-12F is better for more serious projects where you need more GPIO pins exposed and a dedicated external antenna.
Setting Up Arduino IDE for ESP32-C3
One of the best things about the ESP32-C3 is that it works seamlessly with the Arduino IDE, which most beginners are already familiar with. Here is how to set it up:
Step 1: Install Arduino IDE 2.x
Download and install Arduino IDE 2.x from arduino.cc. It has a much better auto-complete and library manager compared to the older 1.x version.
Step 2: Add ESP32 Board Package
Go to File → Preferences and add the following URL to the Additional boards manager URLs field:
https://raw.githubusercontent.com/espressif/arduino-esp32/gh-pages/package_esp32_index.json
Then go to Tools → Board → Boards Manager, search for esp32 by Espressif Systems, and install it. Version 2.0.x or newer includes full ESP32-C3 support.
Step 3: Select the Right Board
Go to Tools → Board → ESP32 Arduino and select ESP32C3 Dev Module. Set the USB CDC on Boot option to Enabled if you are using a development board with built-in USB (like the Waveshare board). For modules without USB, you will need a USB-to-UART adapter.
Step 4: Install Required Libraries
Open the Library Manager and install:
DHT sensor libraryby Adafruit (for DHT11/DHT22 sensors)Adafruit Unified SensorWiFiManagerby tzapu (optional, for easy WiFi configuration)
Your First ESP32-C3 Project: WiFi Temperature Monitor
Let us build a simple WiFi temperature and humidity monitor using the ESP32-C3 and a DHT11 sensor. This project will connect to your home WiFi and print sensor data over the Serial Monitor. It is a perfect introduction to both WiFi connectivity and sensor interfacing.
Components needed:
- Ai-Thinker ESP32-C3-12F module (or any ESP32-C3 development board)
- DHT11 or DHT20 temperature and humidity sensor
- Jumper wires and breadboard
- USB-to-UART adapter (if your module does not have onboard USB)

DHT11 Digital Relative Humidity and Temperature Sensor Module
An affordable and beginner-friendly sensor module for measuring temperature and humidity — ideal for your first ESP32-C3 project.
Wiring: Connect the DHT11 data pin to GPIO4 of the ESP32-C3. Connect VCC to 3.3V and GND to GND. Add a 10kΩ pull-up resistor between the data pin and VCC.
#include <WiFi.h>
#include <DHT.h>

#define DHTPIN 4
#define DHTTYPE DHT11
DHT dht(DHTPIN, DHTTYPE);

const char* ssid = "Your_WiFi_SSID";
const char* password = "Your_WiFi_Password";

void setup() {
  Serial.begin(115200);
  dht.begin();
  WiFi.begin(ssid, password);
  while (WiFi.status() != WL_CONNECTED) {
    delay(500);
    Serial.print(".");
  }
  Serial.println("nConnected to WiFi!");
  Serial.println(WiFi.localIP());
}

void loop() {
  float h = dht.readHumidity();
  float t = dht.readTemperature();
  if (!isnan(h) && !isnan(t)) {
    Serial.printf("Temp: %.1f°C  Humidity: %.1f%%n", t, h);
  }
  delay(2000);
}
Upload this sketch, open the Serial Monitor at 115200 baud, and you should see temperature and humidity readings every 2 seconds alongside the ESP32-C3’s IP address on your network.
Getting Started with BLE on ESP32-C3
The ESP32-C3’s Bluetooth 5.0 LE support opens up a huge range of possibilities — from sensor data beaconing to communication with smartphones. The Arduino ESP32 library includes a complete BLE stack based on the NimBLE library.
A basic BLE server that advertises temperature data looks like this:
#include <BLEDevice.h>
#include <BLEServer.h>
#include <BLEUtils.h>
#include <BLE2902.h>

#define SERVICE_UUID        "4fafc201-1fb5-459e-8fcc-c5c9c331914b"
#define CHARACTERISTIC_UUID "beb5483e-36e1-4688-b7f5-ea07361b26a8"

BLECharacteristic *pCharacteristic;
bool deviceConnected = false;

void setup() {
  Serial.begin(115200);
  BLEDevice::init("ESP32-C3 Sensor");
  BLEServer *pServer = BLEDevice::createServer();
  BLEService *pService = pServer->createService(SERVICE_UUID);
  pCharacteristic = pService->createCharacteristic(
    CHARACTERISTIC_UUID,
    BLECharacteristic::PROPERTY_READ | BLECharacteristic::PROPERTY_NOTIFY
  );
  pCharacteristic->addDescriptor(new BLE2902());
  pService->start();
  BLEAdvertising *pAdvertising = BLEDevice::getAdvertising();
  pAdvertising->addServiceUUID(SERVICE_UUID);
  pAdvertising->start();
  Serial.println("BLE advertising started!");
}

void loop() {
  float temperature = 28.5; // Replace with actual sensor reading
  String tempStr = String(temperature);
  pCharacteristic->setValue(tempStr.c_str());
  pCharacteristic->notify();
  delay(2000);
}
You can connect to this BLE device using any BLE scanner app on your smartphone (such as nRF Connect or LightBlue) and see the temperature value updating in real time.
Tips, Tricks, and Common Mistakes
After working with the ESP32-C3, here are some practical pointers that will save you hours of debugging:
1. Boot Mode Issues
If your ESP32-C3 module is not flashing, make sure GPIO9 (BOOT pin) is held LOW during reset. On bare modules without a dev board, you need to manually pull GPIO9 to GND before pressing the EN/RESET pin, then release it once flashing begins.
2. ADC Accuracy Warning
The ESP32-C3 ADC is notorious for non-linearity, especially at the extremes of the input range. For accurate voltage measurements, use an external ADC like the ADS1115 over I2C. If you must use the internal ADC, apply the analogSetAttenuation() function and calibrate against a known reference.
3. WiFi and BLE Cannot Run Simultaneously at Full Speed
The ESP32-C3 uses a single radio for both WiFi and BLE. When both are active, there is coexistence logic that time-multiplexes the radio. This is handled automatically, but expect some latency increase on both interfaces when they are both active.
4. Use NimBLE for BLE
The Arduino ESP32 package ships with two BLE libraries: the older Bluedroid-based one and the newer NimBLE-Arduino library. NimBLE uses significantly less RAM and flash, making it the right choice for the ESP32-C3’s more constrained memory profile.
5. 3.3V Only — Do Not Use 5V GPIO Directly
All ESP32-C3 GPIO pins are 3.3V logic. Connecting them directly to 5V signals from Arduino Uno shields or sensors will damage the chip. Always use a logic level converter when interfacing with 5V components.
Frequently Asked Questions
Is the ESP32-C3 compatible with ESP32 code?
Mostly yes, but with exceptions. The ESP32-C3 uses a RISC-V core instead of Xtensa, so assembly-level code or highly architecture-specific libraries will not work. However, standard Arduino libraries and the ESP-IDF framework work well, and most community sketches written for the ESP32 will compile and run on the ESP32-C3 with minor pin mapping changes.
Can I use the ESP32-C3 with MicroPython?
Yes. MicroPython has supported the ESP32-C3 since version 1.18. You can download the firmware from micropython.org and flash it using esptool.py. The WiFi and BLE APIs in MicroPython work well on the C3.
What is the difference between ESP32-C3-01M and ESP32-C3-12F?
Both use the same ESP32-C3 chip, but the 01M is a compact module with a PCB trace antenna, while the 12F is a larger module with an IPEX/U.FL connector for an external antenna. The 12F exposes more GPIO pads, making it better for custom PCBs. The 01M is more suitable for plug-in applications where size matters.
Does the ESP32-C3 support Bluetooth Classic?
No. The ESP32-C3 only supports Bluetooth Low Energy (BLE), not Bluetooth Classic (BR/EDR). If you need Bluetooth Classic for audio streaming or SPP serial communication with older devices, use the original ESP32 instead.
Is the ESP32-C3 a good replacement for the ESP8266?
For most new projects, yes. The ESP32-C3 is more capable, adds BLE, has better security features, and is available at a similar price point. The only reason to keep using ESP8266 is if you have existing code heavily optimised for it or if you are buying in bulk with strict cost targets.
Ready to Build with ESP32-C3?
Get your ESP32-C3 modules, sensors, and accessories from Zbotic — India’s trusted electronics components store. All products ship fast with quality guaranteed.


Add comment