
Drone telemetry is your eyes on the aircraft when it is in the air. Without it, you are flying blind — relying on visual observation alone for battery voltage, GPS status, altitude, and flight mode. With a telemetry link, your ground station receives a live stream of data from the flight controller and can even send commands back to the drone in real time.
In India’s growing drone community, three telemetry systems dominate: the classic SiK radio (3DR-style), FrSky passthrough telemetry (built into their RC links), and the rapidly rising ExpressLRS (ELRS) system. Each has different use cases, ranges, latency characteristics, and costs. This guide compares them in depth so you can make the right choice for your build.
What Is Drone Telemetry and Why Do You Need It?
Drone telemetry is a bidirectional data link between your flight controller and a ground station (laptop, tablet, or mobile device). It typically transmits:
- GPS position, altitude, speed, and heading
- Battery voltage and estimated remaining capacity
- Flight mode and arming status
- Attitude (roll, pitch, yaw) and vibration levels
- EKF health and sensor status
- Waypoint progress during Auto missions
And receives from the ground station:
- Parameter updates (change PIDs without landing)
- Mode commands (switch to RTL remotely)
- Mission waypoints (upload/modify mid-flight in supported modes)
- Guided mode position commands (from Mission Planner or companion computer)
For Indian pilots operating Pixhawk-based builds for mapping, agriculture, or even recreational long-range flying, telemetry transforms a basic drone into a managed aerial platform.
SiK Radio (3DR-Style): The Reliable Workhorse
SiK (Software in the Loop) radio was developed by the ArduPilot team and 3DRobotics, and it remains the default recommendation for Pixhawk/ArduPilot setups. SiK radios use the MAVLink protocol natively and talk directly to Mission Planner, QGroundControl, or any other MAVLink-compatible GCS.
How SiK Radio Works
Each SiK pair consists of an air module (mounts on the drone) and a ground module (connects to PC via USB). They communicate over a dedicated radio frequency — either 433 MHz or 915 MHz — at a user-configurable data rate. The protocol includes error correction, compression, and automatic frequency hopping to improve link reliability.
Key Specs (3DR/Holybro SiK 100mW)
| Parameter | 433 MHz | 915 MHz |
|---|---|---|
| Output Power | 100 mW | 100 mW |
| Typical Range (LOS) | 1–2 km | 500 m – 1 km |
| Data Rate | Up to 250 kbps | Up to 250 kbps |
| Latency | ~20 ms | ~20 ms |
| Protocol | MAVLink | MAVLink |
| Encryption | AES-128 (optional) | AES-128 (optional) |
Pros and Cons of SiK Radio
Pros:
- Zero configuration — plug in and Mission Planner connects automatically
- Native MAVLink means full two-way control (parameter upload, mission waypoints, guided commands)
- Open-source firmware, updatable via Mission Planner
- 433 MHz has excellent penetration through foliage and light structures
- Cheap — available for ₹800–₹2,500 for a pair from Indian suppliers
Cons:
- Not an RC link — you still need a separate RC system for control inputs
- Range limited to ~2 km (beyond which cellular or satellite links are needed)
- Occupies one UART on the Pixhawk

3DR 100mW Radio Telemetry 915MHz For APM PX4 Pixhawk
The classic SiK telemetry pair for ArduPilot. Plug the air module into the Pixhawk TELEM1 port, plug the ground module into your PC USB, and Mission Planner connects instantly. Perfect for mapping and survey missions up to 1 km.
View on Zbotic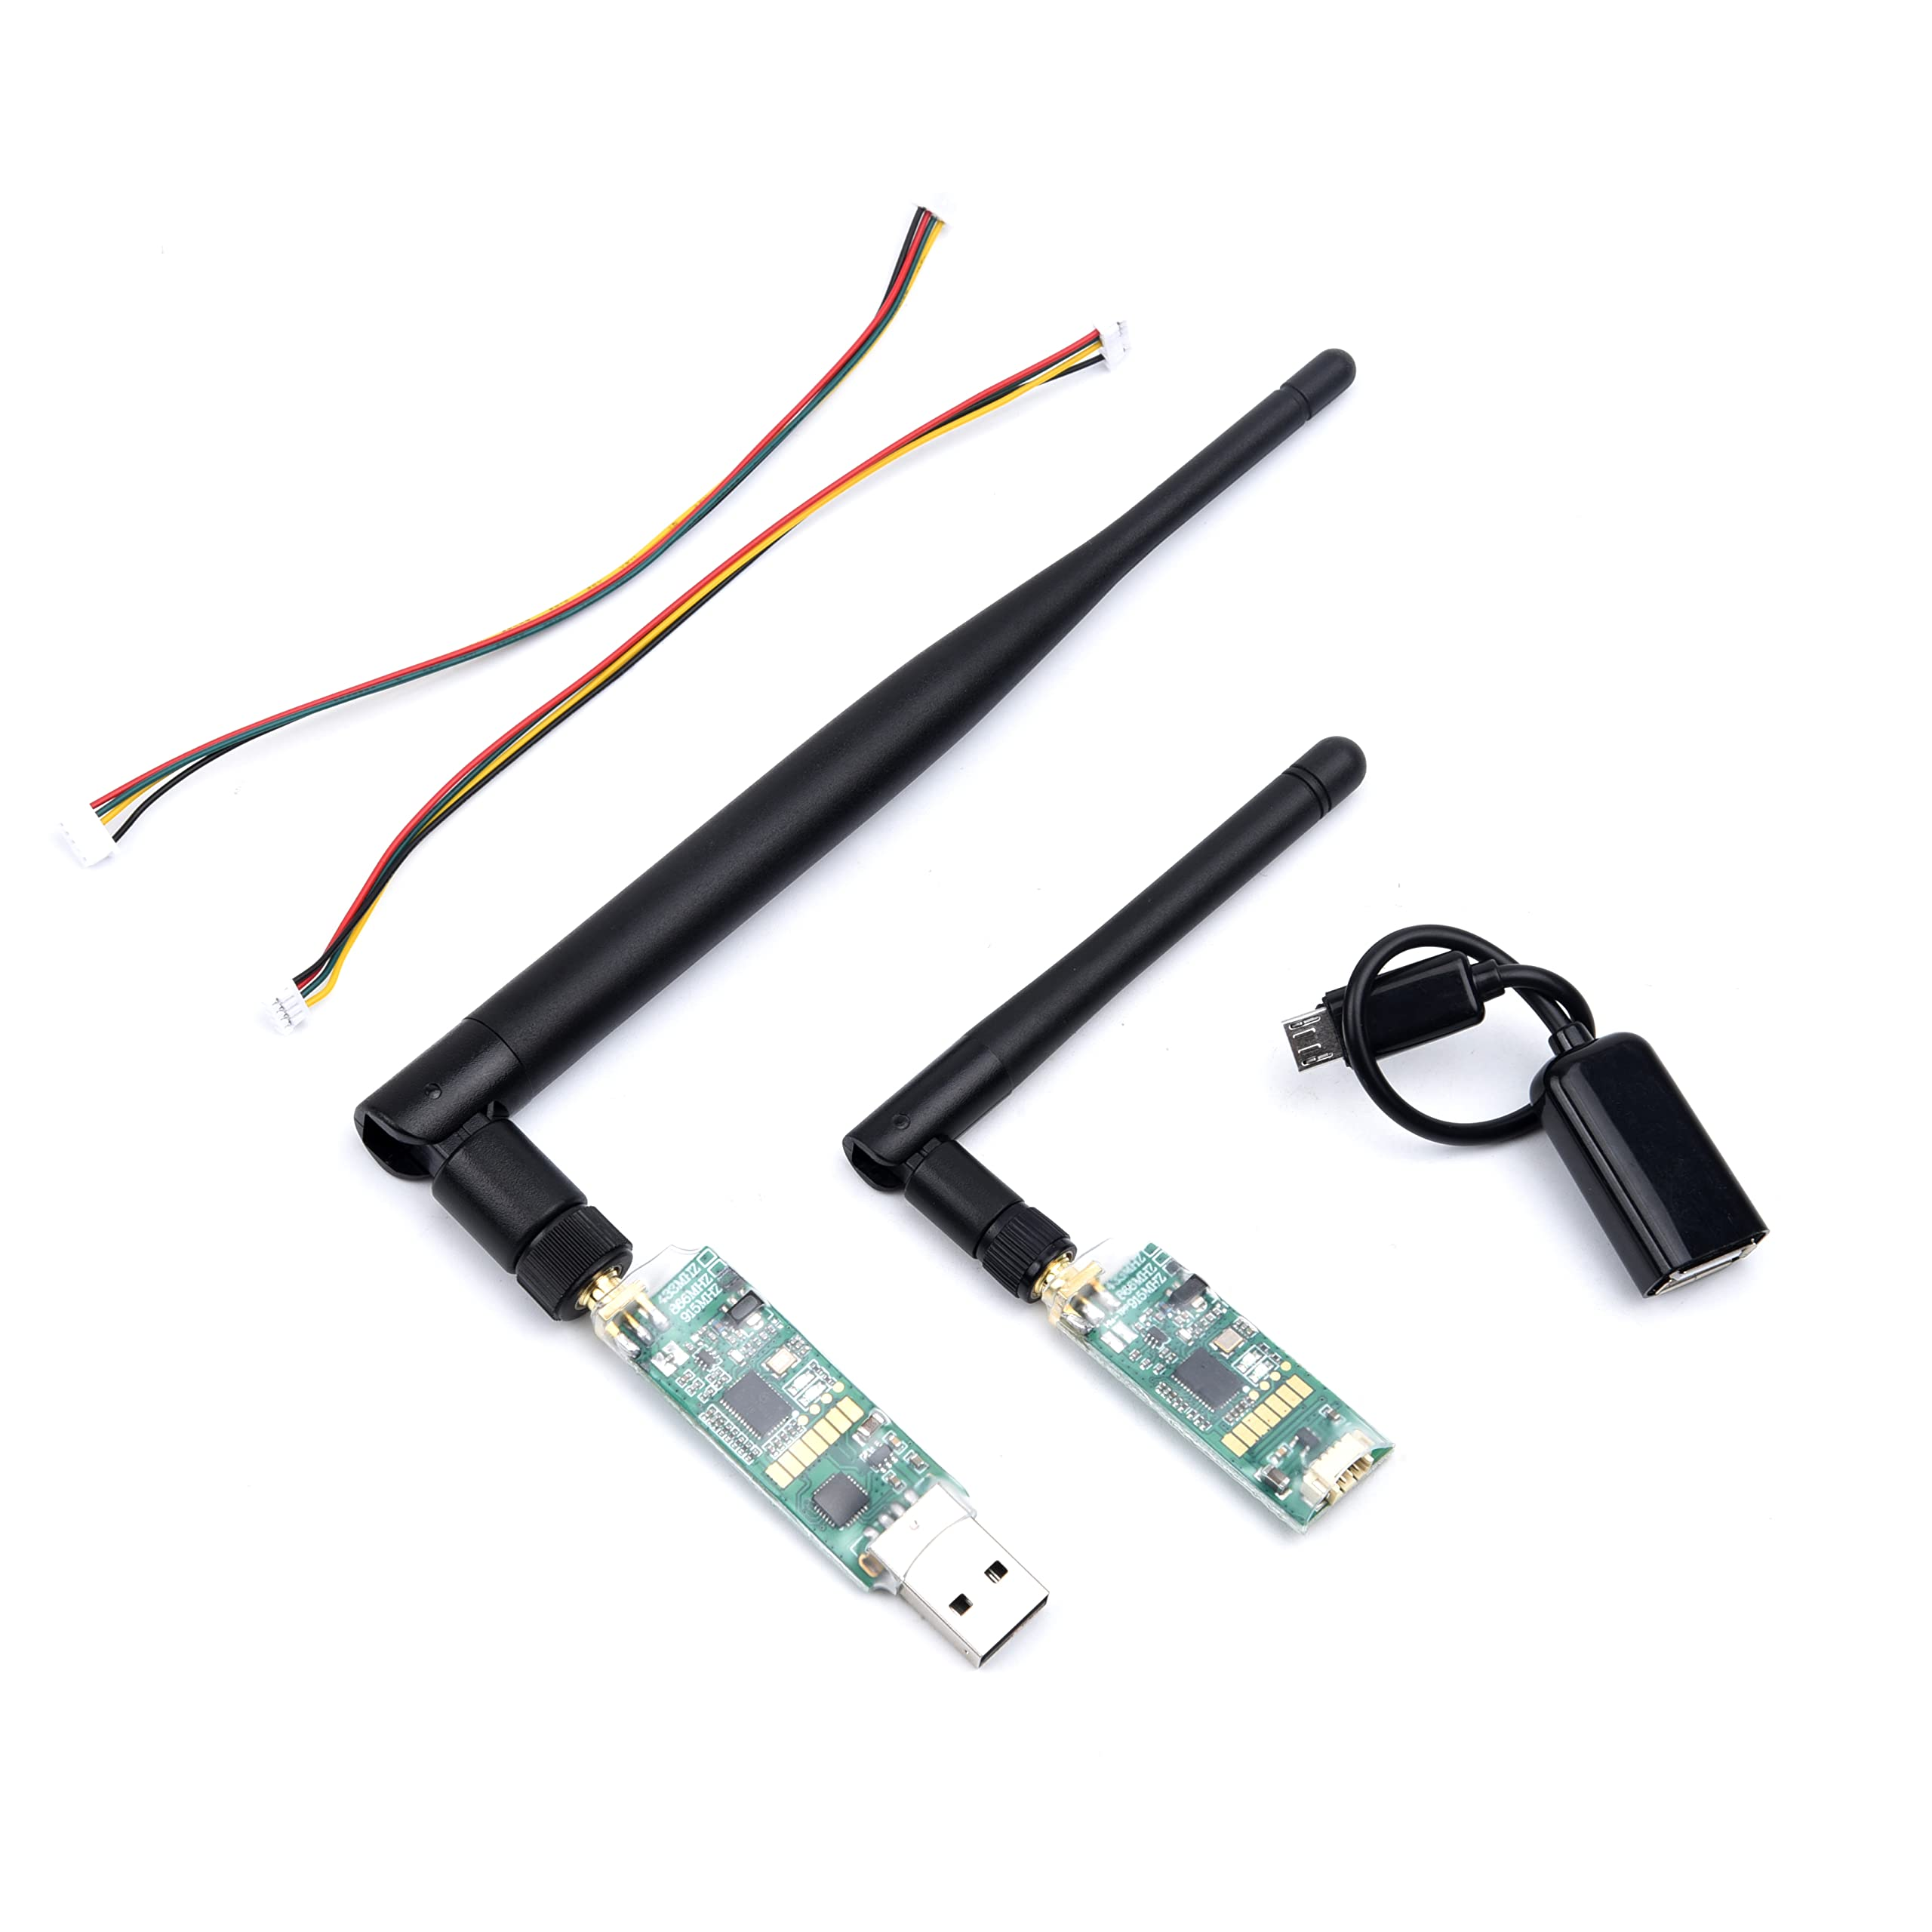
3DR Single TTL MINI Radio Telemetry 433MHz 500mW for Pixhawk and APM
A compact 433 MHz SiK module with 500 mW output — longer range and better penetration than 915 MHz in dense environments. Useful when flying near buildings or in vegetated terrain.
View on ZboticFrSky Telemetry: Integrated RC + Data Link
FrSky is one of the most popular RC link systems in the world, and their newer systems (ACCESS, ACCST D16) include built-in telemetry channels that send flight data back to the transmitter’s display. Older systems use the S.Port protocol; newer ones use F.Port, which simplifies wiring by combining RC and telemetry into a single wire.
How FrSky Telemetry Works with ArduPilot
ArduPilot supports FrSky telemetry natively. On the Pixhawk side, you configure a UART to output FrSky S.Port data (SERIAL_PROTOCOL = 10 for FrSky SPort Passthrough). The receiver’s S.Port input receives this data and relays it to the transmitter screen.
The key limitation: FrSky telemetry is one-way from drone to transmitter. You cannot upload parameters, send missions, or command mode changes through FrSky telemetry alone. For full bidirectional control, you still need MAVLink (SiK radio or ELRS’s MAVLink passthrough).
FrSky Telemetry Data Points
FrSky SPort Passthrough with ArduPilot (via Yaapu Telemetry script for FrSky transmitters) provides:
- GPS coordinates, speed, heading, satellites, HDOP
- Battery voltage, current, consumed mAh
- Altitude (barometric and GPS)
- Flight mode and arming state
- EKF health, RSSI, and failsafe flags
- Rangefinder, airspeed (if sensors installed)
The Yaapu Telemetry Lua script turns a FrSky Horus or Taranis display into a comprehensive HUD — genuinely impressive for a built-in system.
Pros and Cons of FrSky Telemetry
Pros:
- No additional hardware — uses existing RC link for telemetry
- Data visible directly on the RC transmitter — no laptop needed
- Yaapu script provides excellent real-time HUD on Horus transmitters
Cons:
- One-way only (no parameter upload, no mission commands)
- Limited data rate vs MAVLink
- FrSky ecosystem is declining as ELRS takes over
- FrSky proprietary protocol — not compatible with non-FrSky systems
ExpressLRS: The New Standard
ExpressLRS (ELRS) has rapidly become the dominant RC link in the FPV and long-range drone community. It is open-source, uses the SX128x or SX127x radio chipset, and achieves remarkable range and latency performance at low cost. Originally a pure RC control link, ELRS now includes a MAVLink passthrough mode that enables full bidirectional telemetry over the same link.
ELRS Key Features
- Latency: 4 ms at 500 Hz packet rate — the lowest latency of any consumer RC link
- Range: 10–50 km at lower packet rates (250 Hz, 50 Hz) — ELRS holds records for fixed-wing distance
- Frequency: 2.4 GHz (SX1280) or 900 MHz (SX1276/SX1278)
- Telemetry: Bidirectional MAVLink passthrough (ELRS v3.x+)
- Cost: ELRS receivers start at ₹500–₹1,200; transmitter modules ₹2,500–₹6,000
- Open source: Full firmware source on GitHub, large community
ELRS MAVLink Telemetry
With ELRS v3.x, enabling MAVLink passthrough sends ArduPilot MAVLink data from the flight controller through the RC receiver, over the ELRS RF link, to the ELRS transmitter module, and then to a connected ground station via USB/Bluetooth. This gives you full bidirectional MAVLink without a separate SiK radio — at significantly longer range.
The catch: bandwidth is limited. MAVLink over ELRS is suitable for telemetry monitoring and parameter changes, but uploading large missions (many waypoints) takes longer than over a dedicated SiK radio at close range.
Pros and Cons of ExpressLRS
Pros:
- Lowest latency RC link available (4 ms)
- Exceptional range — suitable for long-range (5–50 km) builds with correct antenna
- MAVLink passthrough eliminates need for separate telemetry radio in many builds
- Open source — no proprietary lock-in
- Active development — regular firmware updates
- Wide receiver ecosystem (nano receivers as light as 0.35 g)
Cons:
- Steeper learning curve than SiK plug-and-play
- Requires transmitter module or ELRS-native radio (e.g., Radiomaster Boxer, TX16S)
- MAVLink bandwidth limited vs dedicated SiK radio at close range
- 2.4 GHz version shares spectrum with WiFi (less of an issue in rural India)
Head-to-Head Comparison
| Feature | SiK Radio | FrSky Passthrough | ExpressLRS (ELRS) |
|---|---|---|---|
| Typical Range | 500 m – 2 km | 1 – 5 km (RC link range) | 5 – 50 km |
| Latency | ~20 ms | ~20 ms | 4 – 20 ms |
| Bidirectional MAVLink | Yes (native) | No | Yes (v3.x+) |
| Mission Upload | Yes | No | Yes (slower) |
| Separate Hardware | Yes (radio pair) | No | No (if ELRS RC used) |
| Cost (India) | ₹800–₹2,500 | ₹0 (existing RC) | ₹500–₹6,000 |
| Setup Complexity | Low (plug and play) | Medium (Yaapu script) | Medium-High |
| Open Source | Yes | Partially | Yes (fully) |
| Best Use Case | Mapping, survey drones | FrSky RC users | Long range, FPV, new builds |
Which System Should You Choose?
Choose SiK Radio if…
- You are running a Pixhawk with ArduPilot and want plug-and-play Mission Planner connectivity
- Your flights are within 1–2 km and you need reliable bidirectional MAVLink
- You run frequent autonomous missions with large waypoint lists
- You are a beginner who wants zero configuration telemetry
Choose FrSky Passthrough if…
- You already own FrSky radio equipment (Taranis, Horus) and don’t want to add extra hardware
- Monitoring flight data on the transmitter screen is sufficient for your use
- You are building a sport/photography drone that doesn’t need ground station connectivity
Choose ExpressLRS if…
- You are building a long-range drone (5 km+) and need maximum RC link performance
- You want the lowest possible control latency for FPV or acrobatics
- You are starting fresh and want a future-proof, single radio link for both RC and telemetry
- You value open-source and community-driven development
Setting Up SiK Telemetry with Pixhawk
- Connect air module: Plug the SiK air module into Pixhawk’s TELEM1 port (6-pin JST GH connector).
- Connect ground module: Plug the ground module into your PC USB port. Note the COM port assigned.
- In Mission Planner: Select the SiK COM port and set baud rate to 57600. Click Connect.
- Verify link: The LED on the air module should be solid green (connected). Mission Planner HUD will update with live data.
- Configure parameters: Go to Initial Setup → Optional Hardware → SiK Radio. You can adjust net ID, air data rate, and enable encryption here.
- Net ID: Change from the default (25) if you are flying near other pilots using SiK radios — different net IDs prevent cross-talk.
Setting Up ELRS Telemetry with ArduPilot
- Install ELRS firmware: Flash your ELRS receiver with v3.x firmware via the ExpressLRS Configurator tool. Enable MAVLink in the receiver configuration.
- Connect receiver to Pixhawk UART: Wire ELRS RX/TX to one of the Pixhawk’s free UARTs (e.g., SERIAL4). Set SERIAL4_PROTOCOL = 23 (RCIN) if using CRSF, or use a dedicated ELRS UART for MAVLink passthrough.
- Configure ELRS transmitter module: In the ExpressLRS Lua script on your radio, enable MAVLink mode and set the same packet rate on transmitter and receiver.
- Connect ground station: On the transmitter side, output MAVLink via USB or Bluetooth to Mission Planner or QGroundControl.
- Verify link: With everything connected, Mission Planner should show live telemetry. Expect parameter uploads to take 30–60 seconds due to limited bandwidth.
Recommended Products from Zbotic
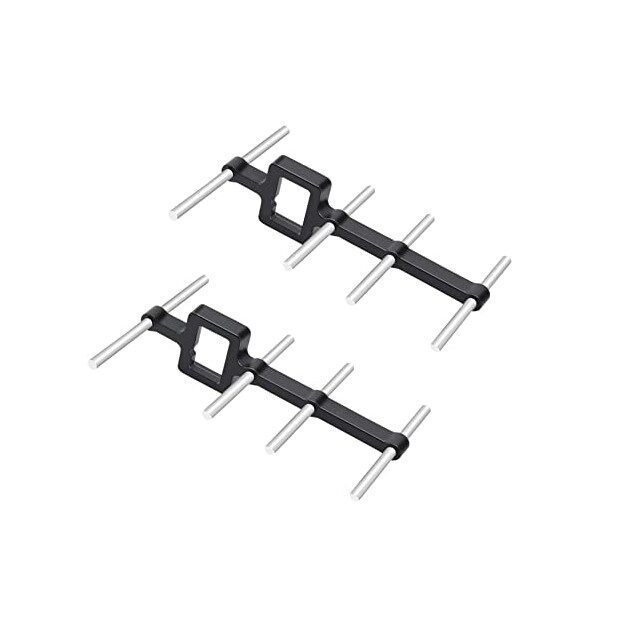
2.4GHz Yagi-UDA Drone Signal Booster
A directional Yagi antenna that dramatically extends 2.4 GHz RC and telemetry range. Essential for long-range ELRS setups where the stock whip antenna limits distance. Works with any 2.4 GHz system.
View on Zbotic
3DR 100mW Radio Telemetry 915MHz For APM PX4 Pixhawk
The plug-and-play choice for Pixhawk users. Works out of the box with Mission Planner and ArduPilot — no configuration needed. 915 MHz for open terrain, 433 MHz version for better range/penetration.
View on Zbotic
3DR TTL MINI Radio Telemetry 433MHz 500mW for Pixhawk/APM
A higher-power (500 mW) 433 MHz SiK module in a compact form factor. Delivers longer range and better signal in environments where 915 MHz struggles, ideal for field survey operations in vegetated areas.
View on ZboticFrequently Asked Questions
Yes. Many pilots run SiK for full MAVLink connectivity on TELEM1 and FrSky passthrough on TELEM2 for on-transmitter display. ArduPilot can output different protocols on different UARTs simultaneously.
For most builds, yes — ELRS v3.x MAVLink passthrough provides sufficient bandwidth for monitoring and parameter changes. However, for mapping missions with hundreds of waypoints or high-frequency data logging, a dedicated SiK radio on TELEM1 is faster and more reliable.
433 MHz and 915 MHz both fall in ISM bands usable in India. 433 MHz offers better range and penetration. 915 MHz is less congested in India than in the US where it shares spectrum with LoRa/IoT devices. Both work well — choose based on antenna and interference concerns at your flying location.
Check: (1) Baud rate mismatch — try 57600 and 115200 both. (2) USB cable quality — cheap cables drop data. (3) Net ID mismatch between air and ground module. (4) Air module too close to interference sources (GPS module, VTX). (5) Low battery on the drone dropping voltage below Pixhawk’s stable range.
Yes. QGroundControl and Mission Planner Mobile (Android) both support MAVLink over Bluetooth or USB. For SiK radio: pair your PC/tablet to the ground module. For ELRS: use the transmitter’s Bluetooth output. Tower (DroidPlanner) is another popular Android GCS option.
Conclusion
All three telemetry systems — SiK radio, FrSky passthrough, and ExpressLRS — have their place in the Indian drone builder’s toolkit. SiK remains the easiest way to get full bidirectional MAVLink for Pixhawk-based builds. FrSky passthrough is a no-extra-hardware solution for existing FrSky users. And ELRS is the future — delivering exceptional range, low latency, and now MAVLink telemetry in an open-source package.
For new builds in 2026, we recommend starting with ELRS for the RC link and adding a SiK radio if you need reliable MAVLink for mission uploads. This gives you the best of both: ultra-low-latency control and reliable ground station connectivity.
Shop Telemetry Radios and Signal Boosters at Zbotic
SiK radio pairs, Yagi antennas, and drone components — domestic shipping across India, no import wait.
Browse Telemetry Products


Add comment