
A comparator is one of the simplest yet most useful circuits in electronics. It does exactly what its name says — it compares two voltages and tells you which one is higher. The LM393 is the most popular dual comparator IC in the world, found in everything from battery chargers and light sensors to motor controllers and level-crossing detectors.
In this tutorial you will learn exactly how a comparator works, what makes the LM393 different from a standard op-amp, how to read its output correctly, and how to build practical comparator circuits with hysteresis. You will find step-by-step circuit examples with real voltage numbers and advice on how to build and test these circuits on a breadboard.
What Is a Voltage Comparator?
A voltage comparator is an electronic circuit that takes two input voltages — often called V+ (non-inverting) and V− (inverting) — and produces a binary output based on which is larger:
If V+ > V−  →  Output = HIGH (logic 1)
If V+ < V−  →  Output = LOW  (logic 0)
If V+ = V−  →  Output is undefined (transition region)
Unlike an op-amp amplifier (which uses negative feedback to set a precise gain), a comparator typically operates open-loop — with enormous gain. This means even a tiny difference of a fraction of a millivolt between the inputs drives the output fully to one rail or the other. There is no linear region.
Why Use a Dedicated Comparator?
While any op-amp can technically be used as a comparator in open-loop mode, dedicated comparators like the LM393 are designed specifically for this job. They switch much faster when driven from saturation to cutoff, their output is designed to interface directly with logic circuits, and they are optimised for low power in single-supply applications.
LM393 IC Overview and Pinout
The LM393 is a dual voltage comparator — it contains two independent comparators in one 8-pin DIP or SO-8 package.
- Supply voltage: 2 V to 36 V single supply, or ±1 V to ±18 V dual supply
- Input common-mode range: 0 V to V_CC − 1.5 V
- Output type: Open-collector (NPN transistor)
- Input offset voltage: 2 mV (typical), 5 mV (max)
- Supply current: 0.8 mA (extremely low power)
- Response time: ~1.3 µs (at 5 mV overdrive)
Pinout (8-pin DIP)
Pin 1: Output 1
Pin 2: Inverting Input 1 (V−1)
Pin 3: Non-inverting Input 1 (V+1)
Pin 4: GND
Pin 5: Non-inverting Input 2 (V+2)
Pin 6: Inverting Input 2 (V−2)
Pin 7: Output 2
Pin 8: VCC
Open-Collector Output: What It Means
This is the most confusing aspect of the LM393 for beginners. The output is NOT a normal totem-pole logic output — it is an open-collector NPN transistor.
Think of the output pin as being connected to the collector of an NPN transistor, with the emitter tied to GND:
- When output transistor is OFF (V+ > V−): The collector is floating (open circuit). It has no defined voltage unless a pull-up resistor is connected.
- When output transistor is ON (V+ < V−): The collector is pulled to GND through the transistor’s saturation resistance (very low, a few dozen ohms).
Therefore, you MUST connect a pull-up resistor from the output pin to V_CC (or to a logic supply rail). Without a pull-up resistor, the output is undefined in the HIGH state.
Typical pull-up resistor: 10 kΩ (for logic loads) or 1 kΩ (for LED drive)
Output HIGH (transistor off): Output → V_CC (through pull-up)
Output LOW (transistor on): Output → GND (~0.1 V saturation)
The open-collector design is actually an advantage — it allows you to use any logic supply voltage independently of the comparator’s own supply. It also allows wired-AND operation by connecting multiple outputs together.
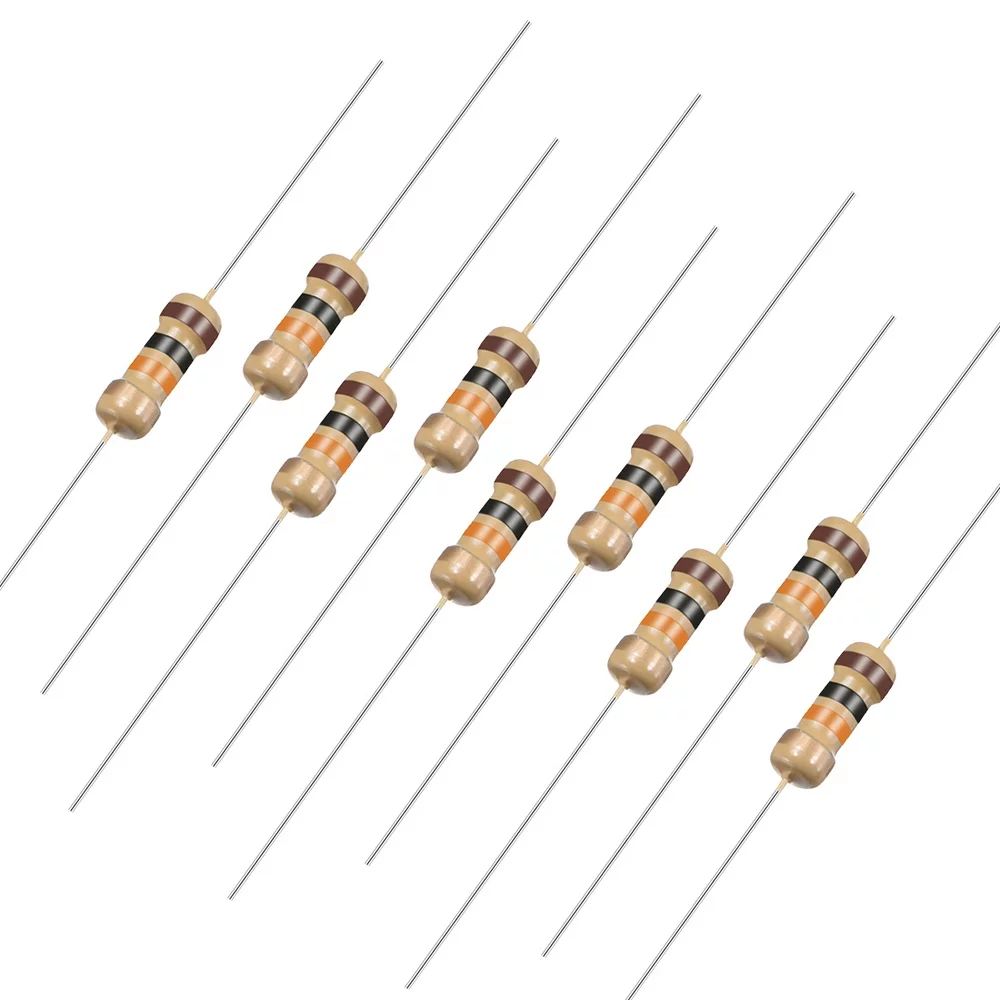
10 Ohm 0.25W Carbon Film Resistor (Pack of 50)
Use these resistors for pull-up configurations in LM393 comparator circuits — combine with higher values to set the correct pull-up for 5V or 3.3V logic outputs.
Basic Comparator Circuit
The simplest LM393 circuit compares the input voltage against a fixed reference:
- V+ (pin 3) → Input voltage to be compared (V_in)
- V− (pin 2) → Reference voltage (V_ref), set by a voltage divider
- Pin 1 (output) → 10 kΩ pull-up to V_CC, then to an LED or logic input
- Pin 8 → V_CC (e.g. 5 V)
- Pin 4 → GND
Setting the Reference Voltage
Use a resistor voltage divider to set V_ref:
V_ref = V_CC × R2 / (R1 + R2)
Example: V_CC = 5V, want V_ref = 2.5V
Choose R1 = R2 = 10 kΩ → V_ref = 5 × 10k/20k = 2.5 V
Circuit Operation
V_in = 3V, V_ref = 2.5V → V+ > V− → Output transistor OFF → Output pulled HIGH by R_pullup = 5V → LED ON
V_in = 1V, V_ref = 2.5V → V+ < V− → Output transistor ON → Output = GND ≈ 0V → LED OFF
Practical Example: Light/Dark Detector
This is one of the most common LM393 applications. An LDR (Light Dependent Resistor) forms a voltage divider with a fixed resistor, and the LM393 detects when light drops below a threshold.
Circuit Components
- LDR (R_LDR): 1 kΩ in bright light, up to 1 MΩ in darkness
- R_fixed = 10 kΩ (sets sensitivity threshold)
- V_CC = 5 V
- LM393 comparator
- 10 kΩ pull-up on output
- LED + 330 Ω series resistor to output
Circuit Connections
Voltage divider: V_CC → LDR → Node A → R_fixed → GND
V_sensor = V_CC × R_fixed / (R_LDR + R_fixed)

V+ (pin 3) = V_sensor (from LDR divider)
V− (pin 2) = V_ref = 2.5V (from 10k/10k divider)

Bright light: R_LDR = 1k → V_sensor = 5×10k/11k = 4.55V → V+ > V− → Output HIGH → LED ON
Dark: R_LDR = 100k → V_sensor = 5×10k/110k = 0.45V → V+ < V− → Output LOW → LED OFF
By adjusting R_fixed or the reference divider, you can tune the exact light level at which the output switches. In practice, a potentiometer in place of R_fixed gives you adjustable sensitivity.
Practical Example: Voltage Level Detector
This circuit monitors a battery or supply voltage and alerts when it drops below a set threshold — a low-battery indicator.
Design for 12V Battery, Alert at 11V
V_CC = 5V (from regulator or separate supply)
Battery voltage is scaled down to the 0–5V range:

Scaling divider: R_scale1 = 22kΩ, R_scale2 = 10kΩ
V_scaled = V_bat × 10k/(22k+10k) = V_bat × 0.3125

At 12V: V_scaled = 12 × 0.3125 = 3.75V
At 11V: V_scaled = 11 × 0.3125 = 3.44V

Set V_ref = 3.44V:
Reference divider: R_ref1 = 4.7kΩ, R_ref2 = 10kΩ
V_ref = 5 × 10k/14.7k = 3.40V ✓

When battery > 11V: V_scaled > V_ref → Output HIGH → Green LED
When battery < 11V: V_scaled < V_ref → Output LOW → Red LED (via complementary output)
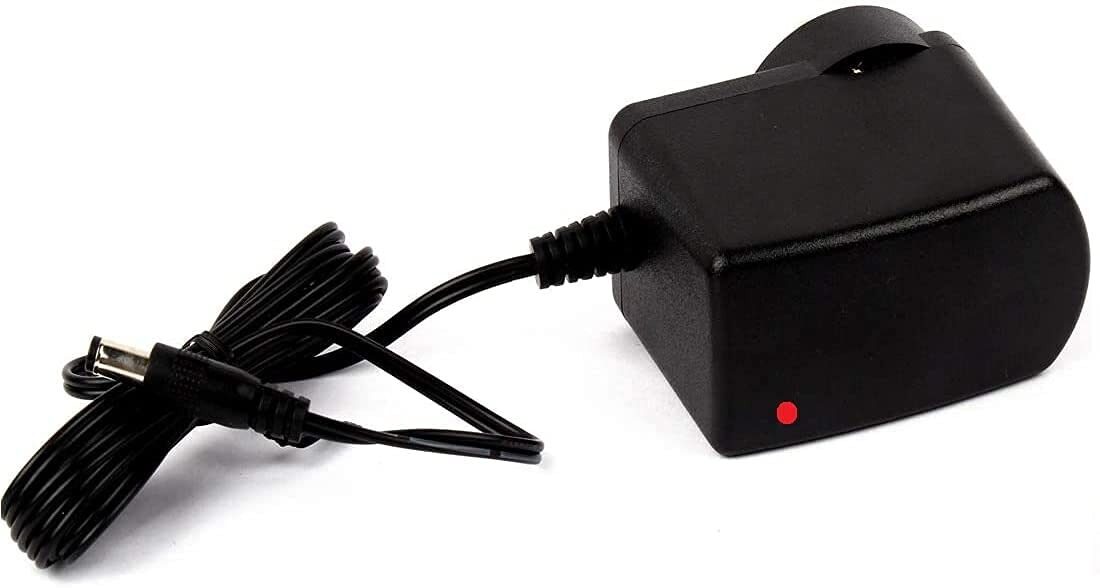
12V 2A Power Supply with 5.5mm DC Plug Adapter
Simulate a 12V battery source for testing LM393 voltage-level detector circuits — adjust input with a voltage divider to verify threshold switching at your set level.
Adding Hysteresis (Schmitt Trigger)
The basic comparator has one serious problem in real-world applications: noise chatter. When the input signal is slow-moving or noisy near the threshold, the output oscillates rapidly between HIGH and LOW. This is highly undesirable — it causes relay contact bounce, LED flickering, and erroneous digital logic transitions.
The solution is hysteresis — creating two different switching thresholds, one for the rising signal and one for the falling signal. This dead zone prevents chattering.
Hysteresis Using Positive Feedback
Add a resistor R_H from the output back to the non-inverting input (V+). This creates positive feedback:
Upper threshold V_UT = V_ref + ΔV
Lower threshold V_LT = V_ref − ΔV
Hysteresis band = V_UT − V_LT = 2ΔV

With R_ref (reference divider top) and R_H (feedback):
ΔV ≈ (V_CC − V_ref) × R_ref_parallel / R_H

Practical values:
V_ref = 2.5V, V_CC = 5V, R_H = 1MΩ, R_ref = 10kΩ
ΔV ≈ 2.5 × 10k/1000k = 0.025V = 25mV

So: V_UT = 2.525V, V_LT = 2.475V
Output will only switch HIGH when input crosses 2.525V, and only switch LOW when input drops below 2.475V
This 50 mV hysteresis band is enough to prevent chattering from normal noise levels. For noisier environments, reduce R_H to widen the band.
Inverting Schmitt Trigger (Non-Inverting V+ at Reference)
The same principle applies to the inverting configuration — the feedback resistor and reference values just work out differently. The approach is the same: positive feedback from output to the non-inverting terminal.
Window Comparator Circuit
A window comparator detects when an input voltage falls within a specific range (window). The LM393 is perfect for this since it contains two comparators in one package.
Circuit Design
- Comparator 1: V+ = V_in, V− = V_upper (upper threshold). Output HIGH when V_in < V_upper.
- Comparator 2: V+ = V_lower (lower threshold), V− = V_in. Output HIGH when V_in > V_lower.
- Both outputs connected to the same pull-up resistor and LED (wired-AND).
- LED ON only when BOTH outputs are HIGH → V_lower < V_in < V_upper (inside window).
Example: V_lower = 3V, V_upper = 4V, V_CC = 5V

V_in = 3.5V → inside window → Both outputs HIGH → LED ON ✓
V_in = 2V → below window → Comparator 2 output LOW → LED OFF
V_in = 4.5V → above window → Comparator 1 output LOW → LED OFF
Applications include battery charge state detection, temperature-range monitoring, and production testing to verify that a parameter is within spec.
LM393 vs Op-Amp as Comparator
| Feature | LM393 Comparator | Op-Amp (open-loop) |
|---|---|---|
| Output type | Open-collector (needs pull-up) | Push-pull (totem-pole) |
| Response speed | Fast (designed for switching) | Slow (optimised for linear) |
| Recovery from saturation | Fast | Very slow (phase inversion risk) |
| Input CM range | Down to GND (for ground sensing) | Varies; may not reach GND |
| Logic interfacing | Direct (via pull-up to logic VCC) | May need level shifting |
| Cost | Very low (~₹5–15 per IC) | Slightly higher |
| Best for | Digital triggering, threshold detection, switching | Linear amplification |
Practical Building Tips
- Always use a pull-up resistor: The LM393 output is open-collector. Without a pull-up, the HIGH state is undefined. Use 10 kΩ to V_CC for logic outputs, or 1 kΩ for driving LEDs directly.
- Add bypass capacitors: Place 100 nF ceramic capacitors from V_CC (pin 8) to GND (pin 4) as close as possible to the IC. This prevents supply noise from causing false triggering.
- Add input filtering: For slow, noisy signals (temperature sensors, light sensors), add a small capacitor (10–100 nF) from the input pin to ground to filter out high-frequency interference before it reaches the comparator.
- Use hysteresis for slow/noisy inputs: Any input that changes slowly or has noise near the threshold needs hysteresis. Add a 1 MΩ feedback resistor from output to V+ as a starting point and adjust from there.
- Single vs dual supply: LM393 works with a single supply (e.g. 5 V) or dual supply (e.g. ±5 V). For single supply, ensure both inputs stay above GND and below V_CC − 1.5 V.
- Input protection: If the input voltage may go above V_CC or below GND, add clamping diodes or a series resistor to protect the input pins.

0.1/100nF Multilayer Ceramic Capacitor (Pack of 50)
Essential 100nF bypass capacitors for LM393 comparator circuits — place directly across V_CC and GND pins to suppress supply noise and prevent false switching.

10CM Female To Female Breadboard Jumper Wires – 40Pcs
Wire up your LM393 comparator circuits on a breadboard with ease — these female-to-female wires are ideal for connecting sensor modules and ICs.
Frequently Asked Questions
What is the LM393 used for?
The LM393 is used wherever you need to compare two voltages and produce a digital HIGH/LOW output. Common applications include light sensors (LDR-based detectors), battery voltage monitors, motor speed control (back-EMF sensing), temperature threshold alarms (with NTC/PTC thermistors), zero-crossing detectors for AC signals, and pulse-width modulation circuits.
Why does the LM393 output need a pull-up resistor?
The LM393 uses an open-collector output — internally it is just an NPN transistor whose collector is brought out to the pin. When the transistor is off, the pin is floating (high-impedance). A pull-up resistor connects the pin to V_CC so that the floating state becomes a well-defined logic HIGH. Without it, your HIGH state is undefined and the output will behave unpredictably.
What is the difference between a comparator and an op-amp?
Both are differential amplifiers, but a comparator is designed to work open-loop (no negative feedback) and switch quickly between two saturated states. Op-amps are optimised for linear operation with negative feedback; if used open-loop as comparators they switch slowly (phase margin issues) and may latch up. Comparators also typically have open-collector or open-drain outputs and input CM ranges that extend to the supply rails.
Can the LM393 work with 3.3V?
Yes, the LM393’s minimum supply voltage is 2 V, so it works fine on 3.3 V single supply. The pull-up resistor should go to 3.3 V (or your logic supply) to produce valid 3.3 V logic HIGH outputs.
What is hysteresis in a comparator?
Hysteresis means the comparator has two different switching thresholds: a higher one for when the input is rising (upper threshold, V_UT) and a lower one for when the input is falling (lower threshold, V_LT). The gap between V_UT and V_LT is called the hysteresis band. This prevents rapid chattering when a noisy signal lingers near the threshold. It is implemented by adding positive feedback (a resistor from output to V+ input).
How many comparators does the LM393 have?
The LM393 contains two independent comparators in one 8-pin package. This makes it perfect for window comparators, two-threshold detectors, or simply having a spare comparator available in your design. If you need four comparators, use the LM339 which is a quad version in a 14-pin package.
Can I use LM393 for AC signals?
Yes, with some care. The LM393 can compare AC signals if both inputs stay within the common-mode range (0 V to V_CC − 1.5 V for single supply). For AC signals that swing below ground, you need to add a DC offset (biasing) to shift the signal into the valid input range, or use a dual supply so the input can go negative.
Build Your First LM393 Comparator Circuit Today
Grab resistors, capacitors, and jumper wires from Zbotic and build the light detector or voltage level monitor circuits from this guide. The LM393 is available at most electronics stores, and paired with components from Zbotic, you can have a working comparator circuit on your breadboard in under 30 minutes.


Add comment