
Table of Contents
- What Is the Betaflight RPM Filter?
- Why Motor Noise Ruins Your FPV Experience
- Hardware Requirements for RPM Filter
- Enabling RPM Filter in Betaflight
- Configuring RPM Filter Settings
- Tuning PID After Enabling RPM Filter
- Blackbox Analysis to Verify Results
- Common Mistakes and Troubleshooting
- Recommended Products
- FAQ
If you’ve been flying FPV drones in India and struggling with that annoying high-frequency whine in your motors or jello in your video feed, the Betaflight RPM filter is the single most impactful fix you can apply. Introduced in Betaflight 3.4 and significantly refined through versions 4.x, the RPM filter uses real-time motor speed data to dynamically notch out noise at exactly the frequencies your motors are generating — rather than applying broad static filters that kill performance.
This tutorial walks you through everything: what the RPM filter does, what hardware you need, how to configure it in Betaflight Configurator, and how to tune your PIDs afterwards for a clean, locked-in feel even on fast race tracks or windy agricultural inspection runs.
What Is the Betaflight RPM Filter?
Traditional filtering in Betaflight uses static notch filters and low-pass filters on gyro data. These are set at fixed frequencies and don’t adapt to changing flight conditions. The problem: motor noise frequencies change constantly with throttle input, temperature, and propeller load. A static filter that works at hover throttle completely misses the noise frequencies at full throttle.
The RPM filter solves this by using bidirectional DSHOT (a protocol that lets ESCs report actual motor RPM back to the flight controller in real time). With this data, Betaflight can calculate exactly which frequencies the motors are producing — including the fundamental frequency and its harmonics — and place precise notch filters right on those frequencies dynamically.
The result is dramatically cleaner gyro data with far less phase delay than traditional broad low-pass filters, which means you can run higher P gains without oscillations, get better propwash handling, and achieve that locked-in feel experienced FPV pilots obsess over.
Key Benefits at a Glance
- Eliminates motor noise at fundamental frequency + 3 harmonics
- Completely dynamic — adapts to every throttle position in real time
- Enables higher P and D gains for sharper response
- Reduces propwash oscillations significantly
- Lowers motor and ESC temperatures in many builds
- Cleaner video feed with less high-frequency jitter
Why Motor Noise Ruins Your FPV Experience
Every brushless motor generates electromagnetic noise as its magnets interact with the stator windings. On a quadcopter, you have four motors all generating noise at different frequencies (since they’re spinning at different RPMs to maintain attitude). This noise travels through the frame into the gyroscope sensor on your flight controller.
When the flight controller’s PID loop sees this gyro noise, it treats it as real movement and tries to correct for it — sending commands to the ESCs that cause more vibration, creating a feedback loop. This manifests as:
- Propwash oscillations — the drone oscillates when descending through its own prop wash during freestyle moves
- Hot motors — the flight controller is constantly fighting ghost movements, keeping motors at elevated throttle
- Jello video — high-frequency vibrations cause the camera’s rolling shutter to produce wobbly, unusable footage
- Reduced flight time — wasted power fighting noise instead of flying
In India’s diverse flying conditions — from humid coastal regions to dusty Rajasthan to high-altitude Himalayan areas — motor noise behaviour can vary significantly based on temperature and air density. A properly configured RPM filter adapts to all these conditions automatically.
Hardware Requirements for RPM Filter
Before you can use the RPM filter, you need compatible hardware throughout your drive train:
1. Flight Controller with Bidirectional DSHOT Support
Your FC must be capable of running Betaflight 3.4+ (most modern F4, F7, and H7 flight controllers qualify). Bidirectional DSHOT was added in Betaflight 3.6 and became mainstream in 4.0. Check that your FC’s target supports it — most FCs with STM32F405, F745, F765, or H743 processors do.
2. ESCs with Bidirectional DSHOT Firmware
This is the critical requirement. Your ESCs must run firmware that supports bidirectional DSHOT communication. Compatible options include:
- BLHeli_32 — supported since version 32.7, most BLHeli_32 ESCs work well
- AM32 — open-source alternative, excellent bidirectional DSHOT support
- BLHeli_S with Bluejay firmware — free firmware upgrade that adds bidirectional DSHOT to older BLHeli_S ESCs
Note: Standard BLHeli_S firmware does NOT support bidirectional DSHOT. You must flash Bluejay or another compatible firmware to enable it on BLHeli_S ESCs.
3. DSHOT Protocol
You need to be using DSHOT300 or DSHOT600 (not OneShot, MultiShot, or analog PWM). DSHOT is a digital protocol that allows the two-way communication required for RPM telemetry. DSHOT600 is preferred for performance builds.
4. Correct Wiring
Bidirectional DSHOT uses the existing motor signal wire — no additional wiring is required. The signal line that normally carries FC→ESC commands also carries ESC→FC telemetry in the opposite direction when bidirectional DSHOT is enabled.

35A V2.1 2-5S 4-in-1 Brushless ESC for RC Drone FPV Racing
4-in-1 ESC with 35A per channel, BLHeli_32 compatible firmware, supports bidirectional DSHOT for full RPM filter functionality. Perfect for 5-inch FPV race builds.
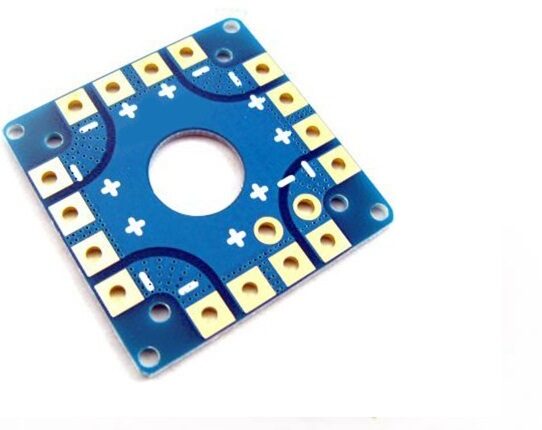
100A Multirotor ESC Power Distribution Battery Board For Quadcopter
Heavy-duty 100A PDB with integrated ESC power distribution, ideal for larger FPV and racing quadcopters needing clean power delivery to individual ESCs.
Enabling RPM Filter in Betaflight
Step 1: Flash Compatible ESC Firmware
Open BLHeli Configurator (for BLHeli_32) or the Bluejay Configurator (for BLHeli_S). Connect your drone, read all ESCs, and verify the firmware version. For BLHeli_32, ensure you’re on 32.7 or later. For BLHeli_S, install Bluejay firmware (free download at github.com/bird-sanctuary/bluejay).
Step 2: Enable Bidirectional DSHOT in ESC Firmware
In BLHeli_32 Configurator, look for the “Bidirectional DSHOT” setting and enable it for all ESCs. Write the settings. In Bluejay Configurator, this is enabled by default when you flash Bluejay.
Step 3: Configure Betaflight
Open Betaflight Configurator and connect to your FC. Navigate to the Configuration tab:
- Under ESC/Motor Protocol, select DSHOT600 (or DSHOT300 for slower processors)
- Enable Bidirectional DSHOT checkbox — this is what allows RPM telemetry to flow back to the FC
- Click Save and Reboot
Navigate to the Filtering tab:
- Enable the RPM Filter toggle
- The default settings (3 harmonics, 1% minimum) are a good starting point
- Click Save
Step 4: Verify RPM Telemetry is Working
Go to the Motors tab in Betaflight Configurator. Carefully spin up one motor at a time (remove props first!) and watch for RPM readout next to each motor. If you see live RPM values updating as you increase throttle on the master slider, bidirectional DSHOT is working correctly.
If you see 0 RPM or erratic values:
- Verify ESC firmware has bidirectional DSHOT enabled
- Check that you’ve selected DSHOT (not analog protocol) in Betaflight
- Try reflashing the FC firmware clean and reconfiguring
- Check for broken signal wires or bad solder joints
Configuring RPM Filter Settings
With RPM filter working, you’ll see these key parameters in the Filtering tab:
Harmonics
The RPM filter creates notch filters at the fundamental motor frequency and up to N harmonics above it. The default of 3 harmonics means filters at 1x, 2x, and 3x the motor frequency. Most builds do well with 3 harmonics. You can try reducing to 2 if you’re concerned about CPU load on F4 processors.
Min Throttle
The minimum RPM threshold below which the filter doesn’t apply. Default is around 100 RPM. This prevents the filter from trying to notch at very low frequencies (which would cause phase issues). Leave this at default unless you have specific low-RPM problems.
Q Factor (Bandwidth)
Controls how narrow the notch filters are. Higher Q = narrower notch = less phase delay but less noise rejection if RPM calculation is slightly off. The default values work well for most builds. With accurate ESC telemetry, you can increase Q for better performance.
Recommended Starting Configuration (CLI)
set rpm_filter_harmonics = 3
set rpm_filter_min_hz = 100
set dshot_bidir = ON
save
After enabling the RPM filter, you should also reduce your static filters. The RPM filter is doing heavy lifting, so your gyro low-pass filters can be set higher (less aggressive), which reduces phase delay:
# In Filtering tab or CLI
set gyro_lowpass_hz = 200   # Was 150 by default, can go higher
set gyro_lowpass2_hz = 250  # Second LPF, also raise
set dyn_notch_count = 1     # Reduce dynamic notch count — RPM filter covers most noise
set dyn_notch_q = 500
save
Tuning PID After Enabling RPM Filter
The RPM filter changes the noise characteristics of your build significantly. You should re-tune PIDs after enabling it. Here’s a systematic approach:
Start with Conservative PIDs
Reset to Betaflight defaults or use the auto-profile presets. The RPM filter allows you to run higher P and D gains, but start low and work up.
Increase D Gain First
D gain is usually limited by noise amplification — the derivative of noisy gyro data is extremely noisy. With RPM filter cleaning the signal, you can run significantly higher D without motors getting hot. Increase D in steps of 2-3 until you see slight D-related heat in motors, then back off slightly.
Raise P Gain
Higher D supports higher P. Increase P until you see fast oscillations, then back off 10-15%. With a clean gyro signal, most 5-inch builds can run P values in the 50-65 range (roll/pitch).
Anti-Gravity and I Term
After P and D are set, tune I for drift correction. The RPM filter generally doesn’t affect I tuning much — adjust it to eliminate slow drift without causing I-term windup oscillations after rapid manoeuvres.
Sample Starting PIDs for 5-inch 4S Build with RPM Filter
| Axis | P | I | D | F |
|---|---|---|---|---|
| Roll | 55 | 50 | 35 | 100 |
| Pitch | 58 | 55 | 38 | 100 |
| Yaw | 50 | 65 | 0 | 100 |
Blackbox Analysis to Verify Results
If you have blackbox logging enabled (highly recommended), you can visually confirm the RPM filter is working:
- Record a flight with RPM filter disabled, then one with it enabled
- Open logs in Betaflight Blackbox Explorer (or PID Analyzer)
- Look at the frequency spectrum of gyro data
- With RPM filter active, you should see sharp notches in the spectrum at motor frequencies and harmonics
- Overall noise floor across the spectrum should be lower
- Step response should look cleaner with less ringing
The PID Analyzer tool (Joshua Bardwell’s tool) is particularly useful — it generates step response plots that clearly show how much improvement the RPM filter provides.
Common Mistakes and Troubleshooting
Mistake 1: Not Flashing ESC Firmware
The single most common issue. Betaflight showing bidirectional DSHOT enabled doesn’t matter if your ESCs don’t support it. Always verify in BLHeli/Bluejay Configurator that bidirectional DSHOT is enabled on each ESC, and verify you see live RPM readout in Betaflight’s Motors tab.
Mistake 2: Mixing Protocol Settings
Using DSHOT300 when your ESC supports 600, or vice versa, can cause erratic telemetry. Match the protocol in Betaflight to what your ESCs are configured for.
Mistake 3: Not Updating the Static Filters
Many builders enable RPM filter but leave the old aggressive static filters in place. This stacks filtering on top of filtering, increasing phase delay unnecessarily. Raise your gyro LPF frequencies after enabling RPM filter.
Mistake 4: Expecting RPM Filter to Fix Mechanical Problems
If your props are damaged, frame is cracked, or motors have bent shafts, the RPM filter won’t fully fix the resulting vibrations. Mechanical problems need mechanical solutions first.
Mistake 5: Running Too Many Harmonics on F4
Each harmonic adds computational load. F4 processors (168MHz) can handle 3 harmonics at DSHOT600, but if you’re also running lots of other features, drop to 2 harmonics if you see scheduling issues (check with tasks CLI command).
Troubleshooting: RPM Filter Active but No Improvement
- Check ESC telemetry is actually working (Motors tab RPM values)
- Verify props are balanced — the RPM filter handles electrical noise, not imbalanced prop vibration
- Check motor bell screws are tight — loose magnets cause mechanical noise the filter can’t address
- Inspect FC mounting — if FC is mounted rigidly to a vibrating frame, all filters become less effective
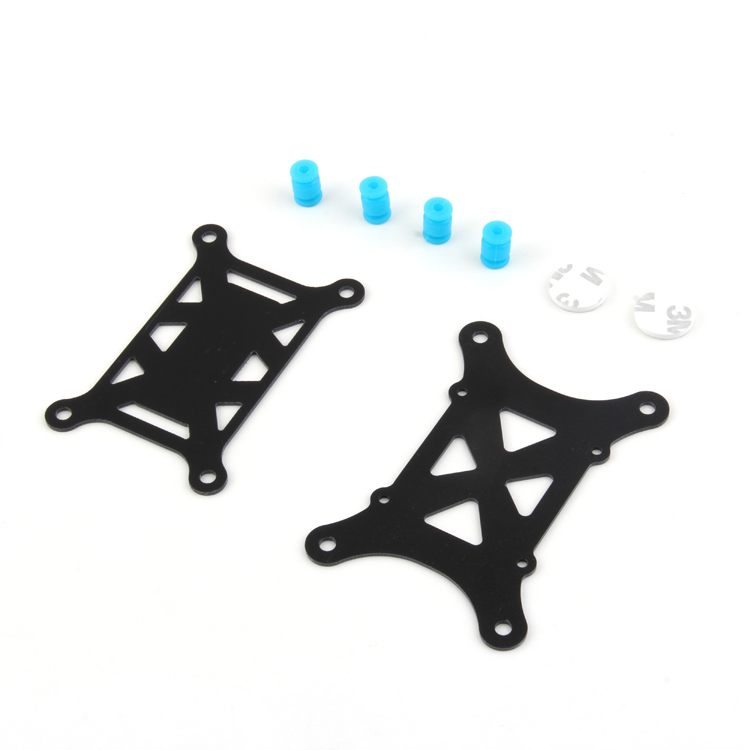
Anti-Vibration Shock Absorber for APM/KK/MWC/PixHawk
Soft-mount dampers for flight controllers — essential companion to RPM filtering. Mechanically isolating your FC removes vibrations that even RPM filter cannot address.
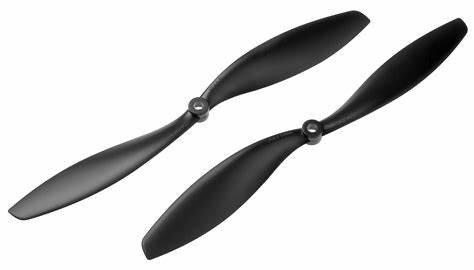
1045 2 Blades Carbon Fiber Propeller CW&CCW
High-quality carbon fibre propellers with excellent balance right out of the box. Well-balanced props reduce the mechanical vibration that filtering alone cannot solve.
Recommended Products
Build a clean, well-filtered FPV drone with these components from Zbotic:
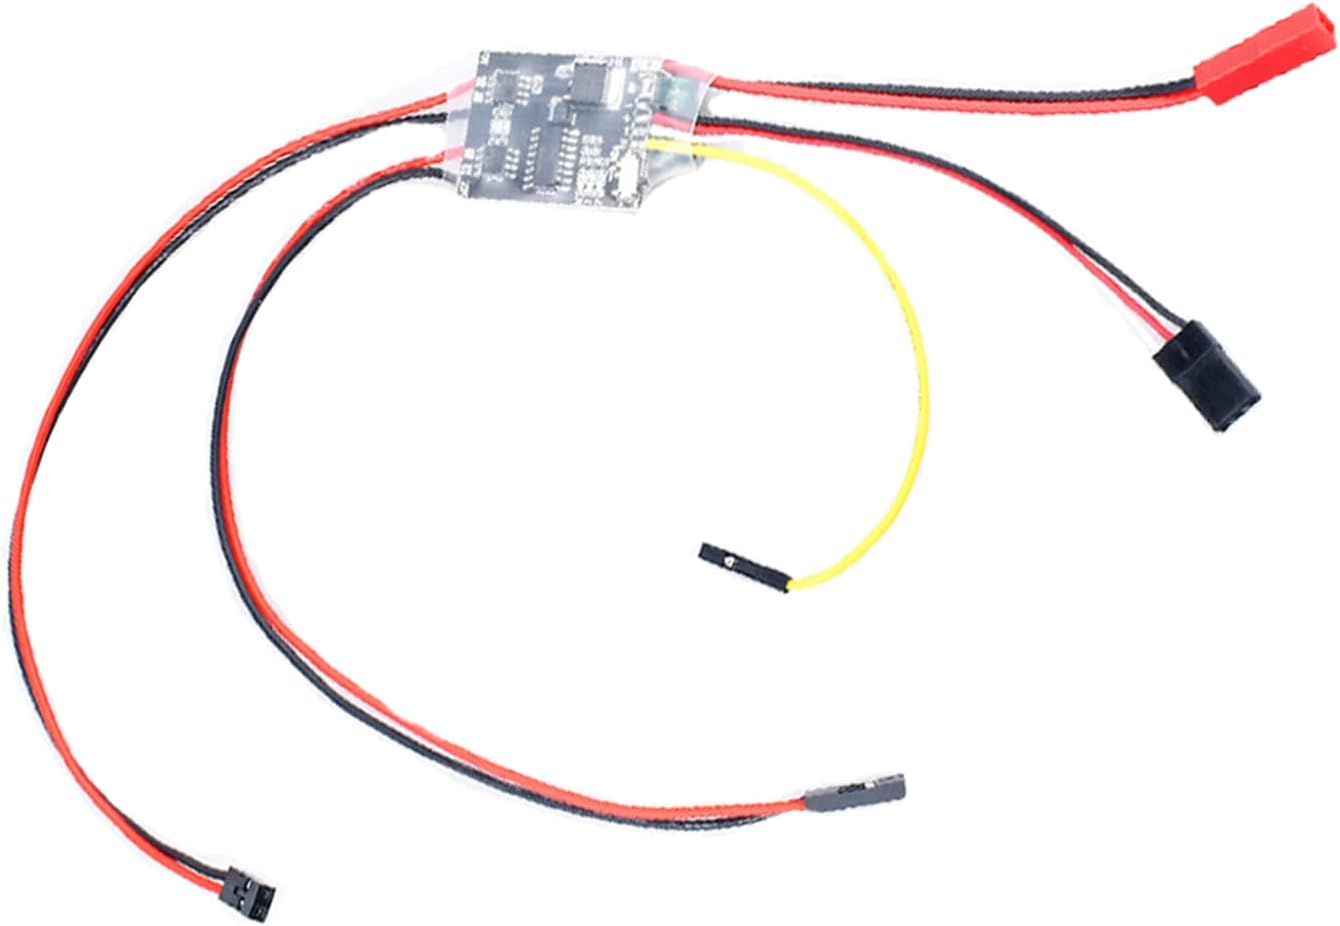
2S-6S 2Ax2 Dual Way Brushed ESC Bidirectional Electric Speed Controller
Versatile bidirectional ESC for lightweight FPV and experimental drone builds. Wide voltage range makes it adaptable to various battery configurations.
Frequently Asked Questions
Do I need special ESCs for Betaflight RPM filter?
Yes. Your ESCs must support bidirectional DSHOT. BLHeli_32 ESCs running firmware 32.7+ support it natively. BLHeli_S ESCs need to be flashed with Bluejay firmware (free). Standard BLHeli_S firmware does not support bidirectional DSHOT.
Can I use RPM filter with analog PWM or OneShot protocols?
No. The RPM filter requires DSHOT (digital protocol) specifically because bidirectional DSHOT is how RPM telemetry is transmitted from ESC to flight controller. Analog protocols don’t support this two-way communication.
Will the RPM filter cause my motors to get hotter?
No — typically the opposite. With less noise in the PID loop, the flight controller stops overcorrecting, which reduces unnecessary motor commands. Most builders report cooler motors after enabling the RPM filter properly.
My motors tab shows 0 RPM even though the drone is armed. What’s wrong?
First check: is bidirectional DSHOT enabled in your ESC firmware? Second: is the DSHOT protocol (not analog) selected in Betaflight’s Configuration tab? Third: try toggling the bidirectional DSHOT setting in Betaflight, saving, rebooting, and checking again. Also verify your ESC signal wires have good solder joints.
How many harmonics should I enable?
3 harmonics is the standard recommendation and covers the fundamental frequency plus the 2nd and 3rd harmonics. If you’re on an F4 processor and experiencing scheduling issues, drop to 2. H7 and F7 processors can comfortably run 3 harmonics without any performance concerns.
Does the RPM filter work with tri-copters or hexacopters?
Yes! The RPM filter works for any motor count. Betaflight applies individual RPM-based notch filters for each motor independently, so it works correctly for 3, 4, 6, or 8-motor configurations. Just ensure all ESCs support bidirectional DSHOT.
Should I disable the dynamic notch filter after enabling RPM filter?
You can reduce it significantly. The RPM filter handles motor-related noise very well. Keep the dynamic notch filter active but reduce its count (e.g., from 4 to 1 notch) to catch any remaining non-motor noise. Completely disabling it is possible on very clean builds but not recommended as a first step.
Ready to Build a Smoother FPV Drone?
Get all your drone electronics — ESCs, flight controllers, motors, and props — from Zbotic.in, India’s trusted source for FPV and drone building components. Free shipping on eligible orders across India.


Add comment