
ESP8266 OTA Updates: Firmware Update Over WiFi Tutorial
Updating firmware on a deployed ESP8266 over WiFi (OTA — Over the Air) is one of the most practical skills you can add to your maker toolkit. Imagine you’ve installed ESP8266 sensors across your home, factory floor, or rooftop — OTA updates mean you never have to physically connect a USB cable again. With just a WiFi connection, you can push new code, bug fixes, and features to any ESP8266 in your network. This complete tutorial covers all three ESP8266 OTA firmware update approaches: Arduino IDE OTA (mDNS-based), HTTP server OTA from a web endpoint, and the built-in web browser upload method — so you can pick the right technique for your project.
How ESP8266 OTA Works
The ESP8266’s flash memory is divided into two firmware slots when OTA is configured. During an OTA update:
- The running firmware receives new firmware data (over WiFi, in chunks)
- New firmware is written to the inactive flash slot
- If the write completes successfully, the bootloader is updated to boot from the new slot
- The ESP8266 reboots into the new firmware
- If the new firmware fails to boot, the bootloader can revert to the previous slot (eboot bootloader)
This dual-bank mechanism means OTA is fundamentally safe — a power cut or corrupted upload won’t brick your device, because the old firmware is preserved until the new one is verified working. However, this requires the flash to be at least twice the size of your firmware binary, plus space for SPIFFS/LittleFS if used.
Flash Memory Requirements for OTA
Standard ESP8266 modules (ESP-01, NodeMCU, Wemos D1 Mini) typically have 1 MB, 2 MB, or 4 MB flash. OTA requires:
- 1 MB flash: Maximum sketch size ~512 KB (each OTA slot gets half). Works but leaves little room for complex sketches.
- 4 MB flash (most NodeMCU/D1 Mini): Each OTA slot gets up to 1 MB, plus 2 MB for SPIFFS. Comfortable for OTA.
In Arduino IDE, select your board with the correct flash size under Tools > Flash Size. For NodeMCU 1.0 with 4MB flash, choose “4MB (FS:2MB OTA:~1019KB)” for a good balance of OTA space and filesystem.
Check your module’s flash size:
// Add to setup() to print flash chip info
Serial.printf("Flash size: %u bytesn", ESP.getFlashChipSize());
Serial.printf("Sketch size: %u bytesn", ESP.getSketchSize());
Serial.printf("Free for OTA: %u bytesn", ESP.getFreeSketchSpace());
Ai Thinker ESP32-C3-01M Wi-Fi + BLE Module
Compact WiFi+BLE module compatible with OTA firmware updates. A great upgrade from ESP8266 with BLE 5.0 support and larger flash for comfortable OTA partitions.
Method 1: Arduino IDE OTA (mDNS)
Arduino IDE OTA is the simplest method — it makes your ESP8266 appear as a network port in the Arduino IDE, allowing you to upload sketches wirelessly exactly like you would over USB. It uses mDNS (Bonjour/Zeroconf) to advertise itself on the local network.
Step 1: Upload the OTA-enabled base sketch over USB (first time only)
#include <ESP8266WiFi.h>
#include <ESP8266mDNS.h>
#include <WiFiUdp.h>
#include <ArduinoOTA.h>

const char* ssid     = "YourWiFi_SSID";
const char* password = "YourWiFi_Password";

void setup() {
  Serial.begin(115200);
  WiFi.mode(WIFI_STA);
  WiFi.begin(ssid, password);
  while (WiFi.waitForConnectResult() != WL_CONNECTED) {
    Serial.println("WiFi failed, retrying...");
    delay(5000);
    ESP.restart();
  }
  Serial.print("IP: "); Serial.println(WiFi.localIP());

  // OTA Configuration
  ArduinoOTA.setHostname("my-esp8266");   // Name shown in Arduino IDE
  ArduinoOTA.setPassword("admin");         // Optional OTA password

  ArduinoOTA.onStart([]()    { Serial.println("OTA Start"); });
  ArduinoOTA.onEnd([]()      { Serial.println("nOTA Done! Rebooting"); });
  ArduinoOTA.onProgress([](unsigned int prog, unsigned int total) {
    Serial.printf("Progress: %u%%r", prog * 100 / total);
  });
  ArduinoOTA.onError([](ota_error_t error) {
    Serial.printf("Error[%u]: ", error);
    if      (error == OTA_AUTH_ERROR)    Serial.println("Auth Failed");
    else if (error == OTA_BEGIN_ERROR)   Serial.println("Begin Failed");
    else if (error == OTA_CONNECT_ERROR) Serial.println("Connect Failed");
    else if (error == OTA_RECEIVE_ERROR) Serial.println("Receive Failed");
    else if (error == OTA_END_ERROR)     Serial.println("End Failed");
  });

  ArduinoOTA.begin();
  Serial.println("OTA Ready");
}

void loop() {
  ArduinoOTA.handle(); // Must call in every loop iteration
  // ... your actual application code here ...
  delay(10);
}
Step 2: After uploading via USB, future uploads: In Arduino IDE, go to Tools > Port. You’ll see a new network port appear (e.g., “my-esp8266 at 192.168.1.x”). Select it and click Upload — IDE will ask for the OTA password you set, then upload wirelessly.
Important: ArduinoOTA.handle() must be called regularly in your loop. If your loop has long blocking delays (over 1 second), OTA won’t be responsive. Use non-blocking code patterns (millis()-based timers) instead of delay().
Method 2: Web Browser OTA Upload
This method runs a small HTTP server on the ESP8266. You visit a web page on your browser, select a .bin firmware file, and upload it. No Arduino IDE required — works from any device on your WiFi network, including your phone.
#include <ESP8266WiFi.h>
#include <WiFiClient.h>
#include <ESP8266WebServer.h>
#include <ESP8266HTTPUpdateServer.h>

const char* ssid     = "YourWiFi_SSID";
const char* password = "YourWiFi_Password";
const char* update_username = "admin";
const char* update_password = "update_secret";

ESP8266WebServer httpServer(80);
ESP8266HTTPUpdateServer httpUpdater;

void setup() {
  Serial.begin(115200);
  WiFi.begin(ssid, password);
  while (WiFi.status() != WL_CONNECTED) { delay(500); Serial.print("."); }
  Serial.println("nConnected: " + WiFi.localIP().toString());

  httpUpdater.setup(&httpServer, "/update", update_username, update_password);
  httpServer.begin();
  Serial.println("OTA update page: http://" + WiFi.localIP().toString() + "/update");
}

void loop() {
  httpServer.handleClient();
}
Open your browser to http://[ESP8266-IP]/update. Enter the username/password, click “Choose File”, select your compiled .bin file (from Arduino IDE: Sketch > Export Compiled Binary), and click “Update”. The ESP8266 will upload, flash, and reboot automatically.
How to get the .bin file: In Arduino IDE 2.x, go to Sketch > Export Compiled Binary. The .bin file appears in your sketch folder.

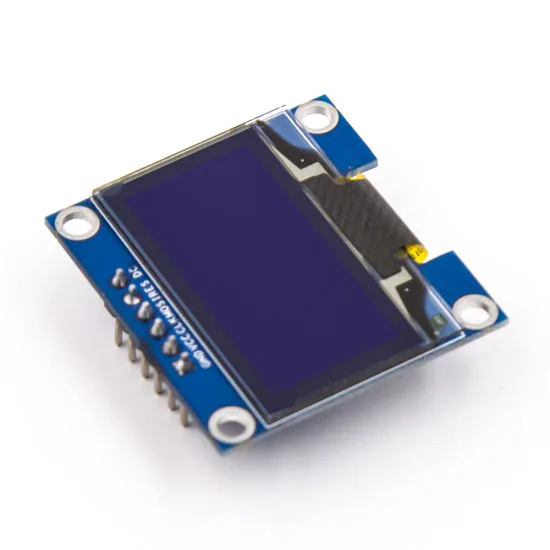
0.96 Inch I2C IIC OLED LCD Module 4pin White SSD1306 Chip
Add an OLED display to your ESP8266 OTA node to show current firmware version, IP address, and OTA progress percentage — great for deployed sensor nodes.
Method 3: HTTP Server OTA (Automatic Pull)
This is the most powerful method for large deployments. The ESP8266 periodically checks a URL on your server (or a local Raspberry Pi, NAS, or cloud bucket) for new firmware. If a new version is available, it downloads and installs it automatically — no human interaction needed.
#include <ESP8266WiFi.h>
#include <ESP8266HTTPClient.h>
#include <ESP8266httpUpdate.h>

const char* ssid       = "YourWiFi_SSID";
const char* password   = "YourWiFi_Password";

// Version tracking
#define FIRMWARE_VERSION "1.0.0"
const char* firmware_url = "http://192.168.1.100/firmware/esp8266-latest.bin";
const char* version_url  = "http://192.168.1.100/firmware/version.txt";

void checkForUpdate() {
  WiFiClient client;
  HTTPClient http;
  http.begin(client, version_url);
  int code = http.GET();
  if (code == HTTP_CODE_OK) {
    String serverVersion = http.getString();
    serverVersion.trim();
    if (serverVersion != FIRMWARE_VERSION) {
      Serial.println("New firmware: " + serverVersion + " (current: " + FIRMWARE_VERSION + ")");
      ESPhttpUpdate.setLedPin(LED_BUILTIN, LOW); // Flash LED during update
      t_httpUpdate_return ret = ESPhttpUpdate.update(client, firmware_url);
      switch (ret) {
        case HTTP_UPDATE_FAILED:
          Serial.printf("Update failed: %sn", ESPhttpUpdate.getLastErrorString().c_str());
          break;
        case HTTP_UPDATE_NO_UPDATES:
          Serial.println("No update (unexpected)");
          break;
        case HTTP_UPDATE_OK:
          Serial.println("Update OK — rebooting"); // Won't print, ESP reboots
          break;
      }
    } else {
      Serial.println("Firmware up to date: " + FIRMWARE_VERSION);
    }
  }
  http.end();
}

void setup() {
  Serial.begin(115200);
  WiFi.begin(ssid, password);
  while (WiFi.status() != WL_CONNECTED) { delay(500); Serial.print("."); }
  Serial.println("Connected!");
  checkForUpdate(); // Check on every boot
}

void loop() {
  // Check for update every 6 hours
  static unsigned long lastCheck = 0;
  if (millis() - lastCheck >= 6UL * 3600 * 1000) {
    lastCheck = millis();
    checkForUpdate();
  }
  // ... your application code ...
}
On your local server or Raspberry Pi, host two files: version.txt (containing the latest firmware version string, e.g., “1.1.0”) and esp8266-latest.bin (the compiled firmware binary). When you want to update all your nodes, just replace these two files on the server — all ESP8266 devices will pick up the update within 6 hours (or on next reboot).
0.96 Inch SPI OLED LCD Module 6pin Blue SSD1306 Chip
Blue OLED display for building a status panel on your OTA-enabled ESP8266 sensor hub — show firmware version, last update timestamp, and connection status.
Securing Your OTA Updates
OTA is convenient but introduces a significant security risk — anyone on your network could potentially push malicious firmware to your devices. For home lab projects this may be acceptable; for deployed devices, harden your OTA:
- Set an OTA password:
ArduinoOTA.setPassword("strongpassword");— use a strong, unique password per device type. - HTTPS for HTTP OTA: Use
ESP8266HTTPUpdatewith HTTPS and certificate fingerprint verification. The ESP8266 BearSSL library supports this. - Firmware signing: The ESP8266 Arduino core supports secure boot with RSA-signed binaries — check the
Signed Binarydocumentation in the ESP8266 Arduino core docs. - Network isolation: Put your ESP8266 nodes on a separate IoT VLAN that can’t be accessed from guest networks.
- Version validation: On the HTTP OTA server, only serve newer firmware — never allow downgrade attacks to exploit old vulnerability-containing firmware.
// HTTPS OTA with certificate fingerprint verification
#include <ESP8266HTTPUpdate.h>
#include <WiFiClientSecureBearSSL.h>

BearSSL::WiFiClientSecure client;
// SHA1 fingerprint of your server's TLS certificate
client.setFingerprint("AB:CD:EF:..."); // Replace with actual fingerprint
ESPhttpUpdate.update(client, "https://yourserver.com/firmware/latest.bin");
Handling Failed Updates and Rollback
The ESP8266’s eboot bootloader tracks whether a new firmware has run successfully. If the device resets unexpectedly shortly after an OTA update, eboot can revert to the previous firmware. However, this is not automatic by default in Arduino — you need to implement application-level validation:
#include <EEPROM.h>

#define EEPROM_BOOT_COUNT_ADDR 0
#define MAX_BOOT_FAILURES 3

void setup() {
  EEPROM.begin(4);
  int bootCount = EEPROM.read(EEPROM_BOOT_COUNT_ADDR);

  if (bootCount >= MAX_BOOT_FAILURES) {
    // Too many reboots without successful run - mark for rollback
    Serial.println("Too many boot failures — flagging for manual intervention");
    // In practice: use Update.rollBack() or signal via status LED
  }

  // Increment boot counter
  EEPROM.write(EEPROM_BOOT_COUNT_ADDR, bootCount + 1);
  EEPROM.commit();

  // ... rest of setup ...
}

void markFirmwareGood() {
  // Call this after confirming core functionality works (WiFi connected, sensors OK)
  EEPROM.write(EEPROM_BOOT_COUNT_ADDR, 0); // Reset counter
  EEPROM.commit();
}
Call markFirmwareGood() in your loop after confirming WiFi is connected and your core application functions are operating correctly — typically 30–60 seconds after boot.
Production OTA Tips for Deployed Devices
Real-world deployment lessons from Indian maker projects and commercial IoT builds:
- Always test OTA on a spare device first. A broken OTA loop can lock all deployed devices — keep one always-accessible over serial for recovery.
- Include OTA in every sketch from day one. Adding OTA to an already-deployed device requires one more USB connection. Build OTA support into your project template and include it everywhere.
- Use a watchdog timer. Enable the ESP8266 hardware watchdog (
ESP.wdtEnable(5000);) so a crashed loop doesn’t permanently lock the device — it reboots automatically. - Log OTA events to SPIFFS or Serial. Record firmware version, update timestamp, and success/failure status so you can audit what’s running where.
- Version your binaries clearly. Use semantic versioning in firmware and always increment on every release. Automate with build date macros:
__DATE__ " " __TIME__. - In apartment buildings or large deployments: The HTTP pull OTA method scales best — you can update hundreds of devices simultaneously by updating just one file on your server.
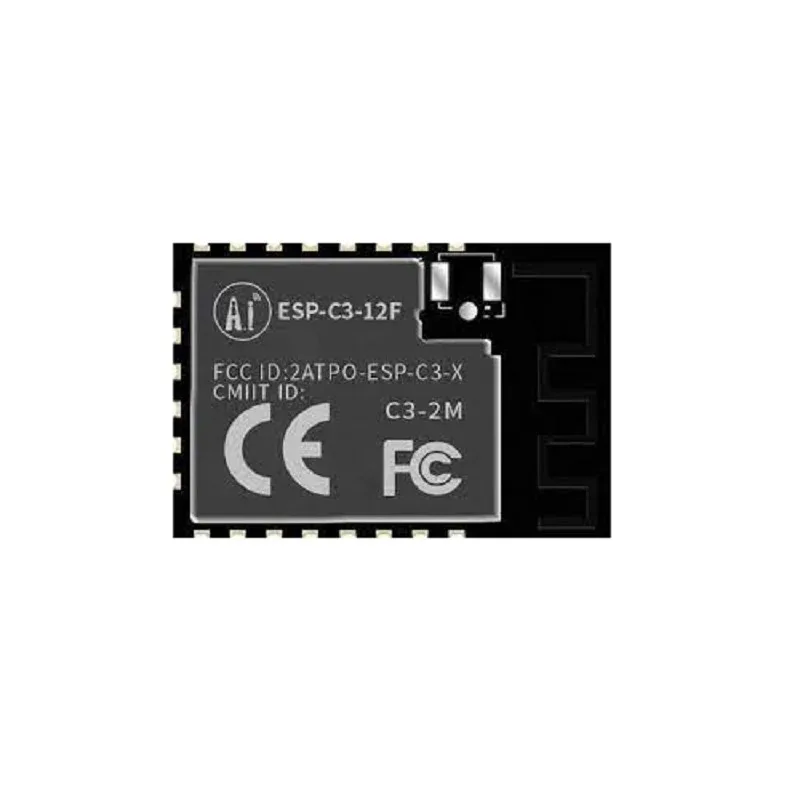
Ai-Thinker ESP32-C3-12F Wi-Fi + BLE Module
ESP32-C3 module with full OTA support via ESP-IDF or Arduino. A modern upgrade path from ESP8266 with BLE 5.0 added, same programming ease, and excellent OTA partition support.
Frequently Asked Questions
Can OTA brick my ESP8266?
A properly implemented OTA update is very hard to brick the ESP8266 — the old firmware is preserved until the new one writes successfully. However, if your new sketch has a bug that crashes before OTA initialises in the loop, you won’t be able to send another OTA update. Always include a short window at startup (30 seconds) where OTA is active before your potentially buggy new code starts running. Worst case, you need one USB cable reconnect.
Does OTA work when ESP8266 is in deep sleep?
No — during deep sleep, the ESP8266 is powered down and cannot receive OTA. For deep-sleeping nodes, trigger OTA on wake-up: check for updates on every N-th wake cycle, then go back to sleep if no update is found. Or use a dedicated GPIO wake pin to manually trigger an OTA update window.
What’s the maximum OTA file size for ESP8266?
With a 4 MB flash module configured for OTA, each firmware slot gets approximately 1019 KB. Your compiled .bin file must fit within this. Most typical ESP8266 sketches with WiFi, MQTT, and sensors are 300–500 KB — well within limits. Complex sketches with large libraries might approach the limit.
Can I do OTA over 3G/4G mobile hotspot?
Yes — if the ESP8266 is connected to a mobile hotspot’s WiFi, all three OTA methods work. For HTTP pull OTA, your server must be reachable from the hotspot’s network (use a public server or cloud storage). Arduino IDE OTA requires both PC and ESP8266 on the same local network, so it won’t work over separate mobile connections.
Is ESP32 OTA different from ESP8266 OTA?
The concept is identical but the libraries are different. ESP32 uses the ArduinoOTA.h and Update.h libraries (different from ESP8266’s). ESP32 has a more sophisticated partition table system and supports HTTPS OTA natively via esp_https_ota in ESP-IDF. The partition scheme must be set to “Default” or “Minimal SPIFFS” to include OTA partitions.


Add comment