
Building a real-time IoT dashboard becomes effortless once you master the ESP32 MQTT Mosquitto broker combination. MQTT (Message Queuing Telemetry Transport) is the lightweight publish-subscribe protocol that powers everything from home automation to industrial sensor networks. In this comprehensive tutorial, you’ll set up a Mosquitto broker on a Raspberry Pi or cloud server, connect your ESP32 as both publisher and subscriber, and build a live sensor data pipeline from scratch.
MQTT Protocol Basics for Makers
MQTT is a broker-mediated publish-subscribe protocol designed for constrained devices and unreliable networks — exactly the conditions IoT projects face. Understanding three core concepts unlocks everything:
Broker
The broker is the central hub that receives all messages and routes them to subscribers. Mosquitto is the most popular open-source MQTT broker. You can run it on a Raspberry Pi on your local network, or use a free cloud broker like HiveMQ or EMQX for internet-accessible projects.
Topics
Topics are hierarchical strings that act like message channels. A sensor might publish to home/bedroom/temperature. A subscriber can listen to exactly that topic, or use wildcards: home/+/temperature (single level) or home/# (all descendants). Design your topic hierarchy carefully — it’s the architecture of your IoT system.
QoS Levels
- QoS 0 (At most once): Fire and forget. Fastest, no delivery guarantee. Fine for frequent telemetry (temperature every 10s).
- QoS 1 (At least once): Guaranteed delivery, possible duplicates. Good for important events.
- QoS 2 (Exactly once): Highest overhead but no duplicates. Use for billing-critical or control messages.
For most sensor projects, QoS 0 is fine. For actuator control (opening a valve, triggering an alarm), use QoS 1.
Installing Mosquitto Broker
On Raspberry Pi / Ubuntu (Local Network)
# Install Mosquitto broker and clients
sudo apt update
sudo apt install -y mosquitto mosquitto-clients

# Enable and start the service
sudo systemctl enable mosquitto
sudo systemctl start mosquitto

# Check it's running
sudo systemctl status mosquitto

# Test: open two terminal windows
# Terminal 1 - subscribe:
mosquitto_sub -h localhost -t "test/topic"

# Terminal 2 - publish:
mosquitto_pub -h localhost -t "test/topic" -m "Hello ESP32!"
Enable Anonymous Access for Testing
By default, newer Mosquitto versions require authentication. For local testing, create a config file:
# /etc/mosquitto/conf.d/local.conf
listener 1883
allow_anonymous true
sudo systemctl restart mosquitto
Free Cloud Brokers (Alternative)
If you don’t have a local server, use a free cloud broker for testing:
- broker.hivemq.com:1883 — HiveMQ public broker, no auth needed, good for testing
- test.mosquitto.org:1883 — Official Mosquitto test server
- broker.emqx.io:1883 — EMQX public broker
Note: These are public — anyone can see your messages. Never send sensitive data to public brokers.
ESP32 Libraries & PubSubClient Setup
Install the PubSubClient library in Arduino IDE:
- Open Arduino IDE → Tools → Manage Libraries
- Search for “PubSubClient” by Nick O’Leary
- Install version 2.8.0 or later
Also ensure you have the ESP32 board package installed (Espressif ESP32 Arduino Core 2.x or later).
Publishing Sensor Data from ESP32
Here is a complete sketch that connects the ESP32 to Wi-Fi and publishes DHT11 temperature/humidity readings to Mosquitto every 10 seconds:
#include <WiFi.h>
#include <PubSubClient.h>

// ── Configuration ──────────────────────────────────────
const char* WIFI_SSID     = "YourWiFiSSID";
const char* WIFI_PASSWORD = "YourWiFiPassword";
const char* MQTT_BROKER   = "192.168.1.100"; // Raspberry Pi IP
const int   MQTT_PORT     = 1883;
const char* CLIENT_ID     = "esp32-sensor-01";
// Topics
const char* TOPIC_TEMP    = "home/livingroom/temperature";
const char* TOPIC_HUM     = "home/livingroom/humidity";
// ──────────────────────────────────────────────────────

WiFiClient   wifiClient;
PubSubClient mqttClient(wifiClient);

void connectWiFi() {
  Serial.print("Connecting to WiFi");
  WiFi.begin(WIFI_SSID, WIFI_PASSWORD);
  while (WiFi.status() != WL_CONNECTED) {
    delay(500);
    Serial.print(".");
  }
  Serial.println(" connected. IP: " + WiFi.localIP().toString());
}

void connectMQTT() {
  while (!mqttClient.connected()) {
    Serial.print("Connecting to MQTT...");
    if (mqttClient.connect(CLIENT_ID)) {
      Serial.println(" connected!");
      // Subscribe to control topic
      mqttClient.subscribe("home/livingroom/led");
    } else {
      Serial.print(" failed, rc=");
      Serial.print(mqttClient.state());
      delay(3000);
    }
  }
}

void setup() {
  Serial.begin(115200);
  connectWiFi();
  mqttClient.setServer(MQTT_BROKER, MQTT_PORT);
  mqttClient.setCallback(onMessage); // For subscriptions
}

void loop() {
  if (!mqttClient.connected()) connectMQTT();
  mqttClient.loop(); // Process incoming messages

  // Publish every 10 seconds
  static unsigned long lastPublish = 0;
  if (millis() - lastPublish > 10000) {
    lastPublish = millis();
    float temperature = 28.5; // Replace with actual sensor read
    float humidity    = 65.0;
    char  buf[10];
    dtostrf(temperature, 4, 1, buf);
    mqttClient.publish(TOPIC_TEMP, buf);
    dtostrf(humidity, 4, 1, buf);
    mqttClient.publish(TOPIC_HUM, buf);
    Serial.println("Published temperature and humidity");
  }
}
Subscribing & Controlling Outputs
The onMessage callback handles all incoming subscribed messages. Add it before setup():
#define LED_PIN 2

void onMessage(char* topic, byte* payload, unsigned int length) {
  // Convert payload bytes to string
  String msg = "";
  for (unsigned int i = 0; i < length; i++) {
    msg += (char)payload[i];
  }
  Serial.print("Message on [" + String(topic) + "]: " + msg);

  // Control LED via MQTT
  if (String(topic) == "home/livingroom/led") {
    if (msg == "ON")  digitalWrite(LED_PIN, HIGH);
    if (msg == "OFF") digitalWrite(LED_PIN, LOW);
  }
}
Now you can control the ESP32’s built-in LED from any MQTT client by publishing to home/livingroom/led with payload ON or OFF. Use mosquitto_pub from your terminal, or a mobile app like MQTT Explorer or IoT MQTT Panel (Android).
Working with JSON Payloads
For complex data (multiple values, metadata, timestamps), JSON payloads are the standard. Use the ArduinoJson library:
#include <ArduinoJson.h>

void publishSensorData(float temp, float hum) {
  StaticJsonDocument<200> doc;
  doc["device"]      = CLIENT_ID;
  doc["temperature"] = temp;
  doc["humidity"]    = hum;
  doc["timestamp"]   = millis() / 1000; // Uptime in seconds

  char jsonBuffer[200];
  serializeJson(doc, jsonBuffer);

  mqttClient.publish("home/livingroom/sensors", jsonBuffer);
  // Publishes: {"device":"esp32-sensor-01","temperature":28.5,"humidity":65.0,"timestamp":123}
}
On the broker side, tools like Node-RED can subscribe to the topic, parse the JSON, and push values to InfluxDB/Grafana for beautiful time-series dashboards — a favourite setup among Indian home automation enthusiasts.
Adding Security: Auth & TLS
Never expose your MQTT broker to the internet without authentication. Here’s how to add username/password:
# Create password file on broker
sudo mosquitto_passwd -c /etc/mosquitto/passwords iotuser
# Enter and confirm password when prompted

# Update /etc/mosquitto/conf.d/local.conf:
listener 1883
allow_anonymous false
password_file /etc/mosquitto/passwords

sudo systemctl restart mosquitto
In your ESP32 sketch, update the connect call:
// With authentication
if (mqttClient.connect(CLIENT_ID, "iotuser", "yourpassword")) {
  // Connected
}
For TLS encryption (required for internet-exposed brokers), use the WiFiClientSecure class instead of WiFiClient and configure your certificate. For local network use, username/password is usually sufficient.
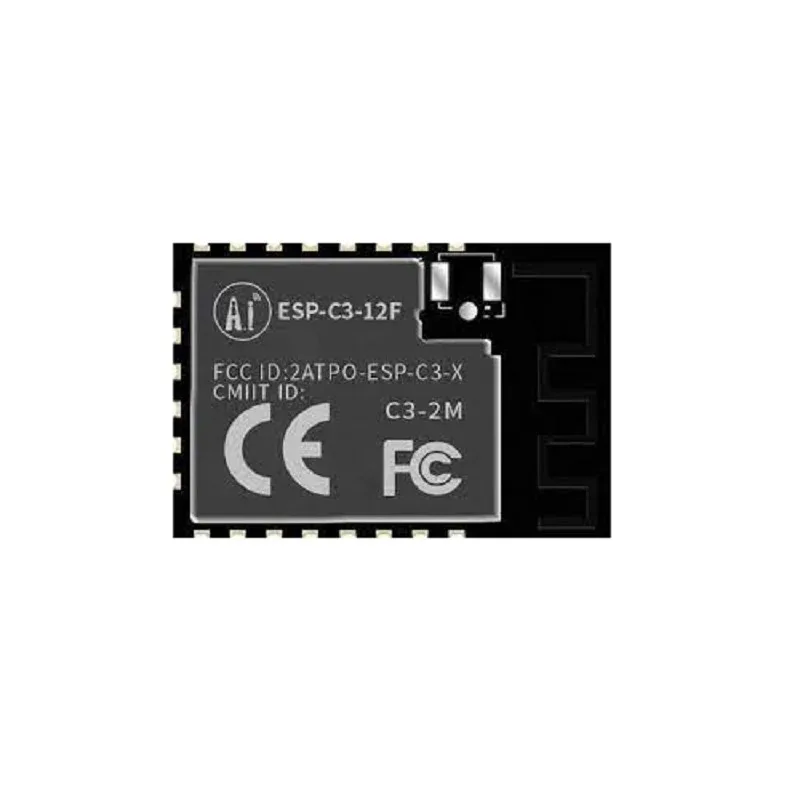
Ai-Thinker ESP32-C3-12F Wi-Fi + BLE Module
A compact RISC-V based ESP32-C3 module with 4MB flash, Wi-Fi 802.11 b/g/n and BLE 5.0. Perfect as a dedicated MQTT client node. Lower cost than full ESP32 for single-purpose sensor nodes.

Ai Thinker ESP32-C3-01M Wi-Fi + BLE Module
Ultra-compact ESP32-C3 module in a tiny form factor. Great for embedding in small enclosures as a battery-powered MQTT sensor node. Supports deep sleep to extend battery life between MQTT publishes.

Ai Thinker ESP32-CAM Development Board
Extend your MQTT system with vision — publish camera snapshots via MQTT on motion events. This ESP32-CAM board includes a 2MP OV2640 camera module and runs Arduino or ESP-IDF firmware for visual IoT applications.

0.96 Inch I2C OLED Display (SSD1306)
Add a local display to your MQTT subscriber node. Show received values, connection status, and alerts on this compact 0.96-inch OLED. Works with ESP32 via I2C — just 2 GPIO pins needed.
Frequently Asked Questions
What is the difference between MQTT and HTTP for IoT?
HTTP uses a request-response model — the client polls the server repeatedly to check for updates, which wastes bandwidth and battery. MQTT uses publish-subscribe — the broker pushes messages to subscribers instantly when published. MQTT is significantly more efficient: a typical MQTT packet is 2–5 bytes overhead vs 200+ bytes for HTTP headers. For IoT devices that need real-time updates or run on batteries, MQTT wins decisively.
Can ESP32 MQTT work without Wi-Fi (over GSM)?
Yes. Use a GSM module (SIM800/SIM7600) with a GPRS/4G data connection. Libraries like TinyGSM create a GSM-based TCP client that works as a drop-in replacement for WiFiClient in PubSubClient. This enables MQTT over cellular for remote locations without Wi-Fi.
How do I handle ESP32 MQTT reconnection reliably?
Use a non-blocking reconnect pattern — check mqttClient.connected() in every loop iteration and reconnect only if needed. Avoid while(!connected) loops in production as they block the main loop. Add exponential backoff: start with 1s delay, double it up to 60s, to avoid hammering the broker during outages.
What is the MQTT keep-alive and why does it matter?
The keep-alive interval (default 15 seconds in PubSubClient) is how often the ESP32 sends a PINGREQ to the broker to confirm the connection is alive. If the broker doesn’t receive a PINGREQ within 1.5× the keep-alive time, it considers the client disconnected. For unstable Wi-Fi, increase keep-alive to 60s and implement a watchdog to reset the ESP32 if MQTT reconnect fails repeatedly.
Is Mosquitto suitable for a production IoT system in India?
For up to a few hundred devices, a Raspberry Pi 4 running Mosquitto handles the load well. For thousands of devices, consider EMQX (open-source, horizontally scalable) or a managed cloud MQTT service like AWS IoT Core or HiveMQ Cloud. Mosquitto on a ₹500/month VPS (DigitalOcean/Linode) is sufficient for most Indian startup IoT deployments.
Build Your MQTT IoT Network Today
Zbotic stocks ESP32 modules, communication boards, and display modules to build professional IoT systems. Explore our full range with fast shipping across India.


Add comment