
WiFi Range Extender Project with ESP32 & AP Mode Explained
Dead zones in your home or workshop? Your ESP32 WiFi range extender project can solve this once and for all. The ESP32 is uniquely suited for this — it can simultaneously act as a WiFi station (connecting to your existing router) and an Access Point (broadcasting its own network), enabling you to build a working WiFi repeater for under ₹300. This guide explains ESP32 AP mode in depth, walks through the dual-mode architecture, and gives you complete working code to set up your range extender today.
Understanding ESP32 WiFi Modes
The ESP32’s WiFi subsystem supports three fundamental operating modes:
- Station (STA) mode: ESP32 connects to an existing WiFi network as a client, like your phone or laptop does.
- Access Point (AP) mode: ESP32 creates its own WiFi network, acting as a router. Devices connect to it directly.
- AP+STA mode (Dual mode): ESP32 simultaneously connects to an upstream WiFi network AND broadcasts its own WiFi network.
For a range extender, AP+STA dual mode is exactly what you need. The ESP32 connects to your home router over WiFi (Station mode) and simultaneously broadcasts a new SSID (AP mode) that devices in weak-signal areas can connect to. It then bridges traffic between the two networks at the IP level.
This is fundamentally different from a hardware repeater — the ESP32 runs an application-layer bridge, which means there’s a small overhead but also tremendous flexibility. You can implement filtering, logging, custom DNS, or even a captive portal on your ESP32-based extender.
Access Point (AP) Mode Explained
When the ESP32 operates in AP mode, it runs a DHCP server and assigns IP addresses to connecting devices. By default:
- AP gateway IP:
192.168.4.1 - DHCP range:
192.168.4.2to192.168.4.5(only 4 clients by default, configurable) - Channel: matches whatever channel your sketch specifies (default 1)
- Authentication: WPA2-PSK (recommended) or Open
The Arduino ESP32 core makes AP mode trivial to configure:
#include <WiFi.h>

void setup() {
  WiFi.softAP("MyESP32AP", "password123");
  Serial.println(WiFi.softAPIP()); // Prints 192.168.4.1
}

void loop() {}
For a range extender, you need to expand the DHCP pool and set up IP forwarding between the STA and AP network interfaces — which is where the magic happens.
Dual Mode: Station + AP Simultaneously
The ESP32 uses a single radio (2.4 GHz 802.11 b/g/n) shared between STA and AP interfaces. This means the AP channel must match the upstream router’s channel (since the radio can only tune to one channel at a time). The ESP32 firmware handles this automatically — when you connect in STA mode first, the AP will automatically switch to the same channel as the upstream router.
Key dual-mode initialization sequence:
WiFi.mode(WIFI_AP_STA); // Enable both modes
WiFi.begin("YourRouter_SSID", "YourRouter_Password"); // Connect STA
WiFi.softAP("ESP32_Extender", "extender_pass");       // Start AP
The key insight is WIFI_AP_STA mode — this single line enables both interfaces. The ESP32 SDK (ESP-IDF under the hood) manages the channel sharing transparently.
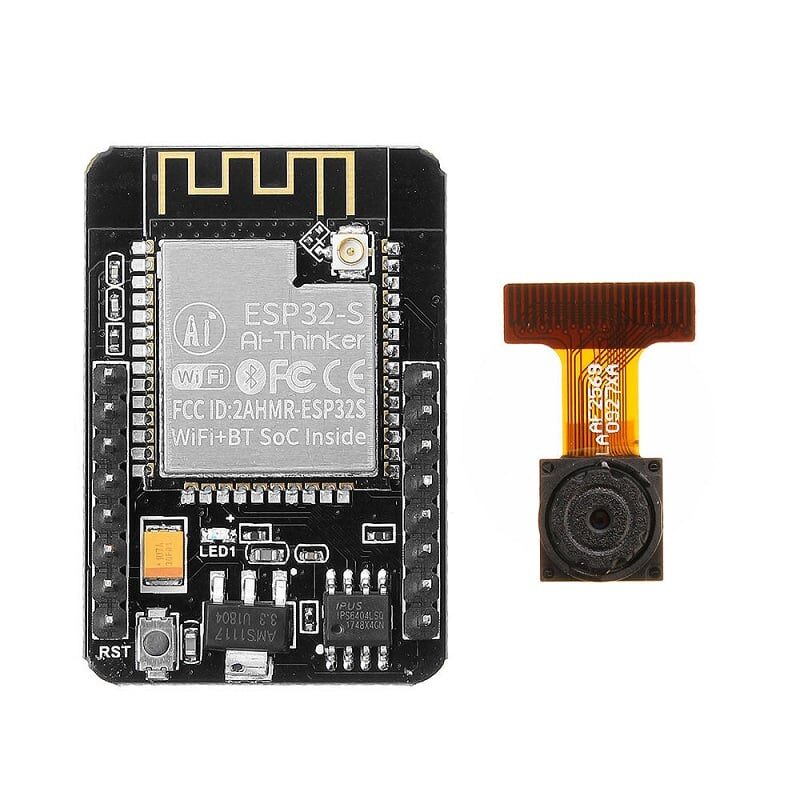
Ai Thinker ESP32 CAM Development Board WiFi+Bluetooth with Camera Module
A feature-rich ESP32 board with built-in camera — great for range extender projects that also need visual monitoring of the extended coverage area.
Hardware Setup for the Range Extender
This project is gloriously simple on the hardware side. You need:
- 1× ESP32 development board (any variant — DevKit, Wemos D1 Mini32, NodeMCU-32S)
- 1× Micro-USB cable for programming
- 1× 5V USB power supply (500mA is enough)
- Optional: a small enclosure to mount the ESP32 in the dead-zone location
No breadboard, no external components — the ESP32 handles everything in software. Place the ESP32 physically halfway between your router and the dead zone. Ideally it should see -65 dBm or better signal from your router on the STA interface. Walls and floors reduce signal strength — concrete and tile are particularly bad (expect -10 to -15 dBm per wall).

ESP32-CAM WiFi Module Bluetooth with OV2640 Camera Module 2MP
Compact ESP32-CAM board perfect for a discreet WiFi range extender install. The camera is a bonus for security monitoring in your extended coverage zone.
Complete ESP32 Range Extender Firmware
The following sketch implements a complete WiFi range extender. It connects to your upstream router, starts an AP, enables IP forwarding via lwip NAT, and provides a simple web status page.
#include <WiFi.h>
#include <WebServer.h>
#include <lwip/lwip_napt.h>
#include <lwip/dhcp.h>

// ===== CONFIGURE THESE =====
const char* sta_ssid     = "YourRouter_SSID";
const char* sta_password = "YourRouter_Password";
const char* ap_ssid      = "ESP32_Extender";
const char* ap_password  = "extend1234";
// ===========================

WebServer server(80);

void handleRoot() {
  String html = "<h2>ESP32 WiFi Extender Status</h2>";
  html += "<p>Upstream (STA): " + WiFi.SSID() + " / " + WiFi.localIP().toString() + "</p>";
  html += "<p>Downstream (AP): " + String(ap_ssid) + " / " + WiFi.softAPIP().toString() + "</p>";
  html += "<p>AP clients: " + String(WiFi.softAPgetStationNum()) + "</p>";
  html += "<p>RSSI from router: " + String(WiFi.RSSI()) + " dBm</p>";
  server.send(200, "text/html", html);
}

void setup() {
  Serial.begin(115200);

  // Start in dual mode
  WiFi.mode(WIFI_AP_STA);

  // Connect to upstream router
  WiFi.begin(sta_ssid, sta_password);
  Serial.print("Connecting to router");
  while (WiFi.status() != WL_CONNECTED) {
    delay(500); Serial.print(".");
  }
  Serial.println("nConnected! IP: " + WiFi.localIP().toString());

  // Start AP with same channel as router (automatic)
  WiFi.softAP(ap_ssid, ap_password);
  Serial.println("AP started: " + WiFi.softAPIP().toString());

  // Enable NAT (IP forwarding from AP to STA)
  ip_napt_enable(WiFi.softAPIP(), 1);
  Serial.println("NAT enabled");

  server.on("/", handleRoot);
  server.begin();
}

void loop() {
  server.handleClient();
  // Reconnect if STA drops
  if (WiFi.status() != WL_CONNECTED) {
    Serial.println("Reconnecting...");
    WiFi.reconnect();
    delay(5000);
  }
}
Note on lwIP NAT: The ip_napt_enable() function requires a special build of the ESP32 Arduino core with NAT support. In Arduino IDE, install the ESP32 core by espressif v2.x+ and it’s included. If you get a compile error, make sure you have the latest ESP32 board package installed.
After uploading, any device connecting to “ESP32_Extender” will be able to access the internet through your main router. Open a browser to 192.168.4.1 to see the status page.
Performance Tips and Channel Selection
To maximise throughput on your ESP32 range extender:
- Channel: ESP32 AP automatically uses the same channel as the connected router. For best performance, set your router to a fixed non-overlapping channel (1, 6, or 11 for 2.4 GHz).
- Bandwidth: Theoretical max through ESP32 NAT is ~10-15 Mbps (limited by single-radio half-duplex). Sufficient for IoT devices, voice calls, and general browsing — not 4K streaming.
- AP client limit: Default is 4. Increase with:
WiFi.softAP(ssid, pass, channel, hidden, 8);(last parameter = max stations, up to 8). - TX power: Set to max for AP:
esp_wifi_set_max_tx_power(82);(82 = 20.5 dBm, max for ESP32). - Placement: -70 dBm RSSI from router is the practical minimum. Use the status page RSSI reading to find the optimal placement spot.

Waveshare ESP32-S3 1.47inch 172×320 LCD Display Development Board
ESP32-S3 board with built-in display — perfect for a range extender with a visual status screen showing connected clients and signal strength live.
Real-World Use Cases for Indian Makers
Indian homes and workshops present unique challenges for WiFi coverage:
- Multi-floor homes: Thick RCC construction blocks 2.4 GHz heavily. An ESP32 extender on each floor handles this affordably.
- Workshop/garage coverage: Extend WiFi to a workshop where you run IoT sensors, CNC machines, or a Raspberry Pi without running an Ethernet cable.
- Hostel/PG rooms: A personal ESP32 extender for your room when the main WiFi signal is weak.
- Agricultural IoT: Extend WiFi coverage to a greenhouse or farm building — the ESP32 extender can simultaneously log sensor data while bridging the network.
- Event/makeathon setups: Quick temporary WiFi extension at hackathons or maker fests without touching router settings.
Limitations and When to Use a Dedicated Repeater
Be realistic about what the ESP32 can and cannot do as a range extender:
- Bandwidth ceiling: ~10-15 Mbps max through the NAT bridge. Fine for IoT and light browsing; not ideal if you need to stream HD video.
- Single-band 2.4 GHz only: ESP32 doesn’t support 5 GHz. If your router is 5 GHz-primary, you’ll be on the slower band.
- Half-duplex radio: The single radio receives and transmits alternately — each hop halves available throughput in theory, though in practice NAT throughput is the bottleneck first.
- No seamless roaming: Devices must manually switch SSID or you must give the AP SSID a different name. For seamless roaming, use a dedicated mesh system.
For most Indian maker projects and IoT deployments where bandwidth isn’t critical, the ESP32 range extender is a perfectly practical and extremely cost-effective solution.
Ai Thinker ESP32-C3-01M Wi-Fi + BLE Module
Ultra-compact ESP32-C3 module for minimal footprint range extender builds. Wi-Fi + BLE in a tiny form factor, ideal for hidden or embedded installations.
Frequently Asked Questions
Will devices connected to the ESP32 AP be on the same network as my router?
With NAT enabled, devices on the ESP32 AP (192.168.4.x) can access the internet and your router’s network, but they are behind a second NAT layer. For most use cases this works fine. If you need devices on the exact same subnet, you’d need to implement a Layer 2 bridge, which is more complex.
Can I use the same SSID and password as my main router?
Yes — set ap_ssid and ap_password to match your router’s. Devices may then switch to whichever network has stronger signal. However, seamless automatic roaming between them still depends on the client device’s roaming aggressiveness.
How many devices can connect to the ESP32 AP simultaneously?
Default is 4 clients. You can increase this to a maximum of 8 by passing the max_connection parameter to WiFi.softAP(). Beyond 8 simultaneous clients, the lwIP stack becomes a bottleneck.
Does this drain the ESP32’s battery quickly?
Yes — running both STA and AP simultaneously with WiFi at full power is power-hungry (~200-300 mA). This project is best powered from a 5V USB adapter rather than batteries. For battery-powered deployments, investigate deep sleep cycling or consider dedicated hardware repeaters.
Does this work with ESP8266 as well?
ESP8266 also supports AP+STA dual mode, but NAT support in its SDK is limited and often requires third-party forks. The ESP32 with its updated lwIP stack and NAT support is strongly recommended for this project.


Add comment