
Spray Painting 3D Prints: From Filler Primer to Final Coat
So you just pulled a 3D print off the bed, and it looks… rough. Layer lines everywhere, a slightly porous surface, maybe a few zits here and there. Don’t worry — every experienced maker goes through this. The real magic happens after the print. With the right finishing technique, you can turn a functional PLA part into something that looks injection-moulded.
In this guide, we’ll walk you through the entire spray painting process for 3D prints — from initial surface prep to filler primer to the final colour coat and clear coat. Whether you’re making cosplay props, functional enclosures, or display models, this tutorial will help you achieve a smooth, professional finish. And yes, all of this is totally doable in India with locally available products.
Why Finishing 3D Prints Matters
Raw 3D prints — especially FDM prints — have visible layer lines, a slightly rough texture, and micro-pores in the surface. For functional parts hidden inside enclosures, this doesn’t matter much. But for anything that’s going to be seen — display pieces, cosplay armour, product prototypes, RC car bodies — the surface finish is everything.
Proper spray painting does three things:
- Hides layer lines — filler primer fills in the gaps between layers, giving you a smooth base.
- Improves durability — a painted surface is more resistant to UV, moisture, and minor abrasion.
- Makes it look professional — a well-painted 3D print is indistinguishable from an injection-moulded part at arm’s length.
Tools and Materials You’ll Need
Before you start, gather everything. Rushing mid-process is the easiest way to ruin a good print.
- Sandpaper: 80, 120, 220, 400, 800, 1200 grit (wet-dry for higher grits)
- Filler primer spray can (grey or white, automotive section at any hardware store)
- Base colour spray paint (Rustoleum, Dupli-Color, or local Motip brand work well)
- Clear coat / lacquer spray
- Painter’s masking tape
- Isopropyl alcohol (IPA) for surface cleaning
- Nitrile gloves and a basic respirator mask
- A spray painting stand or cardboard box to hold the part
- Toothpicks and a fine brush for detail work
In India, automotive spray paints from Motul, Rust-Oleum (available on Amazon/Flipkart), and local brands like Cosmos or Nippon are all suitable. Filler primer is available at any auto parts shop for around ₹150–₹300 a can.
Step 1: Post-Print Cleanup
The first step happens before you even touch sandpaper. Remove all supports carefully using flush cutters or needle-nose pliers. Use a craft knife to trim any support scarring, layer blobs (called zits), and elephant foot at the base. Take your time here — any bump you ignore will be amplified after painting.
Once supports are removed, wash the part with warm soapy water to remove any release agents or grease from your hands. Let it dry completely. For PLA and PETG, air drying for 30 minutes is sufficient. For ABS, be careful with water — ABS can be sensitive, so a quick wipe with IPA is a better option.
Pro tip: If you’re printing purely for painting, consider printing with the flat side down and minimising supports to reduce post-processing work.
Step 2: Sanding — The Foundation of a Good Finish
Sanding is where most beginners cut corners — and regret it. The goal is to progressively reduce the layer line height until the surface is smooth enough that primer can fill in the rest.
Dry Sanding (Start Here)
Start with 80–120 grit sandpaper for prints with prominent layer lines (0.3mm layer height or coarser). Sand in circular motions or back and forth along the layer lines. You’ll see white dust — that’s the surface material being removed. Don’t press too hard, especially on fine details.
Progress through 180 → 220 → 320 grit. At 320 grit, the surface should look uniformly matte with no shiny layer lines visible.
Wet Sanding (Optional but Recommended)
From 400 grit onwards, switch to wet sanding. Dip the sandpaper in water (or use a wet cloth) and sand gently. Wet sanding prevents clogging and gives a much smoother result. Progress: 400 → 600 → 800 grit before priming.
PLA vs ABS vs PETG Sanding Notes
- PLA: Sands easily. Watch out for heat buildup — vigorous sanding can soften PLA. Keep sessions short.
- ABS: Sands well and can also be acetone-smoothed before sanding for an even better base.
- PETG: Harder to sand than PLA and tends to gum up sandpaper. Use fresh paper often and go slowly.
Step 3: Applying Filler Primer
Filler primer is the secret weapon of 3D print finishing. It’s a thick, sandable primer that fills micro-scratches and remaining layer line gaps. Do NOT skip this step.
How to Apply Filler Primer
- Shake the can for at least 2 minutes. Seriously — don’t shortcut this.
- Hold the can 25–30 cm away from the part.
- Apply in thin, even passes. Move the can continuously — never stop while spraying.
- Apply 2–3 thin coats, letting each coat flash off (turn matte) for 10–15 minutes before the next.
- Wait 1–2 hours for the primer to cure before sanding.
Sanding the Primer
Once cured, sand with 400 → 600 grit. You’ll see the primer fill in the gaps beautifully. Any low spots (pinholes) will show as darker grey areas — hit those with another coat of primer. Repeat prime → sand until the surface is completely smooth.
Two-coat rule: Most prints need at least 2 rounds of filler primer + sanding to get a truly smooth surface. Don’t expect perfection after the first coat.
Step 4: Applying the Base Colour Coat
With a smooth primed surface ready, it’s time for colour. The technique here is the same as primer — thin coats, continuous movement, patience.
- Wipe the sanded primer with a tack cloth or lint-free cloth dampened with IPA to remove dust.
- Apply the first colour coat very lightly — almost a mist coat. This helps the subsequent coats adhere better and prevents runs.
- Wait 15–20 minutes (or as per can instructions) between coats.
- Apply 2–3 full coats, building up opacity gradually.
Avoid applying thick coats — this is the #1 cause of runs and drips. If you see a run forming, stop immediately and let it dry completely. Sand the run out with 800 grit, re-prime lightly, and reapply colour.
Colour Selection for Indian Climate
Dark colours hide layer lines better than light colours (especially white). If you need white, use a grey filler primer, sand to perfection, switch to a white primer, then apply white colour coat.
Step 5: Detail Painting and Masking
For multi-colour parts, masking is your best friend. Use proper painter’s tape — not regular adhesive tape, which leaves residue and can pull paint.
- Let the base coat cure for at least 24 hours before masking over it.
- Press the masking tape edges down firmly with a fingernail to prevent bleeding.
- For curved surfaces, use 6mm or 10mm narrow tape for flexibility.
- Remove the tape at a 45° angle while the paint is still slightly tacky (not fully dry) to get a clean edge.
For tiny details — panel lines, logos, battle damage effects — use a fine brush with acrylic hobby paint (like Citadel or Vallejo, both available on Indian hobby sites).
Step 6: Clear Coat for Protection
Clear coat protects your paint job and gives you control over the final sheen — matte, satin, or gloss. This step is essential if the part will be handled often.
- Gloss clear coat: Best for chrome effects, metallic finishes, and display pieces. Intensifies colour.
- Satin clear coat: Good all-rounder for functional parts.
- Matte clear coat: Gives a flat, non-reflective finish. Great for military models, realistic-looking props.
Apply 2 thin coats, letting each dry fully. After the final coat cures (24–48 hours), you can wet sand with 2000 grit and polish with automotive polishing compound for a mirror-like finish.
Tips for Painting in Indian Climate
India’s climate presents unique challenges for spray painting:
- Humidity: Paint only on dry days. Humidity above 70% causes blush (a milky, cloudy finish on lacquer paints). In monsoon season, spray early morning or in an air-conditioned room.
- Heat: In peak summer, solvent-based paints dry very fast. Work in shade. Don’t paint in direct afternoon sun.
- Dust: Indian roads mean lots of airborne dust. Create a makeshift spray booth using a large cardboard box. Mist the surroundings with water before spraying to settle dust.
- Ventilation: Always spray in a ventilated area or outdoors. Wear a respirator — spray paint fumes are no joke.
How Filament Choice Affects Paintability
Not all filaments paint equally. Here’s a quick breakdown:
- PLA: Best for painting. Smooth enough after sanding, primer adheres well. Most common choice for painted prints.
- ABS: Can be acetone-smoothed before painting, which gives an incredible head start. Very paintable.
- PETG: Paintable but requires more prep — adhesion can be tricky. Use a plastic-adhesion primer first.
- TPU/Flexible: Difficult to paint — paint cracks when flexed. Use flexible paints only.
- Wood/Composite filaments: Can be stained and painted like real wood — very satisfying results.
For best painting results, print at 0.2mm layer height or finer, with 3+ perimeters for a solid surface to sand into.
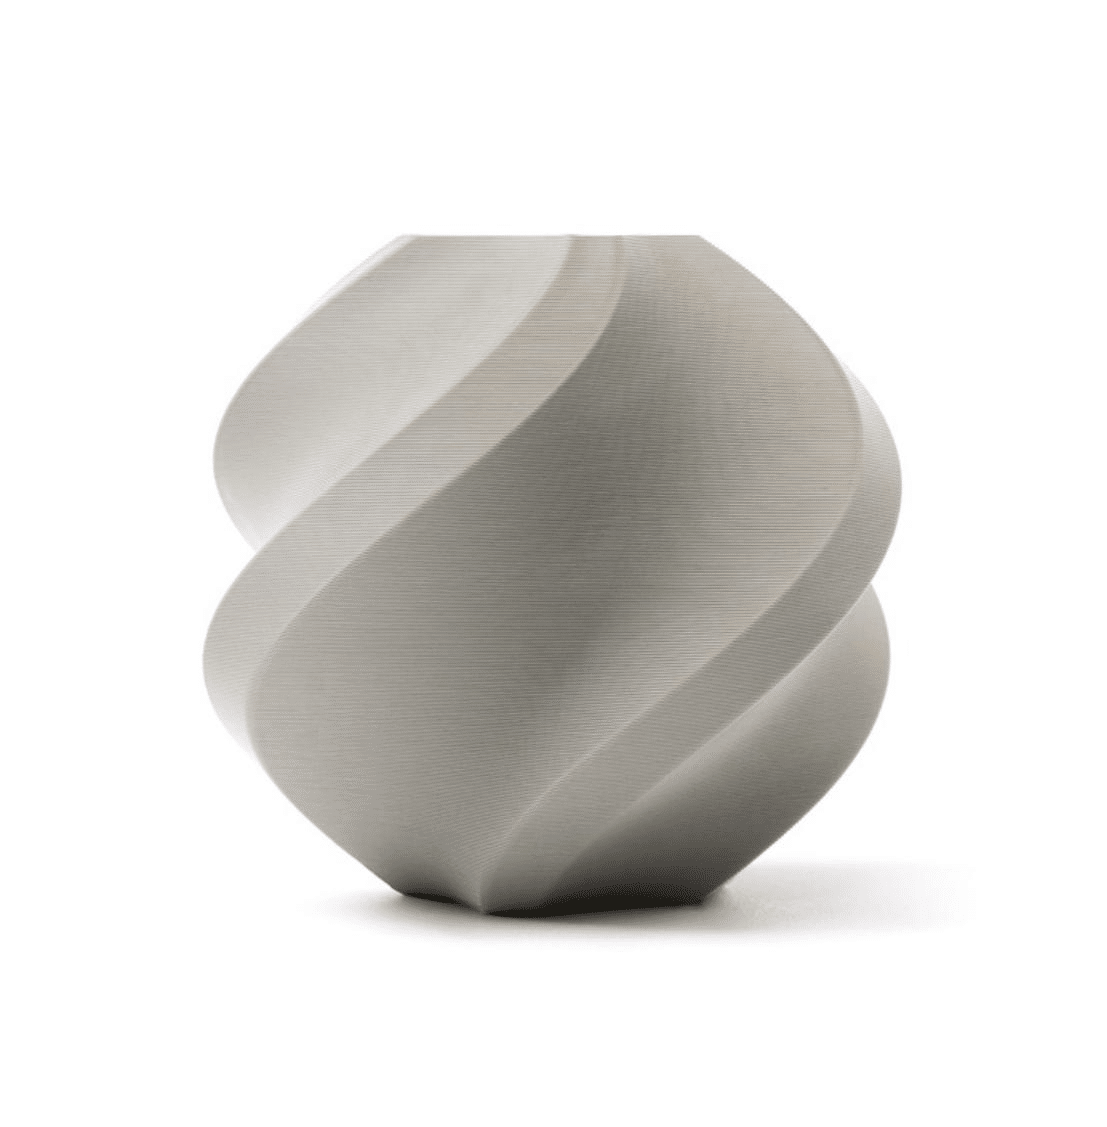
Bambu Lab PLA 3D Printer Filament – Grey 1.75mm with Reusable Spool
High-quality PLA filament ideal for printing parts you plan to sand and paint. Consistent diameter for clean layer lines.
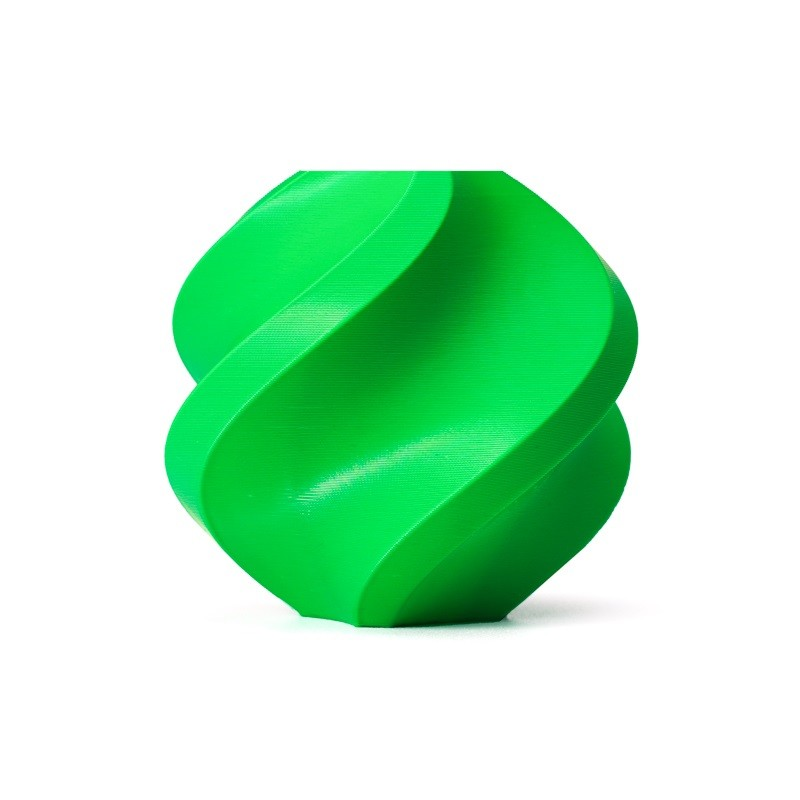
Bambu Lab ABS 3D Printer Filament – 1.75mm with Reusable Spool
ABS filament that can be acetone-smoothed before painting for a head start on surface finishing. Great for painted enclosures and props.
Recommended Products from Zbotic
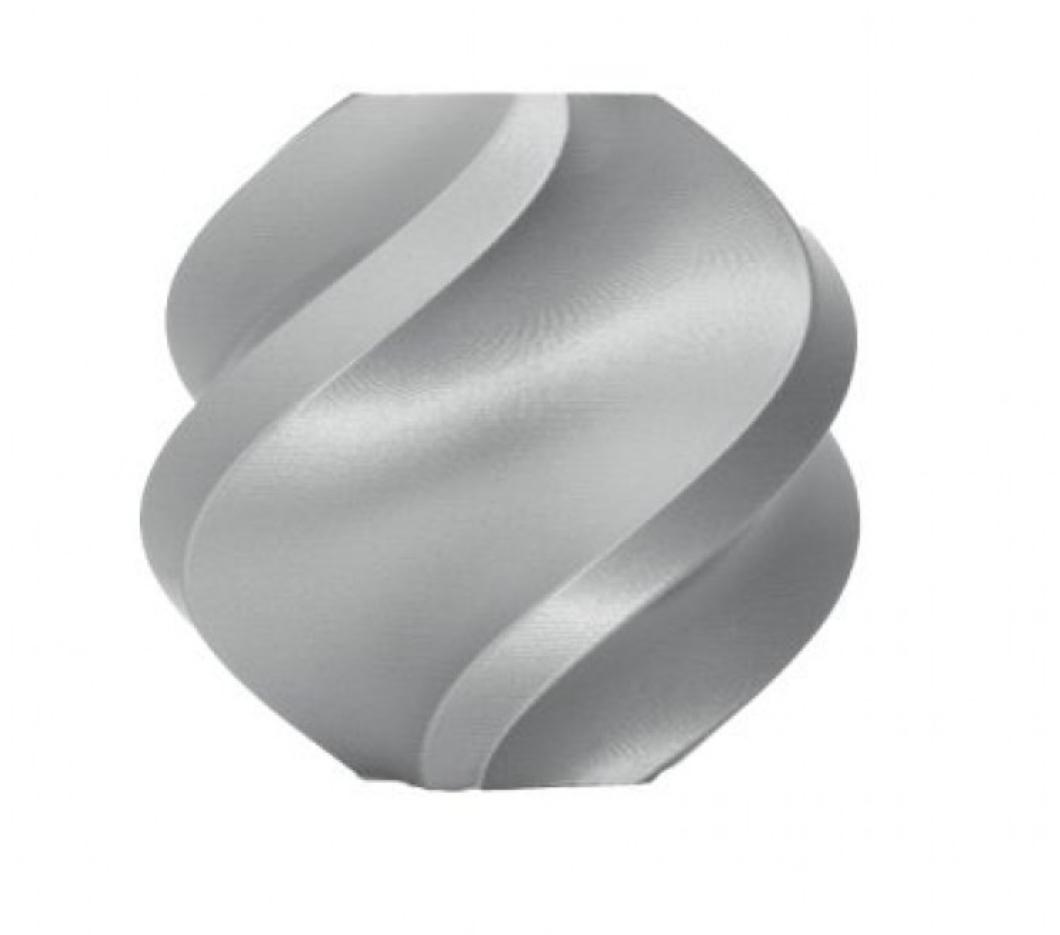
Bambu Lab PLA 3D Printer Filament – Silver 1.75mm with Reusable Spool
Silver PLA for chrome-like prints. Pair with a gloss clear coat for a metallic display finish that turns heads.
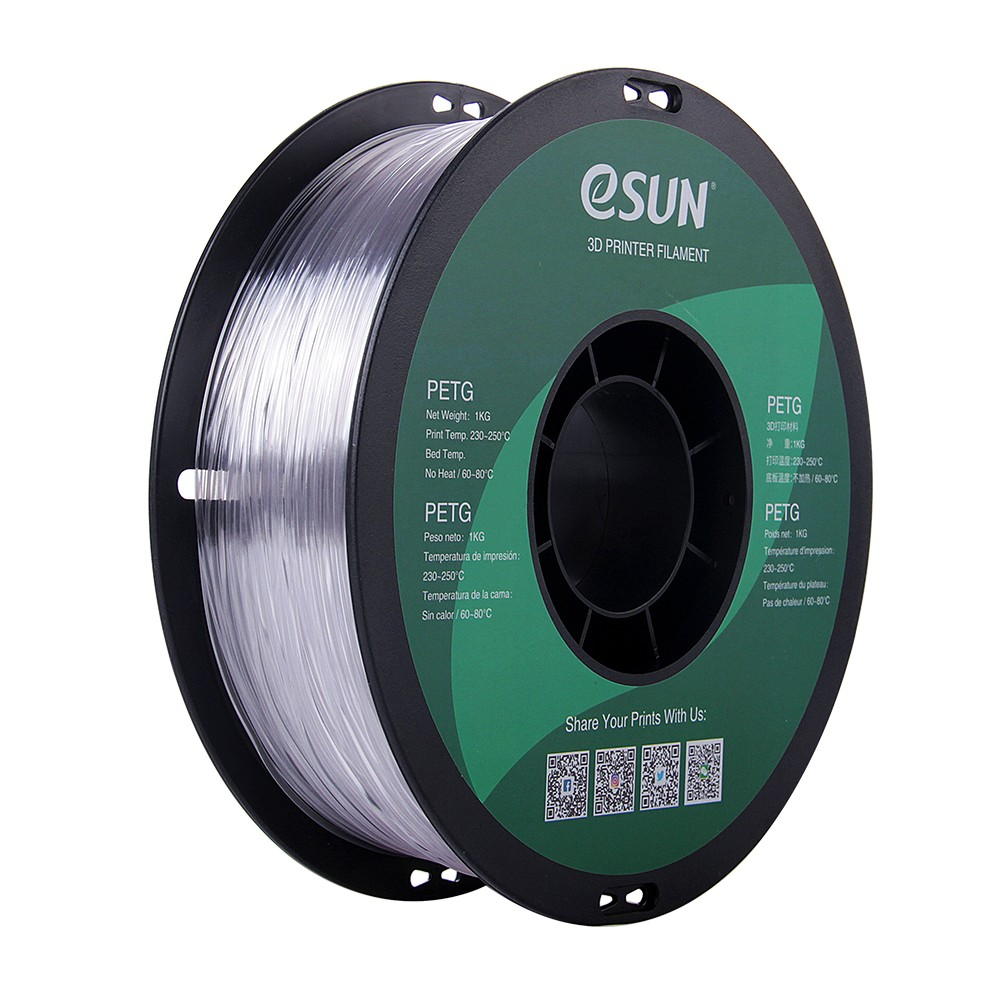
eSun PETG 1.75mm 3D Printing Filament 1kg – Clear
PETG filament for durable parts. Clear PETG takes paint well when primed properly and produces tough finished parts.
ABS PLA PETG 1.75mm Filament Filter Cleaner – Dust Removal for 3D Printer
Keep your filament clean to get consistent extrusion — essential for prints you plan to paint, as dusty filament causes surface defects.
Frequently Asked Questions
Can I paint 3D prints without sanding?
Technically yes, but the result will look rough and amateurish. Paint just highlights layer lines rather than hiding them. At minimum, apply a filler primer and lightly sand before adding colour. Even one sanding pass makes a significant difference.
What is the best primer for 3D prints in India?
Automotive filler primer from brands like Dupli-Color, Motul, or local auto shops works great. Look for “filler primer” specifically — regular primer is too thin. Rust-Oleum 2-in-1 Filler & Sandable Primer is available on Amazon India and is excellent.
Does spray paint stick to PLA?
Yes, standard spray paint sticks well to primed PLA. Unprimed PLA can have adhesion issues with some solvent-based paints. Always use primer as the base layer — it acts as an adhesion promoter as well as a filler.
How many coats of primer do I need?
Most prints need 2–3 rounds of primer + sanding to get perfectly smooth. Don’t rush — each round fills more of the surface texture. After 3 rounds, the result should be very close to injection-moulded quality.
Can I use brush-on paint instead of spray?
Yes, especially for detail painting. Airbrush gives better results than rattle cans for fine control. Brush-on acrylic (Citadel, Vallejo) works well for detail areas after the base coat is sprayed.
My paint is dripping — what went wrong?
You applied the coat too thick or held the can too close. Let the drip dry completely (don’t try to wipe wet paint), sand it smooth with 800 grit, spot-prime, then reapply a thinner coat from a slightly greater distance.
Get premium PLA, ABS, and PETG filaments from Zbotic and start creating prints that deserve a professional finish. Fast delivery across India.
Conclusion
Spray painting 3D prints is a skill that compounds — each project teaches you something new. The process isn’t difficult, but it does reward patience. Skipping steps (especially sanding and primer) will always show in the final result. Follow the workflow: cleanup → sand → filler primer → sand → colour coat → clear coat, and you’ll consistently produce prints that look professionally made.
The Indian market has everything you need to get started: filler primer at your local hardware store, quality filaments and printer parts from Zbotic, and hobby paints on Amazon. There’s no reason your 3D prints can’t look as good as they function.
Happy printing — and happy painting!


Add comment