
You’ve wired up your servo motor, uploaded the sketch, and… nothing. Or maybe it twitches once and stops. Or it spins endlessly without holding position. Servo motor problems are among the most frequently asked questions in the Arduino community — and the good news is that almost every issue has a simple, fixable cause.
In this comprehensive troubleshooting guide, we’ll walk through every common reason a servo motor doesn’t work with Arduino, and give you clear, actionable fixes. Whether you’re using an SG90 micro servo, an MG996R high-torque servo, or any other model, this guide applies.
How Servo Motors Work (Quick Review)
Before diagnosing problems, it helps to understand how a servo motor works. A servo consists of:
- A small DC motor (the actual actuator)
- A gear train (reduces speed, increases torque)
- A potentiometer (position feedback sensor)
- A control PCB (compares commanded position vs actual, drives motor)
The servo receives a PWM signal on its signal wire. The pulse width (not the frequency) encodes the desired position:
- ~1000 µs pulse = 0° (or –90° depending on servo)
- ~1500 µs pulse = 90° (center / neutral)
- ~2000 µs pulse = 180° (or +90°)
The Arduino Servo library handles this automatically. When you call servo.write(90), the library generates the appropriate 1500 µs pulse at ~50 Hz.
The three wires on a standard servo:
- Red (or Orange/Brown): Power — 4.8V to 6V DC
- Black (or Brown): Ground
- Yellow (or White/Orange): Signal (PWM input)
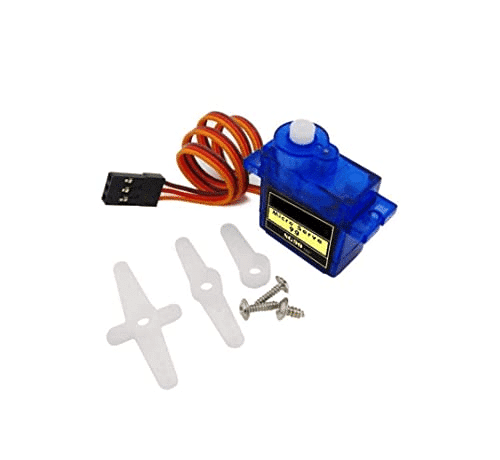
TowerPro SG90 180 Degree Rotation Servo Motor
The industry-standard 9g micro servo. Genuine TowerPro build quality, 180° rotation, suitable for beginners and advanced projects alike. A reliable reference point for troubleshooting.
1. Power Supply Problems (Most Common Cause)
This is the #1 cause of servo problems. More than half of all “my servo isn’t working” issues trace back to inadequate power.
Problem: Powering servo from Arduino’s 5V pin
An SG90 servo draws about 200–500 mA when moving and up to 700 mA when stalled. Arduino’s onboard 5V regulator can supply only ~500 mA total (and that’s shared with the microcontroller and any other components). An MG996R can draw 2.5A under load — far beyond what Arduino can supply.
Symptoms of power problems:
- Servo twitches or moves slightly then stops
- Arduino resets when servo moves
- Servo moves when no load is attached but fails under load
- Erratic, jerky movement
- Servo works on a bench supply but not from Arduino
Fix: Use a dedicated external power supply for the servo.
- Use a 5V / 2A power supply (or BEC from an RC battery) to power the servo directly
- Connect the servo’s GND to Arduino GND (shared ground is essential)
- Connect the servo’s signal wire to Arduino — do NOT connect servo’s red (+) wire to Arduino 5V
- Add a 100–470 µF capacitor across the servo’s power supply rails to buffer inrush current spikes
Decoupling capacitor wiring: Place a 470 µF / 16V electrolytic cap with (+) to the +5V line and (–) to GND, physically close to the servo connector.
Problem: Voltage too low
Most servos require 4.8V–6V. If you’re powering from a LiPo battery (3.7V nominal, 4.2V full charge), the voltage may be insufficient. Always use a 5V regulated supply or a 2S LiPo with a BEC regulator set to 5V.
2. Signal & Wiring Issues
Wrong pin — non-PWM pin used
Despite what some tutorials suggest, the Arduino Servo library does NOT require a hardware PWM pin. It uses software timer interrupts to generate the servo signal on any digital pin. So any pin from D2–D13 (and A0–A5 with caveats) should work.
However, if you are using Timer1-dependent code (like certain audio libraries or the tone() function on pins 9/10), there can be interference. Move the servo signal to a different pin.
Swapped wires
Servo connectors are standardized but not foolproof. Double-check your servo’s wire color convention — it varies by brand:
| Brand | Signal | Power (+) | Ground (–) |
|---|---|---|---|
| TowerPro (SG90/MG996R) | Orange | Red | Brown |
| Generic SG90 (China) | Yellow | Red | Black/Brown |
| Futaba | White | Red | Black |
| JR/Hitec | Yellow | Red | Black |
No common ground
If your servo is powered from an external supply, you MUST connect the external supply’s GND to Arduino GND. Without a common ground reference, the signal pin has no reference point and the servo will not respond at all — or will behave erratically.
3. Common Code Errors
Forgetting to call servo.attach()
#include <Servo.h>

Servo myservo;

void setup() {
  myservo.attach(9); // ESSENTIAL: attach to pin 9
}

void loop() {
  myservo.write(90); // Move to 90 degrees
  delay(1000);
  myservo.write(0);
  delay(1000);
}
Forgetting myservo.attach(pin) means the servo object is never linked to a physical pin. The sketch runs, but no signal is generated.
Using writeMicroseconds() with wrong values
If using writeMicroseconds() directly, ensure values are in the 500–2500 µs range for most servos. Values outside this range may exceed mechanical limits and cause stalling. The safe range is typically 1000–2000 µs.
Calling write() before attach()
Always call attach() before write(). Writing a position before the servo is attached has no effect.
Wrong angle range
Standard hobby servos rotate 0–180°. Calling servo.write(200) doesn’t make it go past 180° — it clips at the mechanical limit and may cause stall current to flow continuously, heating the motor.
4. Servo Jitter & Oscillation
Servo jitter (rapid back-and-forth oscillation even when commanded to hold position) is one of the most frustrating problems. Causes include:
Cause 1: Power supply noise
High-frequency noise on the 5V supply (from switching regulators, other motors, etc.) confuses the servo’s internal control circuit. Fix: Add 100 µF + 0.1 µF bypass capacitors at the servo power connector.
Cause 2: Timer conflicts
On Arduino Uno, the Servo library uses Timer1. If you also use tone(), certain PWM operations on pins 9/10, or specific libraries (some IR libraries, Timer1 library) simultaneously, timer conflicts cause jitter. Move servo to a different pin or use ServoTimer2 library.
Cause 3: Floating signal wire
If the signal wire is not connected (or has a cold solder joint), it picks up ambient electrical noise. This looks like random jitter. Fix: Verify physical connection, use a shorter signal wire, and keep it away from motor power wires.
Cause 4: Mechanical load near end-stops
When the servo is commanded to a position near 0° or 180° with a load, it may oscillate because the control circuit can’t settle. Use servo.write(5) and servo.write(175) instead of exact 0/180 to avoid end-stop oscillation.
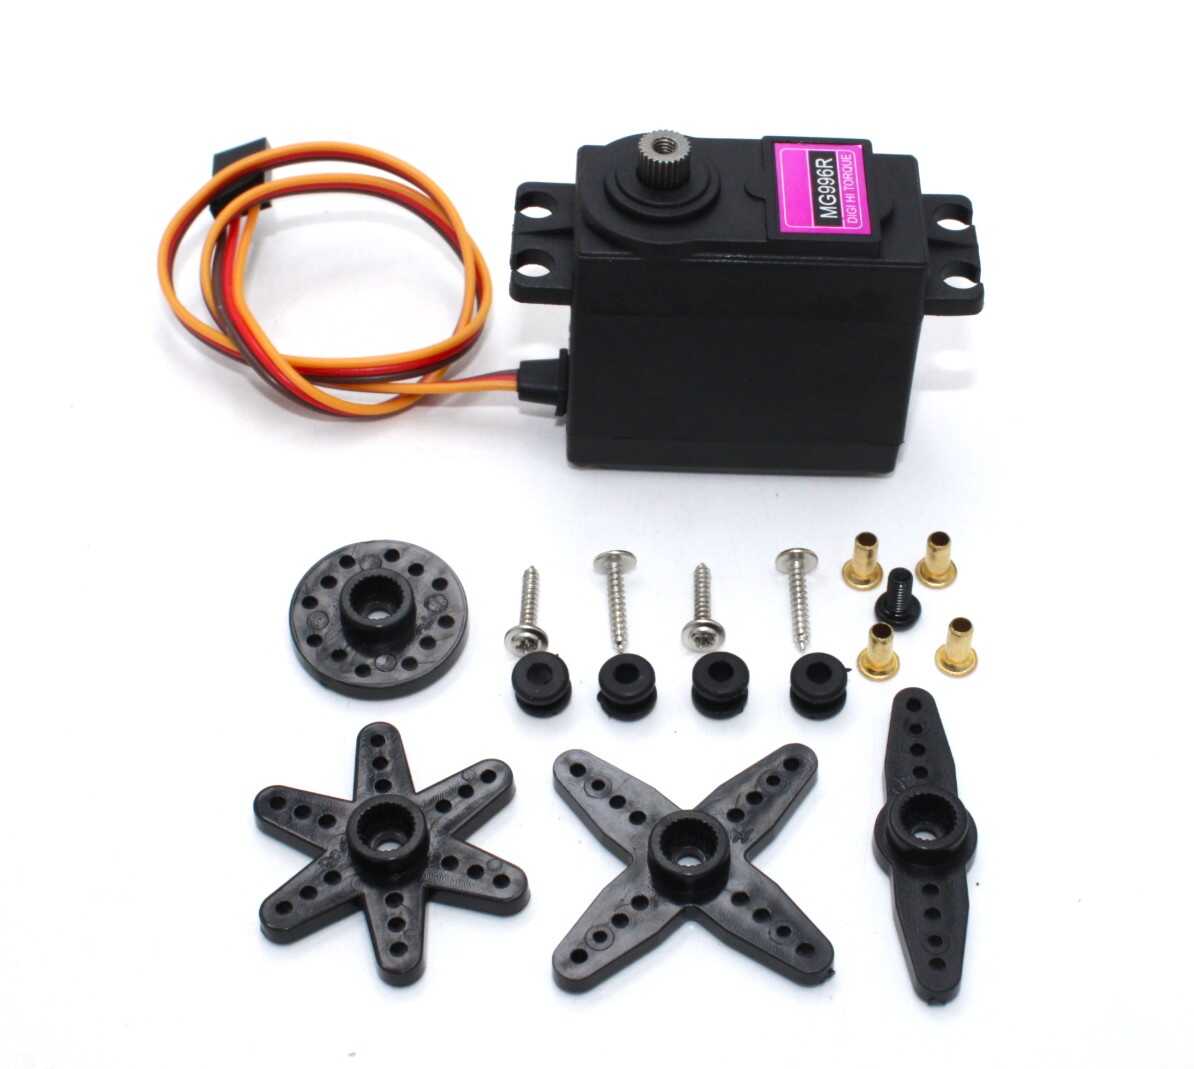
Servo MG996 13KG 180 Degree (High Quality)
When SG90 torque isn’t enough, upgrade to the MG996R — 13 kg-cm torque, metal gears, dual ball bearings. Ideal for robotic arms, pan-tilt systems, and heavy-duty RC applications.
5. Servo Gets Power But Doesn’t Move
If the servo is getting power (it has some resistance, feels “locked” when you try to turn the shaft by hand) but won’t respond to commands:
- Verify signal wire connection with a multimeter — measure voltage on the signal pin while running code. You should see ~3.5–5V pulses
- Test with a scope or logic analyzer to confirm 50 Hz PWM is present
- Try a known-working servo to rule out a dead servo
- Check for damaged signal wire — the thin signal wires inside servo cables break easily with repeated bending
- Servo may be in a dead band — if commanded to exactly the current position, it won’t move. Try sweeping from 0 to 180°
Diagnostic sketch:
#include <Servo.h>
Servo s;
void setup() {
  s.attach(9);
  s.write(0);
  delay(1000);
  s.write(90);
  delay(1000);
  s.write(180);
  delay(1000);
  s.write(90);
}
void loop() {}
If the servo doesn’t move through this sweep at all, power and signal both need to be re-checked.
6. Servo Spins Continuously (Position Not Held)
If your servo spins endlessly instead of going to a specific position, it is most likely a continuous rotation servo, not a standard positional servo. Continuous rotation servos have the position feedback potentiometer replaced or modified — they respond to commands by spinning continuously (at different speeds), not by holding angles.
To confirm: check the product listing. Servos sold as “360°” or “continuous rotation” are not positional. If you need a positional servo, you need one marked “180°.”
Another cause: a servo with a stripped or missing feedback potentiometer. If the pot is disconnected or broken, the servo has no position reference and will spin to try to reach the commanded position indefinitely.
7. Servo Gets Hot / Draws Too Much Current
Cause: Mechanical overload / stall
If the servo is commanded to a position it mechanically cannot reach (e.g., blocked by a rigid structure, or commanded past physical limits), the motor stalls. A stalled servo draws maximum stall current continuously — the MG996R can draw 2.5A at stall. This overheats the motor windings rapidly.
Fix: Always ensure mechanical freedom of movement throughout the full commanded range. Add soft limits in code (never command to exact 0° or 180°). Use a current-limiting power supply during testing.
Cause: PWM signal too high a frequency
Servo control PCBs are designed for 50 Hz signals (20 ms period). If you generate a faster PWM signal (e.g., using analogWrite() directly instead of the Servo library), the servo’s internal circuit can’t keep up and may draw excessive current or overheat.
8. Mechanical Problems
Not all servo problems are electrical. Common mechanical issues include:
- Stripped gears: Plastic gears in SG90-class servos strip easily under shock loads. If the shaft turns freely with no resistance, gears are stripped. Replace with metal gear servo (MG996R) or source a gear kit.
- Horn slipping on shaft: Servo horns are held by a screw and spline. If the screw is loose or the horn is not properly seated on the spline, it slips under load. Tighten the center screw securely.
- Horn incorrect size: Using a horn not designed for your servo’s spline pattern results in poor fit and slipping. Use the horn that came with the servo, or an aluminum aftermarket horn that matches the spline count.

Aluminum Servo Horn/Arm 25T Round Disc for MG995/MG996
Upgrade from plastic to this sturdy aluminum horn. Stronger spline grip means less slipping under load, and the 25T spline count matches MG995/MG996 servos perfectly.
Frequently Asked Questions
Why does my Arduino reset when the servo moves?
The servo is drawing too much current from Arduino’s 5V pin, causing a voltage drop that resets the microcontroller. Power the servo from an external 5V supply, connect only the signal and ground wires to Arduino, and add a 470 µF capacitor across the servo’s power supply rails.
My servo moves to 0° and 180° but not to intermediate angles. Why?
This usually indicates the PWM timing from the Servo library doesn’t precisely match what your servo expects. Try using servo.writeMicroseconds() with values from 544 to 2400 µs (Arduino’s full range) and find the actual travel limits of your servo.
Can I control multiple servos from one Arduino?
Yes. The Arduino Servo library supports up to 12 servos on Uno (up to 48 on Mega). Each needs its own signal pin. However, powering multiple servos from Arduino’s 5V is not feasible — use an external power supply for all servos.
Servo works fine without load but stalls under load. What’s wrong?
The servo’s torque rating is insufficient for your mechanical load. Calculate the torque needed (force × distance from shaft), add a safety margin of 2x, and upgrade to a higher-torque servo. The MG996R offers 13 kg-cm, significantly more than SG90’s 1.8 kg-cm.
Is my servo dead? How do I test it?
Connect the servo to a known-good 5V supply and use a servo tester (cheap dedicated device) or a working Arduino with the sweep example sketch. If the servo doesn’t respond to any signal but has power, the internal control PCB or motor is faulty and the servo needs replacement.
Why does my servo only work in one direction?
Possible causes: the internal potentiometer is at an end stop (servo is already at position 0°), the gear train is jammed in one direction, or the control PCB has a fault. Try sweeping from 0 to 180° and back. If it moves one way only, inspect for mechanical binding or a damaged gear.
Conclusion
Servo motor problems almost always fall into one of a handful of categories: power supply inadequacy, wiring mistakes (especially missing common ground), code errors (forgetting attach()), signal interference (timer conflicts), or mechanical failures (stripped gears, loose horns).
Work through this checklist systematically: confirm power first, then wiring, then code, then signal quality. In most cases, you’ll find the problem before reaching the end of the list. And remember — when in doubt, a dedicated external 5V / 2A supply solves more servo problems than any other single fix.
Browse Zbotic’s full range of servo motors, servo mounts, and accessories to get your project moving in the right direction!


Add comment