
Understanding robot arm degrees of freedom — specifically 3-DOF versus 6-DOF designs — is fundamental to every robotics and automation project. Whether you are building a desktop pick-and-place machine, a welding manipulator, or a camera positioning rig, the number and arrangement of joints determines what the arm can reach, how precisely it can move, and how complex the control software needs to be. This guide explains DOF in depth, compares 3-DOF and 6-DOF architectures, and helps you choose the right design for your build.
What Are Degrees of Freedom in a Robot Arm?
A degree of freedom (DOF) is an independent dimension of motion. In robotics, each revolute joint (rotating) or prismatic joint (linear) adds one DOF. A rigid body in 3D space has 6 DOF — three translational (x, y, z) and three rotational (roll, pitch, yaw). A robot arm that can position its end-effector at any arbitrary position AND orientation in 3D space needs exactly 6 DOF.
This is why 6-DOF manipulators like the KUKA KR, Universal Robots UR5, and Fanuc LR Mate are the industry standard: they provide complete spatial flexibility. Fewer DOF means the end-effector is constrained in some way — it cannot reach all positions, cannot achieve all orientations, or must approach from a fixed direction.
Key terminology:
- Revolute joint (R): Rotates about an axis. Most common in articulated arms.
- Prismatic joint (P): Translates along an axis. Used in Cartesian and SCARA robots.
- End-effector: The tool at the robot’s tip — gripper, welding torch, camera, pen, etc.
- Workspace: The volume of space reachable by the end-effector.
- Payload: Maximum load the arm can carry at full reach with specified accuracy.
3-DOF Robot Arms: Architecture and Workspace
A 3-DOF arm has three joints and provides three independent axes of motion. Common configurations:
RRR (3 Revolute Joints)
The most common 3-DOF arm for education and desktop robotics. Joint arrangement: base rotation (J1), shoulder flexion (J2), elbow flexion (J3). This gives the end-effector full positioning freedom within a planar slice, but orientation is fixed — the wrist angle is the sum of all joint angles relative to ground.
- Workspace shape: Toroidal (donut-shaped) — regions directly above and below the base are unreachable.
- Position control: Can reach any (x, y, z) within the reachable workspace.
- Orientation control: End-effector angle is constrained — cannot independently set roll/pitch/yaw.
- IK solution: Closed-form, two solutions per target point (elbow-up vs elbow-down).
Common 3-DOF Applications
- Drawing and writing robots (fixed pen angle acceptable)
- Simple pick-and-place where objects always present with the same orientation
- Camera panning rigs (pan + tilt + extension)
- Educational robotics and IK learning platforms
- Planar assembly tasks where workpiece height and approach angle are fixed
The 3-DOF arm is ideal for beginners learning inverse kinematics because the math is manageable — two atan2 and one acos calculation. The limitation in orientation control becomes obvious when you try to pick an object from one orientation and place it in another: the 3-DOF arm cannot do this without repositioning its base.
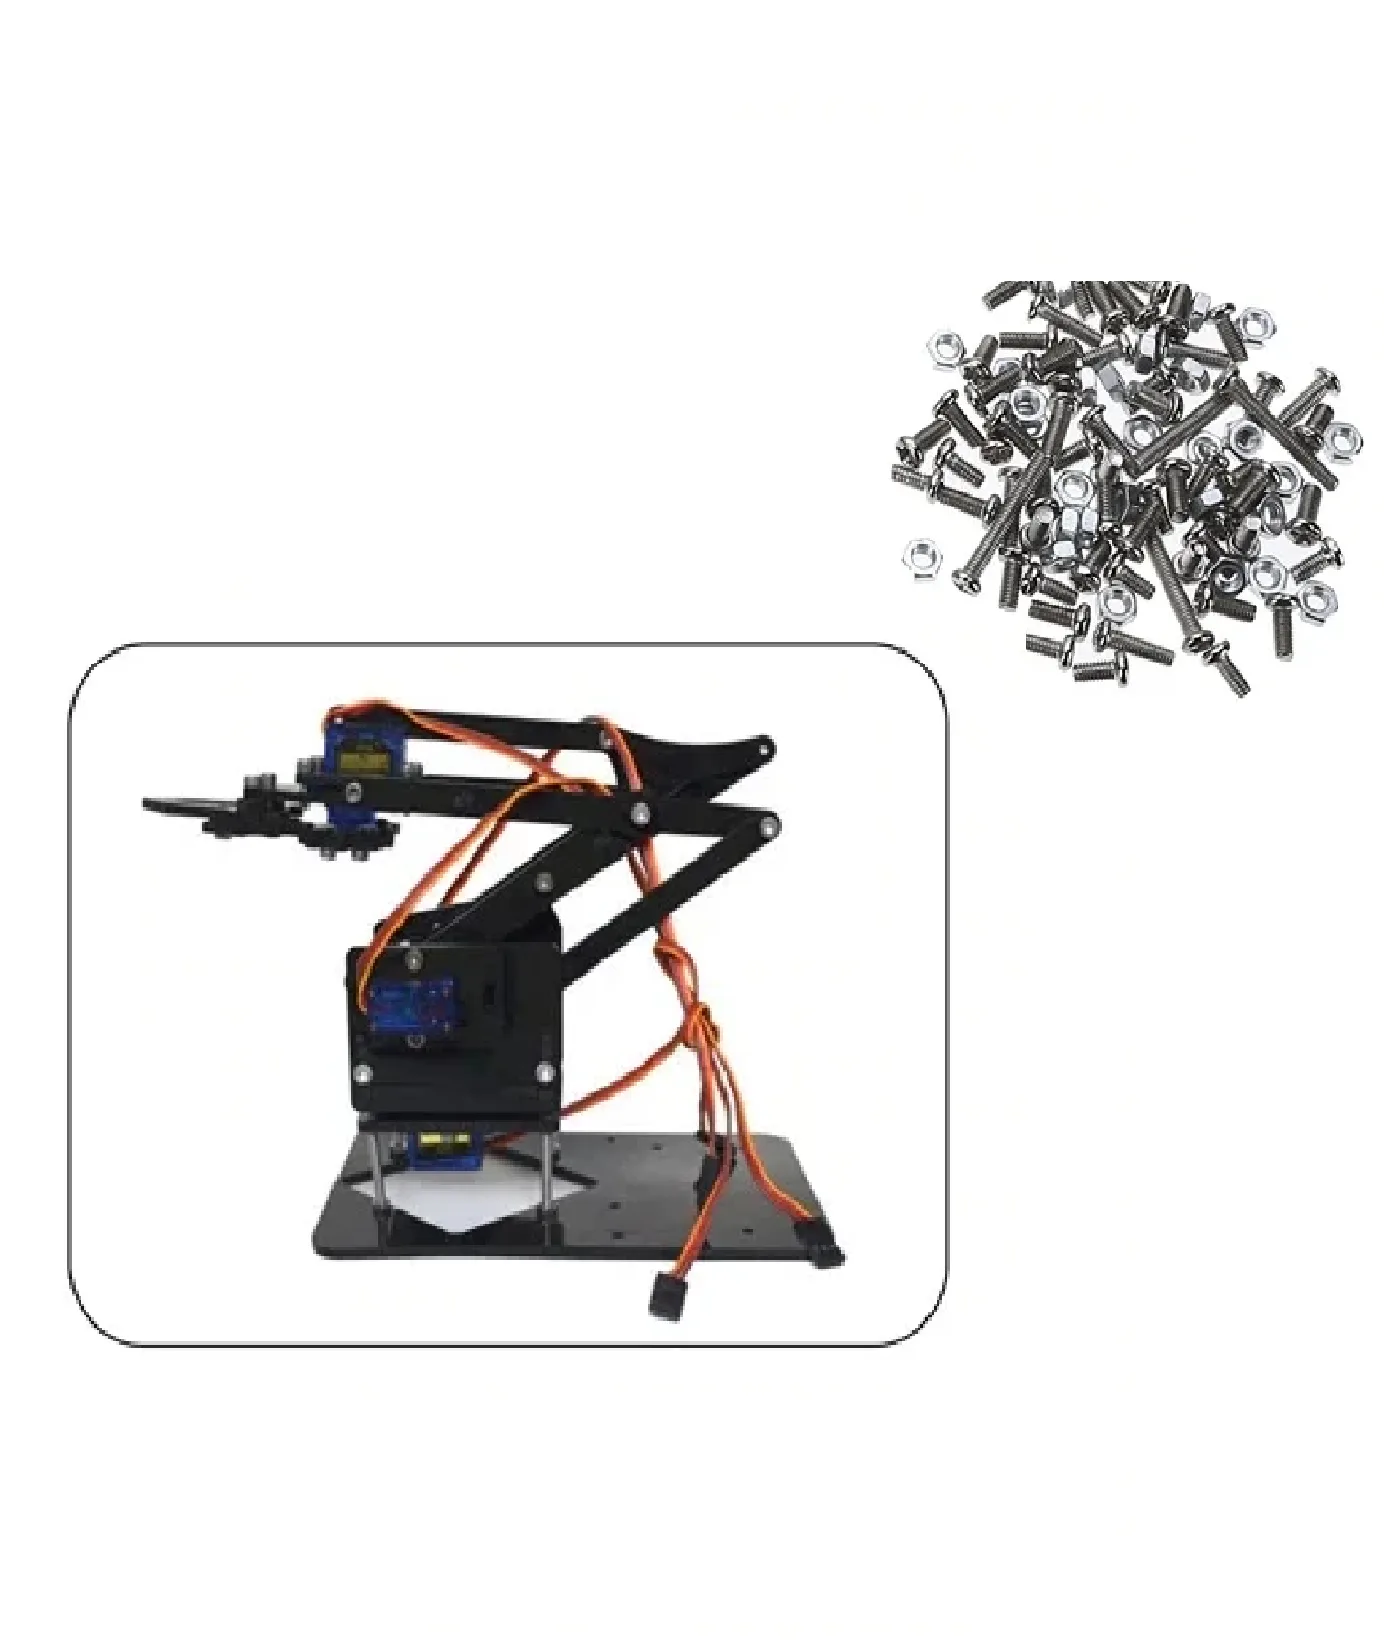
DIY Acrylic Robot Manipulator Mechanical Arm Kit
Complete acrylic robot arm kit — perfect for learning 3-DOF or 4-DOF servo-driven manipulator mechanics and inverse kinematics.
6-DOF Robot Arms: Full Dexterity Explained
A 6-DOF articulated arm provides complete spatial freedom — the end-effector can reach any position and achieve any orientation within the workspace. This is the gold standard for industrial and serious DIY manipulation.
Standard 6-DOF Joint Arrangement
Following the standard industrial convention:
- J1 (waist): Rotates entire arm about vertical axis — 360° base rotation.
- J2 (shoulder): Tilts upper arm forward/backward — determines reach and height.
- J3 (elbow): Bends forearm — works with J2 to position the wrist in 3D space.
- J4 (wrist roll): Rotates forearm about its own axis — first orientation DOF.
- J5 (wrist pitch): Tilts the tool up/down — second orientation DOF.
- J6 (wrist yaw / tool rotation): Rotates end-effector about the approach axis — third orientation DOF.
Joints J1–J3 position the wrist center in space. Joints J4–J6 (the spherical wrist) orient the end-effector. This decoupling greatly simplifies the inverse kinematics because position and orientation can be solved independently.
6-DOF Applications
- Assembly requiring precise orientation control (screw driving, connector insertion)
- Welding — the torch must maintain a specific angle to the weld joint at all points of the path
- Spray painting — constant distance and angle to surface
- Surgery and medical robotics — precise orientation at the instrument tip is critical
- Collaborative robots (cobots) for flexible manufacturing

ACEBOTT ESP32 5-DOF Robot Arm Kit Expansion Pack – QD007
Step up to 5-DOF with this ESP32-powered robot arm kit — an excellent bridge between 3-DOF learning and full 6-DOF mastery.
3-DOF vs 6-DOF: Head-to-Head Comparison
| Feature | 3-DOF Arm | 6-DOF Arm |
|---|---|---|
| Position freedom | Full (x, y, z) | Full (x, y, z) |
| Orientation freedom | Constrained | Full (roll, pitch, yaw) |
| Servo count | 3–4 (with gripper) | 6–7 (with gripper) |
| IK complexity | Simple (closed-form) | Moderate (closed-form possible) |
| Singularity risk | Low | Higher (3 singularity types) |
| Assembly complexity | Simple | Moderate to complex |
| Cost (servo-based) | Low | Higher |
| Use case fit | Education, simple tasks | Advanced automation, all tasks |
| Path planning | Simple straight-line paths | Full Cartesian path planning |
| Weight (typical) | 200–600g | 400g–2kg (hobby scale) |
Singularities and Joint Limits
A singularity occurs when the robot loses one or more DOF — multiple joint configurations map to the same end-effector pose, or infinite joint velocities would be required to achieve a finite Cartesian velocity. Singularities are a practical problem in 6-DOF arms that 3-DOF arms largely avoid.
Three Singularity Types in 6-DOF Arms
- Shoulder singularity: Wrist center passes through J1 axis. Robot loses the ability to rotate around J1 — the shoulder joint.
- Elbow singularity: J3 reaches full extension (arm fully straight). Small Cartesian movements near this configuration require very large joint velocities.
- Wrist singularity: J5 passes through 0° (wrist bent straight). J4 and J6 become co-aligned — one DOF is lost in wrist orientation control.
Avoiding Singularities
- Plan paths that avoid singular configurations. In MoveIt (ROS), singularity avoidance is built into the OMPL planner.
- Add singularity damping to the IK solver (damped least squares / DLS method).
- Define joint limit constraints that keep the arm away from known singularity zones.
- For DIY builds: simply avoid programming trajectories that pass through singular configurations. At hobby speeds, the practical impact is manageable.
Forward and Inverse Kinematics Complexity
Forward Kinematics (FK)
FK computes end-effector pose from joint angles. Both 3-DOF and 6-DOF use Denavit-Hartenberg (DH) parameters — a 4×4 homogeneous transformation matrix per joint, multiplied in sequence. FK always has a unique solution and is computationally trivial.
Inverse Kinematics (IK)
IK is far more complex — given a desired end-effector pose, find the joint angles. For a 6-DOF arm with a spherical wrist, a closed-form analytical IK exists with up to 8 solutions (elbow up/down × shoulder front/back × wrist flip). Most hobby 6-DOF arm libraries implement this analytical IK.
For non-spherical-wrist designs or redundant arms (7+ DOF), numerical IK solvers (Jacobian pseudo-inverse, FABRIK, cyclic coordinate descent) are used. These converge iteratively and are computationally heavier — fine on a Raspberry Pi or PC, but challenging on an Arduino Uno.
IK Libraries for DIY Builds
- FABRIK (Arduino): Fast, iterative, works for any chain — including 3-DOF. Very lightweight.
- KDL (Robot Operating System): Full numerical IK with velocity kinematics. Requires Linux/ROS2.
- MoveIt (ROS2): Complete motion planning stack. Overkill for simple arms but powerful for 6-DOF automation.
- Custom analytical IK: Write your own from DH parameters. Harder but fastest and most transparent.

ACEBOTT ESP32 Programmable Robot Arm Kit for Beginners – QD022
ESP32-powered robot arm kit designed for beginners — learn servo control, forward kinematics, and programming on real hardware.
DIY Build Options and Hardware Recommendations
Choosing between 3-DOF and 6-DOF for a DIY build depends on your goals, budget, and timeline:
Build a 3-DOF Arm If:
- You are learning robot kinematics for the first time
- Your task requires position control but fixed orientation (drawing, simple pick-and-place)
- You have 4–8 weeks for the project
- Budget is limited — 3–4 servos vs 6–7
Build a 6-DOF Arm If:
- You need full orientation control at the tool tip
- You are implementing a real automation task (assembly, welding simulation, sorting)
- You want to learn industrial robot programming concepts
- You have prior experience with servo robots and IK math
Intermediate Option: 4-DOF and 5-DOF
Many hobbyists start with 4-DOF (3 position joints + wrist rotation) or 5-DOF (3 position joints + wrist pitch + wrist rotation). These add meaningful orientation capability over 3-DOF without the full complexity of 6-DOF. A 5-DOF arm with a gripper is sufficient for most tabletop automation tasks.
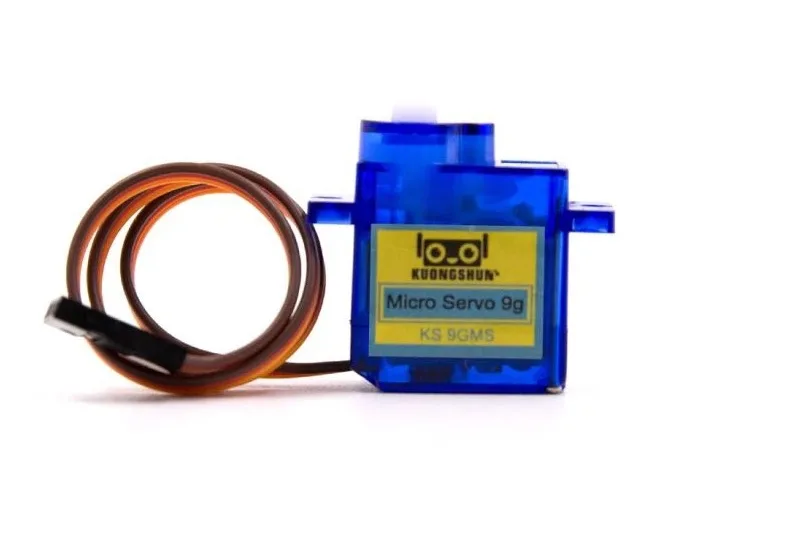
Servo SG90 9g 180 Degree
The standard servo for 3-DOF to 5-DOF desktop robot arms — lightweight, adequate torque for small arms, easy to source in bulk.
Frequently Asked Questions
Why do industrial robots always use 6 DOF?
Six DOF provides complete spatial freedom — any position and any orientation within the workspace. This versatility means one arm design can handle welding, painting, assembly, and material handling with only a tool change. Fewer DOF would require task-specific robot designs, increasing cost and floor space requirements.
Can a 3-DOF arm do pick and place?
Yes, for simple cases where objects always present in the same orientation. If you pick a cube lying flat and need to place it standing on its side, a 3-DOF arm cannot change the object’s orientation during transit — you need at least one wrist DOF for that. For same-orientation pick and place, 3-DOF is perfectly sufficient.
What is the minimum DOF for a useful robot arm?
Three DOF gives full 3D position control with constrained orientation — useful for many tasks. Four DOF adds wrist rotation — now you can spin the gripper. Five DOF adds wrist tilt — approaching from different angles becomes possible. Six DOF gives complete freedom. Most serious automation tasks need at least 5 DOF.
How much torque do robot arm servos need?
It depends on arm length and payload. A 30cm arm carrying 200g needs approximately: at the shoulder joint, torque = 0.2kg × 0.3m = 0.06 N·m = 6 kg·cm. Apply a 2–3× dynamic factor and you need 12–18 kg·cm at the shoulder. SG90 (1.8 kg·cm) is insufficient for shoulder joints — use DS3218 or equivalent 15–25 kg·cm servos for joints near the base.
Is ROS2 required for a 6-DOF arm?
No. ROS2 and MoveIt add powerful path planning, collision avoidance, and visualization tools, but you can build and program a 6-DOF arm entirely on Arduino or STM32 with your own IK solver. ROS2 is recommended when you need Cartesian path planning, integration with vision systems, or simulation in Gazebo.
Build your robot arm with Zbotic. From SG90 micro servos to full robot arm kits with ESP32, we have everything you need. Shop Robot Arm Components and bring your manipulator project to life.


Add comment