
Whether you are building an automatic street light, a line-following robot, an optical fibre receiver, or a flame detector, you need to sense light. Two of the most common components for this job are the Light Dependent Resistor (LDR) and the photodiode. They both convert light into an electrical signal, but they do so through completely different mechanisms — and that means they excel in very different applications.
This guide compares the two technologies in depth: how they work, what their electrical characteristics look like, which is easier to use with an Arduino, and when you should choose one over the other. We include complete circuit schematics and example code for both.
1. How an LDR Works
An LDR (Light Dependent Resistor), also called a photoresistor or photocell, is a passive component whose resistance decreases when light falls on it. The active material is typically cadmium sulfide (CdS) — a semiconductor that generates charge carriers when photons strike it, reducing the material’s resistivity.
Key characteristics:
- Dark resistance: 1MΩ to 10MΩ (very high)
- Bright light resistance: 1kΩ to 10kΩ (very low)
- Response time: 20ms–200ms (slow)
- Peak spectral response: ~540nm (green-yellow, matching the human eye)
- Polarity: None — symmetric, can be used in either direction
- Supply: Works with any voltage, purely resistive
The large resistance swing (100:1 to 10,000:1 between dark and bright conditions) makes the LDR easy to use with simple voltage dividers and analogue comparators. No special biasing is required.
Limitation: The CdS material in standard LDRs is now RoHS restricted in the EU due to cadmium content. Cadmium-free alternatives (using lead sulfide or organic photoconductors) exist but are less common in the hobbyist market. For most hobby use in India this is not a concern.
2. How a Photodiode Works
A photodiode is a semiconductor p-n junction that generates a current when illuminated. When a photon with sufficient energy strikes the depletion region, it creates an electron-hole pair. These carriers are swept across the junction by the electric field, creating a small photocurrent proportional to light intensity.
Photodiodes are operated in one of two modes:
Photovoltaic Mode (Zero Bias)
The photodiode is connected with no reverse voltage. It generates a small open-circuit voltage (like a tiny solar cell) or a short-circuit current. Response is slow but noise is minimal — used in precision light metering and solar cells.
Photoconductive Mode (Reverse Bias)
A reverse voltage (typically 5–30V) is applied across the photodiode. This widens the depletion region, dramatically reducing junction capacitance and enabling response times in the nanosecond range. The reverse current (dark current) increases slightly but is usually acceptable. This is the mode used for fast optical receivers.
Key characteristics of a typical silicon photodiode:
- Photocurrent: Picoamperes to microamperes (requires transimpedance amplifier for Arduino)
- Response time: 1ns–10µs (very fast)
- Peak spectral response: ~850nm–950nm (near-infrared)
- Dark current: 1nA–100nA (increases with reverse bias and temperature)
- Linearity: Excellent — photocurrent is linear with irradiance over many decades
3. Key Differences: A Direct Comparison
| Property | LDR (Photoresistor) | Photodiode |
|---|---|---|
| Output type | Resistance change | Current (or voltage with amp) |
| Response speed | 20ms–200ms | 1ns–10µs |
| Spectral peak | ~540nm (visible green) | ~850nm (near-infrared) |
| Linearity | Poor (logarithmic) | Excellent (linear) |
| Circuit complexity | Minimal (just a divider) | May need op-amp (TIA) |
| Cost (India) | ₹5–20 | ₹5–50 (bare die to module) |
| Polarity | None | Yes (anode/cathode) |
| Size | Larger (5mm disc typical) | Very small (SMD available) |
| Temperature sensitivity | High | Low (stable) |
| Best for | Ambient light level control | IR remotes, optical comms, precision |
4. LDR Circuit: Automatic Night Light
The most classic LDR application is an automatic light that turns on when it gets dark. The LDR forms the lower half of a voltage divider, and the output drives a transistor that switches a relay or LED.
5V ──[10kΩ]──+──── Vout to A0
             |
            [LDR]
             |
            GND
In bright conditions, LDR resistance drops to ~1kΩ → Vout is low (~0.45V). In darkness, LDR resistance rises to ~100kΩ → Vout is high (~4.8V). The Arduino ADC reads this and decides when to activate the light.
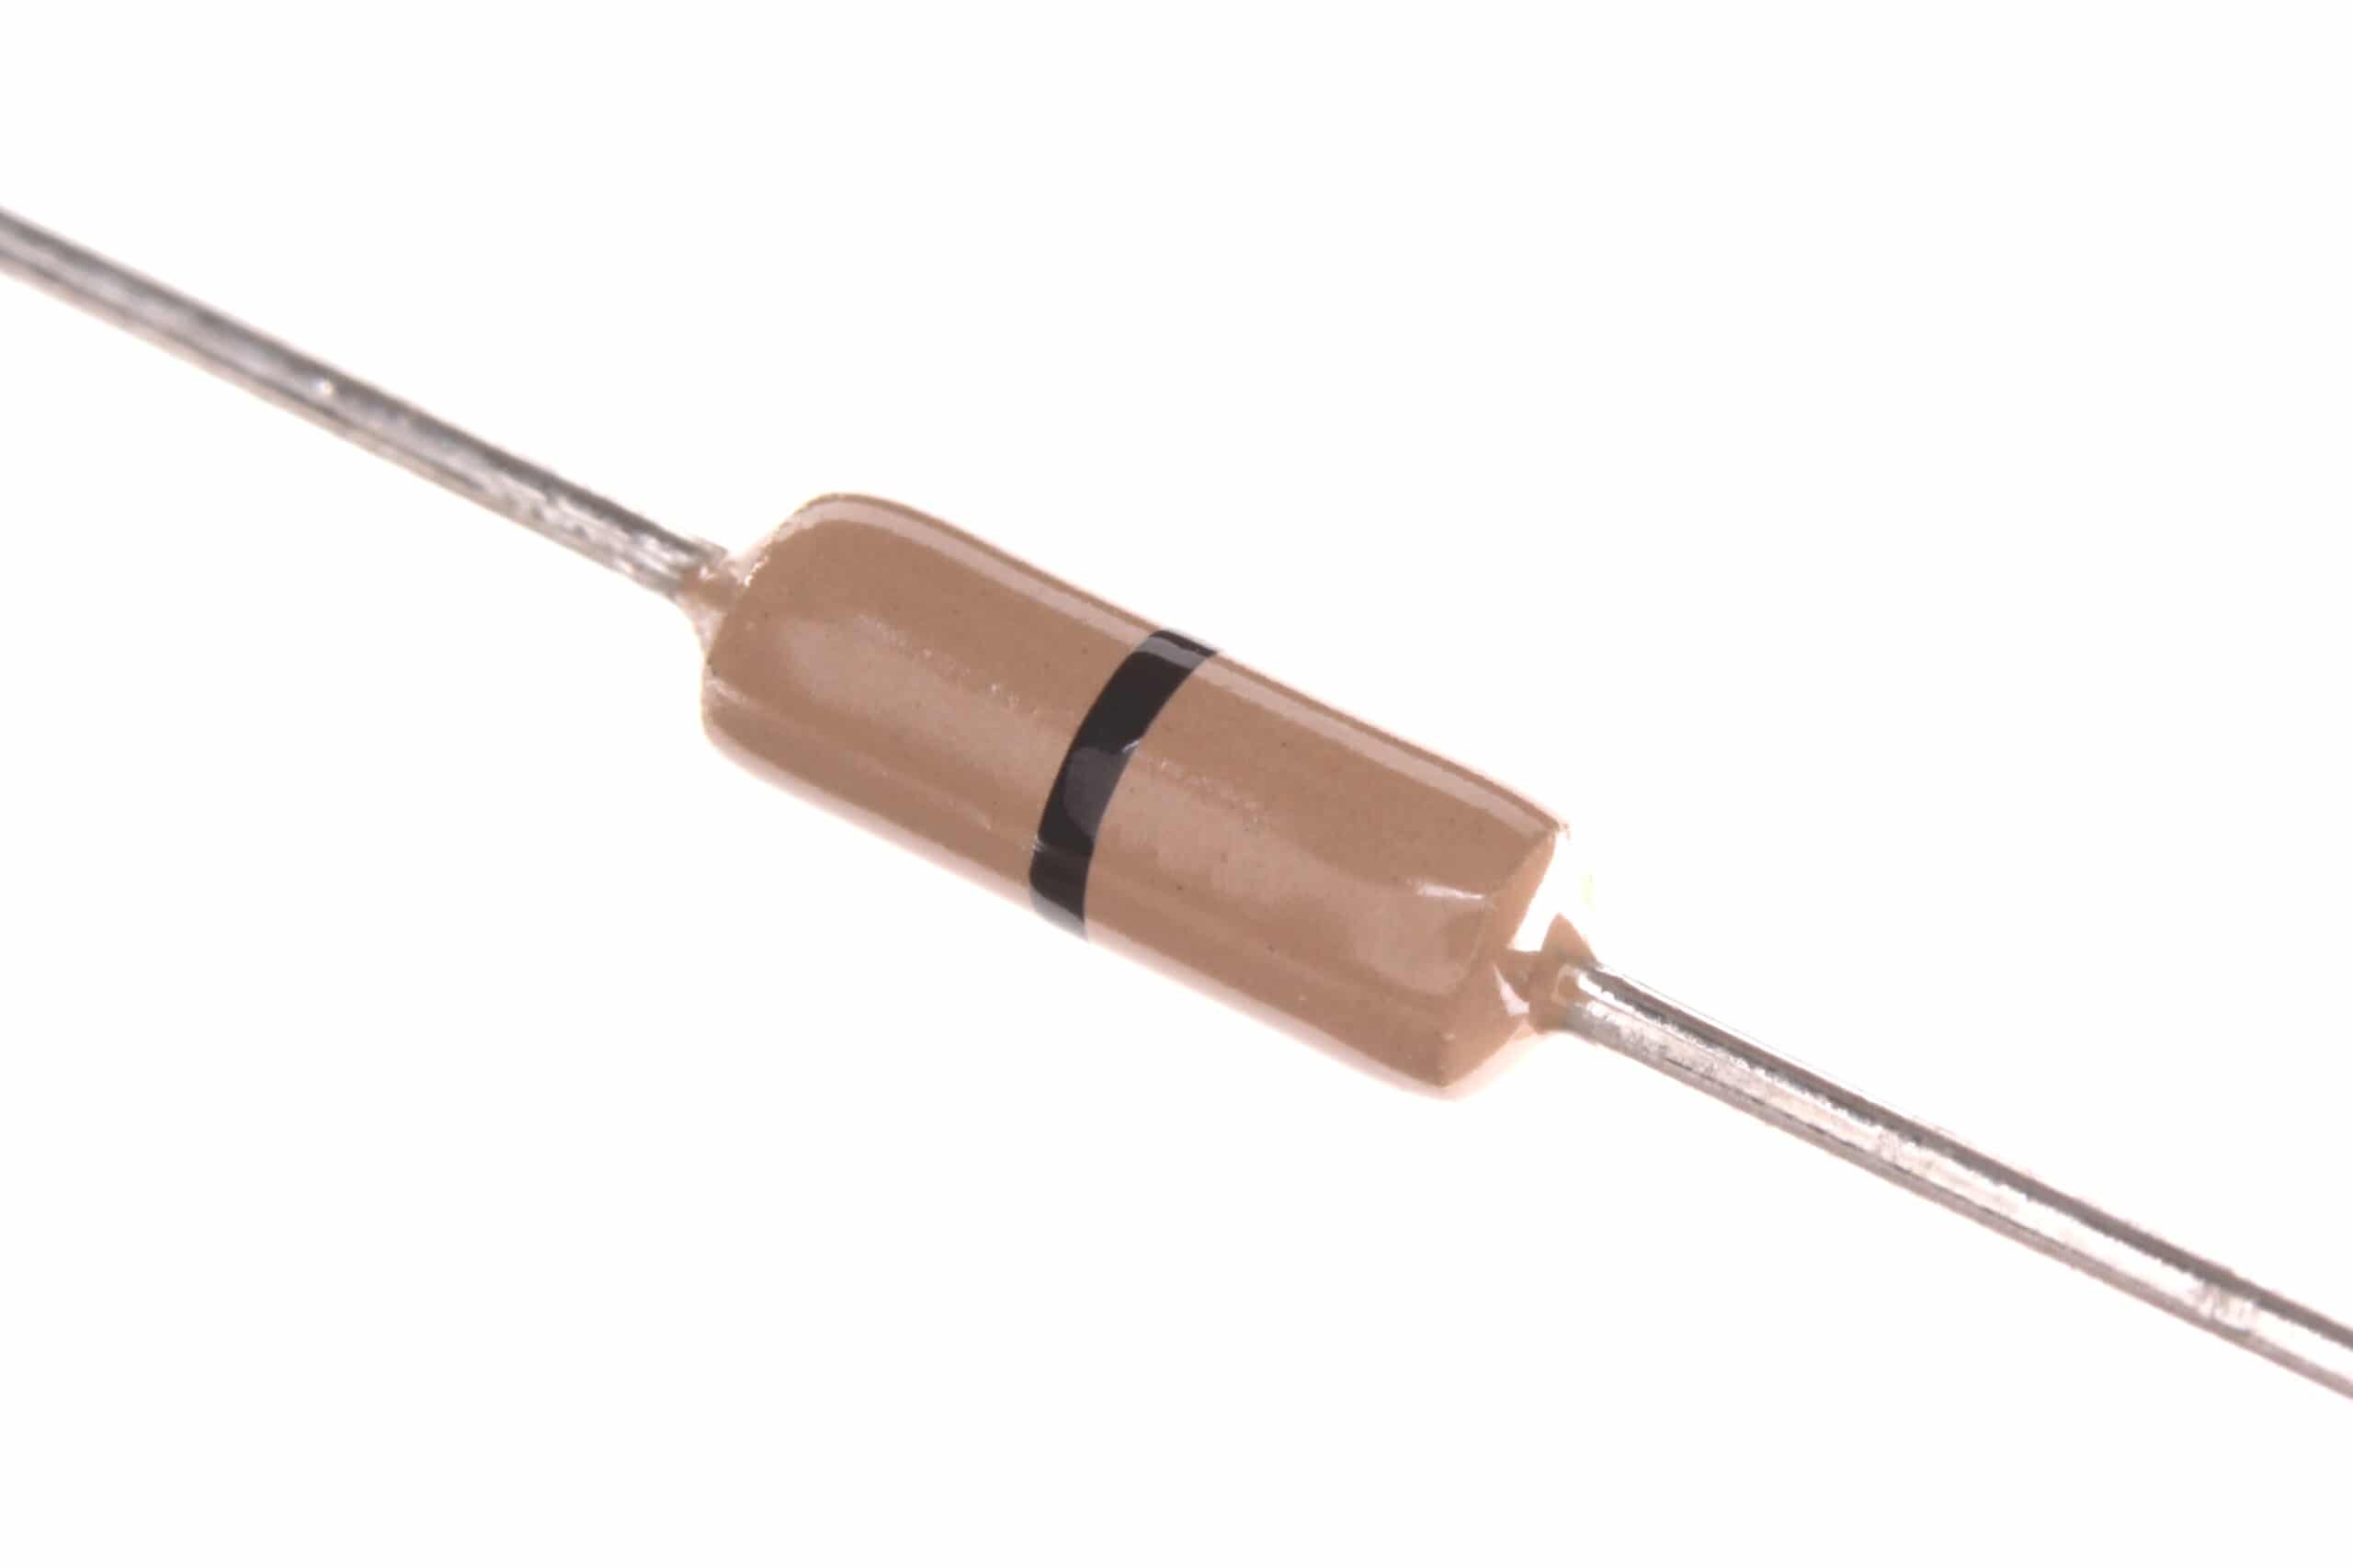
0.25W Carbon Film Resistors (Pack of 100)
The fixed resistor in your LDR voltage divider circuit. Get a 10kΩ value from Zbotic’s resistor range for the best mid-scale sensitivity.
5. Photodiode Circuit: Fast Pulse Detection
For detecting rapid light pulses (IR remote signals, laser rangefinders, or fibre-optic data), a photodiode in reverse-bias mode with a transimpedance amplifier (TIA) is the correct approach.
The simplest TIA uses an op-amp (e.g., LM358 or MCP6001) in inverting configuration with a feedback resistor to convert photocurrent to voltage:
         Rf (1MΩ)
    +---[===]---+
    |           |
(-)─+           +─── Vout = -Iph × Rf
    |  Op-Amp   |
(+)─+           |
    |   GND     |
  Photodiode cathode → (-) input
  Photodiode anode  → GND (or -Vbias for fast mode)
With a 1MΩ feedback resistor, a photocurrent of 1µA produces a 1V output — easily read by an Arduino ADC. For faster response, reduce Rf (less gain but lower RC time constant).
For basic digital-level detection (IR remote receiver), a purpose-built IC like the TSOP4838 or a photodiode module with onboard comparator is far simpler — no op-amp needed.
6. Spectral Response: Visible, IR, and UV
This is where LDR and photodiode fundamentally diverge in application:
LDR Spectral Response
Standard CdS LDRs peak at ~540nm (green-yellow) and closely mimic the human eye’s sensitivity curve. They respond well to natural daylight and incandescent/fluorescent light. They are not sensitive to infrared. This makes them excellent for applications where you want to mimic what a human would see — room brightness for auto-dimming lights, detecting daylight vs. night-time for street lamps.
Photodiode Spectral Response
Silicon photodiodes peak in the near-infrared (~850nm–950nm). They can detect visible light, but IR LEDs excite them far more efficiently. This is why:
- TV and appliance remote controls use IR LEDs — photodiode receivers are more efficient at this wavelength
- Line-following robot sensors use an IR LED + photodiode pair (or phototransistor)
- LiDAR and ToF sensors use infrared lasers with photodiode receivers
Specialty photodiodes are available for UV detection (silicon-based, typically with UV-pass filter) and extended IR range (InGaAs for telecom wavelengths at 1310nm and 1550nm).
7. Speed Comparison: Which Is Faster?
Speed is the most decisive differentiator between these two sensors:
- LDR rise time: ~20ms (in bright light); fall time: ~200ms (in dim light). The asymmetry comes from the recombination time of charge carriers in the CdS material.
- Photodiode rise/fall time: 1ns–100ns for high-speed types; 1µs–10µs for standard signal photodiodes; up to 50µs for large-area types.
To put this in perspective: an LDR cannot detect a light pulse faster than about 50Hz (20ms period). A standard photodiode can detect pulses well into the megahertz range. For anything involving:
- IR remote control decoding (38kHz carrier)
- Optical communication above 5 baud
- LIDAR or distance measurement by time-of-flight
- Detecting pulses from rotary encoders with optical slots
…a photodiode (or phototransistor) is the only viable option. An LDR simply cannot respond fast enough.
8. Arduino Code: LDR Ambient Light Meter
// LDR Ambient Light Meter
// Circuit: 5V → 10kΩ → A0 junction → LDR → GND

const int LDR_PIN = A0;
const int LED_PIN = 13;       // On-board LED
const int DARK_THRESHOLD = 700; // ADC value above which it's dark

void setup() {
  Serial.begin(9600);
  pinMode(LED_PIN, OUTPUT);
}

void loop() {
  int raw = analogRead(LDR_PIN);
  int lux_approx = map(raw, 0, 1023, 0, 1000); // Rough mapping

  Serial.print("ADC: "); Serial.print(raw);
  Serial.print(" | Approx Lux: "); Serial.println(lux_approx);

  if (raw > DARK_THRESHOLD) {
    digitalWrite(LED_PIN, HIGH); // Dark: LED on
    Serial.println("Status: DARK");
  } else {
    digitalWrite(LED_PIN, LOW);  // Light: LED off
    Serial.println("Status: BRIGHT");
  }

  delay(500);
}
9. Arduino Code: Photodiode Pulse Counter
This example uses a photodiode module (with onboard comparator) to count light pulses — useful for optical encoders, liquid flow meters, or tachometers using a slotted disc.
// Photodiode Pulse Counter (with comparator module)
// Connect digital output of module → Arduino Pin 2 (INT0)

const int PD_PIN = 2;
volatile unsigned long pulseCount = 0;
unsigned long lastReport = 0;

void pdISR() {
  pulseCount++;
}

void setup() {
  Serial.begin(9600);
  pinMode(PD_PIN, INPUT);
  attachInterrupt(digitalPinToInterrupt(PD_PIN), pdISR, RISING);
}

void loop() {
  if (millis() - lastReport >= 1000) {
    detachInterrupt(digitalPinToInterrupt(PD_PIN));
    unsigned long count = pulseCount;
    pulseCount = 0;
    attachInterrupt(digitalPinToInterrupt(PD_PIN), pdISR, RISING);

    Serial.print("Pulses/sec: ");
    Serial.println(count);
    lastReport = millis();
  }
}
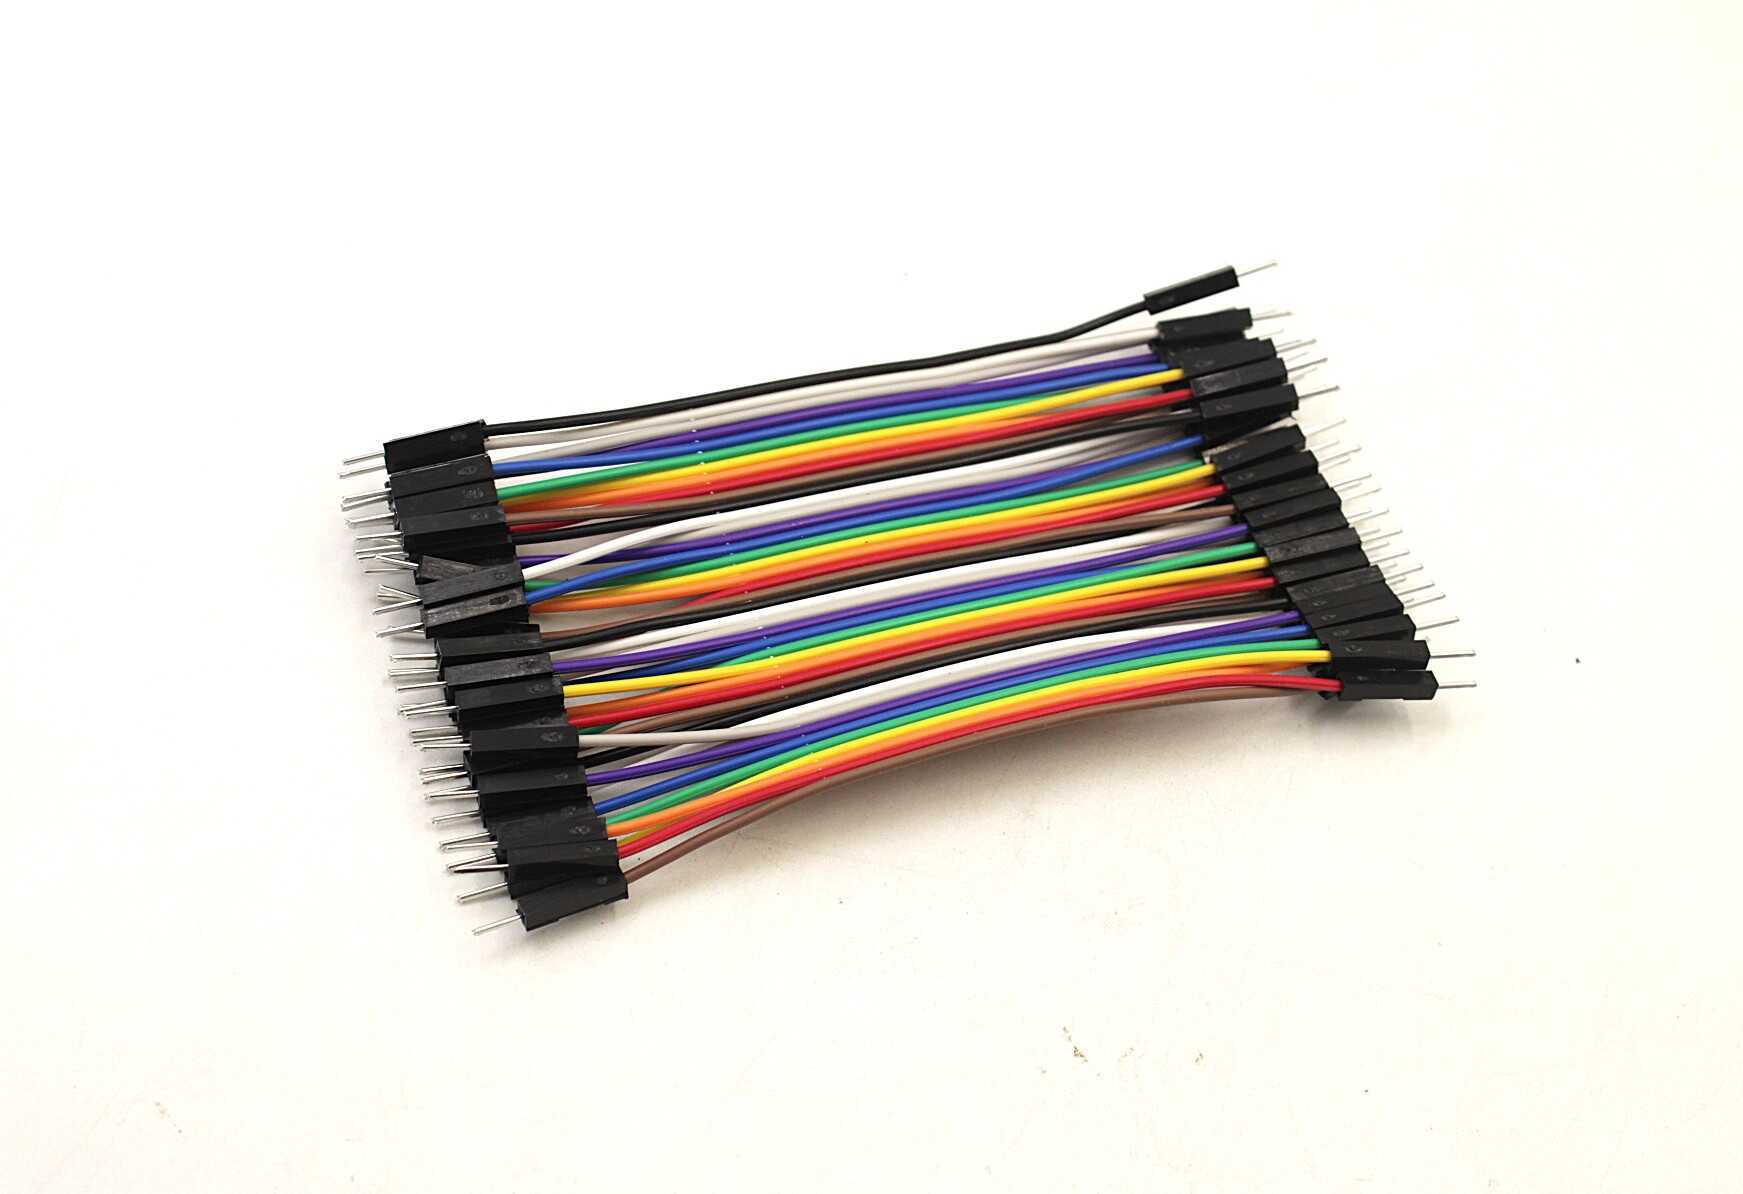
10CM Male to Male Breadboard Jumper Wires – 40Pcs
Connect your LDR or photodiode voltage divider on a breadboard with these reliable M-M jumper wires.
10. Which Should You Choose?
Use this quick reference to decide:
Choose an LDR when:
- You want to detect ambient light levels (day/night switching)
- Your application does not require faster than 50Hz response
- You want the simplest possible circuit (just a resistor divider)
- You need to mimic how a human eye perceives brightness
- You are a beginner and want to avoid op-amp complexity
Choose a Photodiode when:
- You need to detect IR signals (remote controls, proximity sensing)
- Speed matters — pulses above 50Hz, optical communications, encoders
- You need a linear, calibrated response to light intensity
- Size matters — photodiodes are available in tiny SMD packages
- You are building a sensor with your own IR LED emitter (smoke detector, reflective object sensor)

0.1µF Ceramic Capacitor (Pack of 50)
Bypass capacitors are essential for stable photodiode circuit operation — add one across the supply rails near your sensor.
Frequently Asked Questions
Can I use a photodiode instead of an LDR in a simple night light circuit?
Yes, but it requires additional circuitry. A bare photodiode produces current, not a resistance change, so you need either a transimpedance amplifier or a photodiode comparator module. The LDR is far simpler for this specific application.
Why does my LDR reading fluctuate under fluorescent lights?
Fluorescent lights and many LED bulbs flicker at 100Hz or 120Hz (twice the mains frequency). Because this is faster than the LDR’s response time, you may see averaged values with small noise. If you need stable readings under artificial light, average 10–20 ADC samples over 100ms.
Can a photodiode detect a specific colour?
A plain silicon photodiode without a filter responds broadly to visible light and near-IR. To make it colour-selective, you place an optical bandpass filter in front of it. Dedicated colour sensors (like the TCS3200) integrate multiple filtered photodiodes on-chip for red, green, blue, and clear channels.
What is the difference between a photodiode and a phototransistor?
A phototransistor uses a photodiode at the base junction to control a much larger collector-emitter current — effectively a photodiode with built-in current amplification. Phototransistors are more sensitive but slightly slower than bare photodiodes. They are common in reflective and slot-type optical sensors.
Can I use an LDR with 3.3V (ESP32)?
Yes. LDRs are purely resistive — they work at any voltage. Use a voltage divider with a 10kΩ fixed resistor and read the output on the ESP32’s ADC pin. Set the ADC reference to 3.3V in your code (1.0V attenuation for full 3.3V range on ESP32).
How do I waterproof an LDR for outdoor use?
Apply a thin coat of conformal coating (or clear nail polish) over the LDR body, leaving the sensing face clear. Alternatively, mount it behind a clear acrylic or glass window in a sealed enclosure. The LDR itself is not rated for direct water exposure in most varieties.
Conclusion
The LDR wins on simplicity — two components, no polarity, works directly with an ADC. It is the perfect choice for ambient light control projects where speed does not matter. The photodiode wins on speed, linearity, size, and spectral flexibility — it is the only choice for IR sensing, optical communication, and high-frequency applications.
For a typical beginner building an automatic night lamp or light-activated alarm, the LDR is the right tool. For anyone venturing into line-following robots, IR remote control projects, or optical encoders, the photodiode module is the next step up — and well worth the small additional circuit complexity.


Add comment