
The operational amplifier — or op-amp — is one of the most versatile building blocks in analog electronics. From audio amplifiers and signal conditioners to voltage comparators and active filters, the op-amp does it all. Yet its fundamental behaviour is governed by just two elegant rules that any beginner can master in an afternoon. This tutorial walks you through op-amp basics using the classic LM741 and the highly practical LM358, covering pin-outs, the golden rules, and the most important circuit topologies with worked examples.
What Is an Op-Amp?
An operational amplifier is a high-gain, differential voltage amplifier packaged in an integrated circuit. It has two inputs — the non-inverting input (+) and the inverting input (−) — and one output. The output voltage is the difference between the two inputs multiplied by the open-loop gain (AOL), which is typically 100,000 (100 dB) or higher.
In open-loop mode (no feedback), the output saturates almost instantly to the positive or negative supply rail — useful for comparators. With negative feedback (a resistor from output to inverting input), the gain becomes predictable, stable, and set by external resistors alone — useful for all amplifier circuits.
The term “operational” refers to the fact that early op-amps were used in analog computers to perform mathematical operations like addition, subtraction, integration and differentiation.
LM741 vs LM358: Key Differences
| Parameter | LM741 | LM358 |
|---|---|---|
| Number of op-amps | 1 | 2 (dual) |
| Supply voltage | ±5 V to ±18 V (dual) | 3 V to 32 V (single) or ±1.5 V to ±16 V |
| Single-supply operation | Poor (input can’t go to 0 V) | Excellent (input includes GND) |
| Output swing | ~±13 V on ±15 V supply | ~0 to (VCC − 1.5 V) |
| Slew rate | 0.5 V/µs | 0.6 V/µs |
| GBW (Gain-Bandwidth) | ~1 MHz | ~1 MHz |
| Quiescent current | ~1.7 mA | ~0.7 mA |
| Best use | Dual-supply lab circuits, teaching | Single-supply practical designs, Arduino projects |
Verdict for beginners: The LM358 is almost always the better choice for modern single-supply projects (5 V Arduino, 3.3 V microcontrollers). The LM741 is useful for learning on a dual ±12 V bench supply but is obsolete for new designs.
Pin Configuration
LM741 (8-pin DIP)
- Pin 1: Offset Null
- Pin 2: Inverting Input (−)
- Pin 3: Non-inverting Input (+)
- Pin 4: VEE (negative supply)
- Pin 5: Offset Null
- Pin 6: Output
- Pin 7: VCC (positive supply)
- Pin 8: N/C (no connect)
LM358 (8-pin DIP — Dual Op-Amp)
- Pin 1: Output A
- Pin 2: Inverting Input A (−)
- Pin 3: Non-inverting Input A (+)
- Pin 4: GND
- Pin 5: Non-inverting Input B (+)
- Pin 6: Inverting Input B (−)
- Pin 7: Output B
- Pin 8: VCC
Both ICs are available in the standard 8-pin DIP package, breadboard-friendly and hand-solderable.

10CM Male To Female Breadboard Jumper Wires – 40Pcs
Connect DIP op-amp ICs on your breadboard to sensor modules and voltage dividers cleanly with these colour-coded male-to-female jumper wires.
The Two Golden Rules of Op-Amps
When an op-amp is in a linear feedback configuration (negative feedback applied), you can analyse any circuit using just two rules:
- Rule 1 — Virtual Short: The voltage at the inverting input (V−) equals the voltage at the non-inverting input (V+). The op-amp continuously adjusts its output to make this true via negative feedback.
- Rule 2 — No Input Current: The input terminals draw essentially zero current (input impedance is typically 1 MΩ to 1 TΩ for JFET-input types).
With these two rules, every linear op-amp circuit can be solved by simple algebra — no knowledge of transistors or internal circuitry required.
Inverting Amplifier Circuit
The inverting amplifier flips the signal polarity and amplifies it. The non-inverting input (+) is connected to GND. Resistor R1 connects the input signal to pin 2, and feedback resistor RF connects output to pin 2.
Gain Formula
Vout = − (RF / R1) × Vin
Example: Gain of −10
Choose R1 = 10 kΩ, RF = 100 kΩ.
Vout = − (100k / 10k) × Vin = −10 × Vin
Input 0.1 V → Output −1 V. Input −0.5 V → Output +5 V.
To balance input bias currents, add a resistor from (+) to GND equal to R1 ∥ RF = 10k ∥ 100k ≈ 9.1 kΩ.
Non-Inverting Amplifier Circuit
The non-inverting amplifier preserves signal polarity. The input signal connects to pin 3 (+). R1 goes from pin 2 to GND, and RF goes from output to pin 2.
Gain Formula
Vout = (1 + RF / R1) × Vin
Example: Gain of +11
R1 = 10 kΩ, RF = 100 kΩ.
Vout = (1 + 100k/10k) × Vin = 11 × Vin
Input impedance is extremely high (megaohms) — ideal for buffering high-impedance sensors like microphones or pH electrodes.
Voltage Follower (Buffer)
The voltage follower is the simplest op-amp circuit: output connected directly to the inverting input, signal connected to the non-inverting input. Gain = 1, but input impedance is very high and output impedance is very low.
Vout = Vin
Use cases: isolating a sensor from a load (e.g., a thermistor voltage divider driving an ADC), preventing loading of high-impedance sources, and impedance matching between stages.
Op-Amp as a Comparator
In open-loop mode (no feedback), the op-amp compares two voltages:
- If V+ > V−: Output swings to positive saturation (~VCC − 1.5 V for LM358)
- If V+ < V−: Output swings to negative saturation (~0 V on single supply)
Practical Example: Temperature Alarm with LM35 + LM358
- LM35 output: 10 mV/°C. At 30°C → 300 mV.
- Set reference on (+) of LM358 using a voltage divider to 300 mV.
- Connect LM35 output to (−) of LM358.
- When temperature exceeds 30°C, V− > V+ → output goes LOW (can drive a transistor/relay).
For hysteresis (to prevent output chattering at the threshold), add a large resistor (e.g., 1 MΩ) from the output back to the (+) input — this creates a Schmitt trigger.

LM35 Temperature Sensor
Build a temperature alarm with an LM35 sensor and LM358 op-amp comparator — a classic beginner project that teaches analog circuit design hands-on.
Summing Amplifier (Mixer)
The summing amplifier adds multiple input signals, weighted by their respective resistors. This is the circuit that gave op-amps the name “operational” — they performed weighted addition in early analog computers.
Formula
Vout = −RF × (V1/R1 + V2/R2 + V3/R3)
If R1 = R2 = R3 = RF: Vout = −(V1 + V2 + V3)
Application: Audio Mixer
Connect three audio signals through individual 10 kΩ resistors to the inverting input of an LM358, with RF = 10 kΩ. Each signal is mixed equally and appears inverted at the output. Pot each R1/2/3 for individual volume control.
Differential Amplifier
The differential amplifier subtracts two voltages and amplifies the difference. Use four equal resistors (R1 = R2 = R3 = R4 = R):
Vout = V2 − V1 (unity gain differential)
Or with R3 = R4 = n×R1 = n×R2:
Vout = n × (V2 − V1)
This rejects common-mode noise (signals present on both inputs equally) — perfect for measuring small voltages on top of large common-mode voltages, such as current-shunt sensing or bridge sensor conditioning (Wheatstone bridge + strain gauge).
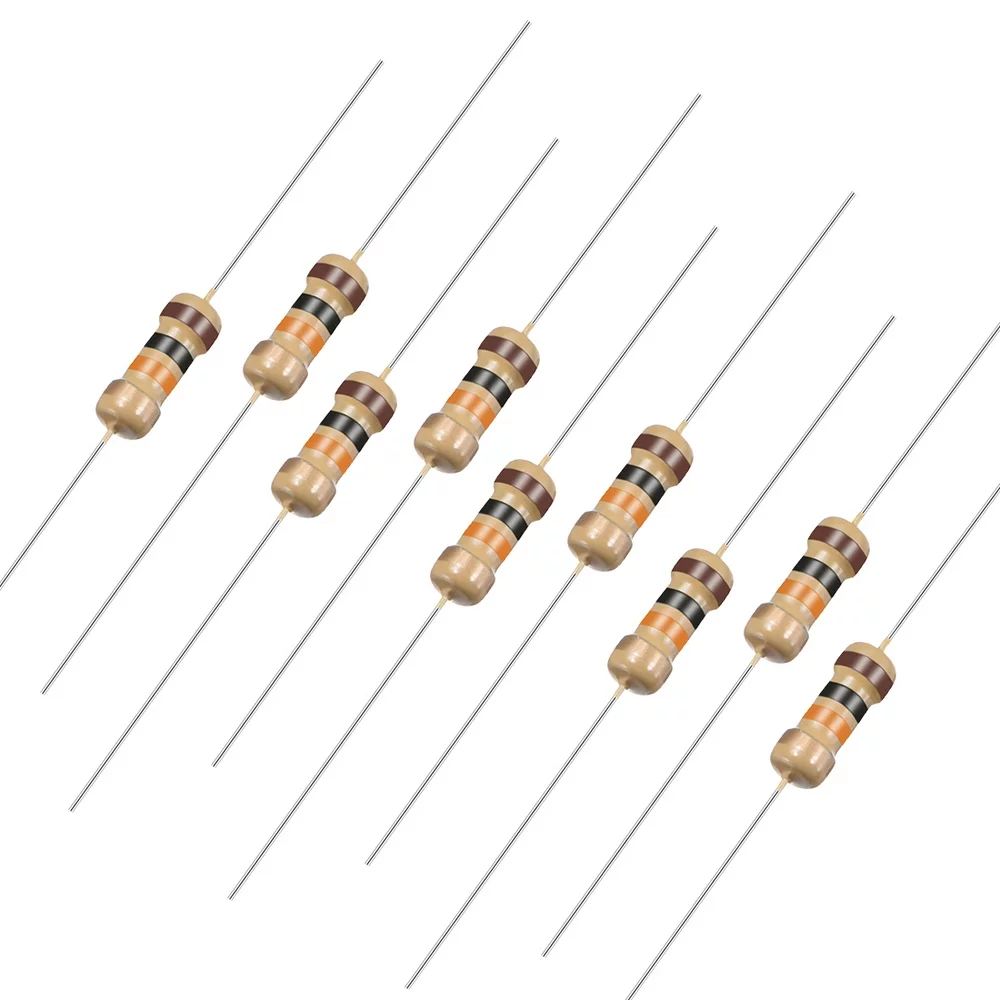
10 Ohm 0.25W Carbon Film Resistor (Pack of 50)
Resistors are the key gain-setting components in every op-amp circuit — stock packs in common values so your lab is always ready for any design.
Practical Tips and Common Mistakes
- Decouple the supply: Place 100 nF ceramic + 10 µF electrolytic caps between VCC/GND as close to the IC as possible. Op-amps are sensitive to supply noise; inadequate decoupling causes oscillation.
- LM741 on single supply: Avoid it. The LM741 input common-mode range does not include ground — the output will not respond to signals near 0 V. Use the LM358 for 5 V or 3.3 V systems.
- Output clipping: With a single 5 V supply, the LM358 output swings only to about 3.5 V. Check your gain and input range so the output doesn’t clip.
- Gain-bandwidth product: Both LM741 and LM358 have ~1 MHz GBW. At gain = 10, bandwidth = 100 kHz. For audio work this is fine; for video or RF, use a faster op-amp (LM358 is not suitable above ~100 kHz).
- Oscillation: Long feedback resistors and stray PCB capacitance can cause high-frequency oscillation. Add a small cap (10–100 pF) directly across RF to stabilise high-gain stages.
Frequently Asked Questions
What is an op-amp used for in simple terms?
An op-amp amplifies the difference between two voltages. With feedback resistors, you set the gain precisely. Common uses include amplifying sensor signals, comparing voltages, mixing audio, and filtering signals — all without needing transistor-level design skills.
Can I use an LM358 with a 5 V Arduino?
Yes. The LM358 is well-suited to 5 V single-supply circuits. Its input common-mode range includes GND, and its output swings close to 0 V and up to ~3.5 V on a 5 V supply. Connect VCC to 5 V and GND to Arduino GND — no negative supply needed.
What is the difference between an op-amp and a comparator IC?
Functionally they both compare two voltages, but dedicated comparators (like the LM393) have open-collector outputs designed for digital logic interfacing and can switch faster than op-amps used open-loop. Using an op-amp as a comparator works well at low frequencies; for fast logic signals, use a proper comparator IC.
What does virtual ground mean?
In an inverting amplifier, the inverting input sits at 0 V (same as GND) due to negative feedback — even though it isn’t physically connected to GND. This “virtual ground” node is only valid while the op-amp is in linear operation (output not saturated).
Why does my op-amp oscillate even with feedback?
Oscillation usually means excess phase shift in the feedback loop. Common causes: too-large feedback resistors (stray capacitance creates extra poles), capacitive load on the output, or insufficient supply decoupling. Reduce RF or add a small cap (10–47 pF) across RF to reduce high-frequency gain.
How do I set the gain of an op-amp?
For the inverting configuration: gain = −RF/R1. For non-inverting: gain = 1 + RF/R1. To set gain of 5 (non-inverting): use R1 = 10 kΩ, RF = 40 kΩ. The gain is set entirely by the ratio of external resistors — the op-amp’s internal gain doesn’t matter as long as it’s much higher (which it always is at DC).
Start Your Op-Amp Projects Today
Find sensors, resistors, jumper wires and all the components you need for LM358 and LM741 op-amp circuits at Zbotic — India’s electronics maker store.


Add comment