
The monostable multivibrator tutorial you’ve been searching for is right here — and this one-shot circuit is one of the most practically useful circuits in all of electronics. Unlike the astable multivibrator that oscillates continuously, the monostable has just one stable state (hence “mono-stable”) and temporarily jumps to a second state for a precise duration whenever triggered. You get a clean, calibrated output pulse every time, regardless of how sloppy, noisy, or brief the input trigger is. From timer circuits and push-button debouncing to relay control delays and camera shutter timing, the monostable multivibrator is an indispensable tool for every Indian maker and electronics student.
Table of Contents
- Understanding Monostable Operation
- 555 Timer Monostable Circuit
- Pulse Width Calculation and Component Selection
- Triggering Methods and Input Conditioning
- 74HC123 Retriggerable Monostable IC
- Practical Applications
- Cascading Monostables for Complex Timing
- Frequently Asked Questions
Understanding Monostable Operation
A monostable multivibrator has two states: a stable resting state and a quasi-stable active state. In the resting state, the output sits at its default level (LOW for a 555-based circuit) indefinitely — it’s stable and won’t change on its own. When a trigger pulse arrives, the circuit flips to its quasi-stable state (output goes HIGH), holds that state for a precisely timed duration determined by an RC network, then automatically returns to its resting state and waits for the next trigger.
The critical concept is that the output pulse duration is determined entirely by the RC timing components — not by the duration, strength, or quality of the trigger input. A 100ms trigger pulse and a 1µs trigger spike both produce exactly the same output pulse width from the same circuit. This is why monostables are perfect for:
- Cleaning up noisy or variable-duration trigger pulses
- Generating precise fixed-duration outputs (camera shutter, relay hold-on time)
- Creating time delays (output doesn’t appear until X seconds after trigger)
- Missing pulse detection (if a regular pulse is absent, a timeout output fires)
There are two variants based on retriggering behaviour:
- Non-retriggerable: Once triggered, additional trigger pulses during the active period are ignored. The 555 timer in monostable mode is non-retriggerable by default.
- Retriggerable: Each new trigger pulse while in the active state restarts the timer from the beginning. Useful for “watchdog” timers that must detect absence of a regular signal.
555 Timer Monostable Circuit
The 555 timer in monostable mode is the most accessible way to build a one-shot circuit. It requires only 3 external components beyond the IC itself.
Components needed:
- NE555 timer IC
- R1: Timing resistor (1kΩ to 10MΩ)
- C1: Timing capacitor (typically 100nF to 1000µF)
- C2: 10nF bypass cap for Pin 5
- C3: 1µF input coupling cap (for edge triggering from AC or bouncy inputs)
- R_pull: 10kΩ pull-up from Pin 2 to VCC (trigger pin)
- 1N4148 diode: prevents capacitor C1 from holding circuit in active state if power cycles
Wiring connections:
- Pin 1 (GND) → GND rail
- Pin 2 (TRIGGER) → trigger signal source, also 10kΩ pull-up to VCC
- Pin 3 (OUTPUT) → load (LED + resistor, relay coil via transistor, etc.)
- Pin 4 (RESET) → VCC (or connect to logic HIGH to enable/disable)
- Pin 5 (CONTROL) → 10nF cap → GND
- Pin 6 (THRESHOLD) → Pin 7 (DISCHARGE) — connect together
- Pin 6/7 junction → top of C1 → GND, also → R1 → VCC
- Pin 8 (VCC) → power supply (5V–15V)
How it works step by step:
- Resting state: C1 is discharged (near 0V). Output (Pin 3) is LOW. The internal discharge transistor (Pin 7) is ON, holding C1 discharged.
- Trigger arrives: Pin 2 is pulled below 1/3 VCC (active LOW trigger). This sets the SR flip-flop: Output goes HIGH, discharge transistor turns OFF.
- Timing phase: With discharge transistor OFF, C1 charges through R1 toward VCC. Output stays HIGH.
- Timeout: When C1 reaches 2/3 VCC, the upper comparator resets the flip-flop: Output goes LOW, discharge transistor turns ON, C1 discharges back to 0V quickly.
- Ready again: Circuit is back in resting state, waiting for next trigger.
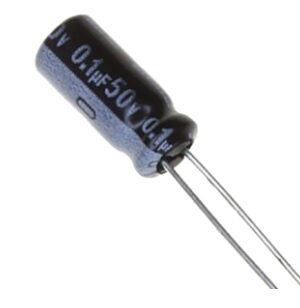
0.1µF 50V Capacitor (Pack of 50)
100nF 50V capacitors for 555 monostable timing and bypass. Pack of 50 for all your timer circuit needs — pin bypass, short pulses, and RC filter stages.
Pulse Width Calculation and Component Selection
The output pulse width (tW) of a 555 monostable is determined by the single formula:
tW = 1.1 × R1 × C1
Where R1 is in ohms and C1 is in farads. The constant 1.1 comes from the natural logarithm: tW = -ln(1 – 2/3) × R × C = ln(3) × R × C ≈ 1.099 × R × C.
Quick reference table:
| Pulse Width | R1 | C1 | Application |
|---|---|---|---|
| 1 ms | 10kΩ | 100nF | Debounce, servo pulse |
| 10 ms | 100kΩ | 100nF | Button press indicator |
| 100 ms | 100kΩ | 1µF | LED flash on trigger |
| 1 second | 910kΩ | 1µF | Short delay timer |
| 30 seconds | 3.3MΩ | 10µF | Bathroom light timer |
| 5 minutes | 3.3MΩ | 100µF | PIR light hold-on |
Important notes on long timers: For pulse widths above 10 seconds, use electrolytic capacitors for C1, but be aware that their ±20% tolerance means your actual timing may vary significantly. The leakage current of large electrolytics also affects timing accuracy. For precision long timers, use a CMOS 7555 (lower leakage) or cascade two 555s (second stage multiplies the first stage’s period).
Also: the 555 trigger (Pin 2) must go LOW for a shorter time than the output pulse width. If the trigger stays LOW longer than the output pulse duration, the circuit re-triggers as soon as the timing completes — behaving like a retriggerable monostable. Add an RC differentiator on the trigger input to generate a brief trigger spike from a long input pulse.
Triggering Methods and Input Conditioning
The 555’s trigger input (Pin 2) is active LOW — it requires a falling edge or sustained LOW signal below 1/3 VCC to trigger. Here are the most common trigger conditioning circuits:
Push button trigger: Connect a normally-open push button between Pin 2 and GND. Add a 10kΩ pull-up from Pin 2 to VCC. Pressing the button pulls Pin 2 LOW, triggering the monostable. Since the output is noise-immune (fixed pulse width), button bounce is not an issue for the output, though extremely fast bounce could cause multiple triggers — add a 100nF cap from Pin 2 to GND if needed.
PIR or IR sensor trigger: Most PIR sensors (like HC-SR501) have open-drain active-HIGH outputs. Use a simple NPN transistor inverter (BC547, 10kΩ base resistor, 10kΩ pull-up from Pin 2 to VCC, collector to Pin 2, emitter to GND) to convert the active-HIGH PIR output to the active-LOW trigger the 555 needs.
AC signal edge triggering: For triggering from an AC mains or audio signal, use a coupling capacitor (1µF) in series with a 10kΩ resistor to Pin 2, with a 1N4148 clamp diode from Pin 2 to GND (cathode to Pin 2, anode to GND). This passes only the negative edges of the AC signal as brief negative pulses without the sustained DC offset affecting Pin 2’s bias point.
Digital signal triggering: If triggering from a microcontroller GPIO (active HIGH), use the NPN transistor inverter mentioned above, or simply add a 74HC14 Schmitt trigger inverter between the GPIO and Pin 2 for clean edge shaping.
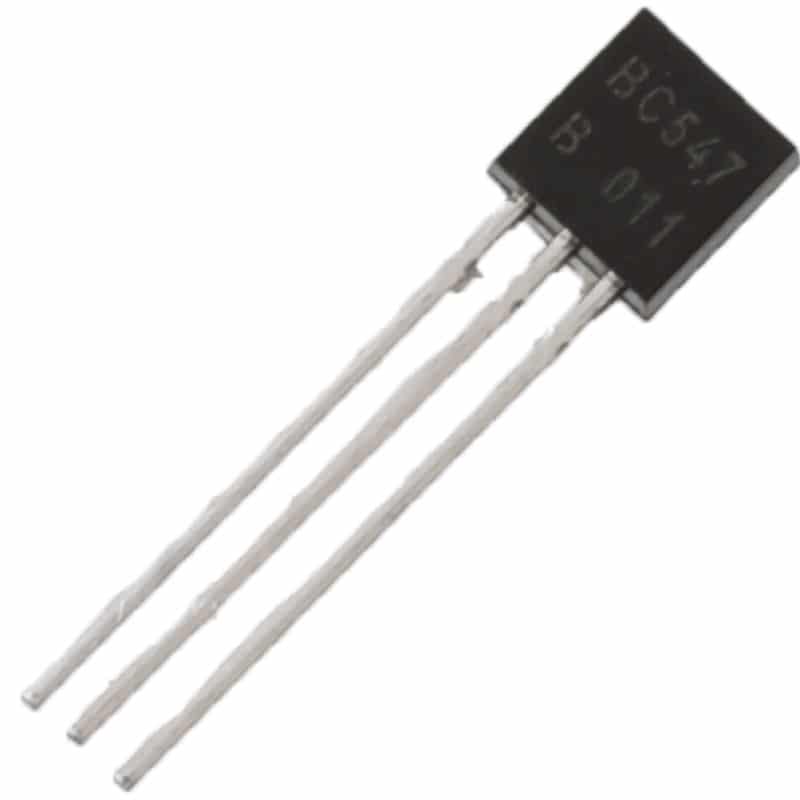
BC547 NPN 100mA Transistor TO-92 (Pack of 10)
General-purpose NPN transistors for signal inversion and output stage amplification in monostable circuits. Use as trigger inverter or to drive relays from 555 output.
74HC123 Retriggerable Monostable IC
For applications where you need retriggerable one-shot operation, the 74HC123 (dual retriggerable monostable) is the purpose-built solution. It contains two independent monostable circuits in one package and is far more feature-rich than the 555 in monostable mode.
Key 74HC123 features:
- Retriggerable: each new trigger during the active period resets the timer from the start
- Dual triggers: both positive-edge (B input) and negative-edge (A input) triggering
- Direct clear (CLR): immediately ends the output pulse (active LOW)
- Both Q and Q-bar outputs available simultaneously
- External capacitor can be discharged quickly for faster reset
- Supply: 2V to 6V (74HC family)
Pulse width formula for 74HC123:
tW = 0.28 × Rext × Cext × (1 + 0.7/Rext)
For practical values above 1kΩ, this simplifies to approximately tW ≈ 0.28 × R × C.
Watchdog application: A retriggerable monostable is the classic hardware watchdog timer. Set the pulse width to 1.5× the expected period between normal trigger pulses. As long as triggers arrive at the expected rate, the monostable stays triggered (output HIGH = system OK). If a pulse is missed, the timer expires and output goes LOW, signalling a fault condition. This is the basis of all hardware watchdog timers in embedded systems.
Practical Applications
1. Motion-Activated Light Timer
A PIR sensor triggers a 555 monostable, which holds a relay ON for a fixed period (e.g., 5 minutes). When the time expires, the light turns off automatically. Every new motion resets… wait — for this you actually want a retriggerable monostable (74HC123), so additional motion keeps the light on. With the 555 monostable, the light stays on for exactly the timed period from the first trigger, ignoring subsequent motion during that window.
2. Power-On Reset Generator
At power-up, a 555 monostable generates a clean reset pulse (100ms to 500ms) to ensure microcontrollers, FPGAs, and digital ICs start in a known state. The RC timing ensures the reset pulse is long enough regardless of how fast the power supply ramps up. This is cheaper than dedicated reset ICs like MAX809.
3. Anti-Bounce Relay Controller
Many inexpensive relay modules click on and off when driven by a bouncy sensor signal. A 555 monostable between the sensor and relay coil ensures the relay activates for a minimum hold-on time (e.g., 200ms), hiding all bounces shorter than that duration. Your relay clicks once, cleanly.
4. Camera Long-Exposure Shutter Controller
For astrophotography, a 555 monostable with large R and C (e.g., 10MΩ + 1000µF = ~3 hour maximum exposure) can control a DSLR’s electronic shutter via an optocoupler. Trigger once, set the pot for exposure duration, and walk away — no need to hold a button or run a laptop.
5. Missing Pulse Detector
This is the watchdog application described above. In industrial machinery, use a 74HC123 monostable with a pulse width of 1.5× the machine’s normal cycle time. Feed machine cycle pulses as the trigger. If the machine stalls, the monostable times out and its Q-bar output triggers an alarm relay — pure hardware safety interlock with no microcontroller needed.

10CM Male To Female Breadboard Jumper Wires 2.54MM – 40Pcs
Male-to-female jumper wires for connecting modules and breakout boards to your breadboard monostable circuit. Pack of 40 colour-coded wires.
Cascading Monostables for Complex Timing
By connecting monostables in series, you can create complex timing sequences with multiple events at precise intervals after a single trigger. Each monostable’s output triggers the next:
Delay + Pulse circuit (two 555s):
- Stage 1: Delay monostable. Output goes HIGH immediately on trigger, stays HIGH for the delay period. Pulse width = delay time.
- Stage 2: Connect Stage 1’s output to Stage 2’s trigger (via falling-edge detector — a differentiator). Stage 2 fires at the end of Stage 1’s timing, producing the delayed output pulse.
Timing sequence (for relay sequencing):
- Trigger arrives → Stage 1 fires (duration T1) → activates Relay 1
- End of Stage 1 → Stage 2 fires (duration T2) → activates Relay 2
- End of Stage 2 → Stage 3 fires → activates Relay 3
- All relays activate in sequence with precise timing gaps — no microcontroller needed
This cascaded design is used in industrial sequencing (start conveyor → wait 2s → start mixer → wait 5s → open valve), automotive central locking systems, and theatrical lighting controllers.

10 x 10 cm Universal PCB Prototype Board Single-Sided 2.54mm Hole Pitch
Solder your monostable circuit permanently on this 10x10cm universal PCB. Standard 2.54mm pitch fits all DIP ICs perfectly for a professional-looking result.
Frequently Asked Questions
Q: What happens if I trigger the 555 monostable while it’s already timing?
In the standard 555 monostable configuration, the circuit is non-retriggerable. During the timing period, Pin 2 (TRIGGER) is masked internally — additional LOW pulses on Pin 2 have no effect. The output continues for its full programmed duration from the original trigger. Only after the timing completes can the circuit be triggered again. This behaviour is actually useful in many applications where you want to prevent spurious re-triggers (like button debouncing).
Q: How accurate is the 555 timer monostable pulse width?
Initial accuracy: ±1% (from the internal resistor divider’s ±0.5% at each threshold). Component tolerance: the main source of error. With ±5% resistors and ±20% electrolytic capacitors, expect ±20–25% timing error. With ±1% metal film resistors and ±5% film capacitors, total error drops to ±6–8%. Temperature drift: ~50ppm/°C for the internal thresholds, plus the temperature coefficient of your external R and C. For ±1% accuracy or better, use precision components and calibrate with a trimmer resistor.
Q: Can I use the 555 monostable for very long timing (hours)?
Theoretically yes, but practically challenging above 10 minutes. Problems: electrolytic capacitor leakage current becomes comparable to the timing current (causing shorter-than-expected timing), and the 555’s own supply current through Pin 5 resistors can also introduce error. Solutions: use CMOS 7555 (much lower leakage), use a lower-value capacitor with a proportionally larger resistor (to reduce leakage’s relative effect), or cascade two stages (stage 1 at 1 minute triggers stage 2 which runs for 10 minutes = 10-minute total delay with smaller capacitors in each stage).
Q: What is the difference between monostable and bistable multivibrator?
A monostable has one stable state and one quasi-stable state — it automatically returns to stable after the timing period. A bistable has two stable states — it stays in whichever state it was last set to until explicitly triggered to the other state. The SR flip-flop in a 555 is a bistable. A bistable is commonly known as a “latch” or “flip-flop” and is the basis of digital memory (RAM, registers). In the 555 context, you can build a bistable mode by connecting Pin 2 to a SET button and Pin 4 (RESET) to a RESET button.
Q: Why does my monostable reset spontaneously before the timing is complete?
Check Pin 4 (RESET) — it must be connected to VCC for normal operation. If Pin 4 is left floating, CMOS inputs or even a moderate voltage dip (below ~0.7V) will reset the IC. Also check that your timing capacitor (C1) doesn’t have a short — if C1 reaches 2/3 VCC faster than expected (due to a small value or leakage path to VCC), the timer terminates early. Measure VCC with a multimeter while the circuit is running — voltage sags on cheap power supplies can also pull C1’s voltage up prematurely if it’s referenced to a sagging VCC.
Build your monostable timer project today! Get all the components you need — NE555 ICs, resistors, capacitors, transistors, and prototype boards — from Zbotic Electronics Basics. We’re India’s maker-friendly electronics store with fast shipping nationwide. Your next project is just an order away!


Add comment