
Indoor CO2 concentration is one of the most overlooked factors in workplace productivity, classroom learning outcomes, and sleep quality. Research by Harvard, Lawrence Berkeley, and other institutions consistently shows that cognitive performance—particularly decision-making and focus—begins to decline measurably at CO2 levels above 1,000 ppm, which is easily achieved in an occupied room with closed windows. A typical outdoor air reading is around 420 ppm. A crowded classroom or conference room with no ventilation can exceed 3,000 ppm within an hour.
The MH-Z19 (also written MHZ19) sensor makes it practical and affordable to monitor CO2 concentration continuously. Using genuine NDIR (Non-Dispersive Infrared) technology—the same physics as expensive industrial instruments—it delivers readings in the 400–5,000 ppm range with ±50 ppm accuracy, for a fraction of the cost of commercial IAQ monitors. This guide covers everything from first principles to a working ESP32 dashboard project.
1. How NDIR CO2 Sensing Works
Non-Dispersive Infrared (NDIR) sensing exploits a fundamental property of CO2 molecules: they absorb infrared light strongly at a specific wavelength of 4.26 µm. An NDIR sensor contains:
- Infrared source: A broadband thermal emitter (miniature light bulb or pulsed LED) that emits IR across a range of wavelengths
- Sample chamber: An optical path (typically 15–50mm long) through which the air sample diffuses
- Optical filter: A bandpass filter centred at 4.26 µm that transmits only the CO2-sensitive wavelength
- IR detector: A pyroelectric or thermopile detector that measures how much 4.26 µm light reaches it
- Reference detector: A second detector with a filter at a wavelength where CO2 does not absorb (e.g. 4.0 µm), compensating for lamp aging and contamination
The ratio of active-channel detector signal to reference-channel signal is a function of CO2 concentration via Beer-Lambert law:
Absorbance = ε × c × l → CO2_ppm = f(Reference / Active)
Where ε is the molar absorption coefficient, c is concentration, and l is the path length. The MH-Z19 implements this dual-beam ratiometric measurement internally and outputs the final CO2 value directly—you never need to understand the optics to use it.
Why NDIR is better than electrochemical sensors for CO2: Electrochemical sensors (MQ-135 type) detect CO2 indirectly via a catalytic reaction with other gases. They drift significantly, cross-react with humidity and other gases, and cannot distinguish CO2 from VOCs. NDIR sensors are specific to CO2 by physics, are far more stable, and require no consumable electrolyte.
2. MH-Z19 Specifications and Variants
| Specification | MH-Z19B | MH-Z19C |
|---|---|---|
| Measurement Range | 400–2,000 or 400–5,000 ppm | 400–5,000 ppm (standard) |
| Accuracy | ±50 ppm + 5% of reading | ±50 ppm + 3% of reading |
| Warm-up Time | 3 minutes | 3 minutes |
| Response Time (T90) | 60 seconds | 60 seconds |
| Supply Voltage | 4.5 – 5.5V DC | 4.5 – 5.5V DC |
| Average Current | <60 mA (avg), 150 mA peak | <60 mA (avg), 150 mA peak |
| Interfaces | UART, PWM, analog (0.4–2V) | UART, PWM |
| Operating Temp | 0 to 50°C | 0 to 50°C |
| Lifespan | >5 years | >5 years |
The MH-Z19B and MH-Z19C are the most widely available versions. The C variant is slightly more accurate and the current production version. Beware of clones: counterfeits often use cheap non-NDIR sensing elements inside an MH-Z19 shell. Genuine units have a gold-plated optical path visible when viewed end-on, and the PCB has a clearly labelled Winsen logo.
3. Wiring the MH-Z19 (UART and PWM)
Pin Identification
The MH-Z19 has a 7-pin (B variant) or 5-pin (C variant) connector. The most important pins:
| Pin | Label | Description |
|---|---|---|
| 1 | Vin | 5V power input |
| 2 | GND | Ground |
| 3 | TXD | UART transmit (3.3V logic) → connect to MCU RX |
| 4 | RXD | UART receive → connect to MCU TX |
| 6 | PWM | PWM output (alternative interface) |
| 7 | HD | Zero calibration pin (active low) |
Important: The MH-Z19 TXD/RXD pins output 3.3V logic despite the 5V supply. Connect directly to an ESP32 without level shifting. If using a 5V Arduino Uno, connect MH-Z19 TXD → Arduino RX directly (3.3V is sufficient to drive 5V logic HIGH), but add a voltage divider (1kΩ + 2kΩ) from Arduino TX to MH-Z19 RXD to prevent 5V from damaging the sensor.
ESP32 UART Wiring
MH-Z19   →  ESP32
Vin (1)  →  5V (USB power pin)
GND (2)  →  GND
TXD (3)  →  GPIO 16 (RX2)
RXD (4)  →  GPIO 17 (TX2)
HD  (7)  →  GPIO 18 (optional, for manual zero calibration)
Use UART2 (Serial2) on the ESP32 so that UART0 (Serial) remains available for debug output. Power the MH-Z19 from the ESP32’s 5V pin only when using USB power—do not try to power it from 3.3V, as the sensor’s IR source requires stable 5V.
PWM Interface (alternative)
If UART is unavailable, read CO2 via PWM: the duty cycle encodes concentration. The period is 1,004 ms; the pulse width in milliseconds minus 2 gives concentration: CO2_ppm = 5000 × (T_high − 2) / 1000. This method is simpler but lower resolution than UART (which returns a 16-bit integer directly).
4. Arduino and ESP32 Code
UART Protocol
The MH-Z19 UART protocol uses 9600 baud, 8N1. Send a 9-byte read command and receive a 9-byte response:
Send (read CO2): FF 01 86 00 00 00 00 00 79
Response:        FF 86 HI LO 00 00 00 00 CS
  CO2_ppm = HI*256 + LO
  CS = checksum = ~(86+HI+LO+0+0+0+0) + 1 (two's complement of sum bytes 1-7)
Complete ESP32 Sketch
#include <HardwareSerial.h>

HardwareSerial mhzSerial(2); // UART2: RX=GPIO16, TX=GPIO17

const byte READ_CMD[] = {0xFF, 0x01, 0x86, 0x00, 0x00, 0x00, 0x00, 0x00, 0x79};

byte calcChecksum(byte* response) {
  byte sum = 0;
  for (int i = 1; i < 8; i++) sum += response[i];
  return (byte)(~sum + 1);
}

int readCO2ppm() {
  // Flush any stale data
  while (mhzSerial.available()) mhzSerial.read();

  mhzSerial.write(READ_CMD, 9);

  unsigned long start = millis();
  while (mhzSerial.available() < 9) {
    if (millis() - start > 1000) return -1; // timeout
  }

  byte response[9];
  mhzSerial.readBytes(response, 9);

  // Validate
  if (response[0] != 0xFF || response[1] != 0x86) return -2; // invalid header
  if (response[8] != calcChecksum(response)) return -3;       // checksum fail

  return (response[2] << 8) | response[3];
}

void setup() {
  Serial.begin(115200);
  mhzSerial.begin(9600, SERIAL_8N1, 16, 17); // RX pin 16, TX pin 17

  Serial.println("MH-Z19 CO2 Monitor starting...");
  Serial.println("Warming up (3 minutes)...");
  delay(180000); // 3-minute warm-up
  Serial.println("Ready!");
}

void loop() {
  int co2 = readCO2ppm();

  if (co2 > 0) {
    Serial.print("CO2: "); Serial.print(co2); Serial.println(" ppm");

    // Traffic-light classification
    if (co2 < 800) {
      Serial.println("Air Quality: EXCELLENT (green)");
    } else if (co2 < 1000) {
      Serial.println("Air Quality: GOOD (yellow)");
    } else if (co2 < 1500) {
      Serial.println("Air Quality: FAIR - open a window (orange)");
    } else {
      Serial.println("Air Quality: POOR - ventilate immediately (red)");
    }
  } else {
    Serial.print("Read error: "); Serial.println(co2);
  }

  delay(5000); // read every 5 seconds
}
Using the MHZ19 Arduino Library
For simpler code, install the MHZ19 library by Jonathan Dempsey from the Arduino Library Manager. It handles the protocol, checksum, and calibration commands:
#include <MHZ19.h>
#include <HardwareSerial.h>

MHZ19 myMHZ19;
HardwareSerial mhzSerial(2);

void setup() {
  Serial.begin(115200);
  mhzSerial.begin(9600, SERIAL_8N1, 16, 17);
  myMHZ19.begin(mhzSerial);
  myMHZ19.autoCalibration(false); // disable ABC for indoor use
  delay(180000); // 3-minute warm-up
}

void loop() {
  int co2 = myMHZ19.getCO2();
  int temp = myMHZ19.getTemperature(); // sensor internal temp
  Serial.printf("CO2: %d ppm, Temp: %d Cn", co2, temp);
  delay(5000);
}
5. Calibration: ABC and Manual Zero
Automatic Baseline Calibration (ABC)
The MH-Z19 has a built-in Automatic Baseline Calibration (ABC) algorithm. Over a rolling 24-hour window, it tracks the minimum CO2 reading and assumes that minimum corresponds to 400 ppm (fresh outdoor air). This works well for sensors in spaces that are regularly ventilated and unoccupied overnight (offices, classrooms).
Disable ABC for industrial or sealed-room applications where the sensor may never see outdoor-level CO2. A basement server room, a greenhouse, or a permanently closed storage facility will have ABC drift the calibration low over time, causing incorrect high readings.
// Disable ABC:
myMHZ19.autoCalibration(false);

// Enable ABC (default from factory):
myMHZ19.autoCalibration(true);
Manual Zero Calibration
For most accurate readings, perform a manual zero calibration in fresh outdoor air (ideally away from traffic, 400–420 ppm). Either hold the HD pin LOW for 7+ seconds, or send the UART command:
// Via library:
myMHZ19.calibrateZero(); // sends zero-point calibration command

// Via HD pin (hold LOW >7 seconds):
digitalWrite(HD_PIN, LOW);
delay(8000);
digitalWrite(HD_PIN, HIGH);
After calibration, wait 2–3 minutes before trusting readings. Calibrate the sensor during initial deployment and approximately every 6 months thereafter.
6. Adding a Display
For a standalone monitor without a computer, add an OLED or LCD display. An SSD1306 0.96-inch OLED (I2C, GPIO 21/22) is compact and power-efficient:
#include <Adafruit_SSD1306.h>
#include <Adafruit_GFX.h>

Adafruit_SSD1306 display(128, 64, &Wire, -1);

void displayCO2(int co2, int temp) {
  display.clearDisplay();
  display.setTextSize(1);
  display.setCursor(0, 0);
  display.println("Indoor Air Quality");
  display.setTextSize(3);
  display.setCursor(0, 16);
  display.print(co2);
  display.setTextSize(1);
  display.println(" ppm");
  display.setCursor(0, 52);
  if (co2 < 800)       display.println("EXCELLENT");
  else if (co2 < 1000) display.println("GOOD");
  else if (co2 < 1500) display.println("FAIR - ventilate");
  else                 display.println("POOR - open window!");
  display.display();
}
Add a buzzer on GPIO 25 that beeps when CO2 exceeds 1,200 ppm—an audible alert to open windows or increase ventilation. A simple LED traffic light (green/yellow/red LEDs) is even simpler to wire and understand at a glance.
7. IoT Dashboard with MQTT
Extend the standalone monitor to an IoT device by adding WiFi and MQTT publishing. Add the following to the ESP32 sketch after the CO2 reading:
#include <WiFi.h>
#include <PubSubClient.h>
#include <ArduinoJson.h>

const char* MQTT_TOPIC = "home/airquality/office";

void publishToMQTT(int co2, int temp) {
  StaticJsonDocument<128> doc;
  doc["co2_ppm"] = co2;
  doc["temp_c"]  = temp;
  doc["quality"] = (co2 < 800) ? "excellent" :
                   (co2 < 1000) ? "good" :
                   (co2 < 1500) ? "fair" : "poor";
  char payload[128];
  serializeJson(doc, payload);
  mqtt.publish(MQTT_TOPIC, payload, true);
}
In Node-RED, subscribe to home/airquality/# to aggregate readings from multiple rooms. A dashboard with gauges, a colour-coded icon (green/yellow/red), and a 24-hour trend chart gives you a complete picture of when and where CO2 peaks occur—typically during meeting hours and just before lunch when occupancy is highest.
8. Sensor Placement Guidelines
CO2 sensors measure breathing zone air, which makes placement critical for meaningful readings:
- Height: Mount at breathing height (1.0–1.5m above floor). CO2 is slightly heavier than air but mixes well in occupied spaces—height matters less than distance from sources.
- Distance from occupants: Mount at least 0.5–1m from the nearest regular occupant position. Exhaled breath near the sensor will cause artificially high readings.
- Distance from air supply: Keep at least 0.5m from HVAC diffusers, open windows, or air purifier outlets. Fresh air blowing directly on the sensor gives falsely low readings.
- Avoid corners and dead zones: Air circulation is poorest in room corners. Wall-centre or ceiling-centre placement gives a better room average.
- Vertical gradient in large spaces: In rooms with poor mixing (high ceilings, no fans), CO2 stratifies. Multiple sensors at different heights give a better picture than a single measurement.
9. Related Products at Zbotic
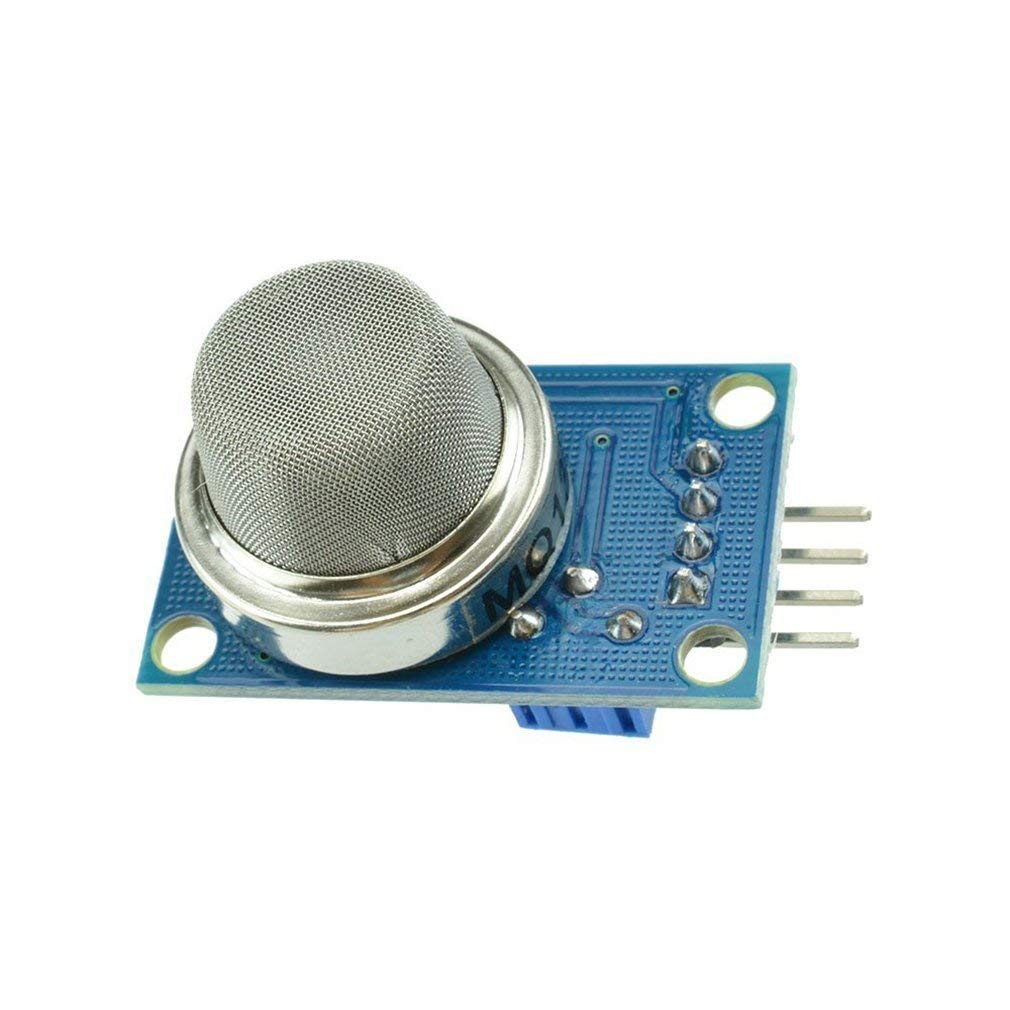
MQ-135 Air Quality / Gas Detector Sensor Module For Arduino
Electrochemical air quality sensor sensitive to CO2, NH3, NOx, and VOCs. Complement the MH-Z19’s precise CO2 reading with a broad-spectrum air quality indicator.

GY-BME280-3.3 Precision Altimeter Atmospheric Pressure Sensor Module
Add temperature, humidity, and pressure context to your CO2 monitor. BME280 + MH-Z19 together form a comprehensive indoor environment station.

DHT20 SIP Packaged Temperature and Humidity Sensor
Low-power I2C humidity sensor to pair with the MH-Z19. Together they provide a complete comfort index (CO2 + temperature + humidity) for classroom or office monitoring.
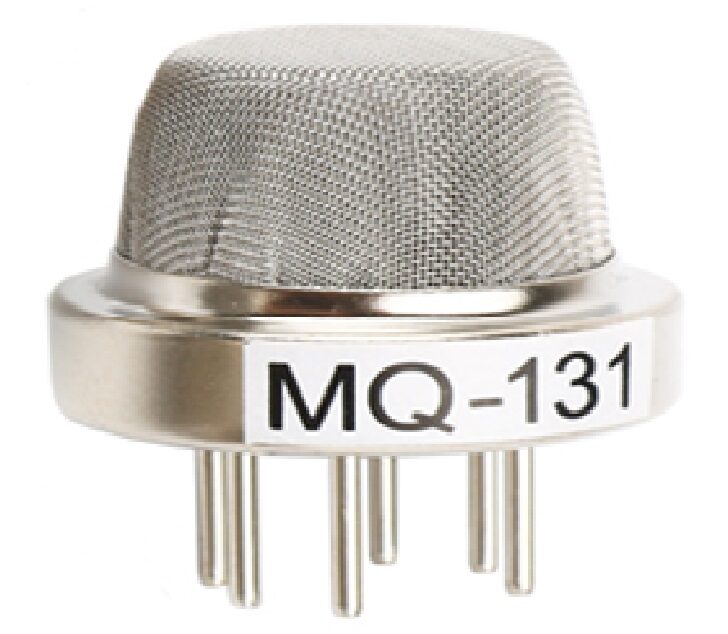
MQ-131 Ozone Gas Detection Sensor
Monitor ground-level ozone alongside CO2 for a multi-pollutant indoor air quality station—particularly relevant near laser printers and photocopiers.
10. Frequently Asked Questions
Q: My MH-Z19 reads 400–500 ppm constantly even indoors. Is it working?
Possibly yes—especially if the room is large, well-ventilated, and lightly occupied. Fresh outdoor air is ~420 ppm; a single person in a large open-plan office might not raise CO2 perceptibly. Verify by breathing directly on the sensor for 10 seconds: if the reading climbs to 2,000–5,000 ppm and then slowly returns to baseline over 1–2 minutes, the sensor is functioning correctly.
Q: Why does the reading say 400 ppm even when the room is clearly stuffy?
ABC calibration has likely drifted. If the sensor has been in a permanently occupied space without ever seeing outdoor-level CO2, the ABC algorithm progressively lowers its baseline, ultimately clamping at 400 ppm. Disable ABC (myMHZ19.autoCalibration(false)), perform a manual zero calibration outdoors, then retest.
Q: Can I power the MH-Z19 from an ESP32 3.3V pin?
No. The sensor’s IR source requires stable 5V and draws up to 150 mA on startup. The ESP32’s 3.3V regulator is rated only 200–300 mA total; powering the MH-Z19 from it will cause voltage sags, MCU brownouts, and unreliable readings. Always power the MH-Z19 from the 5V USB VBUS line, a dedicated 5V regulator, or a separate power supply.
Q: How long does the warm-up delay really need to be?
The datasheet specifies 3 minutes (180 seconds) for the IR source to stabilise thermally. In practice, readings are often stable within 60–90 seconds—but the first minute of readings can be 200–500 ppm above the true value. For a wall-mounted monitor that is always powered, warm-up is a one-time event at installation. For a battery-powered intermittent device, minimise cold-start frequency rather than shortening the warm-up delay.
Q: Is the internal temperature reading from the MH-Z19 useful?
Marginally. The MH-Z19 reports its internal chip temperature, which is warmer than ambient due to self-heating and has a limited range (0–50°C, ±3°C accuracy). Use a separate BME280 or DHT20 for accurate ambient temperature—reserve the MH-Z19 internal temperature for diagnostics (e.g. detecting if the sensor is overheating in a poorly ventilated enclosure).
11. Conclusion
The MH-Z19 is the most capable budget CO2 sensor available to makers and professionals in India. Genuine NDIR technology, a stable 5-year lifespan, and the straightforward 9600-baud UART protocol make it far superior to the indirect MQ-series sensors for CO2 monitoring. At under ₹700–₹1,200 depending on source, it is a practical component in any project where indoor air quality matters—classrooms, offices, server rooms, grow tents, incubators, or home ventilation systems.
Pair it with a BME280 for temperature/humidity context, an OLED for local display, and MQTT for cloud dashboarding, and you have a professional-grade IAQ monitor for under ₹2,000. All the supporting sensors are available at Zbotic with fast shipping across India.
Shop MQ-135, BME280, DHT20, and complementary air quality sensors at Zbotic Sensors & Modules. Fast delivery across India.


Add comment