
Choosing between LIDAR vs camera for obstacle detection in robots is one of the most debated decisions in robotics engineering — from hobbyist builds to professional autonomous systems. Both sensor technologies can detect obstacles, but they work in fundamentally different ways and excel in different scenarios. This guide breaks down the real-world performance, cost, strengths, and weaknesses of each so you can make the right call for your robot project.
How LIDAR Works for Obstacle Detection
LIDAR (Light Detection and Ranging) uses laser pulses to measure distances with extraordinary precision. The sensor emits laser beams that bounce off objects and return to a detector. By measuring the time-of-flight of each pulse, LIDAR calculates exact distances to obstacles in its field of view.
A single-axis LIDAR (1D) measures distance in one direction, while 2D LIDAR (popular in ground robots) sweeps 360° to produce a flat plane map. 3D LIDAR (like the Velodyne used in autonomous cars) fires multiple beams at different vertical angles to produce a full point cloud of the environment.
Key technical specs to understand:
- Angular resolution: How finely the laser sweeps (e.g., 0.33° to 1°)
- Scan rate: How many times per second it updates (5–25 Hz typical)
- Range: Distance it can reliably measure (2–40 m for common hobby LIDARs)
- Wavelength: Usually 905 nm (near-infrared) — invisible to humans
For hobby robotics, popular LIDAR units include the RPLidar A1/A2, YDLIDAR X4, and similar 360° spinning units that provide a 2D obstacle map perfect for simultaneous localization and mapping (SLAM).
How Cameras Detect Obstacles
Cameras capture two-dimensional image data. To extract depth and detect obstacles, you need additional processing:
- Stereo cameras: Two lenses separated by a known baseline compute depth via disparity between left and right images — similar to how human eyes perceive depth.
- Monocular + AI: A single camera uses machine learning models (YOLO, MobileNet, etc.) to classify and estimate the distance of detected objects.
- RGB-D cameras: Cameras paired with depth sensors (like Intel RealSense or Microsoft Kinect) provide per-pixel depth maps at short to medium range.
- Optical flow: Analyzing how pixels move between frames helps estimate relative motion and detect obstacles in dynamic environments.
Cameras produce rich semantic information — they can tell you not just that an obstacle exists, but what it is (a person, a wall, a chair). This contextual understanding is something LIDAR cannot do alone.
Accuracy and Detection Range Comparison
When it comes to raw geometric accuracy, LIDAR wins decisively. Typical hobby-grade LIDAR sensors offer ±2–3 cm distance accuracy. Higher-end units achieve sub-centimeter precision. This makes LIDAR the go-to for precise mapping and navigation tasks.
Cameras, even with stereo or RGB-D setups, generally offer lower absolute distance accuracy. Stereo cameras degrade significantly at distances beyond 3–5 m, as disparity becomes too small to measure reliably. Depth cameras like RealSense work best within 0.5–3 m.
| Parameter | LIDAR | Camera (Stereo/RGB-D) |
|---|---|---|
| Distance Accuracy | ±2–30 mm | ±10–50 mm (close range) |
| Max Effective Range | 2–40 m | 0.3–10 m |
| Angular Coverage | 360° (2D) / hemispherical (3D) | 60–120° FOV |
| Object Classification | No (geometry only) | Yes (with AI models) |
| Update Rate | 5–25 Hz | 30–120 FPS |
Cost Comparison: LIDAR vs Camera
Cost is where cameras have a massive advantage for hobbyists. A capable USB webcam costs ₹500–₹2,000. Even a Raspberry Pi Camera Module is under ₹1,500. Stereo camera setups like the ZED Mini start around ₹25,000–₹40,000.
Entry-level LIDAR modules start around ₹8,000–₹12,000 for basic single-point units. Quality 360° 2D LIDAR sensors (RPLidar A1) cost ₹15,000–₹20,000. High-end 3D LIDAR units used in autonomous vehicles run into lakhs of rupees.
For most hobby robot builders, a USB camera with OpenCV-based obstacle detection is the cost-effective starting point. LIDAR becomes worthwhile when you need reliable SLAM, precise navigation in complex environments, or when working in variable lighting conditions.
Performance in Lighting and Environmental Conditions
This is one of the most critical differentiators in real-world use:
LIDAR: Since it uses its own light source (laser), LIDAR is completely immune to ambient lighting. It works equally well in pitch darkness, under bright sunlight, and in dim corridors. However, LIDAR can struggle with highly reflective surfaces (mirrors, glass) and very dark, light-absorbing materials (black matte objects). Rain and dust can scatter laser pulses, reducing range.
Cameras: Highly dependent on lighting. Standard cameras fail in darkness without supplemental IR lighting. Bright backlight creates silhouetting issues. Shadow variations can trigger false detections in CV algorithms. High-speed motion can cause motion blur. That said, cameras work brilliantly in well-lit, controlled environments and can leverage color and texture information that LIDAR cannot perceive.
For outdoor robots operating in variable sunlight, LIDAR is clearly superior for pure obstacle detection. Indoor robots in well-lit environments can often use cameras effectively.
Processing Power Requirements
LIDAR data is compact — a 2D LIDAR scan typically produces 360–720 distance readings per rotation. This data can be processed efficiently even on microcontrollers or single-board computers like Raspberry Pi running ROS (Robot Operating System).
Camera-based obstacle detection is computationally heavier. Raw image processing (640×480 at 30 FPS) requires real-time filtering, edge detection, or neural network inference. Running YOLO or similar object detection models typically requires a dedicated NPU, GPU, or at minimum a fast ARM processor with NEON acceleration.
For Arduino-class microcontrollers: LIDAR (1D distance sensor) is feasible; camera vision is not practical without an external processor. For Raspberry Pi or similar SBCs: 2D LIDAR works excellently; basic camera-based detection works; deep learning inference requires Pi 4 or Raspberry Pi 5 at minimum.
Best Use Cases for Each Sensor
Choose LIDAR when:
- Building a SLAM-capable autonomous robot that needs accurate 2D/3D mapping
- Your robot operates in variable or low-light environments
- You need reliable 360° obstacle awareness
- Precise distance measurements are required (e.g., docking, narrow corridor navigation)
- Building a warehouse robot, security patrol robot, or autonomous floor cleaner
Choose Camera when:
- Your robot needs to identify and classify what it sees (people, signs, products)
- Budget is a primary constraint
- Operating in a controlled, well-lit indoor environment
- Line following, color tracking, or QR code reading is required
- Building a pick-and-place robot that needs visual servoing
Why Many Robots Use Both: Sensor Fusion
The best real-world robots don’t choose between LIDAR and cameras — they use both through a technique called sensor fusion. Each sensor’s weaknesses are compensated by the other’s strengths:
- LIDAR provides accurate geometry; camera provides semantic understanding
- Camera detects traffic signs and people; LIDAR measures exact distances to them
- LIDAR handles darkness; camera handles object classification in daylight
In ROS-based systems, an Extended Kalman Filter (EKF) or Unscented Kalman Filter (UKF) is commonly used to fuse data from multiple sensors into a unified estimate of the robot’s world model. Frameworks like robot_localization and rtabmap implement this elegantly.
For hobbyists, a practical sensor fusion starter setup is a 2D LIDAR for navigation + a Raspberry Pi Camera for object detection via OpenCV. This combination, running on ROS Noetic or ROS 2 Humble, gives you a capable semi-autonomous robot for a reasonable budget.
Recommended Products for Your Robot Build
Whether you’re building a LIDAR-equipped autonomous rover or a camera-guided obstacle avoider, here are some excellent platforms and components from Zbotic to get started:
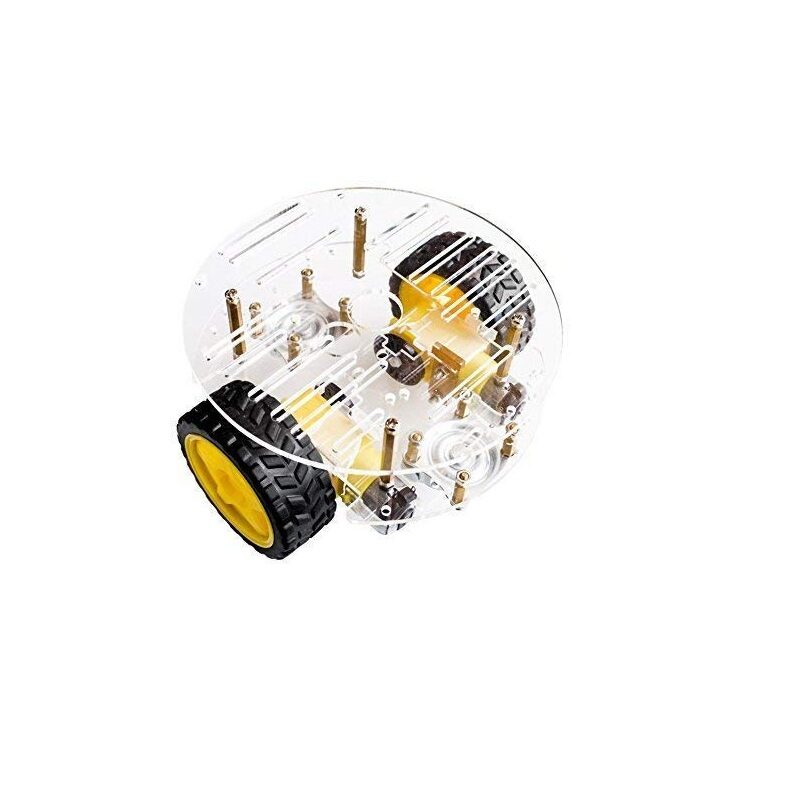
2WD Mini Round Double-Deck Smart Robot Car Chassis DIY Kit
A compact 2-layer chassis perfect for mounting LIDAR or camera sensors. Double-deck design gives you space for your Raspberry Pi, sensor board, and battery pack — ideal for SLAM or obstacle avoidance builds.
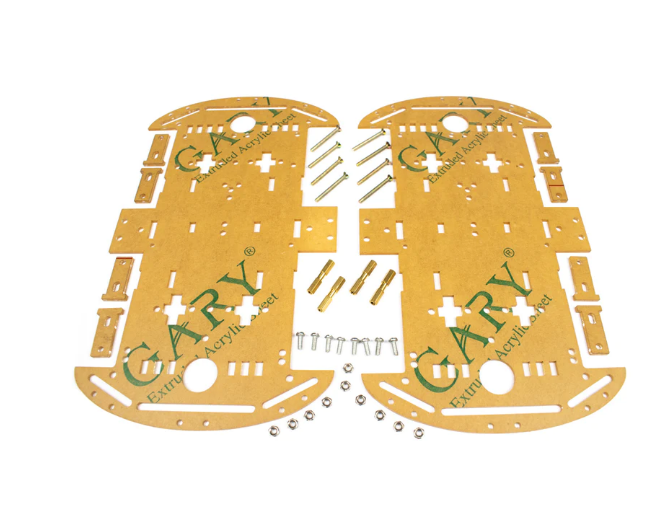
4 Wheels Car Chassis Acrylic Frame
Stable 4-wheel acrylic platform with ample mounting area for sensors. The wider wheelbase provides better stability for top-mounted LIDAR or camera rigs, reducing vibration artifacts in sensor readings.
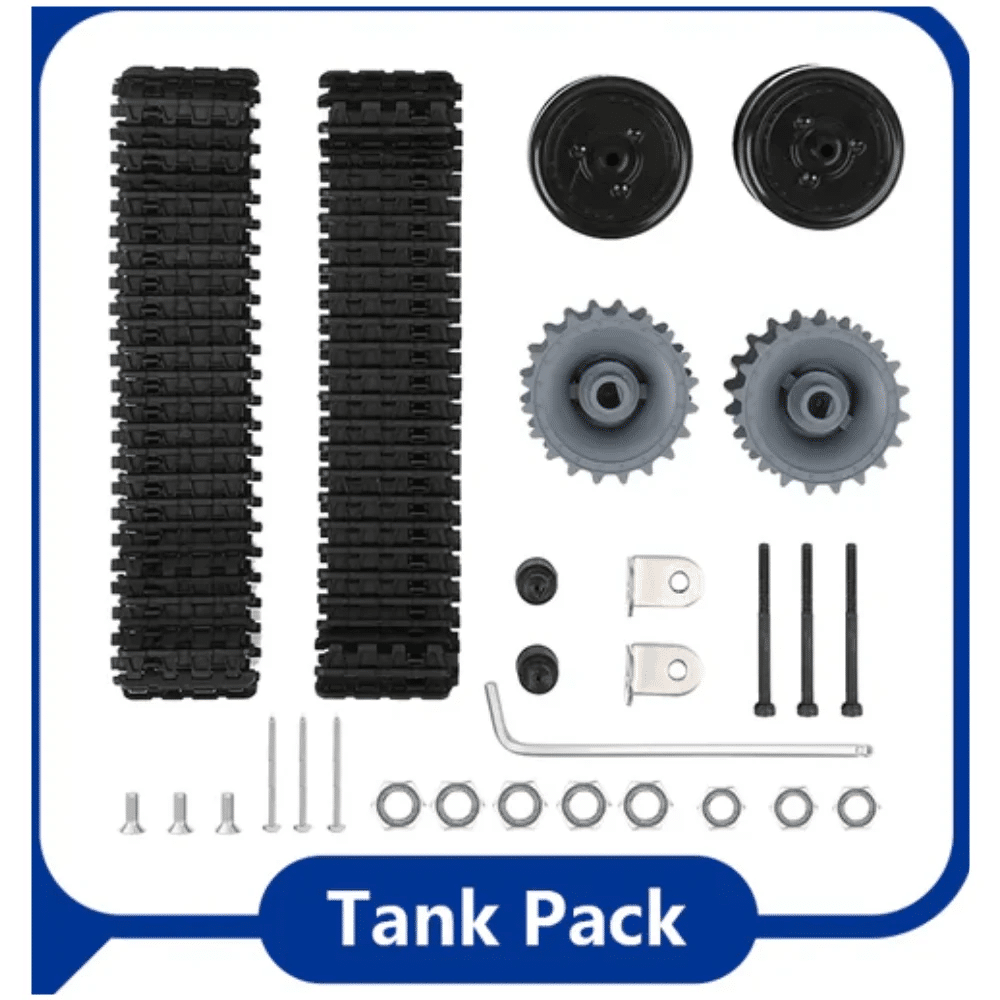
ACEBOTT ESP32 Tank Robot Car Expansion Pack
Tank-track robot base with ESP32 controller — rugged enough to carry ultrasonic or IR obstacle sensors. Excellent testbed for comparing different sensor modalities for obstacle avoidance algorithms.
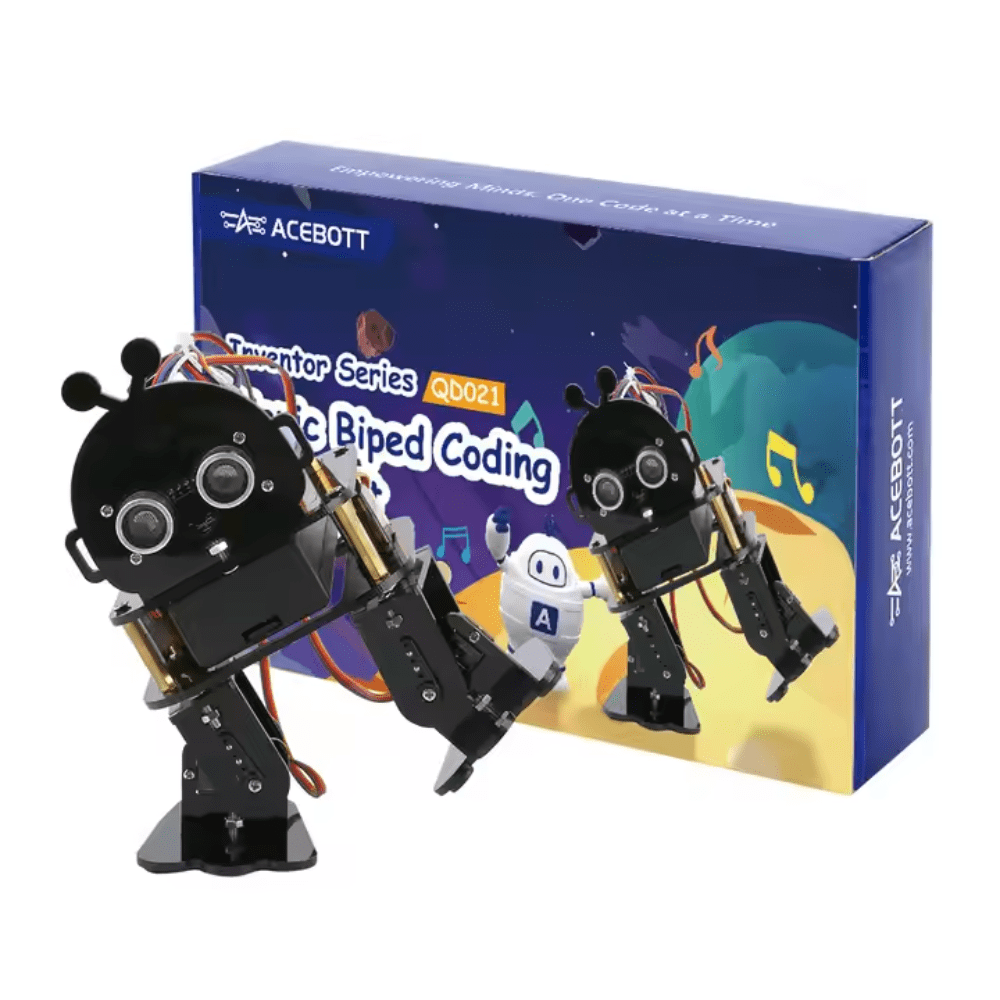
ACEBOTT Biped Robot Kit – QD021
A walking biped robot kit that challenges your obstacle detection logic on a dynamic, uneven-terrain platform. Great for experimenting with forward-facing sensor arrays and reactive navigation behaviors.
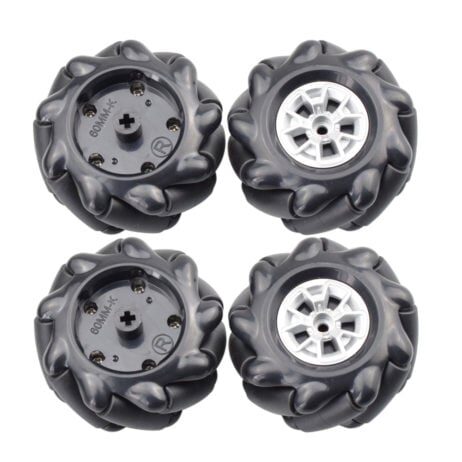
60MM-K Mecanum Wheel (Pack of 4) – Black
Omnidirectional mecanum wheels let your robot strafe sideways — perfect for obstacle-avoidance bots that need precise lateral movement after detecting obstacles with LIDAR. Fits 6.7mm couplings.
Frequently Asked Questions
Is LIDAR better than camera for obstacle detection in robots?
LIDAR is generally more accurate and reliable for pure obstacle detection, especially in variable lighting. Cameras excel when you need semantic understanding (object classification). For best results, use both through sensor fusion.
Can a cheap ultrasonic sensor replace LIDAR?
Ultrasonic sensors (HC-SR04) are great for simple point-distance measurement in budget builds, but they lack the 360° coverage and angular resolution of LIDAR. They’re fine for basic obstacle avoidance but cannot support SLAM or complex navigation.
What is the best LIDAR for a hobby robot?
The RPLidar A1M8 and YDLIDAR X4 are popular choices for ROS-based hobby robots. They offer 360° scanning, 6–12 m range, and USB connectivity at a reasonable price point. Both work well with ROS/ROS2 SLAM packages.
Can I run camera-based obstacle detection on Arduino?
Standard Arduino (Uno, Mega) lacks the processing power for camera-based obstacle detection. Use an OpenMV Cam or Raspberry Pi with Python/OpenCV for camera vision. Arduino can handle LIDAR data from simple 1D distance sensors or even some 2D LIDARs via serial.
How do I fuse LIDAR and camera data in ROS?
In ROS, use the robot_localization package for pose fusion and rtabmap_ros for visual-LIDAR SLAM. For obstacle detection specifically, project LIDAR points onto camera image coordinates using the lidar_camera_calibration package to get colored point clouds with semantic labels.
Zbotic stocks all the robot chassis, motors, controllers, and sensor accessories you need. Whether you’re building a LIDAR-equipped SLAM robot or a camera-guided maze solver, explore our full robotics range and get same-day dispatch on most orders.


Add comment