
If you’ve upgraded your 3D printer to Klipper firmware, you already know how transformative it is. But one of Klipper’s most powerful and underused features is input shaping — also called resonance compensation. This technology allows your printer to run at dramatically higher speeds while eliminating the ringing artefacts that plague fast printing.
Ringing (sometimes called ghosting or rippling) is the wavy pattern you see on vertical surfaces near sharp corners or edges in your prints. It’s caused by the printer’s frame and moving mass vibrating after direction changes, and the printhead faithfully following those vibrations. At 60mm/s it might be subtle. At 150mm/s it can completely ruin a print. Input shaping solves this at the firmware level, allowing speeds of 200mm/s or more with clean surface quality.
This guide covers everything you need to set up Klipper input shaping correctly — from understanding the physics, to wiring an accelerometer, running resonance tests, and interpreting results.
Understanding Ringing and Its Causes
To understand why input shaping works, you first need to understand why ringing happens in the first place.
Every physical object has one or more natural resonant frequencies — the frequency at which it naturally vibrates when disturbed. When you rapidly change the direction of your printer’s printhead, you’re giving the frame, gantry, and moving mass a brief impulse. This impulse excites the machine’s natural resonant frequencies, causing it to vibrate like a struck bell. The printhead — still faithfully following its commanded position — traces these vibrations onto your print surface.
The resonant frequency of a 3D printer depends on its mass distribution and rigidity. A well-built Voron CoreXY with a lightweight printhead might resonate at 80–120 Hz. A heavier bed-slinger like an Ender 3 might resonate at 30–60 Hz. The frequency matters because it determines both the severity of ringing and what shaping filter to use.
Ringing amplitude increases with print speed — specifically with the magnitude of acceleration. Double your acceleration (e.g., from 2000 to 4000 mm/s²) and you roughly double the impulse excitation and ringing severity. This is why ringing becomes so obvious at high speeds.
What Is Input Shaping and How Does It Work?
Input shaping is a control engineering technique that prevents resonance from being excited in the first place. Instead of reacting to vibrations after they occur, the shaper modifies the motion commands before they’re sent to the motors, in a way that cancels out the excitation of the resonant frequency.
In simple terms: imagine you push a swing at exactly its resonant frequency — it swings higher and higher. Now imagine you apply two smaller pushes slightly offset in time such that the second push cancels the motion created by the first. The swing barely moves. That’s the principle behind input shaping.
Klipper implements several shaper algorithms, each with different trade-offs between vibration suppression, smoothing, and speed:
Shaper Types in Klipper
- ZV (Zero Vibration) — Simplest shaper, suppresses vibration at one frequency. Fast but sensitive to frequency measurement errors. Good for very rigid printers with a single dominant frequency.
- MZV (Modified Zero Vibration) — Better at handling frequency variation while remaining relatively fast. Good balance for most printers.
- EI (Extra Insensitive) — Handles wider frequency ranges, better for machines where resonant frequency shifts with tool position or mass changes. Slightly more smoothing.
- 2HUMP_EI / 3HUMP_EI — For machines with two or three resonant peaks. More smoothing but handles complex resonance profiles. Often used on bed-slingers where the bed has its own resonance.
- SMOOTH_MZV / SMOOTH_EI — Newer shapers in recent Klipper versions with even better smoothing characteristics.
Klipper’s resonance testing and auto-configuration will recommend the best shaper for your specific printer based on measured data.
Hardware Required: ADXL345 Accelerometer Setup
To measure your printer’s resonant frequencies, you need an accelerometer attached to the printhead (and separately to the bed for bed-slingers). The ADXL345 is the standard choice — it’s inexpensive, widely available in India, and natively supported by Klipper.
ADXL345 Module
The ADXL345 is a ±16g 3-axis digital accelerometer with SPI interface. Klipper supports it via SPI directly connected to a Raspberry Pi’s GPIO pins. Modules are widely available in India for ₹80–₹200. Ensure you get a proper breakout module, not just the bare IC.
Connection to Raspberry Pi
Connect the ADXL345 to the Raspberry Pi GPIO using SPI (default) or software SPI. Standard connections:
- ADXL345 VCC → Pi 3.3V (pin 1)
- ADXL345 GND → Pi GND (pin 6)
- ADXL345 CS → Pi GPIO8 (pin 24, CE0)
- ADXL345 SDO/SDO → Pi GPIO9 (pin 21, MISO)
- ADXL345 SDA/SDA → Pi GPIO10 (pin 19, MOSI)
- ADXL345 SCL/SCK → Pi GPIO11 (pin 23, SCLK)
Enable SPI on the Raspberry Pi via raspi-config → Interface Options → SPI → Enable.
Mounting the Accelerometer
Mount the ADXL345 as close to the nozzle as possible using a 3D printed mount (designs available on Printables and Thingiverse for all popular printers). The accelerometer must be rigidly attached — any flex in the mount will distort measurements. The orientation matters but Klipper handles coordinate system remapping via the axes parameter.
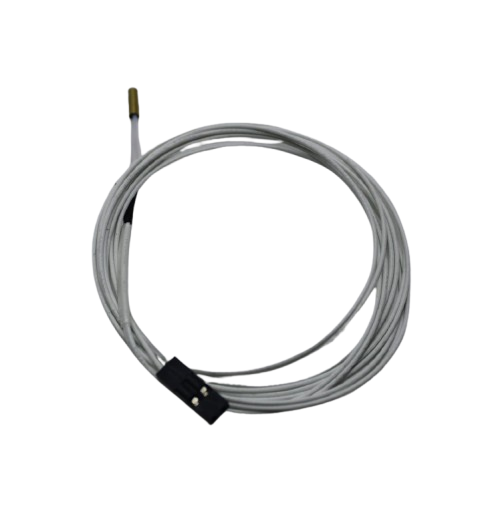
100k NTC Thermistor with Copper Tip for MK8 Extruder
Accurate thermistor for your 3D printer hotend — when optimising your printer for Klipper high-speed printing, a reliable thermistor ensures consistent temperature control at all speeds.
Klipper Configuration for Input Shaping
With your ADXL345 connected, add the following to your printer.cfg:
[adxl345]
cs_pin: rpi:None

[resonance_tester]
accel_chip: adxl345
probe_points:
    150, 150, 20  # Replace with the center of YOUR bed

[input_shaper]
# Start with empty — Klipper will auto-populate after testing
# shaper_freq_x: 50
# shaper_type_x: mzv
# shaper_freq_y: 40
# shaper_type_y: mzv
Save and restart Klipper. Verify the ADXL345 is communicating correctly by running this command in the Klipper console (Mainsail or Fluidd):
ACCELEROMETER_QUERY
You should see live acceleration readings (X, Y, Z values that change when you shake the printer). If you get an error, check your SPI wiring and that SPI is enabled on the Pi.
Running the Resonance Test
The resonance test moves the printer at increasing frequencies while recording acceleration data. It generates a spectrum that shows which frequencies the machine resonates at most strongly.
Before running the test:
- Heat the printer to normal printing temperatures (resonance can shift with thermal expansion)
- Ensure the bed is at its normal printing position
- Remove any parts currently on the bed
- Ensure nothing is loose on the printer frame
Run the X-axis test:
TEST_RESONANCES AXIS=X
This will move the gantry back and forth at increasing frequencies for about 20–30 seconds. You’ll hear the printer’s pitch change as it sweeps through frequencies. When it hits the resonant frequency, the printer will vibrate noticeably — this is normal and expected.
After the X test completes, run the Y-axis test:
TEST_RESONANCES AXIS=Y
The results are saved as CSV files in /tmp/ on the Raspberry Pi. Klipper can then process these with its built-in analysis script:
~/klipper/scripts/calibrate_shaper.py /tmp/resonances_x_*.csv -o /tmp/shaper_calibrate_x.png
~/klipper/scripts/calibrate_shaper.py /tmp/resonances_y_*.csv -o /tmp/shaper_calibrate_y.png
This generates plots showing the resonance spectrum and the recommended shaper configuration.
Interpreting Results and Choosing Shaper Type
The calibration script’s output shows both the frequency spectrum and the recommended shaper settings. A typical output looks like:
Fitted shaper 'zv' frequency = 52.4 Hz (vibrations = 12.6%, smoothing ~= 0.048)
Fitted shaper 'mzv' frequency = 48.8 Hz (vibrations = 2.9%, smoothing ~= 0.064)
Fitted shaper 'ei' frequency = 59.6 Hz (vibrations = 1.3%, smoothing ~= 0.085)
Recommended shaper is mzv @ 48.8 Hz
The key metrics to understand:
- Vibrations % — How much residual vibration remains after shaping. Lower is better. Under 5% is excellent.
- Smoothing — Higher values mean more smoothing of sharp features. The limit depends on your nozzle size (larger nozzle tolerates more smoothing). Keep below 0.1 for 0.4mm nozzles as a rule of thumb.
- Recommended shaper — The best balance point. Accept this recommendation as your starting point.
Update your printer.cfg with the recommended values:
[input_shaper]
shaper_freq_x: 48.8
shaper_type_x: mzv
shaper_freq_y: 38.2
shaper_type_y: mzv
Restart Klipper and print a ringing test (CALI-CAT or the standard ringing tower from Printables). The improvement is often dramatic — ringing that was 2–3mm deep at high speed becomes completely invisible.
Pressure Advance: Klipper’s Other Speed Secret
Input shaping handles ringing from acceleration/deceleration. Pressure advance handles a different artefact: bulging at corners and thin extrusion on fast perimeters caused by filament pressure lag in the hotend.
When you speed up the printhead, filament pressure in the hotend needs to build up before the extra material flows. When you slow down for a corner, that stored pressure keeps extruding extra material. Pressure advance compensates by pre-pressurising before speed increases and de-pressurising before speed decreases.
Calibrate pressure advance by printing the PA tower pattern (from Ellis’ Print Tuning Guide, widely referenced in the Klipper community) and selecting the segment with the sharpest corners and cleanest extrusion width. Typical values range from 0.02 (high-flow direct drive) to 0.6+ (Bowden setups).
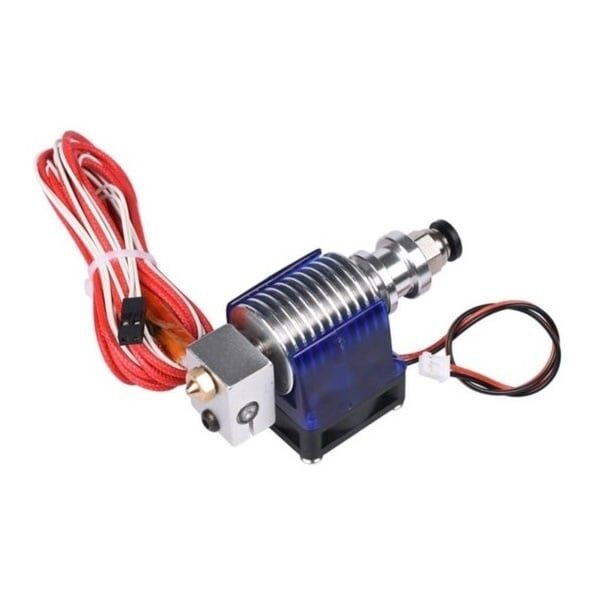
All Complete Bowden V6 Hotend with Fan Cable – 30cm for 1.75mm Filament, 0.2mm Nozzle
Bowden V6 hotend setup — Klipper’s pressure advance is especially impactful with Bowden setups due to the longer filament path. This complete assembly is ideal for upgrade projects.
High Speed Printing: Putting It All Together
With input shaping and pressure advance calibrated, you can dramatically increase print speeds. Here’s what speeds are realistically achievable on common printers with proper Klipper tuning:
Expected Speed Improvements
- Ender 3 / CR-10 (bed-slinger): 60mm/s stock → 120–150mm/s with input shaping. Bed mass limits Y-axis speeds. Consider a lighter PEI plate upgrade.
- Voron 2.4 (CoreXY): Already fast, but input shaping unlocks 200–300mm/s with quality results.
- Bambu Lab clones / generic CoreXY: 150–250mm/s with well-calibrated input shaping and a rigid frame.
- Prusa i3 clones (bed-slinger): Similar to Ender 3; Y-axis resonance from the moving bed is the limiting factor.
Slicer Settings for High Speed
Your slicer (Orca Slicer, SuperSlicer, or PrusaSlicer) needs updating too:
- Set print speed to match your calibrated maximum (e.g., 150mm/s perimeters, 200mm/s infill)
- Increase acceleration to match your input shaping capability (e.g., 3000–8000 mm/s² depending on machine)
- Enable cooling fan at 100% — faster printing requires more cooling to solidify each layer
- Ensure minimum layer time is respected (at high speeds, small layer areas cool too fast without a delay)
- Increase max volumetric flow rate in your slicer to prevent under-extrusion — limited by your hotend and filament
Hardware Upgrades That Complement Input Shaping
Input shaping works best on a mechanically sound printer. Loose belts, worn bearings, or wobbly extrusions create noise in the resonance data and shift the resonant frequency unpredictably between sessions. Here are the key hardware upgrades that enable proper input shaping calibration and high-speed printing:
Belt Tension
Properly tensioned belts are foundational. Too loose and the belt stretches dynamically during acceleration, adding a low-frequency bounce. Too tight and you overload bearings and motor shafts. Use a belt tension meter app (put your phone near the belt, pluck it like a guitar string, and measure the frequency) to get consistent tension between X and Y belts.
Hotend Stability
The hotend assembly must be completely rigid. Any wobble in the hotend mount becomes direct ringing. Check that all hotend mounting screws are tight and that the hotend doesn’t rock in its heatsink or carriage.

B Type Aluminium Heat Sink for MK7 MK8 Extruder
Proper aluminium heatsink for MK7/MK8 extruder — at high print speeds, effective hotend cooling becomes even more critical to prevent heat creep and jamming.
Extruder Block Integrity
A solid, properly mounted extruder block reduces mass variation and potential vibration sources on direct drive setups.
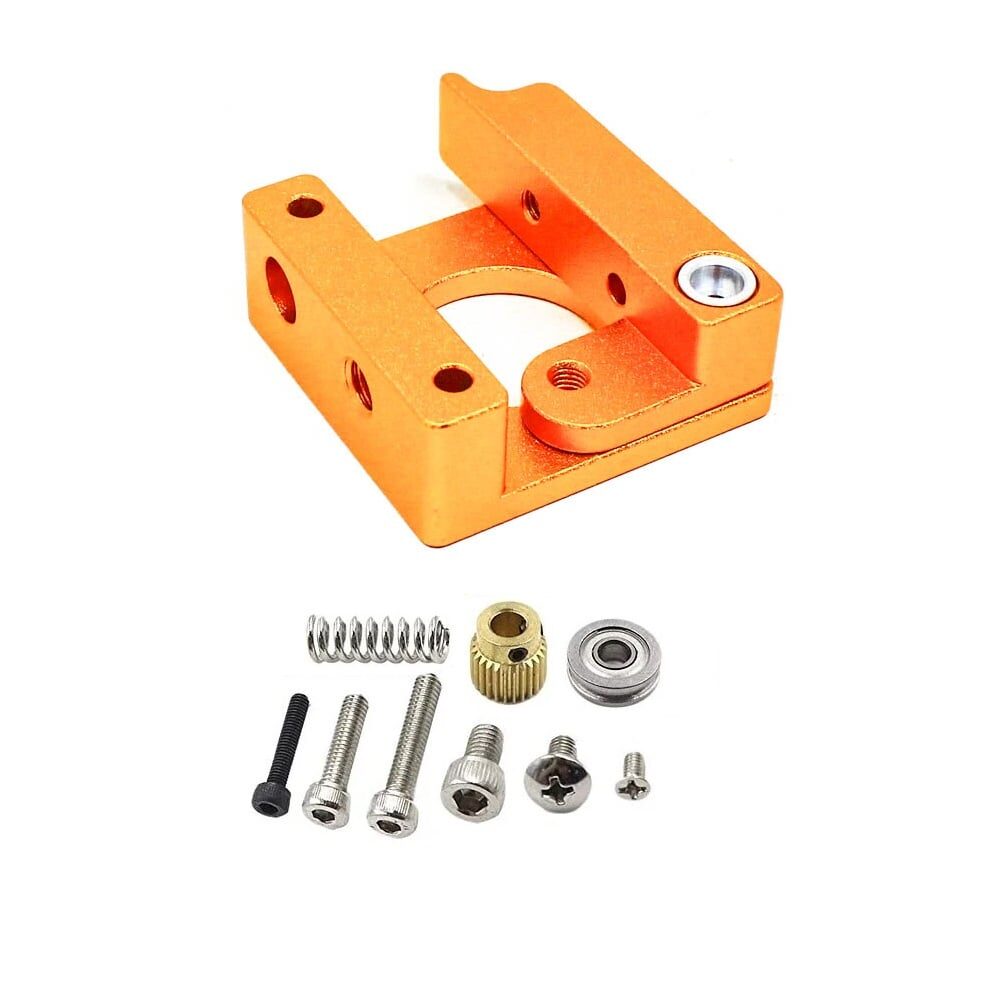
Left Side MK8 Extruder Aluminum 3D Printer Block
Precision aluminium extruder block for MK8 setups — rigidity in the extruder assembly directly improves print quality at high Klipper speeds.
Filament Quality
At high speeds, filament quality becomes more important, not less. Diameter variation, poor roundness, or moisture in the filament all cause extrusion inconsistencies that are amplified at higher flow rates. Use quality filament from reputable brands for high-speed printing.
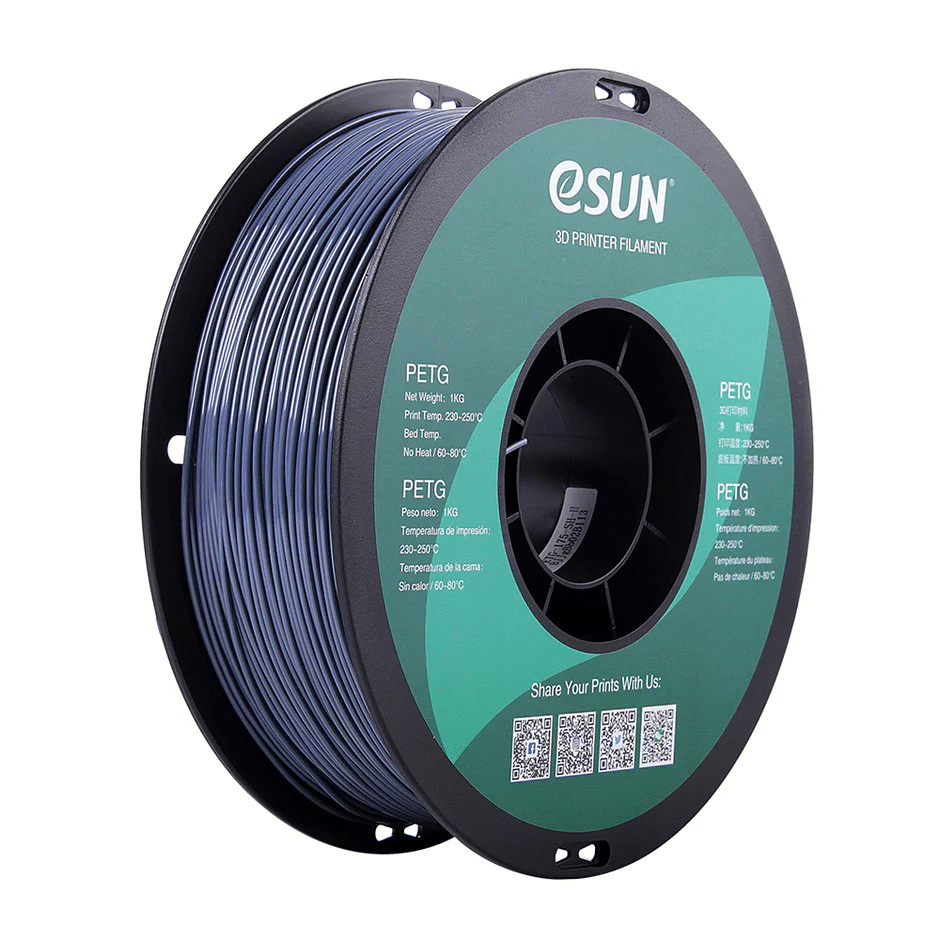
eSUN PETG 1.75mm 3D Printing Filament 1kg – Grey
eSUN PETG offers consistent diameter and reliable flow characteristics — important when pushing Klipper high-speed printing to the limit on functional parts.
Frequently Asked Questions
Does input shaping work without an accelerometer?
Yes, but it’s much less effective. Without measured resonance data, you can manually set input shaping values by printing ringing test towers at different shaper frequencies and selecting the one that looks best. This trial-and-error approach can get you to 60–70% of the improvement that proper accelerometer-measured calibration provides. The accelerometer route is strongly recommended.
Will input shaping work on a stock Ender 3 without Klipper?
Marlin 2.x includes a basic input shaping implementation (Input Shaping / MPC), but it’s far less capable and configurable than Klipper’s. If you want the full benefit of input shaping, upgrading to Klipper is the path forward. A Raspberry Pi 3B running Klipper with Mainsail is all you need — total cost in India is around ₹3,000–₹4,000.
How often should I re-run the resonance test?
Re-run whenever you make significant mechanical changes: new printer head (different mass), new printhead carriage, significant rebuild, or if you notice ringing returning. The resonant frequency is quite stable otherwise. Temperature and humidity in India’s varying climate don’t significantly affect it for most printers.
My resonance graph shows multiple peaks — what do I do?
Multiple peaks indicate multiple resonant modes. This is common on bed-slingers where both the gantry and the bed frame have separate resonances. Try the EI or 2HUMP_EI shaper types, which are designed to suppress multiple frequencies simultaneously. If peaks are very far apart, Klipper’s recommendation algorithm will select the appropriate shaper type automatically.
Can input shaping eliminate all ringing?
In practice, it eliminates 80–95% of ringing depending on your machine’s construction. Structural resonances (frame flex, loose components) that occur at frequencies different from the calibrated values will not be compensated. The best results come from a well-built, tight machine with proper input shaping — not from using input shaping to paper over mechanical problems.
Does input shaping increase wear on motors and mechanics?
Properly calibrated input shaping actually reduces mechanical stress compared to running at high acceleration without shaping. By smoothing the motion profile, it avoids the sharp jerks that stress motor couplers, bearings, and frame joints. High-speed printing enabled by input shaping does increase overall usage and heat generation, so regular maintenance remains important.
Upgrade Your 3D Printer with Zbotic
Find quality filaments, hotend components, thermistors, and printer hardware for your Klipper upgrade project at Zbotic — India’s trusted electronics and maker store.


Add comment