
How to Solder Drone ESC and Motors: Beginner Tutorial
Soldering is the single most important skill you will learn as a drone builder. Whether you are assembling your first FPV quad or building a racing drone from scratch, knowing how to solder drone ESC and motors cleanly can mean the difference between a drone that flies perfectly and one that crashes due to a loose connection. This guide is written specifically for Indian hobbyists who are just getting started and want a clear, practical tutorial without unnecessary jargon.
Why Soldering Matters in Drone Building
A drone is essentially a collection of electrical connections working in harmony at thousands of RPM. The ESC (Electronic Speed Controller) is the bridge between your flight controller and your motors. It translates throttle signals into precise power delivery. If any solder joint in this chain is cold, cracked, or bridged, you can experience motor twitching, sudden power cuts, or even a full flyaway — all of which can be dangerous and expensive.
In India, where temperatures can swing dramatically from coastal humidity in Mumbai to dry heat in Rajasthan, thermal expansion and contraction put extra stress on solder joints. Learning to solder properly protects your investment and keeps your build reliable in all conditions.
Tools and Materials You Need
Before you pick up a soldering iron, make sure you have everything on this list:
Essential Tools
- Soldering iron with temperature control — Look for a station that can hold 350°C–400°C. Brands like TS100 or Hakko clones available on Indian marketplaces work well for drone work.
- Rosin-core solder (60/40 or 63/37) — 0.8mm diameter is easiest for beginners. Avoid lead-free solder until you are more experienced; it requires higher temperatures and is less forgiving.
- Brass wire tip cleaner — Keeps your tip clean without shocking it with water. Dirty tips are the number one cause of bad joints.
- Third hand / PCB holder — Holds your components while you solder. Essential for one-person builds.
- Flux pen or paste flux — Extra flux helps solder flow into tight joints. Highly recommended for soldering motor leads to ESC pads.
- Multimeter — For continuity testing after soldering.
- Heat shrink tubing — Various sizes from 2mm to 10mm. Covers and insulates joints.
- Wire strippers and cutters
- Isopropyl alcohol (IPA 99%) — For cleaning flux residue after soldering.
Safety Equipment
- Fume extractor or a fan blowing away from you
- Safety glasses
- Heat-resistant mat or silicone work mat
Understanding ESC Wiring Basics
Before you solder anything, understand what each wire on an ESC does:
ESC Connections
| Wire/Pad | Colour (typical) | Purpose |
|---|---|---|
| Battery positive | Red | Connects to PDB/battery + terminal |
| Battery negative | Black | Connects to PDB/battery – terminal |
| Motor phases (3 wires) | Varies (A/B/C) | Connect to 3 motor leads |
| Signal wire | White/Yellow | PWM or DSHOT signal from FC |
For a 4-in-1 ESC, the motor pads are labelled M1–M4 directly on the board. Each motor has three pads (or three pads per motor corner). The order of the motor phase wires does not matter for initial connection — if the motor spins backwards, simply swap any two of the three motor leads.
Wire Gauge Chart for Drone Power
| Drone Class / Current | Recommended Wire |
|---|---|
| Mini quad (up to 30A) | 16 AWG silicone wire |
| 5-inch racer (up to 60A) | 14 AWG silicone wire |
| 7-inch/Long range (up to 80A) | 12 AWG silicone wire |
Soldering Motors to ESC: Step by Step
This section covers how to solder brushless motor wires directly onto an individual ESC or a 4-in-1 ESC board.
Step 1: Tin the Motor Leads
Strip about 4–5mm of insulation from each motor lead. Then tin each wire end by heating it with your iron and touching solder until the solder flows in and coats all the strands. A good tinned wire will be shiny, compact, and completely coated. No stray strands sticking out.
Step 2: Tin the ESC Motor Pads
Heat each motor pad on the ESC and add a small dome of solder. Apply flux to the pad first for best results. The solder dome should be shiny and convex, not flat or dull.
Step 3: Join Motor Lead to ESC Pad
Hold the tinned motor wire on top of the tinned ESC pad. Heat both together briefly (1–2 seconds) until the solder from both flows and merges. Remove the iron and hold still for 3–4 seconds. Do not blow on the joint. Let it cool naturally.
Signs of a good joint: Shiny, smooth, slightly concave fillet. Wire is secure and cannot be pulled off easily.
Signs of a cold/bad joint: Dull, grainy, or rough texture. Wire wiggles or lifts easily. Microscopically cracked.
Step 4: Insulate with Heat Shrink
Slide heat shrink over the joint before soldering (remember to do this step before making the joint!). After the joint cools, slide the heat shrink over it and apply heat from a heat gun or lighter. The shrink should grip the wire firmly.
Step 5: Verify Motor Rotation
After connecting all three motor leads, connect the drone to Betaflight and use the Motor tab to spin each motor at low throttle. Verify rotation direction matches the Betaflight motor diagram. If a motor spins the wrong way, swap any two of its three ESC motor pad connections.
Soldering ESC to Power Distribution Board
The PDB (Power Distribution Board) is the hub that delivers battery voltage to all four ESCs. Getting this part right is critical because it carries the full current of all motors simultaneously.
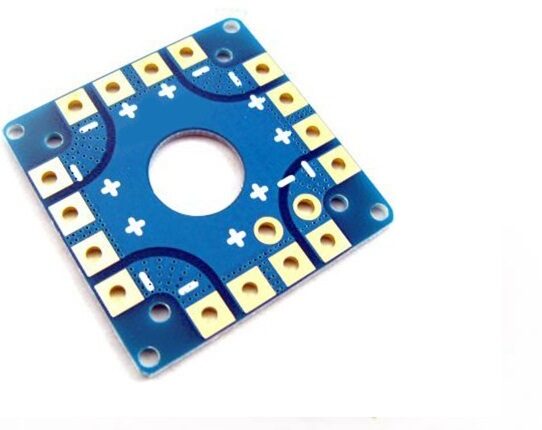
100A Multirotor ESC Power Distribution Battery Board For Quadcopter
Handles up to 100A total current with dedicated ESC solder pads and integrated 5V/12V BEC. Perfect for 4–6 motor drone builds.
View on ZboticStep 1: Plan Your Layout First
Before soldering, dry-fit your ESCs onto the frame. Check wire lengths. You want leads short enough to stay tidy but long enough to allow some flex — typically 30–50mm of power wire from ESC to PDB pad.
Step 2: Pre-tin the PDB Pads
Large PDB pads need more heat. Set your iron to 380–400°C. Apply flux to the pad, heat it for 2–3 seconds, then flow a good amount of solder onto it. For large copper pads, the solder should form a raised dome covering the entire pad area.
Step 3: Solder ESC Power Leads
Red to positive (+), black to negative (–). Lay the tinned wire on the pre-tinned pad. Heat from the side — not straight down — until both the wire and pad solder merge. Total contact time should be 2–3 seconds. More time risks lifting pads from the PCB.
Step 4: Check for Solder Bridges
After soldering all ESCs, inspect closely with a magnifying glass or phone camera. A solder bridge between + and – pads is a short circuit that will immediately discharge your battery when connected and potentially cause a fire. Fix any bridges with solder wick (desoldering braid).
Step 5: Solder the XT30/XT60 Battery Connector
Use an XT60 for 4S+ builds and XT30 for tiny whoops. Pre-tin the connector cup terminals. Apply heavy flux. These joints need a lot of heat (400°C+) because the metal cup mass is high. Make sure the red wire goes to the positive terminal — this is marked with a + on every XT60.

35A V2.1 2-5S 4-in-1 Brushless ESC for RC Drone FPV Racing
A compact 4-in-1 ESC that eliminates individual ESC-to-PDB wiring. Supports 2-5S LiPo and handles 35A continuous per motor — ideal for 5-inch FPV builds.
View on ZboticCommon Soldering Mistakes and How to Avoid Them
1. Too Little Heat (Cold Joint)
The most common beginner mistake. If your iron is too cold or you do not apply enough heat, the solder will not flow properly and will form a cold joint. Cold joints look dull and grainy. Increase temperature to 380°C and make sure your tip has good tinning (a fresh coat of solder on the tip).
2. Moving the Joint Before It Cools
If you move the wire while the solder is still liquid or semi-solid, you create a crystalline fracture inside the joint. It may look fine from the outside but will fail under vibration. Always hold still for at least 3–4 seconds after removing the iron.
3. Using the Wrong Solder
Plumbing solder or rosin-free solder is not suitable for electronics. Always use electronics-grade rosin-core solder. In India, Multicore/Loctite and locally-branded solder wires are widely available at electronics shops in Lamington Road (Mumbai), SP Road (Bangalore), and Nehru Place (Delhi).
4. Overheating Motor Windings
Motor wires are very close to the stator windings. Prolonged heat can melt the enamel insulation on the windings and damage the motor. Work fast: tin both surfaces beforehand so the final joint only needs 1–2 seconds of heat.
5. Not Using Flux
Flux is a chemical that removes oxidation from metal surfaces and allows solder to bond properly. The rosin in rosin-core solder provides some flux, but for large pads and tinned copper surfaces that have oxidised, extra flux from a pen or paste is very helpful. Without flux on oxidised surfaces, solder will ball up and refuse to flow.
6. Too Much Solder
Beginners often think more solder means a stronger joint. The opposite is true. A large solder blob has more internal stress and is more likely to crack. Pads should have a small, clean dome — not a large sphere that obscures the pad boundaries.
Testing Your Connections Before Flight
Never skip this step. Testing saves drone frames and props — and potentially your face.
Visual Inspection
Under good lighting (or a magnifying lamp), check every joint. All joints should be shiny, smooth, and have a concave fillet at the wire-to-pad junction. Look specifically for solder bridges between adjacent pads on the PDB and 4-in-1 ESC.
Continuity Test
Set your multimeter to continuity mode (diode symbol). Probe between the positive and negative main power leads with the battery disconnected. You should hear NO continuity beep. If you do, there is a short circuit somewhere.
Smoke Stopper Test
A smoke stopper is a simple device with a light bulb in series with the main power wires. When you plug in a battery the first time, the bulb limits current if there is a short. If the bulb stays bright, you have a short somewhere. If it flashes briefly and goes out (while the FC lights up), all is well. You can make one yourself with a 12V car bulb for under ₹100.
Motor Spin Test
In Betaflight’s Motor tab, remove all propellers first (critical safety step). Spin each motor individually at 1100–1200 throttle and verify smooth, quiet rotation. Any grinding, stuttering, or excessive heat suggests a bad ESC-motor connection.
Recommended Products from Zbotic

2-6S 5V 5A BEC For Quadcopter Drone
Standalone BEC for powering flight controller and peripherals from 2S–6S LiPo. Solder directly onto PDB power rails.
View on Zbotic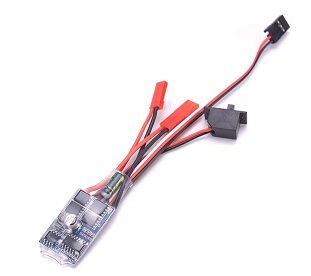
30 A Brushed ESC No Brake
A simple, affordable ESC for brushed motor setups. Good for beginners to practise soldering before moving on to brushless builds.
View on Zbotic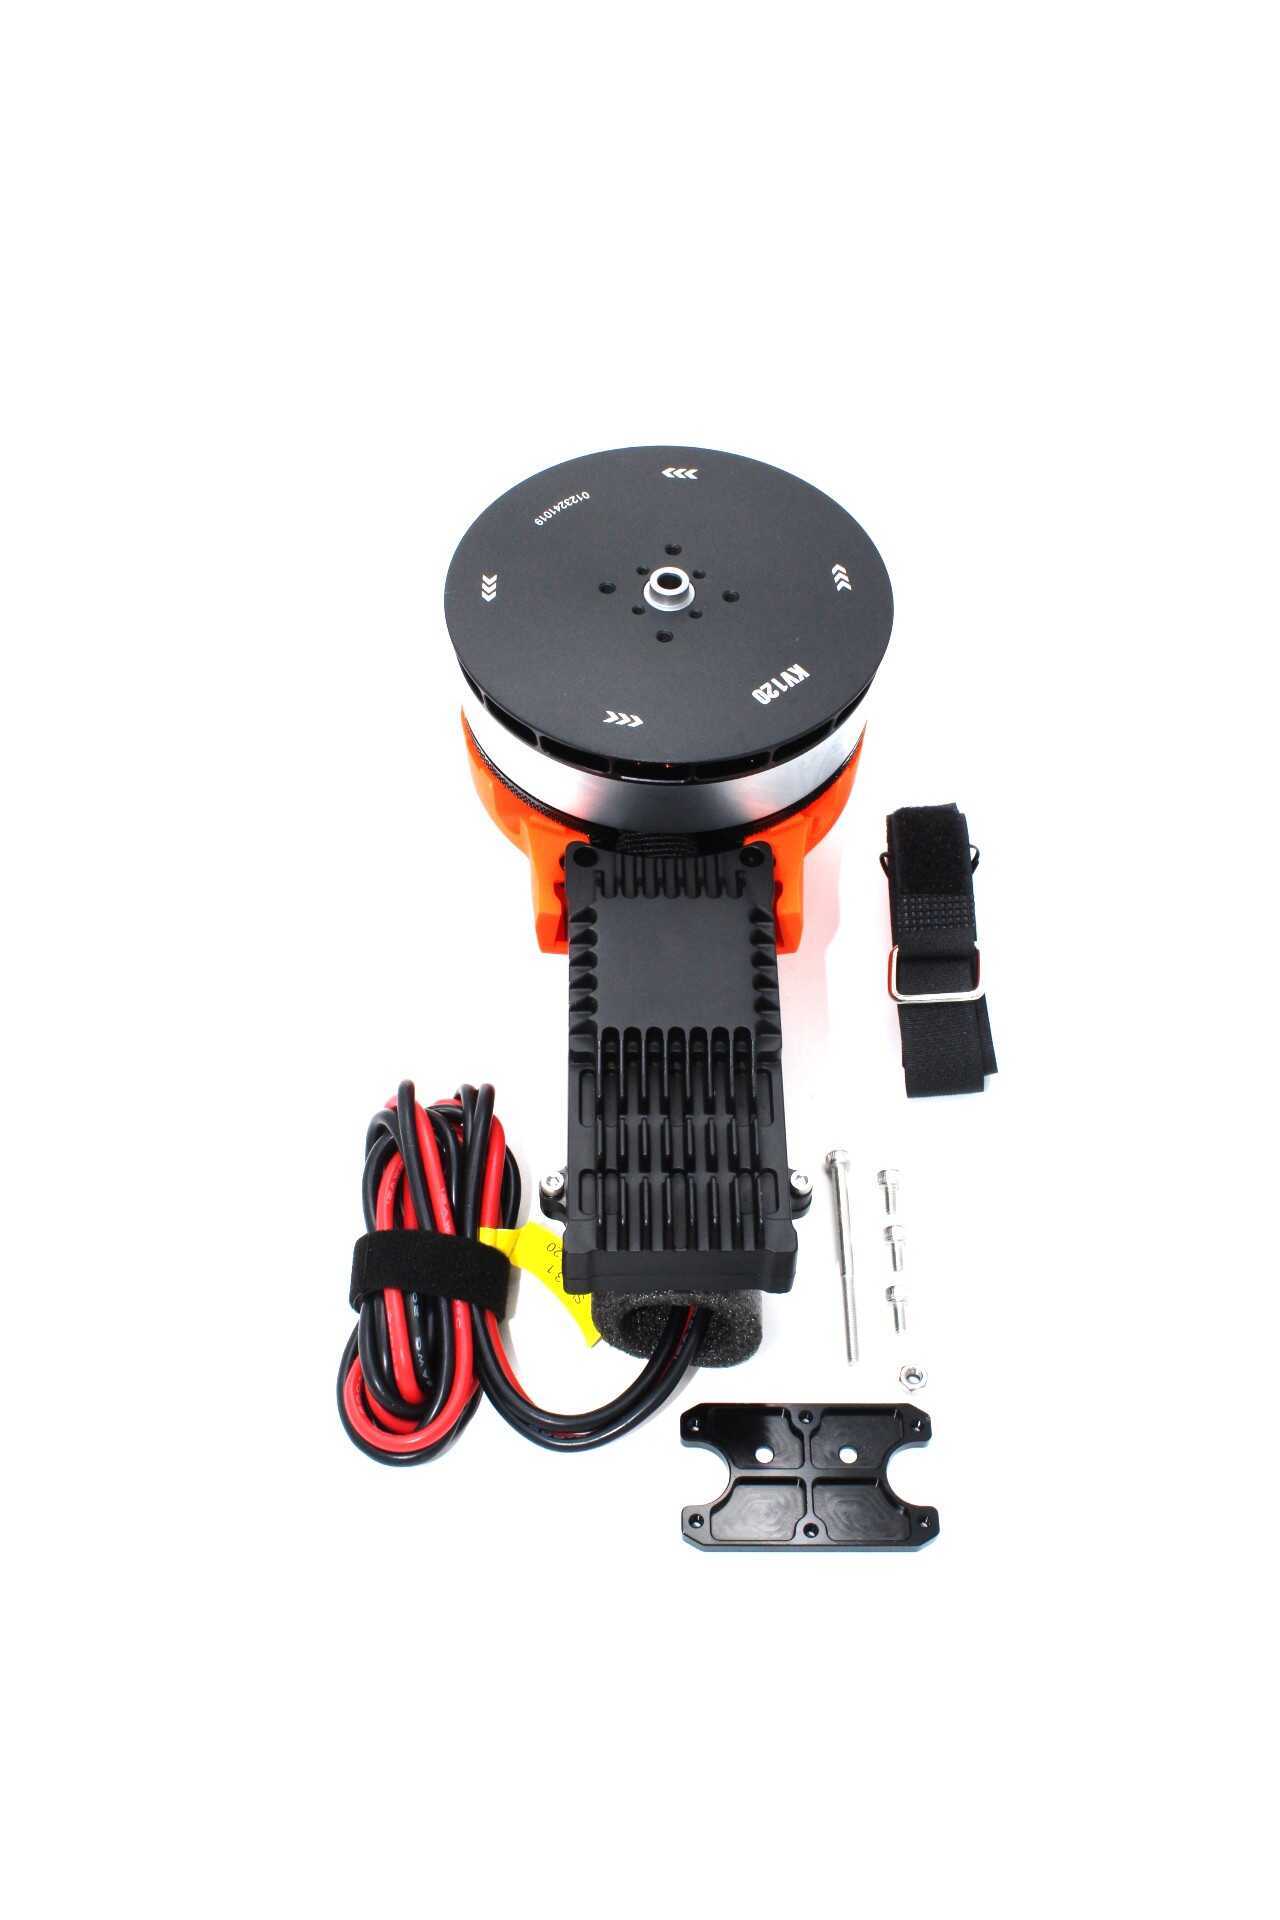
T-Motor A10-KV120 Modular Propulsion System
Premium T-Motor propulsion unit with pre-soldered leads for clean builds. Available in CW and CCW versions for any quad configuration.
View on ZboticFrequently Asked Questions
Q: What temperature should I set my soldering iron for drone ESC soldering?
For motor leads to ESC pads, use 350–370°C. For heavy power pads on a PDB or XT60 connectors, use 380–400°C. Higher temperatures work faster, reducing the total time the heat is applied to the board.
Q: Can I use a cheap ₹200 soldering iron from a local shop?
You can, but it is not recommended. Fixed-temperature irons with poor thermal recovery will produce cold joints consistently. A temperature-controlled iron (TS100 clone or similar, available for ₹1500–₹2500 online) makes a dramatic difference in joint quality.
Q: The motor spins backward — what do I do?
Swap any two of the three motor phase wires at the ESC. The direction reverses every time you swap any two wires. You can also reverse motor direction in Betaflight’s motor configuration (for BLHeli_32 or AM32 ESCs using DSHOT).
Q: My ESC smells like burning after I connected the battery. What happened?
This usually indicates a solder bridge between + and – power pads, or a reversed motor wire causing a shoot-through in the ESC FETs. Disconnect immediately, let it cool, and do a full visual inspection with a magnifying glass.
Q: Do I need to solder or can I use XT60 plug adapters everywhere?
Connectors add resistance and are mechanical failure points under vibration. For motor-to-ESC connections, direct soldering is always preferred. For battery and ESC power connections, high-quality connectors like XT60 are perfectly fine and even advisable for easy battery swaps.
Q: How do I know if my solder joint is strong enough?
After the joint cools, gently tug the wire perpendicular to the pad. A good joint will not budge. If the wire pulls away with light finger pressure, resolder it — the joint failed either due to insufficient heat or insufficient solder coverage.
Conclusion
Drone ESC soldering is a learnable skill that improves quickly with practice. Start with scrap wire and a piece of perf board to get the feel of your iron. Once you can consistently produce shiny, tight, bubble-free joints on practice material, move on to your actual drone components. The investment in a decent soldering station, some quality solder, and a flux pen will pay for itself immediately in time saved and frustration avoided.
At Zbotic, we stock everything from individual brushless ESCs to 4-in-1 ESC stacks and power distribution boards — all suited for Indian builds across 5-inch racers, 7-inch freestyle, and agricultural drones. Build clean, fly safe, and get your quad in the air.
Ready to Start Your Drone Build?
Browse Zbotic’s full range of ESCs, motors, PDBs, and drone components — delivered across India.
Shop Drone Components


Add comment