
Building your own CNC router at home is one of the most rewarding projects in the maker community. You get a machine precisely tuned to your workspace and budget, and the process itself teaches you more about CNC machining than any course could. In India, with locally available hardware, imported electronics, and an active maker community, a functional CNC router can be built for ₹15,000 to ₹60,000 depending on size and precision requirements.
This comprehensive guide walks you through everything: the frame, motion system, electronics, software, and first cuts — specific to what is available and practical in India.
CNC Router Overview: What You Are Building
A CNC router is a computer-controlled cutting machine that moves a spinning bit across a workpiece in three axes (X, Y, Z) to cut, engrave, or carve material. Unlike a laser cutter, it physically removes material with a rotating bit, which means it can handle wood, MDF, acrylic, aluminium, and even soft metals like copper.
The machine you build at home will typically work within a cutting area of 300×300mm to 600×900mm, which is enough for small furniture parts, sign-making, PCB milling, and most hobbyist projects. Larger builds are possible but require heavier steel frames and more powerful electronics.
The core components of any CNC router are: a rigid frame, linear motion rails, lead screws or belt drives, stepper motors, a spindle (router), a motion controller, stepper motor drivers, a power supply, and software on a PC or Raspberry Pi.
Planning Your Build: Size, Materials, Budget
Define Your Cutting Area
This is the most important first decision. A larger machine costs more, requires a stronger frame, and needs more powerful motors. Common hobby sizes:
- Mini (300×300mm): Good for PCB milling, small signs, jewellery. Budget: ₹15,000–₹25,000
- Medium (400×400mm to 600×600mm): Most versatile for general hobbyist use. Budget: ₹25,000–₹45,000
- Full (600×900mm or larger): Small production / workshop use. Budget: ₹45,000–₹80,000+
Material Choices for the Frame
In India, you have three main frame material options:
- Aluminium extrusion (V-slot or T-slot): The preferred choice for most DIY builds. Available from Indian suppliers (Openbuilds-style profiles are manufactured locally). Lightweight, precise, and easy to assemble. A 500mm×500mm frame in aluminium costs roughly ₹3,000–₹6,000 in material alone.
- Steel angle or square tube: Very strong and cheap, but heavy and requires welding or bolting. Good for large machines where rigidity matters.
- MDF/plywood: The cheapest option (used in many OpenBuilds OX-style machines). Not as rigid but works fine for wood carving and engraving at modest feeds.
Budget Breakdown for a Medium 400×400mm Build
| Component | Approx. Cost (₹) |
|---|---|
| Aluminium extrusion frame | 4,000–6,000 |
| Linear rails + carriages (SBR or MGN type) | 3,000–5,000 |
| Lead screws + nuts + couplers | 1,500–2,500 |
| Stepper motors (NEMA 17 or 23 × 4) | 2,000–4,000 |
| Spindle (500W–800W ER11) | 3,000–6,000 |
| Motion controller (GRBL Arduino + CNC shield) | 800–1,500 |
| Stepper drivers (DRV8825 or TMC2208) | 600–1,200 |
| Power supply (24V or 36V) | 1,000–2,000 |
| Wiring, connectors, hardware | 1,000–2,000 |
| MDF or aluminium spoilboard | 500–1,500 |
| Total | ₹17,400–₹31,700 |
Building the Frame
The frame determines everything — rigidity, accuracy, and how much vibration your machine produces. Any flex in the frame translates directly to positioning error during cuts.
For an aluminium extrusion build, use 40×40mm V-slot profiles. Purchase from local Indian suppliers who stock Openbuilds-compatible profiles — search on Indiamart or Robu.in. Cut them to length using a hacksaw or angle grinder with a metal-cutting wheel. File the ends flat and deburr them.
Key assembly tips:
- Use corner brackets and T-nut fasteners — do not rely on friction joints
- Check squareness with a steel carpenter square at every assembly step. A frame that is even 2mm out of square will produce poor cuts
- Tighten all bolts uniformly — over-tightening aluminium extrusion can crack the profile
- Consider adding diagonal bracing across the gantry if your machine is 600mm or wider
Motion System: Rails, Lead Screws, and Motors
The motion system converts rotary motor movement into precise linear movement. There are two approaches:
Lead Screw Drive (Recommended for Beginners)
Lead screws convert rotation to linear movement with very little backlash. The TR8 trapezoidal lead screw with 2mm lead (8mm pitch, 4-start) is the standard choice for DIY CNC in India. It is inexpensive (around ₹200–₹500 per axis) and widely available. Anti-backlash nuts (split nut design with spring tension) are essential — do not use plain brass nuts without backlash compensation.
One full motor rotation = 2mm of linear travel on a 2mm-lead TR8 screw. With NEMA 17 motors running 1/16 microstepping, you get 1600 steps per revolution = 1.25 microns theoretical resolution. In practice, expect 0.05–0.1mm repeatability, which is excellent for woodworking.
Belt Drive (Better for Speed, Worse for Force)
GT2 belts with 2mm pitch and 20-tooth pulleys give very fast movement and are used in machines like Shapeoko. However, they require proper tensioning and have more compliance than lead screws. Use only if cutting speed is a priority over cutting force.
Linear Rails
MGN12H rails are the best value for a 400mm machine — smooth, preloaded, no V-wheel maintenance. SBR20 round rails are stronger and better for larger machines. Avoid cheap V-wheel gantry plates for the Z axis on any serious machine — the wheel-on-extrusion design accumulates dust and loses precision over time.
Stepper Motors
NEMA 17 (42mm body) motors with 59 N·cm or more holding torque work for machines up to 500mm. For larger machines or aluminium cutting, upgrade to NEMA 23 (57mm body) motors. In India, motors from brands like Rtelligent and OMC Stepperonline are available through local distributors and Amazon.
Choosing and Mounting the Spindle
The spindle is the business end of the CNC — it does the actual cutting. Options:
Brushless DC Spindle (500W–800W ER11)
This is the best choice for a DIY build. These air-cooled spindles run at 5,000–24,000 RPM, take ER11 collets (which hold bits from 1mm to 7mm diameter), and are controlled by a PWM signal from your CNC controller. A 500W spindle costs ₹2,500–₹4,000 and handles wood, MDF, and soft plastics easily. For aluminium, move up to a 800W–2.2kW spindle with better runout specs.
Trim Router (Makita / Bosch)
A standard wood-cutting router clamped to a Z-axis plate works well for wood and MDF cutting. Speed control is manual and spindle feedback is not available, but it is a practical option if you already own one. The Bosch GKF 550 or Makita RT0700C are popular choices in India.
Mount the spindle with a proper spindle holder bracket that matches your spindle diameter (usually 52mm or 65mm). Ensure the spindle is perpendicular to the spoilboard — use a square or tramming tool to verify this before your first cut.
Electronics: Controller, Drivers, and Power Supply
Motion Controller
For a beginner build, an Arduino Uno with a CNC Shield running GRBL firmware is the most accessible and well-documented option. GRBL is free, open-source, and understood by virtually every CAM software. A complete kit (Arduino + CNC shield + 4× DRV8825 drivers) costs about ₹800–₹1,200 in India.
If you want a more capable standalone controller, look at the BIGTREETECH SKR series or Mach3-compatible breakout boards. These cost more but offer better performance, more features, and higher step rates.
Stepper Drivers
DRV8825 drivers work fine for NEMA 17 motors. Set the current limit with the onboard potentiometer (set to 70% of motor rated current). For quieter operation on NEMA 23 motors, TMC2209 drivers offer sensorless homing and near-silent movement — excellent if your machine is in a home or office setting.
Power Supply
A 24V DC power supply handles most NEMA 17 builds. For NEMA 23 motors at higher currents, use 36V or 48V supplies. Calculate total current draw: 4 motors × 2A = 8A minimum, so a 24V 15A supply (360W) gives comfortable headroom. Meanwell or similar quality PSUs are available in India from electronics distributors.
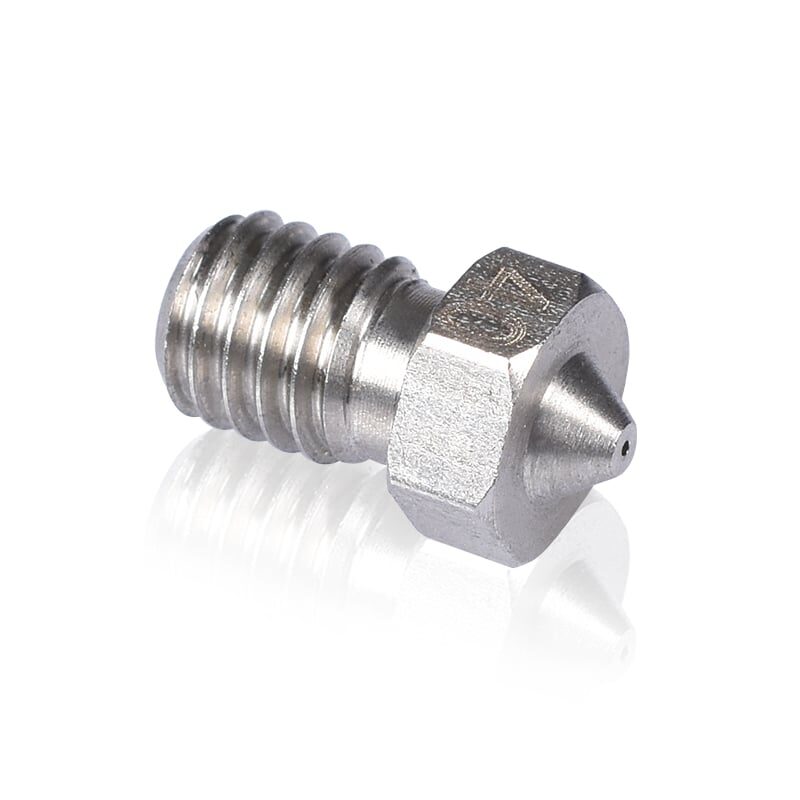
3D Printer Stainless Steel Nozzle 0.4mm
For CNC builders who also do 3D printing, quality stainless nozzles give excellent durability with abrasive materials. Keep a set in your workshop toolkit.
Software: CAD, CAM, and Machine Control
The software chain for CNC routing has three steps: design (CAD), toolpath generation (CAM), and machine control (G-code sender).
CAD Software
- Fusion 360 — Free for hobbyists, industry-standard, excellent built-in CAM. Best overall choice.
- FreeCAD — Fully free and open source, suitable for simpler designs.
- Inkscape — For 2D designs destined for engraving or V-carving. Exports SVG that most CAM tools can import.
CAM Software
- Fusion 360 CAM — Tightly integrated with the CAD, handles 2.5D and 3D toolpaths well.
- Estlcam — Affordable (one-time purchase), excellent for beginners, very India-friendly pricing.
- VCarve Desktop — Industry standard for sign-making and woodworking CNC. More expensive but intuitive.
G-Code Sender / Machine Controller
- bCNC — Feature-rich, open source, runs on Windows/Linux/Mac. Best for GRBL-based machines.
- UGS (Universal Gcode Sender) — Cross-platform Java app, widely used, reliable.
- CNCjs — Browser-based interface, can run on a Raspberry Pi attached to the machine for wireless control.
Wiring and Safety
Electrical safety is critical — your CNC machine will run stepper motors and a high-speed spindle simultaneously. Follow these rules:
- Use shielded cable for stepper motor wiring to prevent noise from interfering with the controller signals
- Ground your spindle and frame — an ungrounded spindle on a metal frame is a shock hazard
- Add an emergency stop button (normally closed circuit) wired in series with the power supply. This is non-optional safety equipment.
- Install a main power switch with indicator light on your electronics enclosure
- Use ferrule terminals on all stranded wire connections — never tin-solder stranded wire ends going into screw terminals
- Keep high-voltage AC wiring (spindle VFD, PSU input) physically separate from low-voltage DC signal wiring
Calibration and First Cuts
Once the machine is assembled and wired, calibration takes 2–3 hours but is essential for accurate work.
Steps Per Mm Calibration
In GRBL, set the steps/mm for each axis: for a TR8 lead screw (2mm lead) with NEMA 17 (200 steps/rev) at 1/16 microstepping: 200 × 16 / 2 = 1600 steps/mm. Use a digital caliper to verify actual vs commanded movement and fine-tune the value.
Squareness Check
Cut a 200×200mm square in MDF. Measure both diagonals — they should be equal within 0.5mm. If not, adjust your gantry squareness physically before cutting real parts.
First Cuts
Start with shallow passes (0.5–1mm depth) at moderate feed rates (500–800 mm/min) in MDF. MDF is forgiving and generates clean cuts that reveal any issues with the toolpath or machine setup. Do not attempt aluminium or hardwood until the machine is fully dialled in and you understand feeds and speeds.
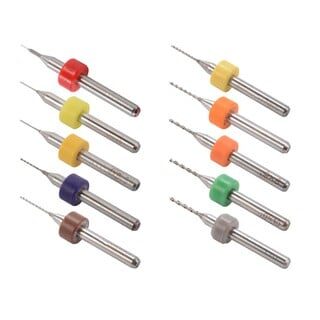
3D Printer Nozzle Cleaning Drill Bit Kit – 10Pcs
Essential workshop tool for any maker with both a CNC router and a 3D printer. Keep your hot end clear and your nozzle in top condition with this precision drill bit set.
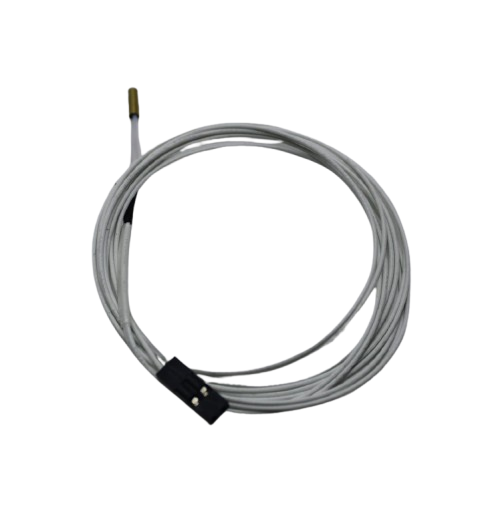
100k NTC Thermistor with Copper Tip for MK8 Extruder
If you run a 3D printer alongside your CNC build, reliable temperature sensing is critical. This high-quality thermistor ensures accurate hotend readings and stable extrusion.
Frequently Asked Questions
Can a DIY CNC router cut aluminium?
Yes, but it requires a rigid frame (steel or thick aluminium), a proper spindle (800W+ with low runout), slow feed rates, and good chip evacuation. A beginner machine built on aluminium extrusion can do shallow aluminium milling, but do not expect production-quality results. Steel-framed machines with linear rails do much better.
How long does it take to build a CNC router from scratch?
For a first-time builder with a complete parts kit and basic tools, expect 40–80 hours spread over several weekends. The mechanical assembly takes 15–20 hours; electronics and wiring another 10–15 hours; software setup and calibration 5–10 hours; then first successful cuts and fine-tuning another 10–20 hours.
Where can I buy CNC parts in India?
Robu.in, Probots, and AliExpress (for lower-cost Chinese parts with 2–4 week delivery) are the main sources. For aluminium extrusion profiles, search Indiamart for local suppliers in your city — Mumbai, Delhi, and Pune have many. Motors and controllers are often faster to source domestically than to import.
Do I need a VFD for the spindle?
Only if using a three-phase AC spindle (1.5kW or higher). Single-phase DC spindles (500W–800W) use a simple DC PWM controller or ESC, which is much simpler to wire and configure. For a first build, stick to DC spindles.
Is GRBL firmware good enough for CNC routing?
For wood, MDF, plastics, and light aluminium work — absolutely yes. GRBL handles up to ~30 kHz step rate, which is more than adequate for these applications. For complex 3D surfacing or high-speed machining, look at LinuxCNC or FluidNC.
Build Your Maker Workshop with Zbotic
From stepper motors to hotend components and precision hardware — Zbotic stocks the essentials for your CNC and 3D printing projects.


Add comment