
The combination of ESP32 WLED WS2812B LED controller has become one of the most popular DIY smart lighting projects in India. WLED is an open-source firmware that turns any ESP32 or ESP8266 into a fully featured Wi-Fi LED controller with 100+ effects, a polished web UI, mobile app support, and deep integration with Home Assistant, Google Home, and Amazon Alexa. In this guide we will cover everything from wiring to advanced configuration.
Why WLED is the Best Firmware for WS2812B
There are several ways to control WS2812B addressable LEDs with an ESP32 — you can write your own Arduino sketch using the FastLED or NeoPixel library, or you can flash a ready-made firmware. WLED has become the community favourite for good reason:
- No coding required: WLED is fully configured through a web browser. No Arduino IDE, no serial terminal needed after the initial flash.
- 100+ built-in effects: Fire, rainbow, sparkle, music reactive, and dozens more — all configurable in real time.
- Mobile app: The free WLED app (Android and iOS) gives you full control from your phone.
- Home Assistant integration: WLED has a native integration in Home Assistant via WLED API or MQTT.
- Alexa and Google Home: Built-in emulation lets you control lights with voice commands.
- Multi-segment control: Split a single strip into independent zones, each with its own effect and colour.
- OTA updates: Update firmware wirelessly — no USB cable needed after initial setup.
WLED runs on any ESP8266 or ESP32, but the ESP32 is preferred because it has more RAM (allowing longer strips and more segments), dual cores, and Bluetooth support for the WLED app’s Bluetooth LE mode.
Hardware Requirements and Shopping List
Here is everything you need to build a WLED LED strip controller:
| Component | Recommended Choice | Notes |
|---|---|---|
| Microcontroller | ESP32 DevKit (30 or 38 pin) | ESP8266 works too but less RAM |
| LED Strip | WS2812B 5V (60 LEDs/m) | Also works: SK6812, WS2811, APA102 |
| Power Supply | 5V 10A SMPS | 60mA per LED at full white; 5A for 3m strip |
| Logic Level Shifter | 74HCT245 or 74AHCT125 | Optional but recommended for reliability |
| Capacitor | 1000µF 10V electrolytic | Across 5V supply rails to prevent spikes |
| Resistor | 330Ω–470Ω | In series with data line to prevent ringing |

Ai Thinker NodeMCU-32S-ESP32 Development Board – IPEX Version
One of the most popular ESP32 boards in India for WLED — plenty of flash, good Wi-Fi antenna, and widely available replacement parts.
Wiring WS2812B to ESP32
WS2812B strips have three wires: 5V (red), GND (white or black), and Data (green or yellow). The key wiring rules are:
- Never power the strip from the ESP32’s 5V or 3.3V pins — always use a dedicated power supply. Even a 1-metre strip at full brightness draws more current than the ESP32 regulator can safely supply.
- Connect GND of the power supply to GND of the ESP32 — a shared ground is essential for the data signal to work correctly.
- Use a 330Ω–470Ω resistor in series with the data line — placed close to the ESP32’s GPIO pin, not close to the strip.
- Use GPIO 16 as the default WLED data pin — WLED’s ESP32 binary uses GPIO 16 by default. You can change this in WLED settings.
The safest wiring for a medium-sized installation (up to 5 metres of 60 LED/m strip) looks like this:
- ESP32 GPIO 16 → 470Ω resistor → Strip Data In
- 5V PSU positive → Strip 5V rail (inject power at both ends for strips over 2m)
- 5V PSU negative → Strip GND and ESP32 GND (common ground)
- 5V PSU → USB module or 3.3V regulator → ESP32 power (or use separate USB adapter)
Power injection tip: For strips longer than 2 metres, connect the 5V and GND from your power supply to both ends of the strip. This prevents the LEDs at the far end from being dimmer than those near the input — a common mistake that Indian makers make with long WLED strips.
Flashing WLED Firmware to ESP32
WLED provides pre-compiled binaries so you do not need to compile anything. The easiest method is the WLED web installer:
- Go to install.wled.me in Chrome or Edge (not Firefox — Web Serial is not supported)
- Click Install and select your ESP32 variant from the list
- Plug your ESP32 into your computer via USB
- Select the COM port and click Flash
- Wait about 60 seconds for the flash to complete
Alternatively, download the .bin file from the WLED GitHub releases page and flash with esptool.py:
esptool.py --chip esp32 --port COM3 write_flash 0x0 WLED_0.14.4_ESP32.binFor ESP32-C3 (like the Ai Thinker C3 module), use the C3-specific binary and specify --chip esp32c3. Do not flash an ESP32 binary onto an ESP32-C3 — the chips are different architectures.
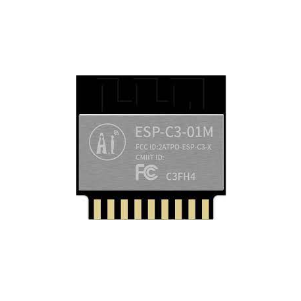
Ai Thinker ESP32-C3-01M Wi-Fi + BLE Module
A tiny and affordable RISC-V based Wi-Fi+BLE module perfect for embedded WLED builds where space is tight — flash it and tuck it inside your LED strip housing.
Initial WLED Setup and Configuration
After flashing, the ESP32 broadcasts a Wi-Fi access point named WLED-AP. Connect to it from your phone with password wled1234, then open 4.3.2.1 in your browser. You will see the WLED setup page:
- Enter your home Wi-Fi SSID and password and click Save and Connect
- WLED will restart and connect to your network. Find its IP from your router’s DHCP table
- Open that IP in your browser — you now have the full WLED interface
- Go to Config → LED Preferences and set the LED count to match your strip
- Set GPIO to 16 (or whichever pin you wired data to)
- Set Maximum Current to match your power supply (e.g. 10000mA for a 10A PSU)
- Save and apply
WLED’s power limiter will automatically cap brightness so the total strip current never exceeds what you set. This is a very useful safety feature if you use a smaller power supply for testing.
Effects, Segments, and Presets
WLED’s effects library is one of its biggest selling points. Click the Effects tab in the web UI to browse all available animations. Each effect has Speed, Intensity, and Palette sliders to customise the look. Popular effects for Indian homes include:
- Fire 2012 — realistic fire flicker, great for diwali decoration
- Rainbow — classic colour sweep, loved for TV backlights
- Twinkle — gentle sparkle, perfect for bedroom ambient lighting
- Juggle — multiple coloured dots chasing each other
- Bpm — colour pulses that sync to a set BPM, great for party lighting
Segments let you divide one physical strip into independent zones. For example, a 3-metre strip under a TV shelf could be split into three segments: left, center, and right — each showing a different colour. Go to Config → LED Preferences → Segments to set this up.
Presets save your current settings (effects, colours, brightness) as a named preset that you can recall instantly from the app. Create a “Diwali” preset, a “Movie Night” preset, and a “Work” preset to switch moods quickly.
Home Automation Integration
WLED integrates with popular home automation platforms used in India:
- Home Assistant: WLED has a native Home Assistant integration. Just go to Settings → Integrations → Add Integration → WLED. HA auto-discovers WLED devices on your network via mDNS.
- Amazon Alexa: Enable Alexa emulation in WLED (Config → Sync Interfaces → Alexa). Say “Alexa, discover devices” to find your strip.
- Google Home: Works via the Home Assistant + Google Home integration chain, or directly via WLED’s Google Home emulation beta.
- MQTT: WLED can publish and subscribe to MQTT topics, making it compatible with any MQTT-based automation system including Node-RED and OpenHAB.
- HTTP API: WLED exposes a REST API at
http://[wled-ip]/json/state. You can control it from any script, automation, or custom dashboard.
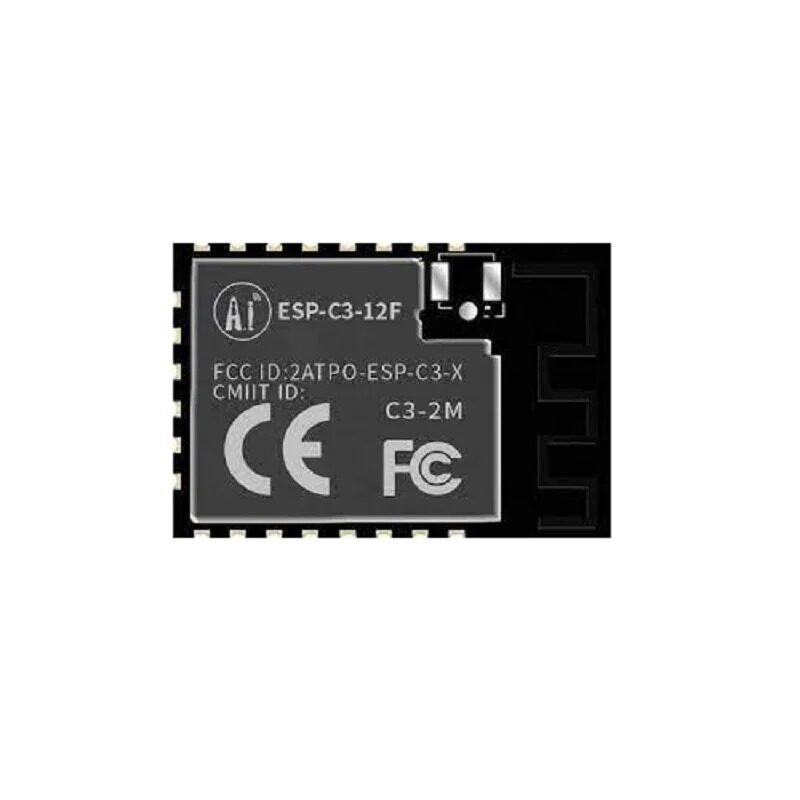
Ai-Thinker ESP32-C3-12F Wi-Fi + BLE Module
The C3-12F has 4MB flash and an on-board PCB antenna — a great choice for a permanent WLED controller that you can build into a wall-mounted LED strip driver.
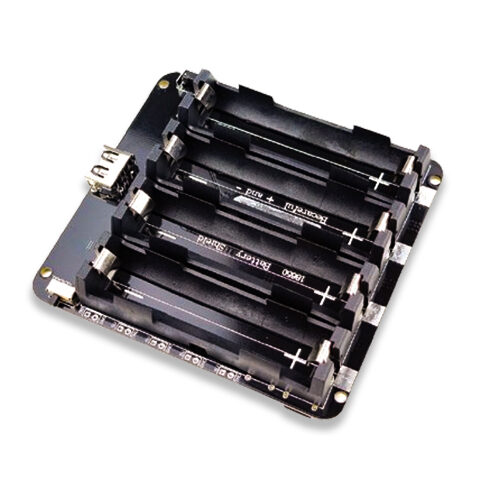
4 x 18650 Lithium Battery Shield V8/V9 for ESP32 ESP8266
Make your WLED strip portable with this quad-cell battery shield — ideal for festival decorations and outdoor events where mains power is not available.
Frequently Asked Questions
How many WS2812B LEDs can WLED control on one ESP32?
WLED can control up to 1500 LEDs on a single data pin with the ESP32 (more with multiple outputs). In practice, power supply capacity and data signal integrity are the limiting factors. Most home installations use 100–500 LEDs per controller.
Can WLED control multiple LED strips independently?
Yes — WLED supports up to 10 LED outputs on ESP32. Each output can drive a separate strip or segment with its own effect, colour, and brightness. Assign different GPIO pins to each strip in LED Preferences.
Does WLED work offline without internet?
Yes — WLED runs entirely on your local network. The web UI, app, and all effects work without any internet connection. The only internet-dependent feature is OTA firmware updates.
My LEDs are flickering — what is wrong?
Flickering is usually a power issue. Make sure your PSU can supply enough current (60mA per LED at full white). Also check that GND is shared between the ESP32 and the LED strip power supply. Add a 1000µF capacitor across the 5V supply rails near the strip input.
Can I use WLED for Diwali or festival decoration in India?
Absolutely — WLED’s Fire 2012, Rainbow, and Twinkle effects look spectacular for Diwali. Many Indian makers run WLED on battery packs for festival installations that do not have nearby power outlets.
Start Your WLED Project with Zbotic
Get ESP32 boards, modules, and accessories for your WLED LED strip controller project. Fast shipping across India, competitive pricing, and expert support.


Add comment