
Drone Waypoint Mission Planning: ArduPilot & Mission Planner Guide
Autonomous drone flights powered by GPS waypoints are transforming industries across India — from precision agriculture in Punjab’s wheat fields to infrastructure inspection along highway projects in Maharashtra. Whether you’re a hobbyist wanting to automate aerial photography or an engineer building a professional survey drone, mastering drone waypoint mission planning using ArduPilot and Mission Planner is an essential skill.
This comprehensive guide walks you through everything — hardware requirements, software setup, configuring waypoints, handling Indian regulatory considerations, and troubleshooting common problems. By the end, you’ll be confident enough to plan and execute your first fully autonomous drone mission.
1. What Is Waypoint Mission Planning?
Waypoint mission planning is the process of pre-programming a sequence of GPS coordinates (waypoints) that your drone will autonomously navigate through, without requiring manual stick inputs during flight. The drone uses its onboard flight controller — running firmware like ArduPilot — along with a GPS receiver to fly from point A to B to C with centimetre-level precision.
This capability is the backbone of:
- Agricultural spraying missions — systematic field coverage for pesticide or fertiliser application
- Photogrammetry surveys — overlapping grid passes for 3D mapping
- Infrastructure inspection — automated tower or pipeline inspection routes
- Search and rescue — systematic area coverage in emergency scenarios
- Package delivery prototypes — fixed-route delivery pathways
ArduPilot is the open-source autopilot software that runs on flight controllers like Pixhawk, and Mission Planner is the ground control station (GCS) application that lets you design, upload, and monitor these missions from your laptop.
2. Hardware Requirements for Autonomous Flight
Before diving into software, you need the right hardware. Autonomous GPS-based flight demands more from your build than manual FPV flying.
Flight Controller
You need a flight controller that supports ArduPilot firmware. The most popular options are Pixhawk-series boards (Pixhawk 4, Cube Orange, Matek H743). These have dedicated IMU, barometer, and I2C/UART ports for GPS and telemetry.
GPS Module
A high-quality GPS module is non-negotiable. Look for NEO-8M or NEO-M9N based modules. The 25x25x8mm 28dB High Gain Ceramic Active GPS Antenna from Zbotic is a great add-on to improve satellite lock in urban Indian environments where multipath interference is common.
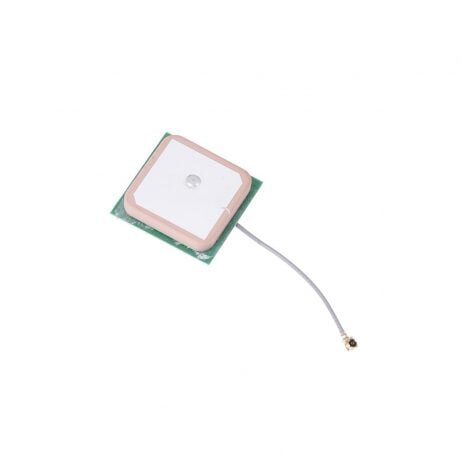
25x25x8mm 28dB High Gain GPS Antenna
Built-in ceramic active GPS antenna compatible with NEO-6M, NEO-7M, and NEO-8M modules. Delivers strong satellite lock even in challenging Indian urban environments.
View on ZboticTelemetry Radio
To monitor missions in real time and upload waypoints wirelessly, you need a telemetry link between the drone and your GCS laptop. The 3DR radio system at 915MHz or 433MHz is the industry standard for ArduPilot setups.

3DR 100mW Radio Telemetry 915MHz
915MHz telemetry radio set for APM, PX4, and Pixhawk flight controllers. Provides reliable 1km+ range for mission monitoring and in-flight parameter adjustment.
View on Zbotic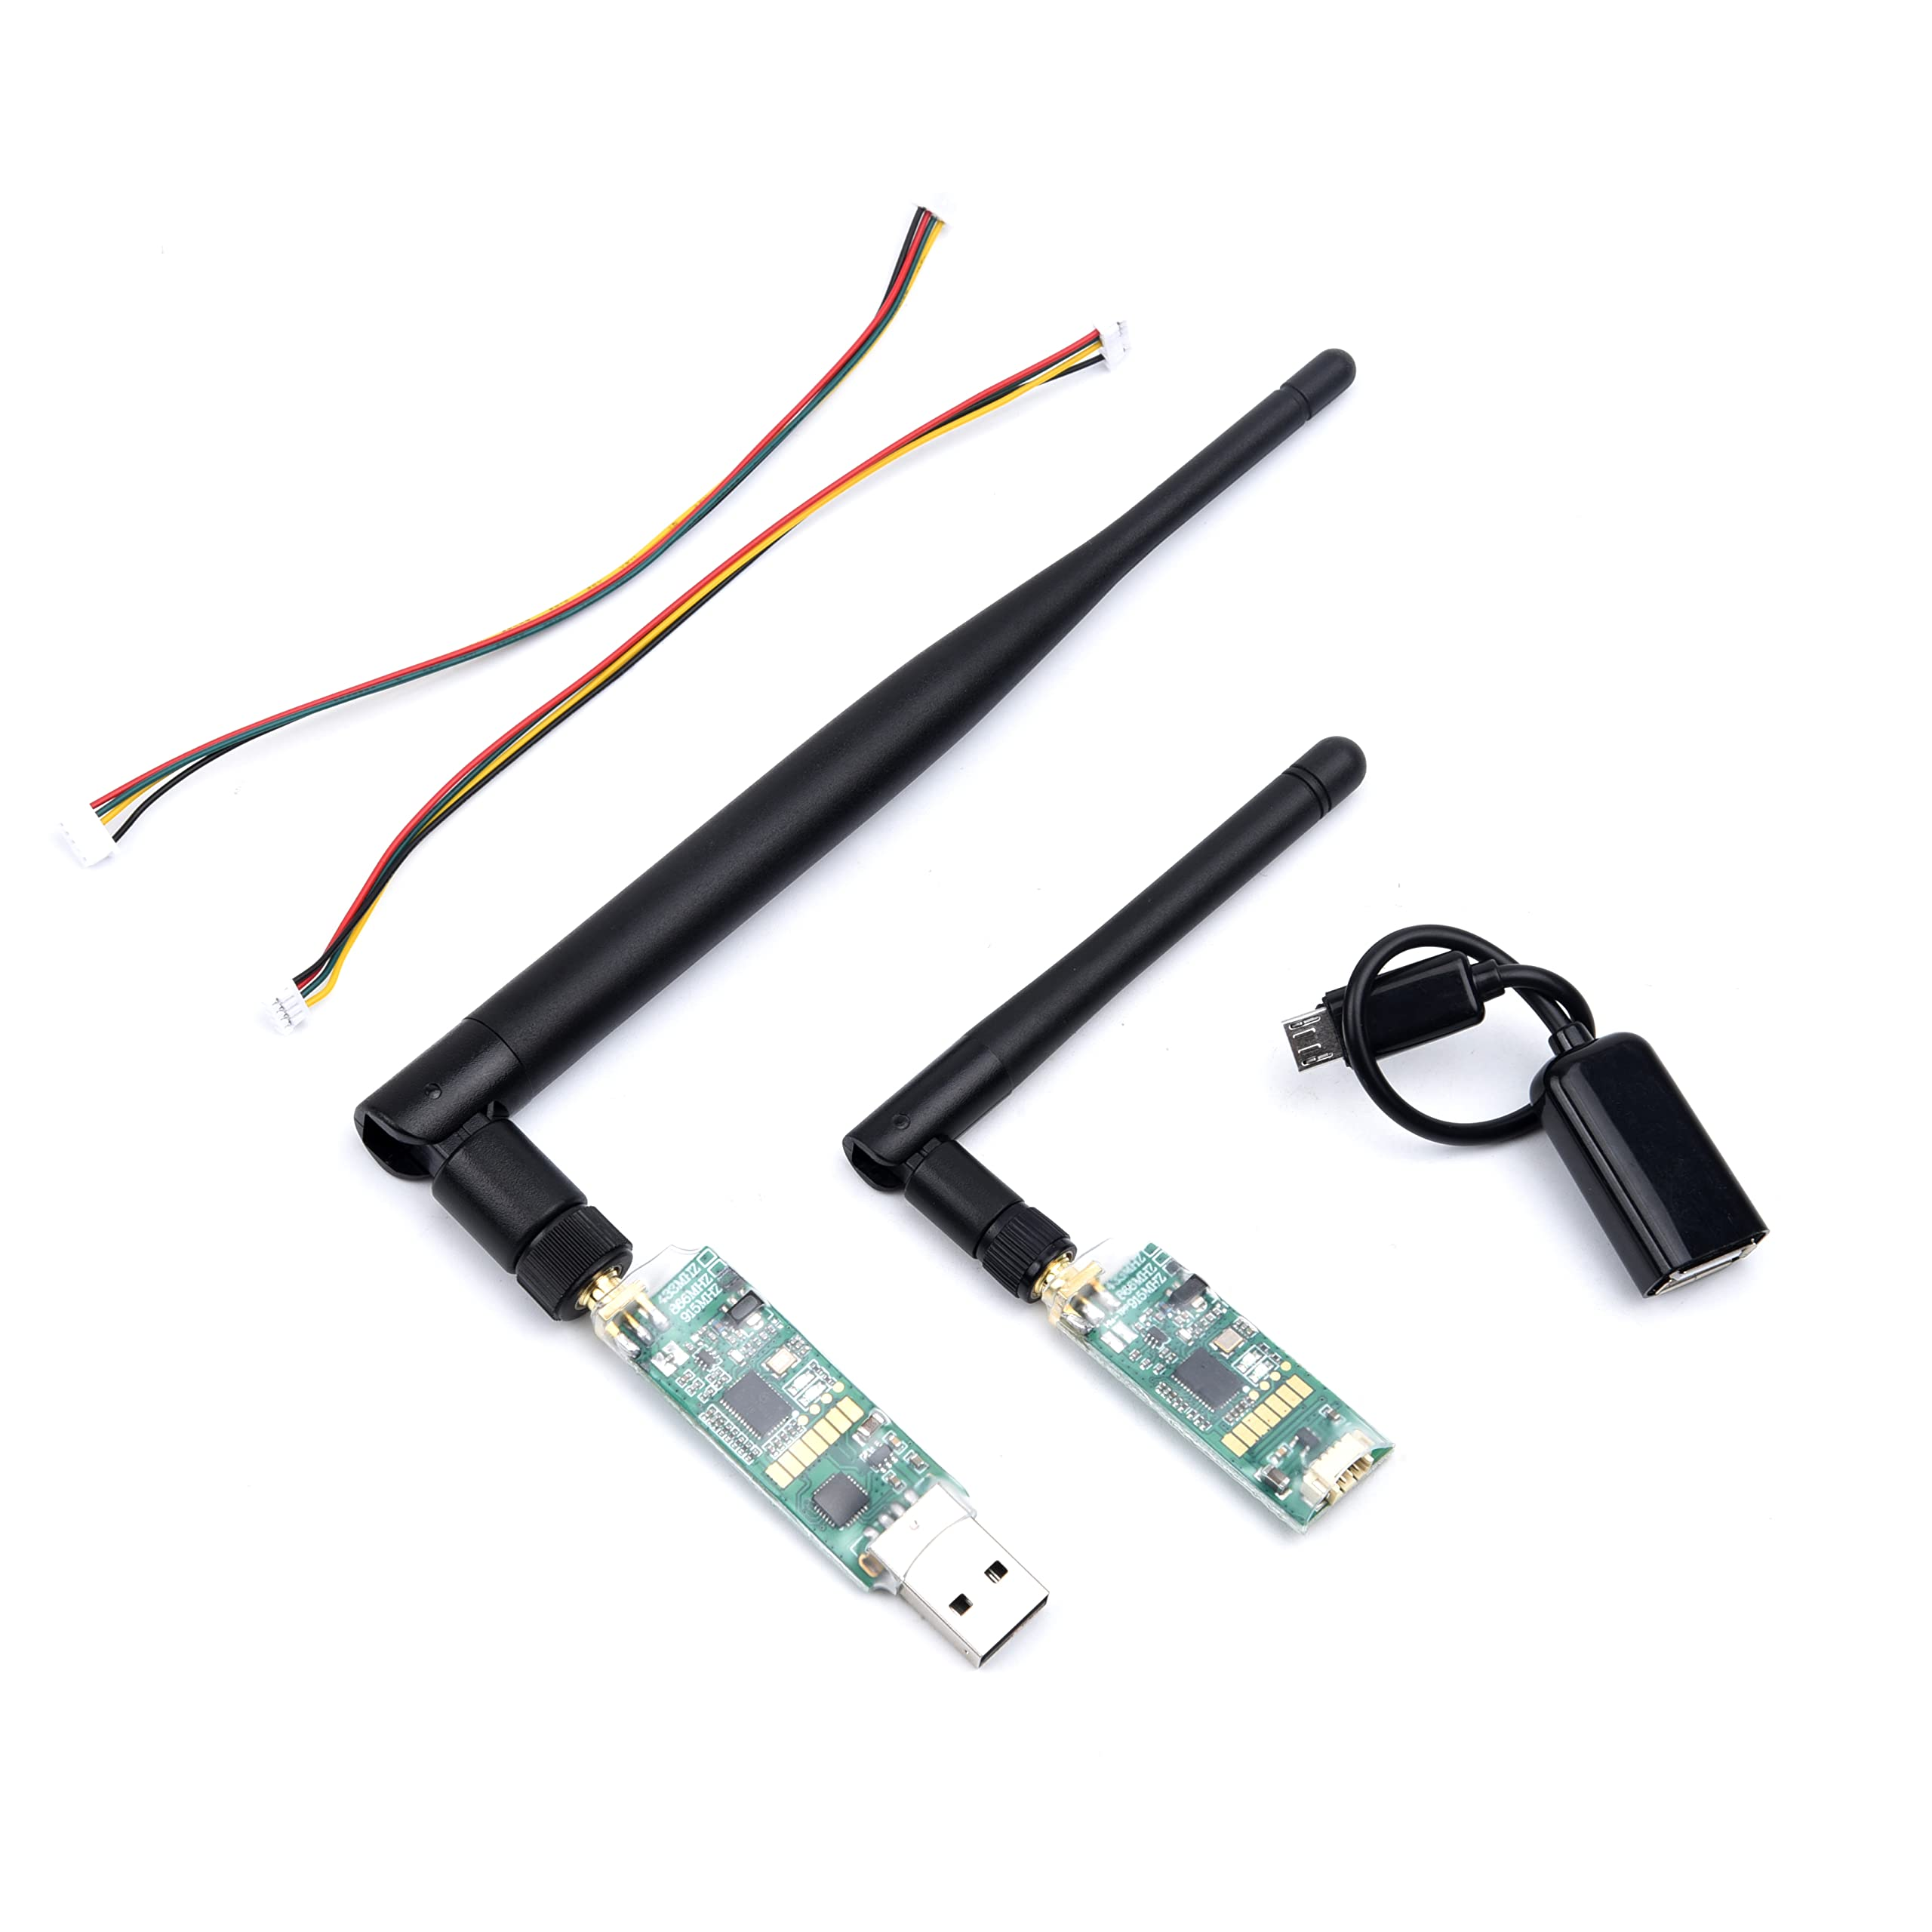
3DR Single TTL MINI Radio Telemetry 433MHz 500mW
Compact 433MHz telemetry module with 500mW output power for Pixhawk and APM flight controllers. Great for Indian regulatory bands.
View on ZboticFrame & Power
For serious autonomous work, you need a large, stable frame. Agricultural and surveillance applications in India commonly use hexacopter or octocopter configurations. The EFT 6120 Surveillance frame and EFT agricultural frames are purpose-built for long, autonomous missions.
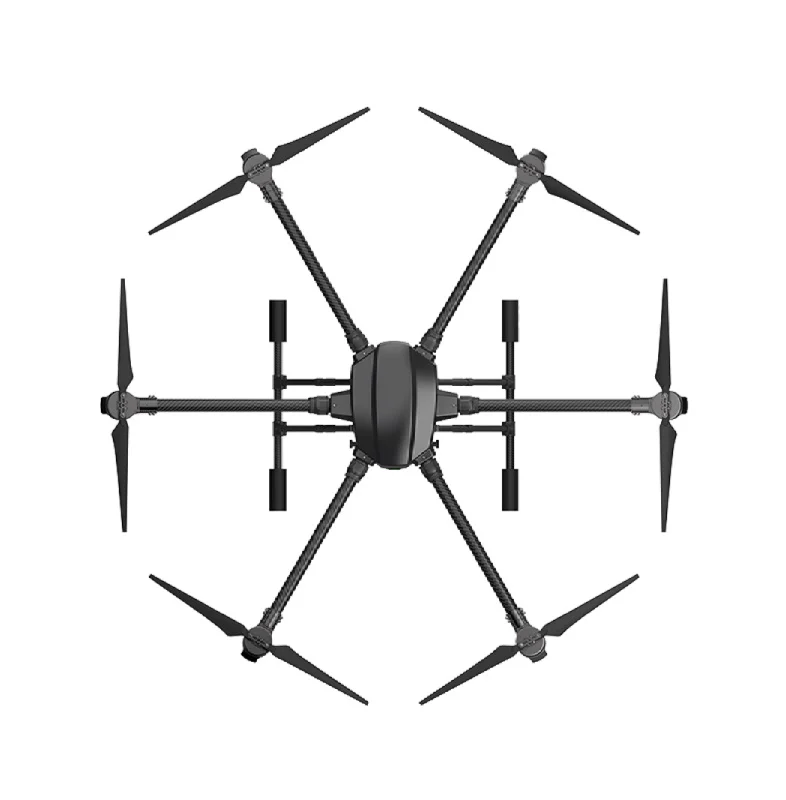
EFT 6120 Multifunction Surveillance Drone Frame
Professional-grade hexacopter frame designed for surveillance, inspection and payload missions. Supports large batteries and flight controllers for extended autonomous operations.
View on Zbotic3. Installing Mission Planner on Windows/Linux
Mission Planner is the most popular GCS for ArduPilot. It is a Windows application but runs on Linux via Mono.
Windows Installation
- Visit ardupilot.org/planner and download the latest Mission Planner MSI installer
- Run the installer — it will also install the necessary USB drivers for Pixhawk
- Launch Mission Planner; the default port is COM3 (or whichever COM port your Pixhawk appears on)
- Set the baud rate to 115200 for USB connection
Linux (Ubuntu) Installation
Install Mono runtime first: sudo apt-get install mono-complete. Then download the latest Mission Planner zip, extract it, and run mono MissionPlanner.exe. Alternatively, use QGroundControl which has native Linux support and also works well with ArduPilot.
First Launch Checklist
- Verify firmware version in the HUD — should show ArduCopter or ArduPlane
- Check GPS fix (must be 3D Fix with HDOP < 2.0 before any autonomous mission)
- Confirm all pre-arm checks pass (green status indicators)
- Verify compass calibration is recent and accurate
4. Connecting ArduPilot to Mission Planner
You can connect in two ways: via USB cable (for initial setup) or via telemetry radio (for field use).
USB Connection
- Plug in your Pixhawk via USB
- In Mission Planner, select the correct COM port from the dropdown (top right)
- Set baud to 115200
- Click Connect — Mission Planner fetches all parameters automatically
Telemetry Radio Connection
- Plug the ground-side telemetry radio into your laptop USB port
- Select the telemetry COM port in Mission Planner
- Set baud to 57600 (default for 3DR radios)
- Power on your drone — the telemetry LEDs should synchronise (both solid green)
- Click Connect — you should see live telemetry data streaming in
Pro Tip: In areas with interference (near power lines, industrial zones common in Indian cities), use the 433MHz module over 915MHz as it penetrates obstructions better.
5. Planning Your First Waypoint Mission
This is the exciting part. Navigate to the Plan tab in Mission Planner.
Step 1: Set Your Home Location
Right-click on the map at your intended takeoff location and select Set Home Here. Mission Planner uses Google Maps satellite imagery — make sure you’re looking at the correct field or site. In India, some remote areas have outdated imagery, so cross-check with local knowledge.
Step 2: Add Waypoints
Left-click on the map to drop waypoints. Each click adds a numbered waypoint. Mission Planner automatically adds a Takeoff command at the beginning and a Return to Launch (RTL) at the end.
For each waypoint, you can configure:
- Altitude — relative to home (AGL) in metres. Keep 30–50m for agriculture, 80–120m for survey work
- Speed — in m/s (WP_SPEED parameter, or per-waypoint via CHANGE_SPEED command)
- Delay — hover time at each waypoint in seconds
Step 3: Configure Mission Parameters
| Parameter | Description | Recommended Value |
|---|---|---|
| WPNAV_SPEED | Horizontal cruise speed in Auto mode | 500–1000 cm/s |
| WPNAV_ACCEL | Horizontal acceleration | 150–250 cm/s² |
| WPNAV_RADIUS | Distance from waypoint to consider it reached | 100–200 cm |
| RTL_ALT | Altitude to climb to before RTL | 3000 cm (30m) |
Step 4: Use Survey Grid for Coverage Missions
For agricultural or photogrammetry missions, right-click the map, choose Draw Polygon, outline your field, then right-click again and select Auto WP > Survey (Grid). Mission Planner will automatically calculate optimal parallel passes based on your camera footprint, overlap percentage, and altitude.
For 80% front overlap and 60% side overlap at 50m altitude, expect approximately 1.5–2 acres coverage per battery on a 6S 16000mAh setup.
Step 5: Upload & Verify
Click Write WPs to upload the mission to your flight controller. Then click Read WPs to verify the mission was stored correctly. Always do this sanity check before walking out to the field!
6. Advanced Mission Commands
Mission Planner supports the full MAVLink command set. Here are the most useful ones for advanced missions:
DO_CHANGE_SPEED
Insert this between waypoints to dynamically change the drone’s cruise speed mid-mission. Useful for slowing down during a spray pass and speeding up during transit legs.
DO_SET_RELAY / DO_REPEAT_RELAY
Trigger relay outputs on your flight controller. Used to control sprayer pumps, camera shutters, or payload release mechanisms at specific waypoints.
DO_DIGICAM_CONTROL
Trigger camera shutter at every waypoint — essential for photogrammetry missions where you need consistent photo overlap.
CONDITION_DISTANCE
Execute a DO command only after the drone has travelled a certain distance from the previous waypoint. Great for timed camera trigger intervals.
DO_JUMP
Loop back to an earlier waypoint a specified number of times. Useful for repeating a spray pass on a windy day without re-uploading the mission.
RETURN_TO_LAUNCH
Can be inserted mid-mission as a contingency. The drone climbs to RTL_ALT and returns home autonomously.
7. Telemetry and Real-Time Monitoring
A solid telemetry link transforms a blind autonomous flight into a fully supervised operation. With the 3DR radio connected, Mission Planner’s Flight Data tab shows:
- HUD — artificial horizon, heading, altitude, airspeed
- Status bar — GPS satellites, HDOP, battery voltage/current, mode
- Mission progress — current waypoint number and distance to next WP
- Quick params — real-time parameter changes without landing
The Data Flash Logs stored on your SD card (inside the Pixhawk) are invaluable for post-flight analysis. Enable logging of EKF, GPS, RC, and CTUN data to diagnose any anomalies.
8. Failsafes and Safety Settings
Never fly an autonomous mission without proper failsafes configured. This is especially important in India where you may be flying over agricultural land with people working nearby.
Battery Failsafe
- Set FS_BATT_ENABLE = 2 (Land) or = 1 (RTL) when battery drops below threshold
- Set FS_BATT_VOLTAGE to ~3.5V per cell (21V for 6S)
- Set FS_BATT_MAH to reserve ~15-20% capacity
RC Failsafe
- FS_THR_ENABLE = 1 — trigger RTL if RC signal is lost
- Configure your transmitter’s failsafe output to a specific throttle value that Mission Planner recognises as signal loss
GCS Failsafe
- FS_GCS_ENABLE = 1 — RTL if telemetry link lost for more than FS_GCS_TIMEOUT seconds
- Only enable this if you’re actively monitoring the mission; can cause unwanted RTLs in areas with telemetry shadows
Geofence
Set a circular or polygon geofence in Mission Planner. If the drone exceeds this boundary (e.g., due to a waypoint upload error), it will RTL automatically. Always enable geofence for flights near airports, railways, or populated areas in India.
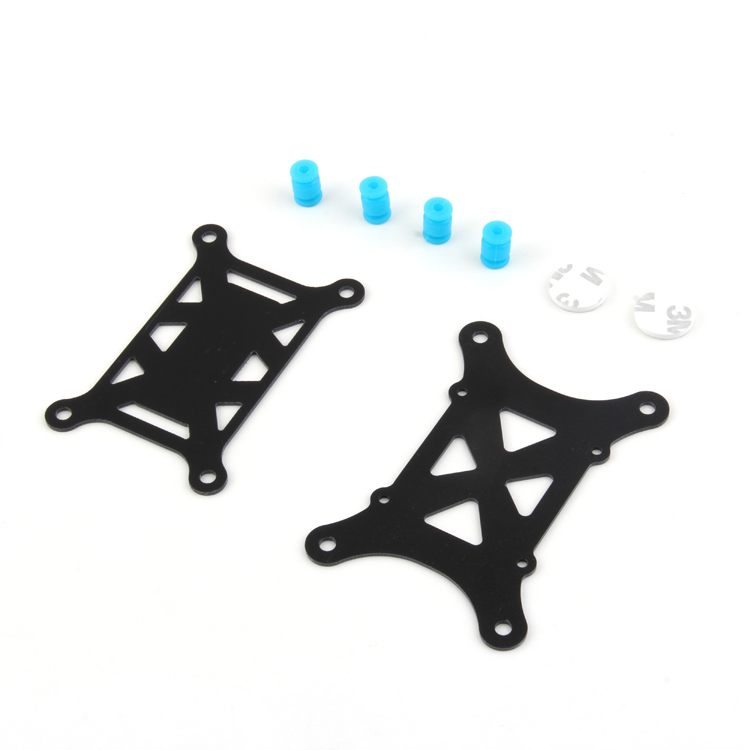
Anti-Vibration Shock Absorber for APM/KK/MWC/Pixhawk
Essential vibration isolation mount for your flight controller. Reduces IMU noise that can cause EKF errors and erratic autonomous flight behaviour.
View on Zbotic9. DGCA Regulations & Legal Considerations in India
India’s Drone Rules 2021 under the DGCA are among the most important things to understand before flying autonomous missions commercially.
Classification by Weight
- Nano (<250g) — minimal restrictions, no pilot licence required
- Micro (250g–2kg) — requires UIN registration and Remote Pilot Certificate (RPC)
- Small (2–25kg) — DGCA registration, type certificate, and RPC mandatory
- Medium (25–150kg) — full commercial approval process
Key Requirements for Autonomous Flights
- All drones above 250g must register on the Digital Sky platform
- BVLOS (Beyond Visual Line of Sight) autonomous missions require a BVLOS waiver from DGCA — very rare to obtain for individuals
- VLOS (Visual Line of Sight) autonomous missions are permitted with proper registration
- Flying above 400ft AGL requires ATC permission via Digital Sky
- Green zones — permission-free. Yellow zones — prior permission needed. Red zones — no-fly
Best Practice
For VLOS waypoint missions in agricultural areas (Green zones), keep altitude below 120m AGL, maintain line-of-sight, always have a safety pilot ready to take manual control via Mode switch, and never fly over populated areas autonomously.
10. Troubleshooting Common Issues
GPS Not Getting Fix
Wait at least 5 minutes after powering on in a clear sky area. Check that GPS_HDOP_GOOD is set to 200 (HDOP < 2.0). If GPS fix takes too long consistently, replace the GPS module or upgrade to a M8N or M9N unit, and ensure the GPS is mounted away from ESCs and motors.
Drone Drifts from Waypoints
Usually caused by compass interference. Perform a full compass calibration at the field site, not just at home. Check that no steel objects (reinforced concrete, vehicles) are nearby during calibration. Enable EKF3 and increase the number of compass calibration points.
Mission Upload Fails via Telemetry
Reduce mission complexity (fewer waypoints) or switch to USB upload for initial testing. Check that telemetry RSSI is above -90dBm before attempting upload. Retry after reconnecting.
EKF Lane Switch / Compass Variance Errors
This usually means vibration on the FC. Verify your anti-vibration mount is properly installed and replace any worn standoffs. Check prop balance — an unbalanced prop causes resonance at specific RPMs.
Battery Failsafe Triggers Too Early
Recalibrate your battery monitor (BATT_AMP_PERVLT and BATT_VOLT_MULT parameters). Use a dedicated battery monitor with accurate current sensing, especially important for agricultural drones carrying heavy payloads.
100A Multirotor ESC Power Distribution Battery Board
100A-rated PDB for quadcopter and hexacopter builds. Integrates power distribution, voltage regulation, and provides clean power to flight controller and peripherals.
View on ZboticFrequently Asked Questions
Q: Can I plan drone waypoint missions without internet in the field?
Yes. Mission Planner can cache map tiles for offline use. Download the satellite imagery of your planned area beforehand via Tools > Download Maps. You can plan and upload missions fully offline using cached maps.
Q: How many waypoints can ArduPilot store?
ArduPilot supports up to 724 waypoints stored in the flight controller’s onboard memory. For larger survey missions, you can split into multiple flights or use a companion computer with ArduPilot SITL for extended mission support.
Q: Is 915MHz or 433MHz telemetry better in India?
India’s WPC (Wireless Planning & Coordination Wing) ISM bands include 433MHz and 868/915MHz. 433MHz (with lower transmit power) is more commonly available and used in India. Always verify current WPC guidelines. Both bands work well; 433MHz has slightly better penetration through vegetation and buildings.
Q: What is HDOP and why does it matter for waypoint missions?
HDOP (Horizontal Dilution of Precision) measures GPS geometry accuracy. A lower HDOP means better accuracy. For autonomous missions, aim for HDOP < 2.0 (Mission Planner shows this in the HUD). HDOP > 2.0 means GPS accuracy degrades and your drone may miss waypoints or drift.
Q: Can I resume a waypoint mission after an RTL due to low battery?
Yes! ArduPilot has a “Mission Resume” feature (parameter WP_RESUME = 1). After landing, swapping batteries, and re-arming, switch back to Auto mode. The drone will return to the last waypoint and continue the mission. This is a game-changer for large agricultural surveys.
Q: Is Mission Planner free to use?
Yes, Mission Planner is completely free and open source. It is maintained by ArduPilot community developers. You can donate to support development. QGroundControl is another free alternative with a more modern UI.
Ready to Build Your Autonomous Drone?
Get all the components for your ArduPilot waypoint mission build — GPS antennas, telemetry radios, flight controller mounts, and professional drone frames — all available at Zbotic with fast shipping across India.
Shop Drone Components at Zbotic


Add comment