
Building a bipedal walking robot is one of the most challenging and rewarding projects in DIY robotics. Unlike wheeled robots, a biped must actively balance itself while generating smooth, stable gaits — all coordinated through a carefully designed servo layout and gait program. This guide walks you through every stage: joint anatomy, servo selection, mechanical layout, ZMP balancing theory, and the actual code to make your biped walk, turn, and recover from disturbances.
Bipedal Robot Anatomy and Joint Count
A human leg has 7 DOF per leg (hip: 3, knee: 1, ankle: 3). For a simplified hobby biped, you can achieve stable walking with as few as 6 DOF total (3 per leg) in a 2D sagittal plane walk, or 10–12 DOF for full 3D walking with turning and lateral balance.
Minimum Viable Biped (6-DOF, 2D Walk)
- Hip pitch (forward/back swing) × 2
- Knee pitch (flex/extend) × 2
- Ankle pitch (push-off and landing) × 2
This 6-servo layout can walk forward in a straight line but cannot turn or resist lateral pushes. It’s the entry point for most biped projects.
Full Hobby Biped (10-DOF)
- Hip pitch × 2 (forward swing)
- Hip roll × 2 (lateral weight shift)
- Knee pitch × 2
- Ankle pitch × 2
- Ankle roll × 2 (lateral ground contact)
The hip roll and ankle roll joints are critical for shifting weight over the support leg — without them, your robot will topple sideways every step. Add upper body joints (shoulder, elbow) for arm swing counterbalance if desired.

ACEBOTT Biped Robot Kit – QD021
A complete biped walking robot kit with all servo hardware and control board. Start walking in hours with pre-programmed gaits and programmable with ESP32.
Servo Motor Selection for Biped Robots
Joint torque is the most critical specification. Underspecified servos will stall, overheat, and strip gears — the most common failure mode in biped robots. To calculate required torque:
Required torque = (mass above joint × g × lever arm distance)

Example: Hip joint
- Mass above hip = 300g = 0.3kg
- Lever arm = 8cm = 0.08m
- Torque = 0.3 × 9.8 × 0.08 = 0.235 N·m = 2.4 kg·cm

Add safety factor 2-3x: need 5-7 kg·cm at hip
Servo Recommendations by Joint
| Joint | Min Torque | Recommended Servo |
|---|---|---|
| Ankle pitch/roll | 8–12 kg·cm | MG996R or DS3218 |
| Knee pitch | 8–15 kg·cm | MG996R or DS3218 |
| Hip pitch | 5–10 kg·cm | MG996R or SG5010 |
| Hip roll | 5–8 kg·cm | MG90S or SG5010 |
For a small (20–30cm tall) hobby biped, you can use SG90 servos (1.8 kg·cm) at all joints — but keep the total robot weight under 150g and use lightweight 3D-printed or thin acrylic frames.
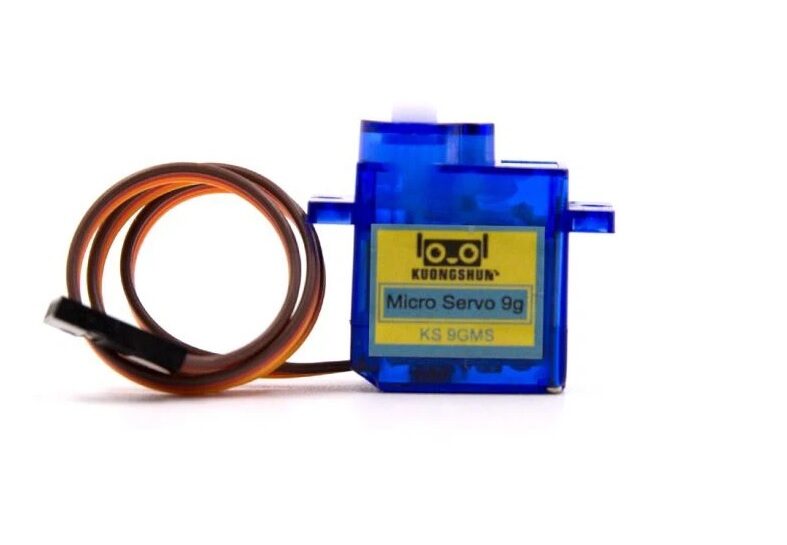
Servo SG90 9g 180 Degree
Compact 9g servo ideal for small biped robots. Lightweight enough to keep your robot’s mass budget low while providing reliable 180° actuation.
Servo Layout: Hip, Knee, and Ankle Placement
The physical servo layout determines the quality of motion and mechanical efficiency. Follow these principles:
Hip Pitch Servo
Mount the hip pitch servo with its axis of rotation at the nominal hip height. The servo body should be on the pelvis/torso side, driving the thigh link. Ensure the servo horn is centred at 90° (neutral position) corresponding to the robot standing upright.
Knee Pitch Servo
Mount at the top of the lower leg (shin). The knee should be able to flex from 0° (straight) to 90° (maximum flex). Human knees only bend in one direction — programme your servo limits to match. A fully locked knee at 0° can cause frame stress on landing; allow a small 5° of flex at neutral stance.
Ankle Pitch and Roll Servos
Ankle servos are the most critical for balance. The ankle pitch provides push-off power during the toe-off phase. The ankle roll must tilt the foot flat to the ground during weight shift. Use a pan-tilt style servo bracket that allows both axes independently at the ankle joint.
Symmetry
Left and right legs must be mirror images. A 1mm offset in servo mounting or link length will cause the robot to drift sideways. Measure and verify all link lengths, and calibrate each servo’s neutral position with a multimeter or servo tester before assembly.
Gait Theory: Static vs Dynamic Walking
There are two fundamental approaches to biped walking:
Static Walking (Quasi-Static)
At every instant, the robot’s centre of mass (CoM) is above the support polygon (the foot on the ground). The robot shifts weight entirely over the support foot before lifting the swing foot. Very slow but stable — no active balance control required.
Step sequence for static forward walk:
- Shift weight left (CoM over left foot)
- Lift right foot, swing forward
- Plant right foot
- Shift weight right (CoM over right foot)
- Lift left foot, swing forward
- Plant left foot — repeat
Dynamic Walking
The robot’s CoM is allowed to fall beyond the support polygon — controlled falling. This is how humans walk, and it’s far more efficient and faster than static walking. Requires IMU feedback and real-time balance control (ZMP, inverted pendulum models).
For a first biped project, start with static walking. It’s predictable, debuggable, and doesn’t require any sensors — just a well-timed keyframe sequence.
ZMP and Centre of Mass for Balance
The Zero Moment Point (ZMP) is the point on the ground where the total moment of ground reaction forces is zero. As long as the ZMP stays within the support polygon (the convex hull of the contact foot), the robot won’t tip over.
For static walking, the planning rule is simple:
- Before lifting a foot, the CoM must be projected onto the ground within the opposite support foot’s area.
- The wider the foot, the larger the support polygon, and the easier it is to balance.
Calculate CoM shift requirements for your robot:
// Lateral CoM shift needed before stepping
float footSpacing = 70.0; // mm between ankle centres
float comShift = footSpacing / 2.0; // 35mm shift to centre over support foot

// Hip roll angle needed to achieve this shift
// (simplified: small angle approximation)
float hipHeight = 120.0; // mm from hip to ground
float hipRollAngle = atan2(comShift, hipHeight) * 180.0 / PI; // ~16 degrees
Gait Programming: Keyframe and Trajectory Methods
Keyframe Animation Method
Define a series of servo angle snapshots (keyframes) for each gait phase, then interpolate between them. This is the simplest approach for a first biped:
// Keyframe structure
struct GaitFrame {
  int hipL, hipR;      // hip pitch angles
  int kneeL, kneeR;    // knee angles
  int ankleL, ankleR;  // ankle pitch angles
  int hipRollL, hipRollR; // hip roll for lateral shift
  int duration;        // ms to hold/transition
};

// Walk forward gait: 4 keyframes per full cycle
GaitFrame walkGait[] = {
  {90, 90, 10,  10,  90, 90, 90, 90, 300}, // Neutral stance
  {90, 90, 10,  10,  90, 90, 75, 90, 300}, // Shift weight right (roll left hip out)
  {80, 90, 30,  10,  90, 90, 75, 90, 200}, // Swing left leg forward
  {80, 90, 10,  10,  90, 90, 90, 90, 300}, // Plant left foot
  // ... continue alternating
};
Sinusoidal Trajectory
For smoother motion, generate joint angles as sinusoidal functions of a gait cycle phase angle (0–360°). This gives smooth continuous motion without sharp keyframe transitions:
float phase = 0.0;
float stepFreq = 0.5; // Hz, one full cycle per 2 seconds
float dt = 0.02;       // 20ms loop

void updateGait() {
  phase += 2 * PI * stepFreq * dt;
  if (phase >= 2 * PI) phase -= 2 * PI;

  // Hip pitch: left and right are 180° out of phase
  float hipL = 90 + 20 * sin(phase);
  float hipR = 90 + 20 * sin(phase + PI);

  // Knee: lift during swing phase
  float kneeL = 10 + 20 * max(0.0f, sin(phase));
  float kneeR = 10 + 20 * max(0.0f, sin(phase + PI));

  // Lateral weight shift
  float rollL = 90 - 15 * cos(phase);
  float rollR = 90 + 15 * cos(phase);

  // Write to servos...
}
Arduino Servo Control Code
Managing 10+ servos on an Arduino requires a PWM expansion board. Use the PCA9685 16-channel I²C servo driver:
#include <Wire.h>
#include <Adafruit_PWMServoDriver.h>

Adafruit_PWMServoDriver pwm = Adafruit_PWMServoDriver();

// Servo PWM range for 50Hz: 500us=~102, 2400us=~491
#define SERVO_MIN 102
#define SERVO_MAX 491

void setServoAngle(int channel, int angle) {
  int pulse = map(angle, 0, 180, SERVO_MIN, SERVO_MAX);
  pwm.setPWM(channel, 0, pulse);
}

void setup() {
  pwm.begin();
  pwm.setPWMFreq(50); // 50Hz standard servo frequency
}

void loop() {
  // Set all joints to neutral stance
  for (int ch = 0; ch < 10; ch++) {
    setServoAngle(ch, 90);
  }
  delay(1000);

  // Execute gait frames here...
}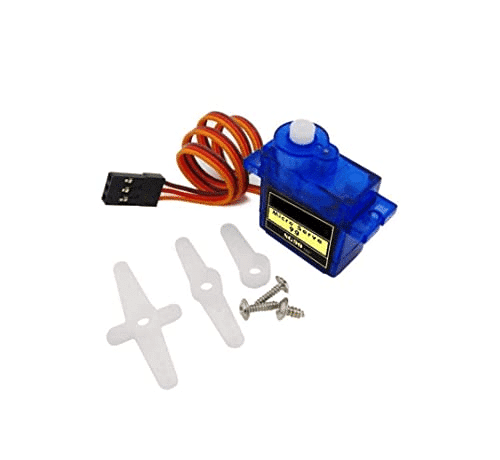
TowerPro SG90 180 Degree Rotation Servo Motor
Lightweight and affordable 9g servo — perfect for building all 10 joints of a small hobby biped. Compatible with PCA9685 PWM driver.
Tuning and Calibration Tips
- Zero-position calibration: Before any gait testing, verify every servo is at exactly 90° (neutral) when commanded. Use a protractor or digital angle finder. Write calibration offsets into your code.
- Power the servos from a separate supply: A 2S LiPo with a 5V/6V regulator (not the Arduino 5V pin) prevents brownouts. The PCA9685 has separate power inputs for servos and logic.
- Start with one leg clamped: Test each leg independently while the other is clamped to a support. Verify each joint moves in the correct direction and range before attempting a full walk cycle.
- Tune step height first: If the swing foot scrapes the ground, increase knee flex during swing phase. If the robot rocks too far, reduce the lateral CoM shift angle.
- Add rubber sole pads: Stick non-slip silicone or rubber pads to the bottom of the feet to increase ground grip and reduce foot slip during the push-off phase.
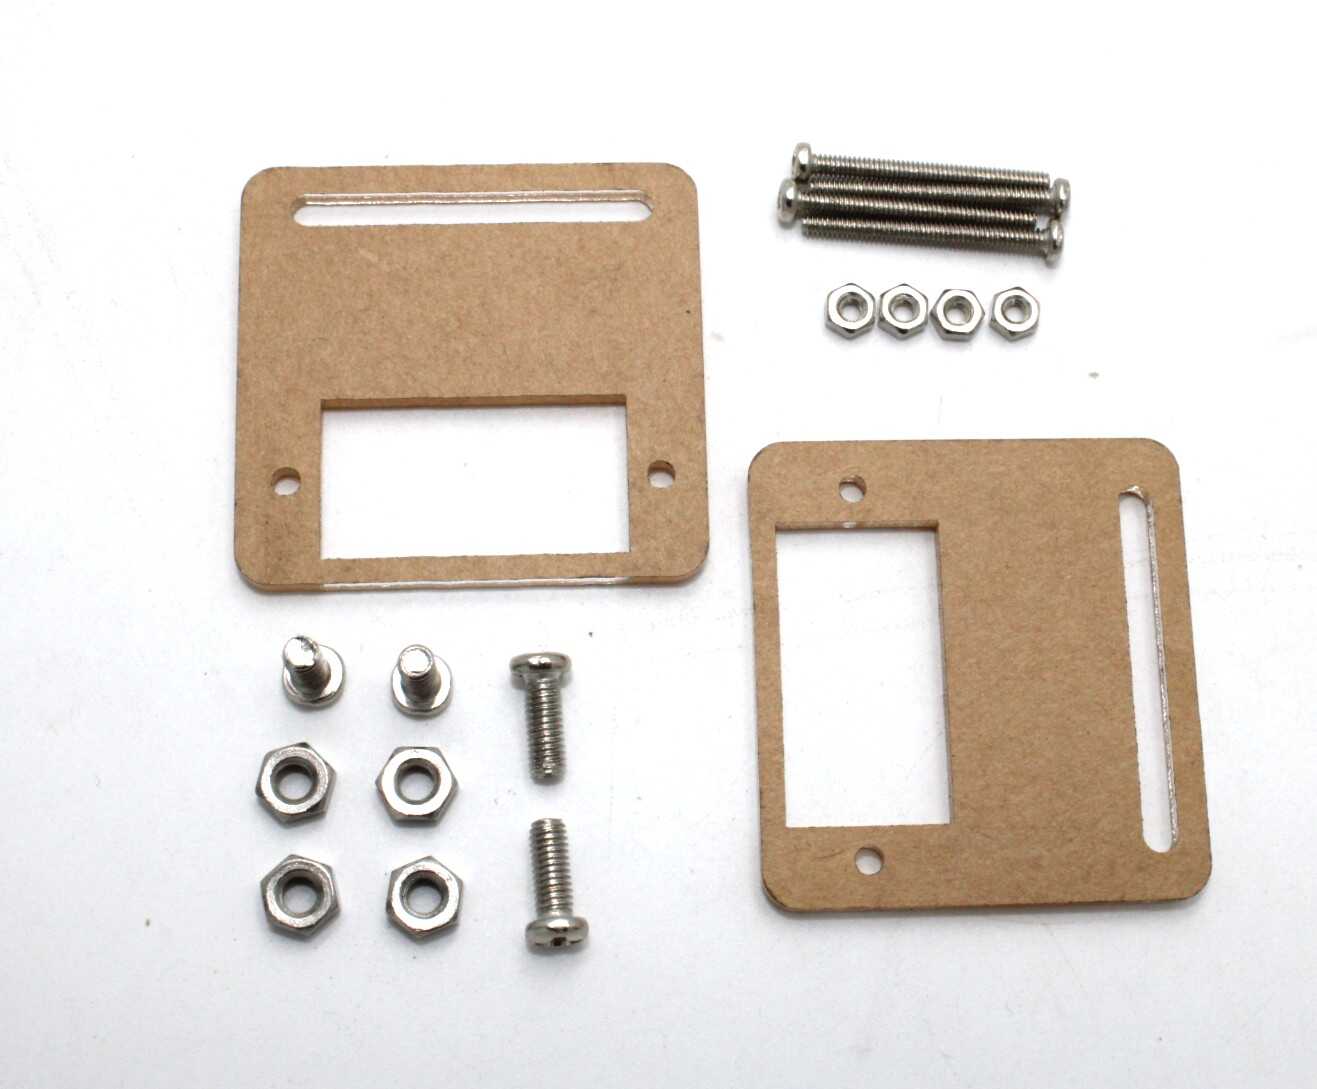
Servo Mount Holder Bracket for SG90/MG90 (Pack of 2)
Precision servo mounting brackets for building biped leg joints. Allows for clean, aligned servo placement at hip, knee, and ankle.
Recommended Products from Zbotic

ACEBOTT ESP32 Basic Starter Kit (Project Expansion Pack) – QE201
Complete ESP32 starter kit to build your biped’s control board. Includes expansion modules for servo control, sensors, and wireless communication.
Frequently Asked Questions
How many servos does a basic bipedal robot need?
A minimum of 6 servos (hip pitch, knee, ankle pitch on each leg) can produce forward walking in a straight line. For full 3D walking with turning, you need at least 10 servos — adding hip roll and ankle roll joints on each leg.
What is the difference between static and dynamic walking?
In static walking, the centre of mass stays above the support foot at all times — stable but slow. In dynamic walking, the robot deliberately falls forward (like humans), requiring active balance control but allowing much faster and more natural movement.
Can I use SG90 servos for a full-size biped robot?
SG90 servos (1.8 kg·cm torque) are only suitable for very small biped robots under 200g total weight. For any robot over 300g, use MG90S (2.2 kg·cm) at minimum, or MG996R (11 kg·cm) for robots over 500g at the hip and knee joints.
What is ZMP in bipedal robotics?
ZMP (Zero Moment Point) is the point on the ground where the combined ground reaction force moment is zero. If the ZMP stays within the robot’s support polygon (the foot contact area), the robot is statically stable. Dynamic walking controllers track and control the ZMP trajectory to achieve stable locomotion.
How do I stop my biped robot from drifting sideways?
Lateral drift is usually caused by asymmetric servo calibration, unequal leg link lengths, or insufficient lateral CoM shift. First, verify all servo neutral positions with a protractor. Then increase the hip roll angle during weight shift, and check that both foot pads make full contact with the ground during stance.
Start Your Biped Robot Build with Zbotic
Zbotic stocks SG90 and MG90 servos, servo mounting brackets, ESP32 control kits, and complete biped robot kits — everything you need to get your bipedal robot walking. Fast shipping across India.


Add comment